
The Crochet Ribbon Bow is softness made structural, a small knot of yarn that holds more intention than its size suggests. It carries the feeling of pressed flowers in an old notebook, of something chosen carefully and worn with quiet pride.

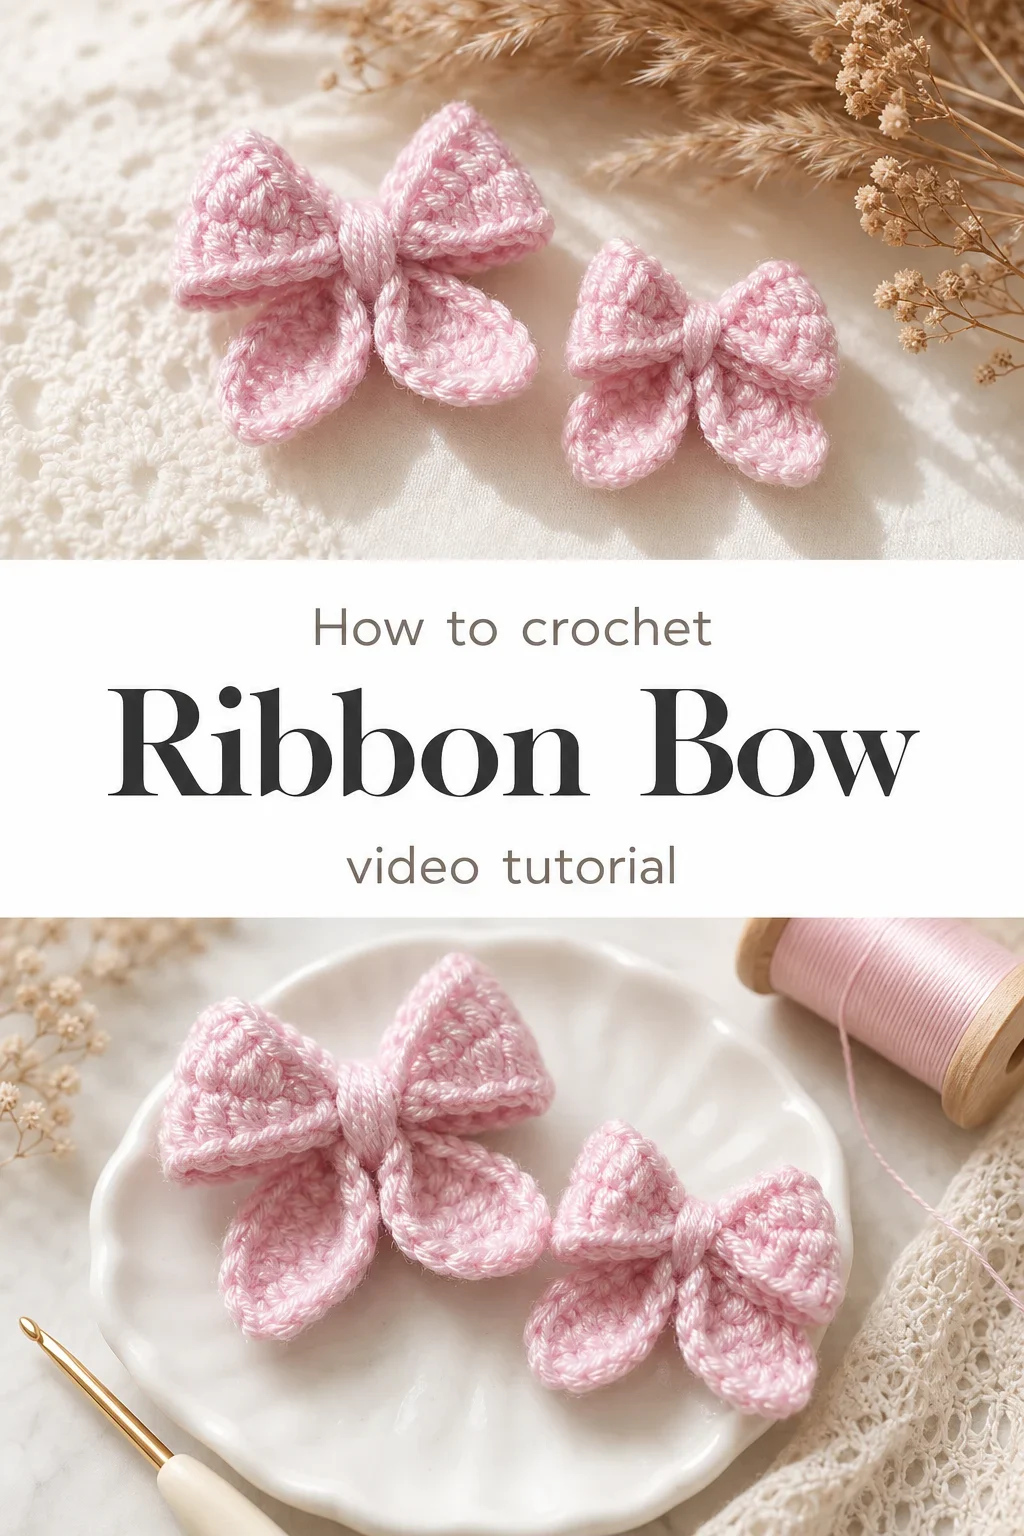
The Ribbon Bow
This is a piece for the person who believes that small details change everything. The Crochet Ribbon Bow sits somewhere between vintage haberdashery and modern handmade charm, its looped wings fanning out with an airy yet structured fullness that looks far more intricate than the stitches that form it. Each bow is compact enough to hold in your palm, yet dimensional enough to catch the eye from across a room. It is the kind of accent that invites touch and earns compliments.
Ribbon Bow Related Posts:
- Crochet Invisible Knot: A Essential Yarn Joining Technique
- Crochet Chenille Puff Flower: A Soft and Charming Accent
- Crochet Mollie Flower: A Delicate Dimensional Bloom
- Crochet Lace Stitch Band: A Stunning Openwork Accent
Soft blush pink, as seen in the tutorial images, is the natural home for this bow, but the palette opens wide the moment you let it. Ivory and cream give it a bridal or heirloom quality, while dusty lilac or sage lend a more contemporary feel suited to everyday accessories. You could even work a pair in contrasting tones for a playful, mismatched look that feels entirely intentional.
Materials and Tools
For a bow with this much texture and definition, a fingering weight or sport weight yarn in a smooth mercerized cotton or a soft cotton-acrylic blend will serve you beautifully. The slight sheen of mercerized cotton catches light in a way that emphasizes the ridges and curves of each petal-like lobe. A 2.5mm or 3mm crochet hook is the sweet spot for this scale, keeping the fabric firm enough to hold its shape without becoming stiff. A blunt tapestry needle is all you will need to weave in your ends and cinch the center of the bow into its final gathered form.
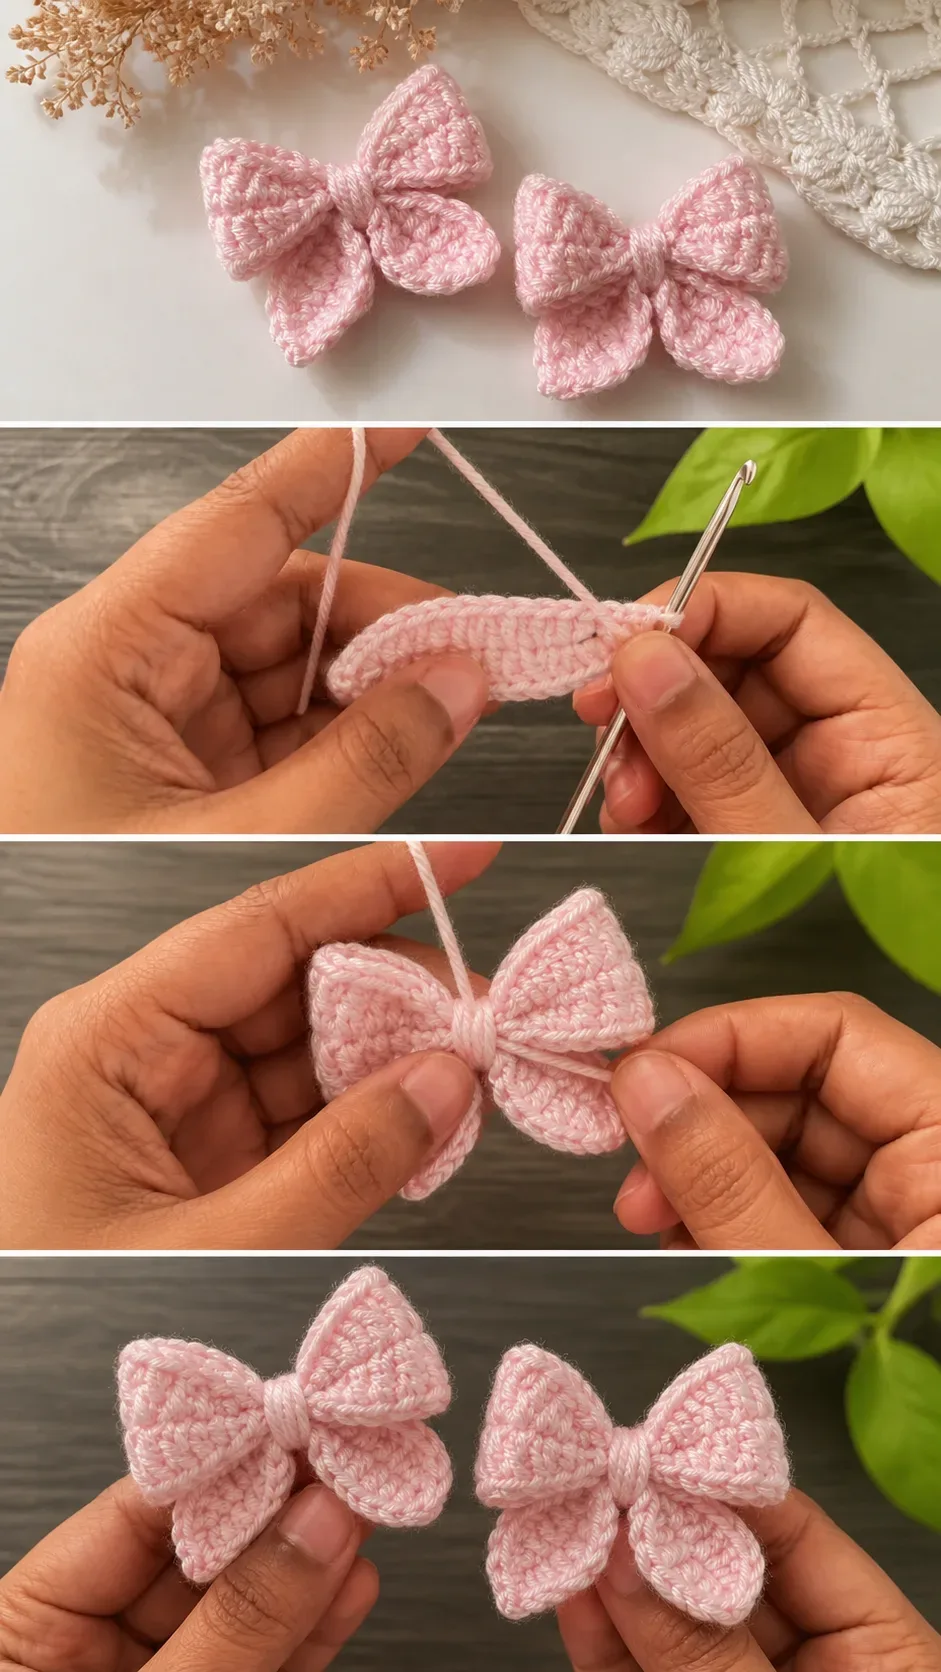
Stitch by Stitch
The Crochet Ribbon Bow draws on a small and approachable vocabulary of stitches that layer together to create its characteristic puffed, rounded lobes.
BULLET:CH (chain stitch) The foundation of the bow, creating the initial length from which all structure grows.
BULLET:SC (single crochet) Used to create firm, dense sections that anchor the shape and define the center band.
BULLET:DC (double crochet) The workhorse of the bow’s volume, building height into each lobe with an open, rounded quality.
BULLET:YO (yarn over) A motion repeated throughout that keeps tension consistent and the fabric smooth across every row.
The meditative rhythm of moving between SC and DC, feeling the fabric thicken and curve under your fingers, makes this a project you return to willingly, not just one you finish.
Construction
The bow is worked in flat panels, with each lobe shaped individually before the pieces are brought together and cinched at the center to create that signature gathered knot. Because each section is small and self-contained, this is a forgiving project for beginners who are still building confidence with tension and shaping. The full step-by-step method is shown clearly in the video tutorial by My Craft Story, which walks you through every stage from foundation chain to final assembly. For a larger bow, simply work your foundation chain a few stitches longer and add an extra round of DC to each lobe before cinching.
Wearing Your Ribbon Bow
Stitch a pin back to the finished Crochet Ribbon Bow and wear it at the collar of a linen blouse for an effect that feels both retro and entirely fresh. A pair of bows attached to plain hair clips transforms a simple cotton headband into something genuinely lovely, or sew them onto the toes of ballet flats for a detail that looks like it belongs in a Parisian boutique window.
Keeping Your Ribbon Bow Fresh and Pretty
Because this bow is likely worked in cotton or a cotton blend, it responds well to a gentle hand wash in cool water with a mild soap, laid flat to dry on a clean towel away from direct sunlight. If your bow has lost a little of its puffed dimension after wearing, a light steam with an iron held just above the surface will coax the fibers back into shape without flattening the texture. Avoid wringing or bunching the bow when wet, as this can distort the looped structure before it has a chance to set. Store finished bows flat in a small box or between the pages of a notebook if you are gifting them, keeping their shape intact until the moment they are worn.
You made something small and you made it with care, and that is never a small thing. Save this post to your Pinterest boards and share your finished Crochet Ribbon Bow so others can find a little of that same quiet pleasure.
Follow us on Pinterest and subscribe to the Newsletter so you don’t miss a thing!
Tutorial and photos of this ribbon bow by: Beyond Diary.