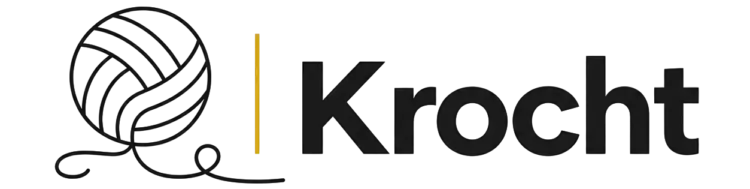
A free video tutorial is available to guide you through every step of the Crochet Invisible Knot with beautiful clarity. This technique creates a join so seamless and smooth that your finished work looks like one continuous, uninterrupted thread of color!
The Invisible Knot
The Crochet Invisible Knot is one of those quiet discoveries that changes everything about how you work with yarn. It belongs to that rare category of techniques that feel almost like a secret, something you press into your fingertips and carry forward into every project you make. This is a join designed for crocheters who care deeply about the surface of their work, where no tail end pokes through and no bulk interrupts the flow of the fabric. Whether you are a beginner learning your first yarn joins or an intermediate maker refining your finishing work, this knot meets you exactly where you are.
Invisible Knot Related Posts:
- Crochet Lace Flower: A Delicate Handmade Beauty
- Crochet 3D Roses: A Colorful Floral Collection
- Crochet Wagon Wheel Flower: A Delicate Floral Accent
- Crochet 3D Roses: A Beautiful Dimensional Bloom
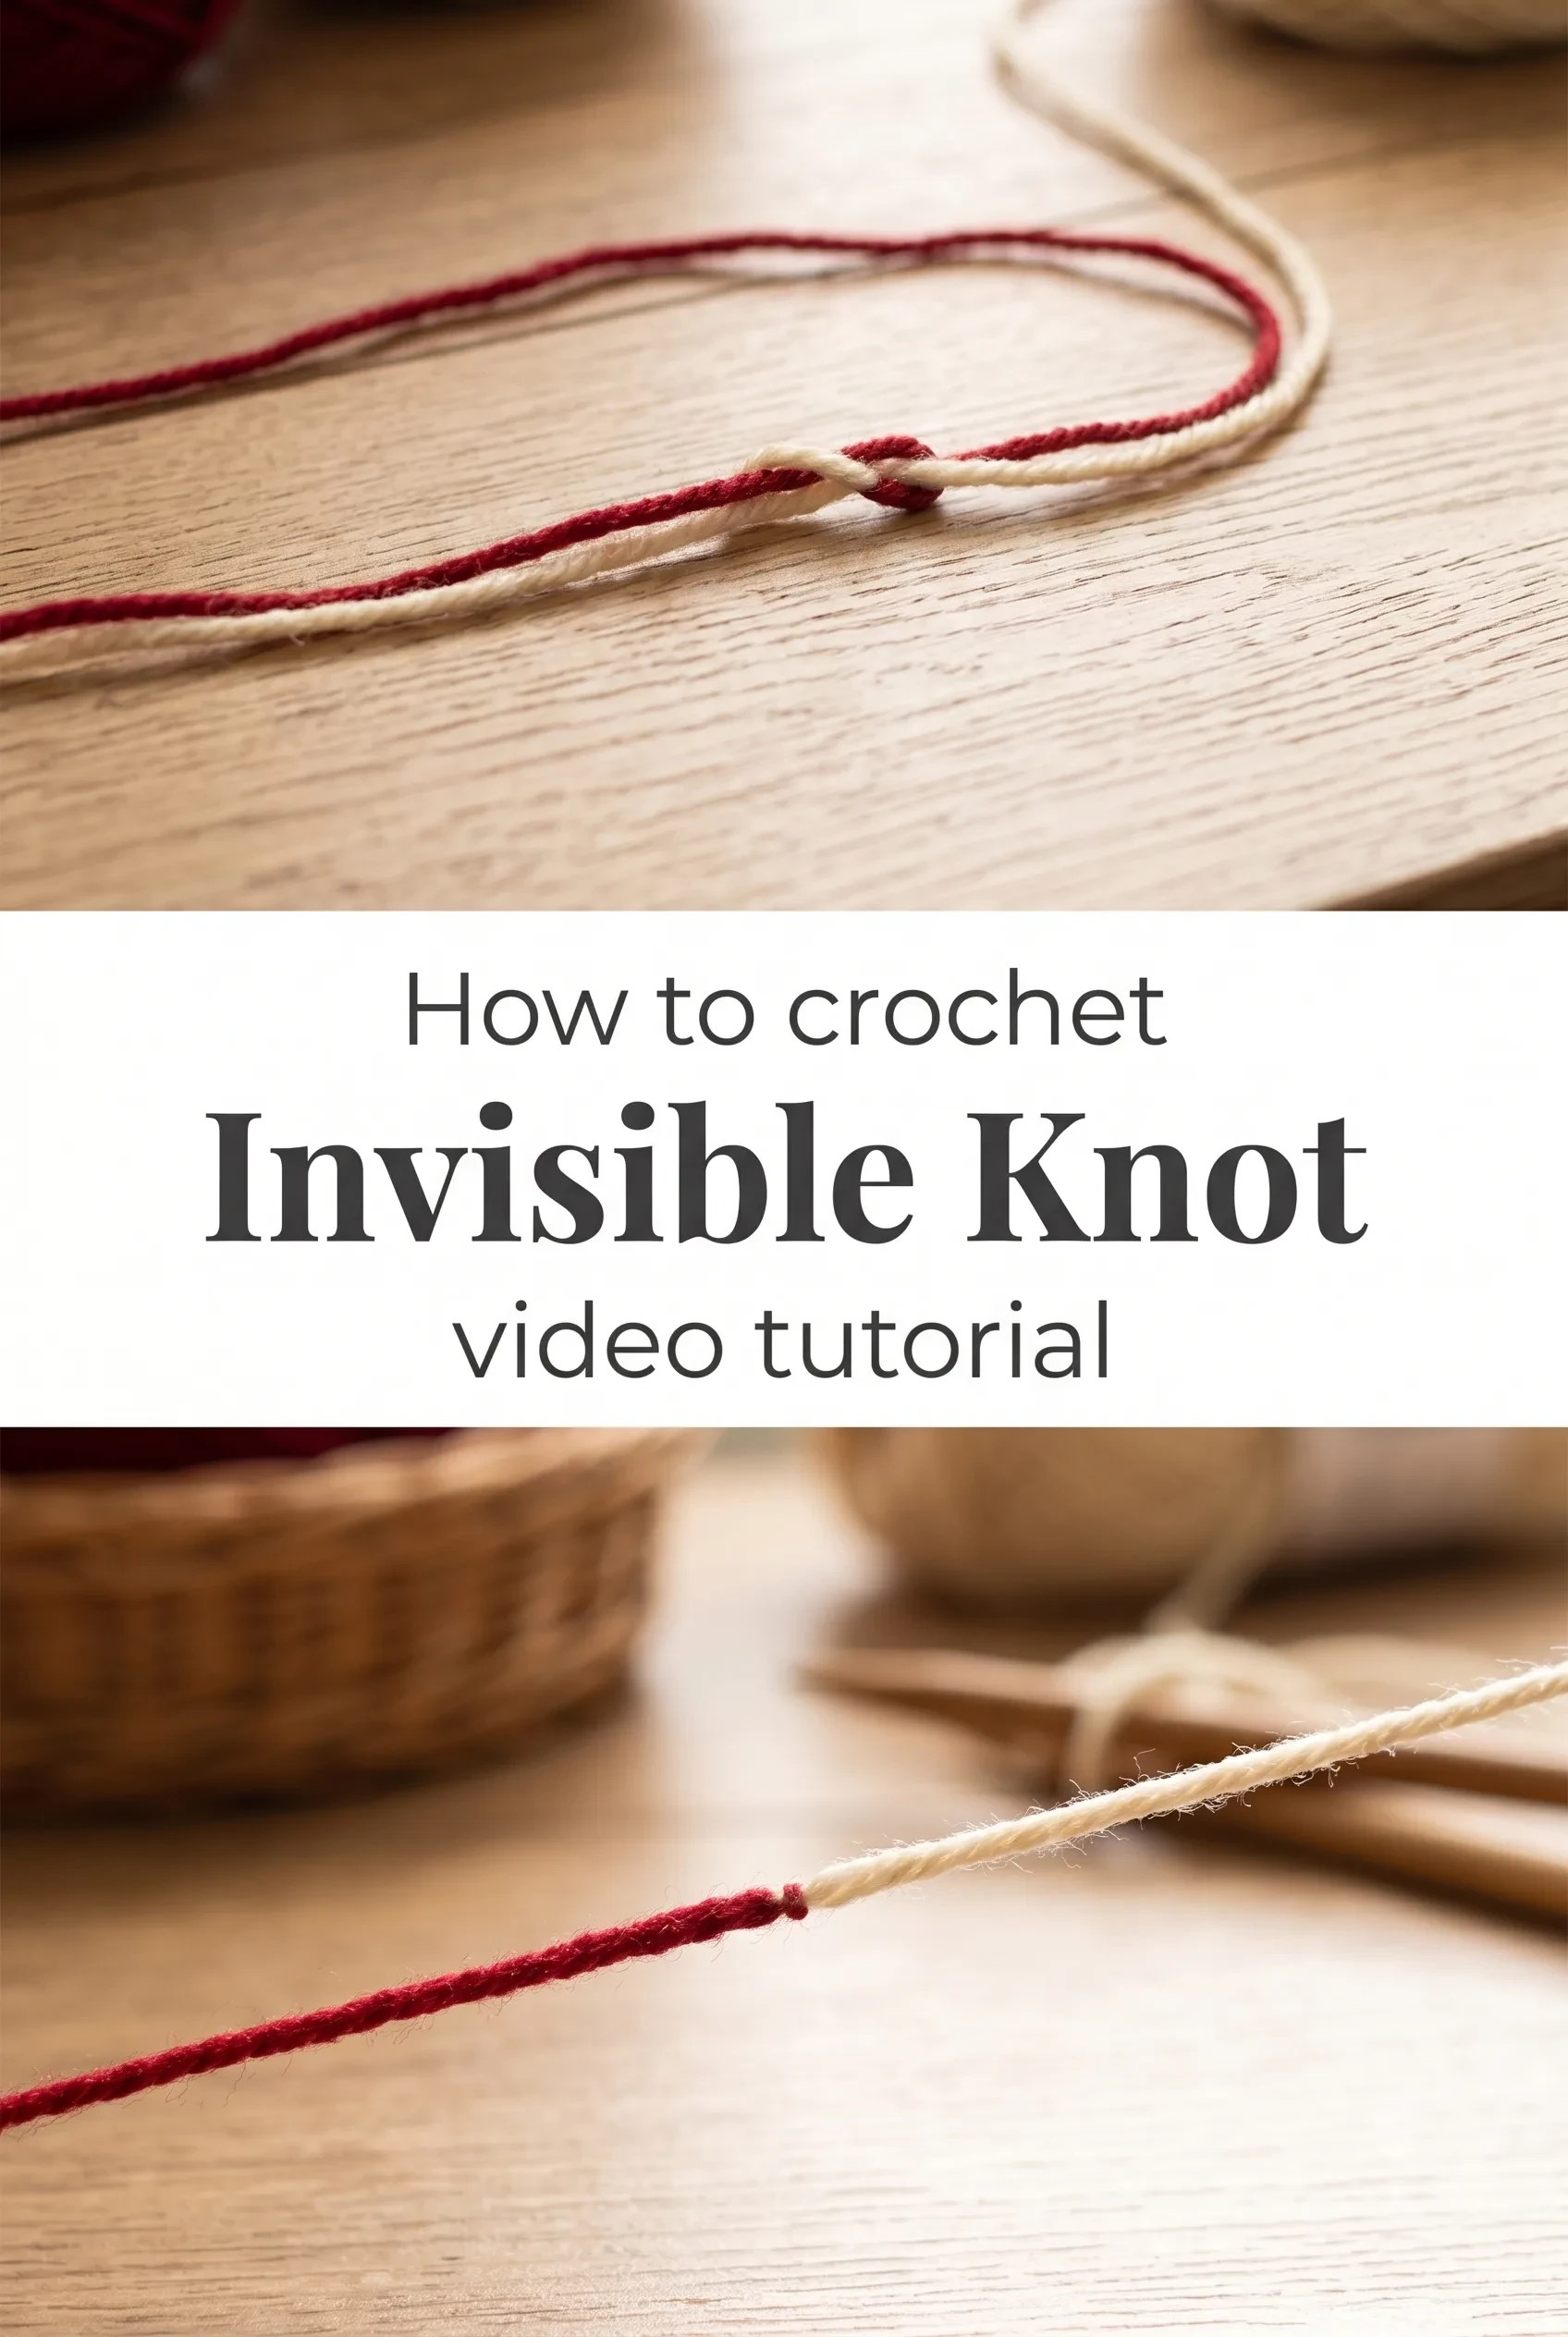
Because the join disappears so completely into the fabric, it works beautifully across a wide spectrum of color palettes, from soft naturals and cream tones to rich jewel colors like crimson and ivory, exactly as seen in the reference images. Pairing a deep red with an off-white gives the joined piece a striking contrast that still reads as clean and polished. You could work entirely in tonal shades for something more whisper-soft, or go bold with unexpected color blocking knowing the knot will never betray the seam.
Materials and Tools
For practicing the Crochet Invisible Knot, a DK weight yarn in a smooth, plied construction gives you the clearest visual feedback, letting you see exactly how the strands interlock as you work. A 4mm crochet hook pairs naturally with DK weight for most applications, though if you are joining yarns destined for a delicate bracelet or fine accessory, dropping to a 3.5mm hook keeps your tension neat and controlled. Cotton or cotton-blend yarns are ideal here because they hold their structure without too much stretch, which means your knot stays invisible even after the piece is worn or handled. A blunt-tipped yarn needle is the one tool you will want close by for any final weaving, though the beauty of this technique is that it minimizes that finishing step almost entirely.
Stitch by Stitch
The Crochet Invisible Knot draws on a handful of foundational moves that work together to create its seamless result.
BULLET:SC Single Crochet The anchor stitch that builds the base fabric into which your invisible join will disappear without a trace.
BULLET:SL ST Slip Stitch The quietest stitch in crochet, used here to close joins and move yarn into position without adding visible height.
BULLET:YO Yarn Over The essential wrapping motion that forms the interlocking structure at the heart of the invisible knot itself.
BULLET:CH Chain Stitch The foundational link that creates the initial loop structure from which the joining technique begins.
There is something deeply satisfying about the meditative rhythm of this technique, the small, repetitive motions that slow your hands down and ask you to be precise and present with every pull of the yarn.
Construction
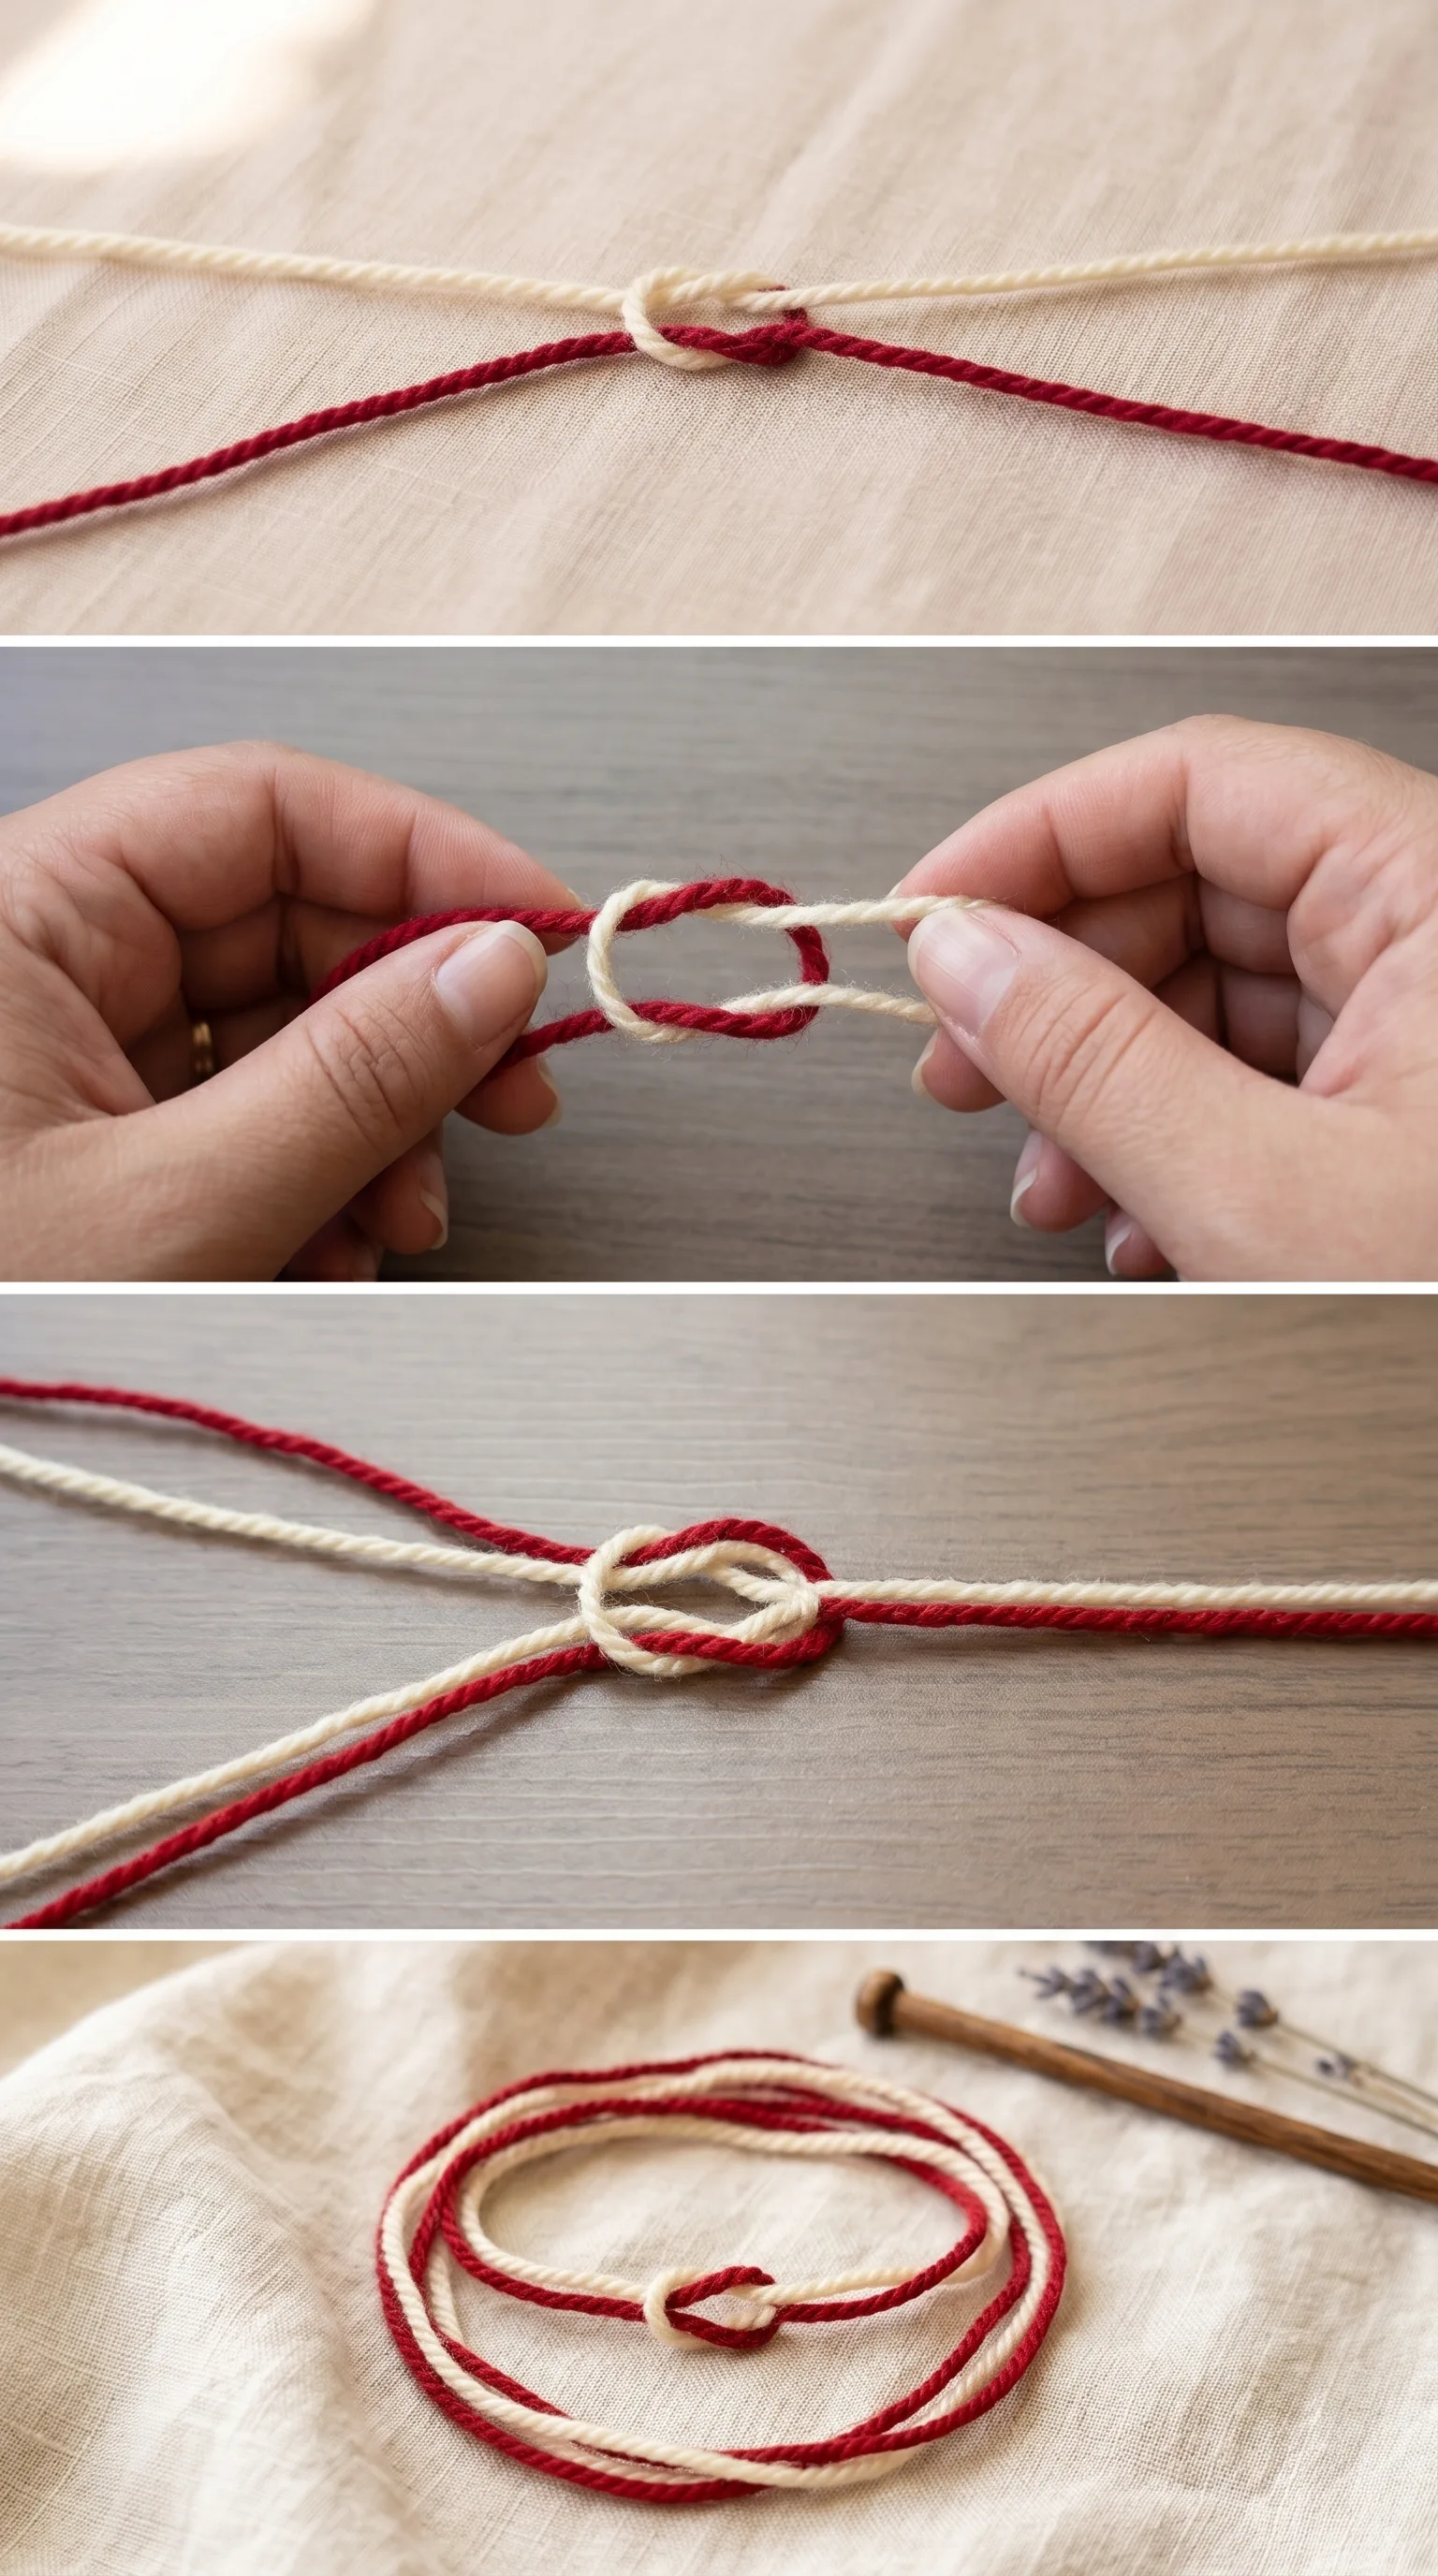
The Crochet Invisible Knot is worked flat on a surface before being drawn snug, which means you build the interlocking loops with both yarn ends lying parallel, then ease the knot closed by pulling each tail in alternating directions. This flat-to-closed construction makes it accessible for beginners because you can see the structure forming before committing to the final tightening. The full step-by-step process is demonstrated in the video tutorial, which walks you through the motion at a comfortable pace so nothing feels rushed or unclear. As a customisation, you can leave a slightly longer tail on each yarn end before knotting to give yourself more grip during the tightening stage, especially useful when working with slippery fibers like silk blends.
Wearing Your Invisible Knot
A crochet accessory finished with this technique carries a quiet confidence, the kind you feel when you know no one can see the seam beneath the surface. Use it to join the ends of a crocheted bracelet for a clean, professional closure, or to splice new yarn mid-row in a textured wrap so the color change reads as intentional and graphic rather than accidental. Finishing a pair of wrist cuffs or a delicate choker necklace with this knot means you can wear them with anything and feel entirely at ease about how the join holds.
Keeping Your Invisible Knot Secure and Beautiful
Because the Crochet Invisible Knot relies on the tension of the yarn itself rather than a bulky overhand knot, it is worth giving your finished piece a gentle hand wash in cool water with a mild soap to check that the join has fully set before regular wear. Lay the piece flat on a clean towel and reshape it by hand while damp, which encourages the fibers to bloom slightly around the knot and lock it even more firmly in place. Avoid wringing or stretching the joined area while it is wet, as this can shift the tension before the fibers have dried and settled. Store finished accessories loosely coiled or laid flat in a small pouch rather than folded sharply at the knot point, and they will hold their shape beautifully over time.
Every time you use the Crochet Invisible Knot, you are choosing craft that honors the detail, the kind of slow, intentional making that shows up in the quality of what you create. Save this article to your crochet board on Pinterest and share your finished pieces with the hashtag so the whole handmade community can see your beautiful work.
Follow us on Pinterest and subscribe to the Newsletter so you don’t miss a thing!
Tutorial and photos of this invisible knot by: Realza Crochet.