
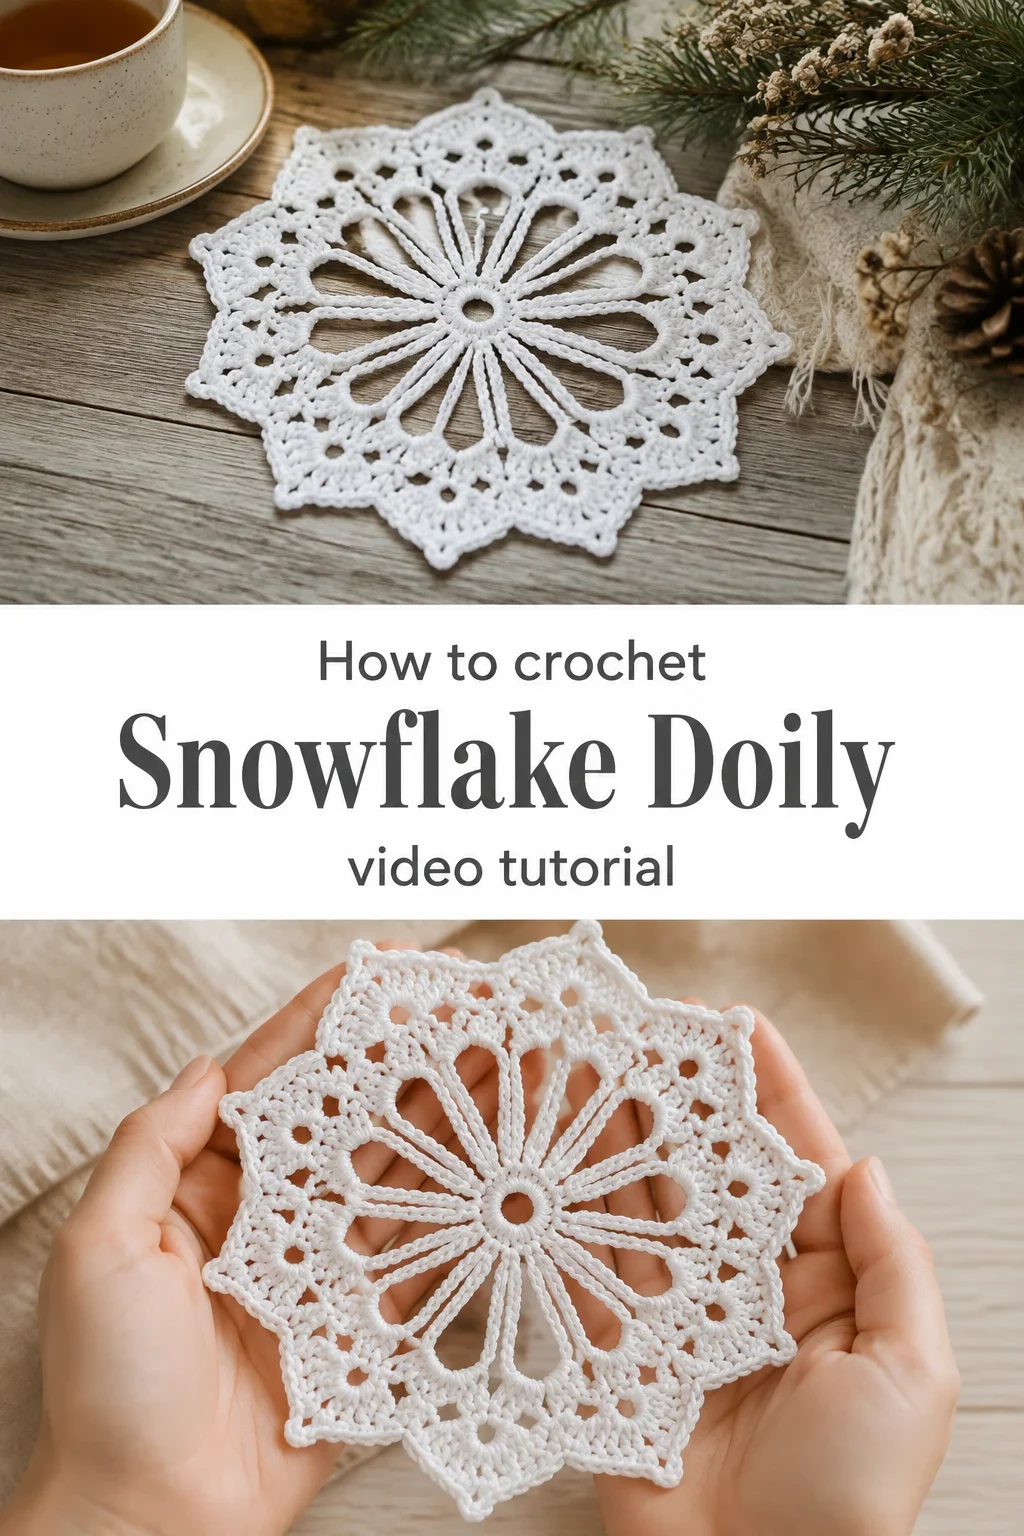
I am absolutely obsessed with this Crochet Snowflake Doily tutorial from Knitting Love, and I had to share it with you right away. The way those long spoke-like lines radiate from the centre to form eight perfectly symmetrical petals is the kind of quiet structural magic that makes handmade objects feel almost otherworldly.

The Snowflake Doily
A Crochet Snowflake Doily sits somewhere between lace and sculpture, airy yet structured in a way that catches light and holds shadow at the same time. It is the kind of piece that looks as though it was lifted from a grandmother’s trousseau, pressed between the pages of a letter and handed down through generations. Whether you lay it beneath a candle on a winter evening table or frame it against dark linen on a shelf, it carries a whisper of elegance that feels both timeless and deeply personal. This pattern suits the crafter who wants something meditative to work through on quiet afternoons, and equally suits the beginner who is ready to move beyond simple squares.
Snowflake Doily Related Posts:
- Crochet Wind Spinner: A Whimsical Outdoor Accent
- Crochet Flipping Turtle Coaster: A Playful Home Accent
- Crochet Hemp Leaf Doily: A Delicate Circular Masterpiece
- Crochet Mandala Doily: A Delicate Timeless Accent
White is the obvious and glorious choice here, giving the finished Crochet Snowflake Doily that crisp, frosted quality you see in the reference images. But do not be afraid to reach for soft ecru, dusty grey, or even the palest blush if you want something warmer and more lived-in on a wooden shelf or linen tablecloth. A single colour lets the stitch architecture speak entirely for itself, and the open lacework really does reward that simplicity.
Materials and Tools
For a doily this delicate and detailed, you will want to work with a fingering weight or fine sport weight cotton thread, as cotton holds its shape after blocking and gives those long radiating spokes their crisp definition. The Knitting Love tutorial uses a smooth white cotton thread that photographs beautifully and feels cool and clean between the fingers. A 2mm to 2.5mm steel crochet hook is the sweet spot for this weight, allowing enough tension to keep the lacework firm without collapsing the open spaces between stitches. Keep a set of rust-proof T-pins and a foam blocking mat nearby, because blocking is what will transform your finished piece from a slightly ruffled circle into a true snowflake.
Stitch by Stitch
This Crochet Snowflake Doily calls on a small and friendly collection of stitches that build steadily into something far more intricate than the sum of its parts.
BULLET:SC (Single Crochet) The foundational anchor stitch that holds the structural rings and outer border points firmly in place.
BULLET:DC (Double Crochet) The workhorse of the design, used in clusters and fans to build the radiating spoke sections that give the doily its snowflake silhouette.
BULLET:CH (Chain) Chain spaces create the open lacework between the spokes and around the outer petals, giving the whole piece its breathable, lace-like quality.
BULLET:SL ST (Slip Stitch) Used at the end of each round to join cleanly and keep the circular construction neat and invisible.
Working in the round with this combination produces a meditative rhythm that steadies the hands and quiets the mind, each round revealing a little more of the snowflake’s geometry as it grows outward from a tiny central ring.
Construction
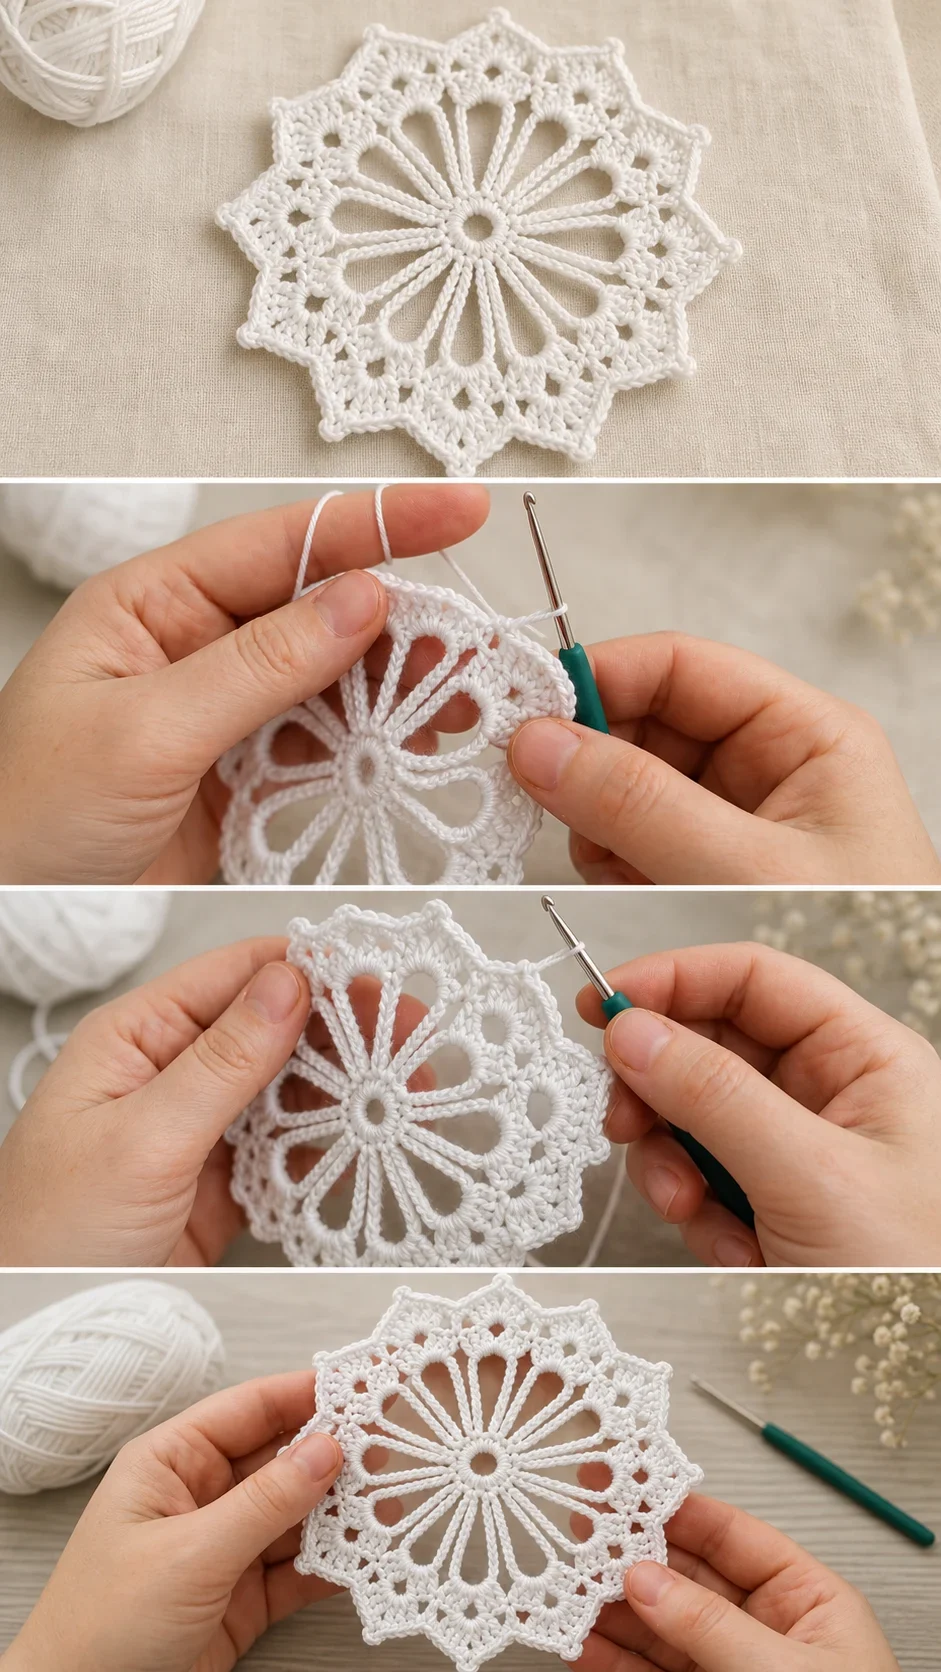
The Crochet Snowflake Doily is worked entirely in the round, beginning with a small magic ring or chain ring at the centre and expanding outward through a sequence of rounds that gradually introduce the spoke pattern and the outer petal border. The full step-by-step process is shown clearly in the Knitting Love video tutorial, which walks you through each round without skipping a moment, making it accessible even if you are still building confidence with circular lace work. Because the shaping is created through stitch placement rather than increases in the traditional sense, each round feels logical and satisfying once you understand the rhythm. If you want a larger doily, simply repeat the spoke section for one or two additional rounds before working the outer border, keeping the proportions balanced as you go.
Wearing Your Snowflake Doily
Lay your finished piece beneath a glass vase of winter branches or a cluster of pillar candles for an instant centrepiece that looks curated rather than crafted. Pin it to the corner of a dark linen cushion cover for a textile contrast that feels genuinely considered, or use it as a gift wrap embellishment in place of a ribbon when you want the wrapping to be as memorable as what is inside. Finishing this doily feels like producing something that outlasts the season it was made in.
Blocking, Washing, and Storing Your Snowflake Doily
Wet blocking is non-negotiable for a Crochet Snowflake Doily worked in cotton, because it is the step that opens the lace, sharpens the spoke lines, and flattens the petals into their proper symmetrical points. Soak the finished piece in cool water for ten to fifteen minutes, press out the excess water gently in a clean towel without wringing, and then pin it out to its full dimensions on a foam mat using rust-proof pins at each outer point. Allow it to dry completely before unpinning, which may take several hours depending on the humidity in your space. Once dry and stored flat between layers of acid-free tissue in a drawer, a well-blocked cotton doily will hold its shape and its crispness for years.
Every Crochet Snowflake Doily you make is a small act of intention in a world that rarely slows down long enough to notice the details, and that matters. Save this article to your crochet board on Pinterest and share your finished doily with the hashtag so the community can celebrate it with you.
Follow us on Pinterest and subscribe to the Newsletter so you don’t miss a thing!
Tutorial and photos of this snowflake doily by: Knitting Love 💗.