
A flat crochet turtle with a domed shell that lifts away from the body, worked in warm cream and golden yellow worsted weight yarn, becomes something far more than a coaster the moment you set it on a table. This single pattern unlocks a whole world of gifting, decorating, and whimsical functional craft, from housewarming presents to children’s room accents to a curated coffee table vignette that makes every guest reach out and touch.

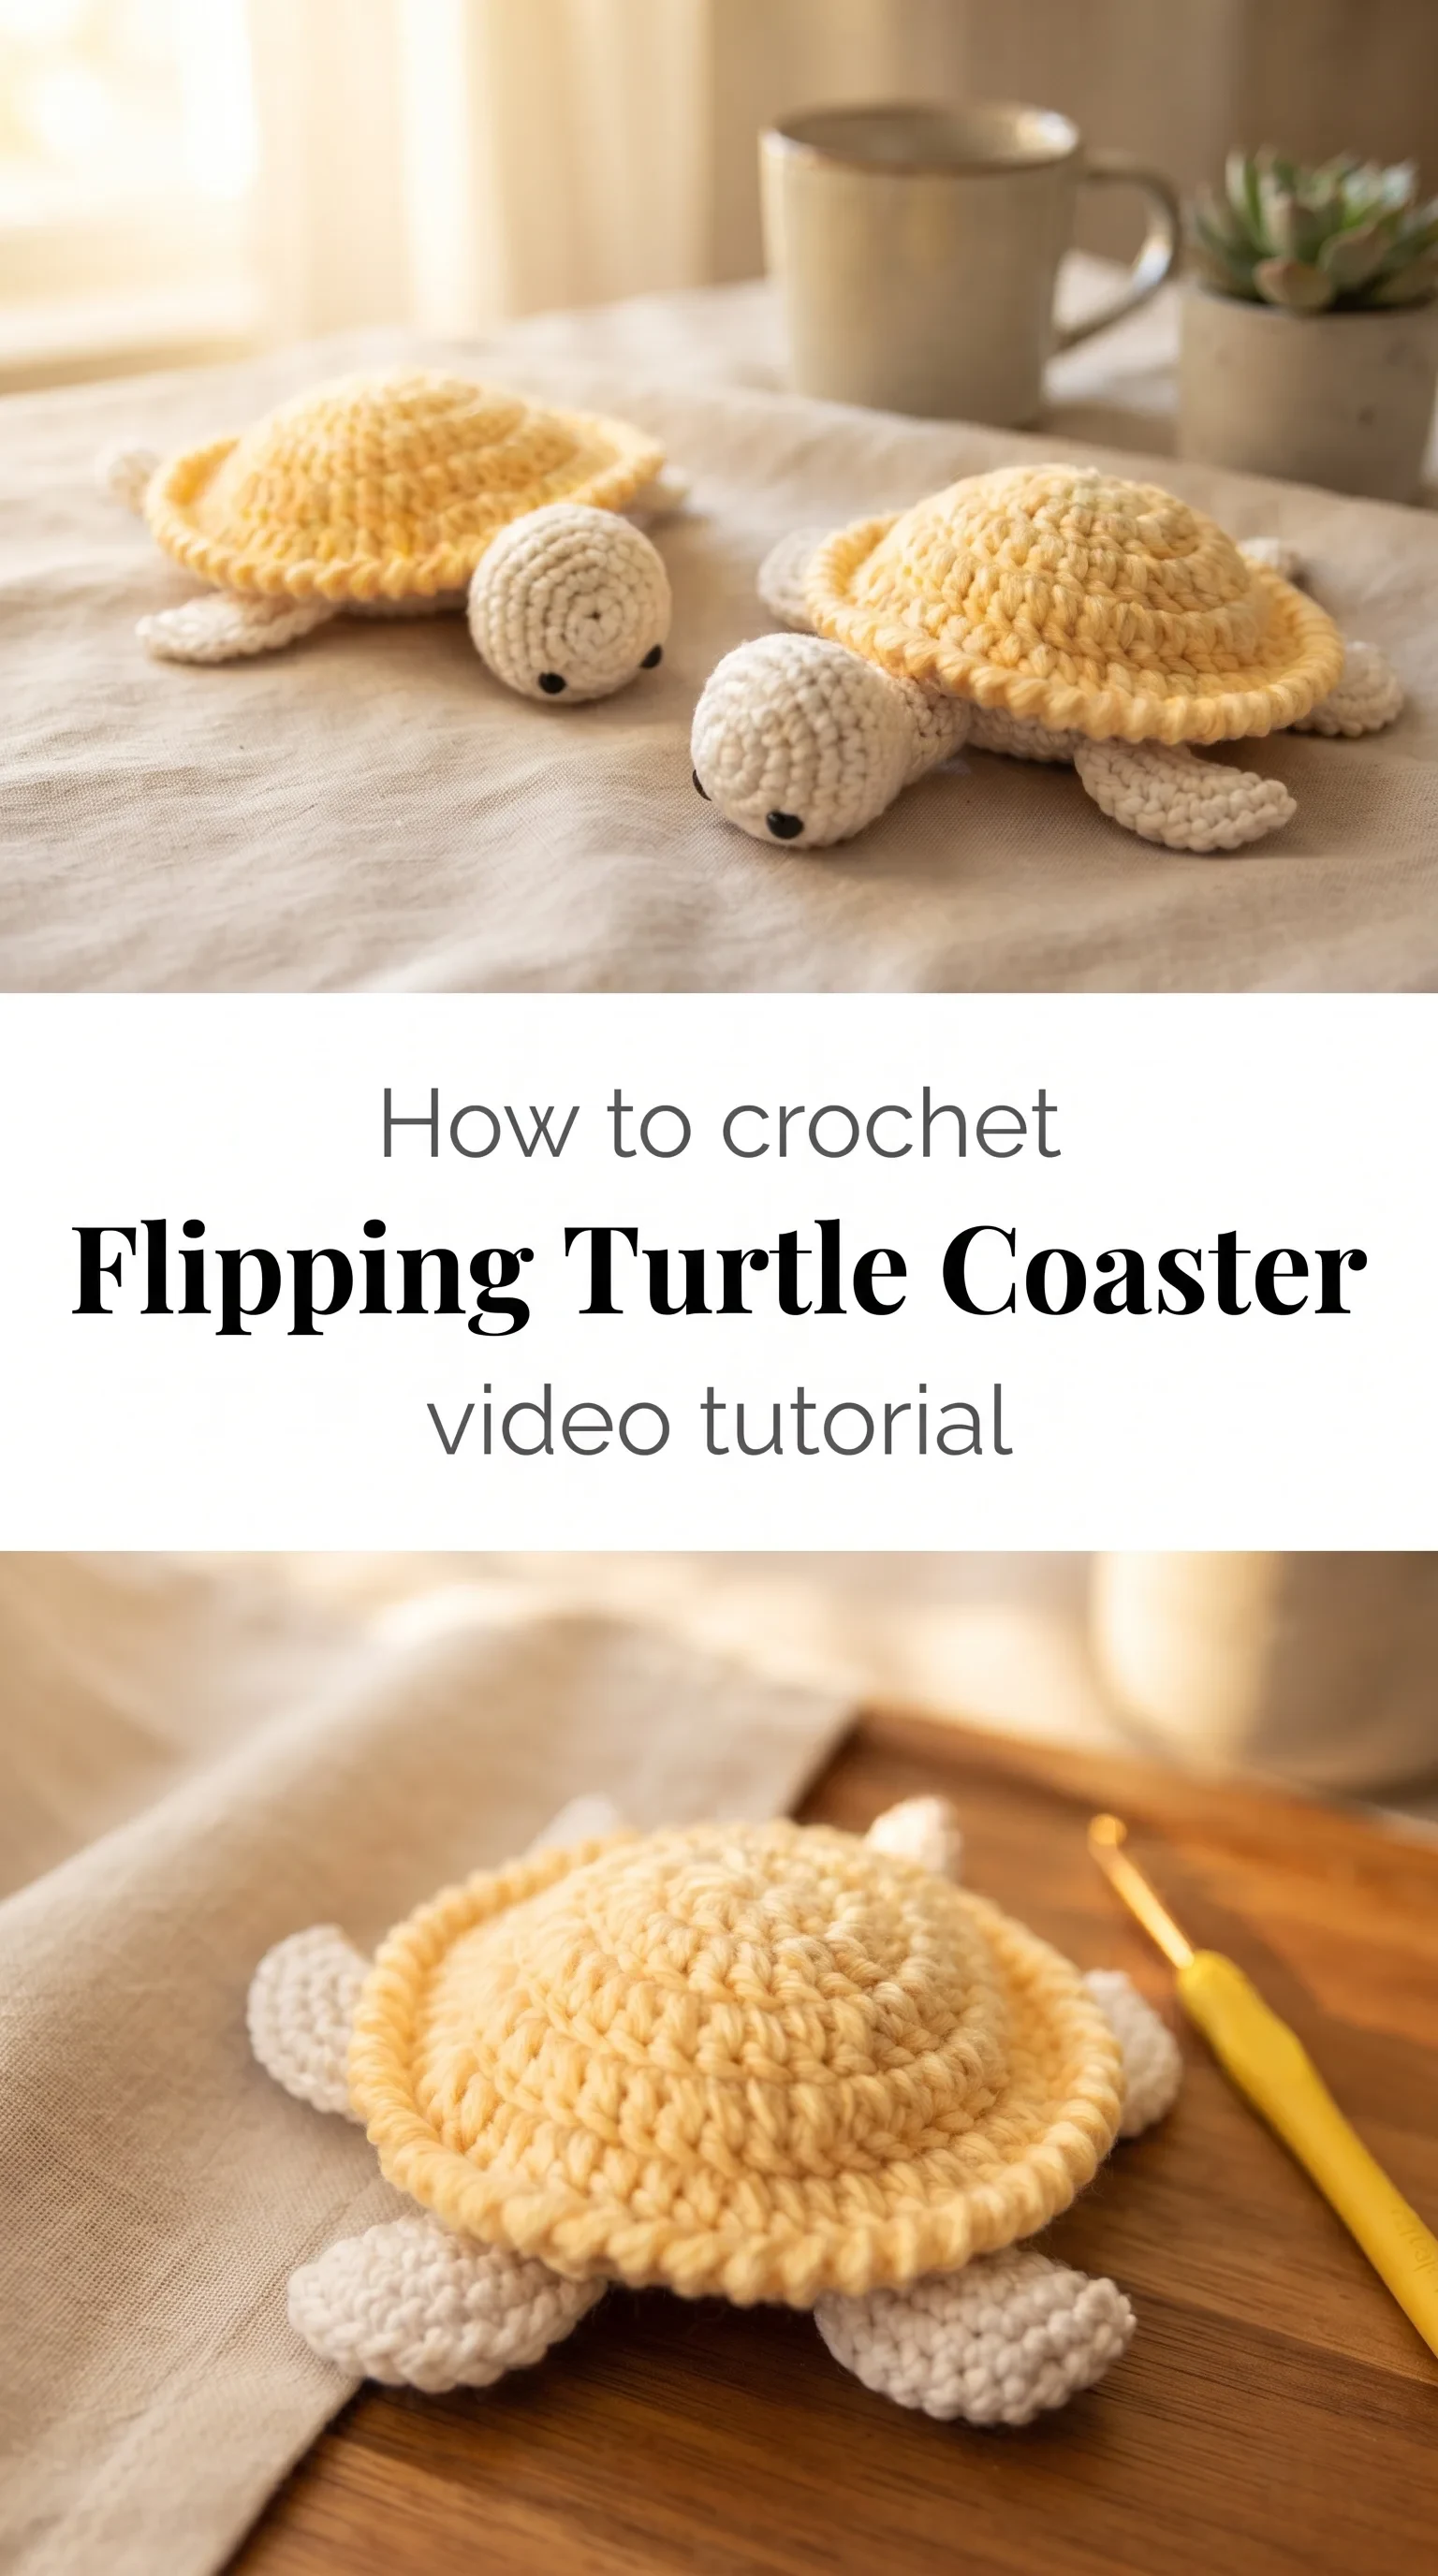
The Flipping Turtle Coaster
The Crochet Flipping Turtle Coaster is one of those pieces that sits quietly on your table and pulls every eye in the room toward it without asking for attention. It has a rounded, domed shell crocheted in sunshine yellow that rests over a cream-colored body, complete with four little legs, a rounded head, and the kind of soft dimensionality that makes it feel more like a creature than a coaster. The shell actually lifts, which is the detail that makes people pick it up, turn it over, and smile without meaning to. It is made for the person who wants their home to feel lived-in and loved, who chooses handmade over mass-produced without a second thought.
Turtle Coaster Related Posts:
- Crochet Circular Rug: A Beautiful Home Accent
- Crochet Floral Table Centerpiece: An Elegant Home Accent
- Crochet Decorative Doily: A Vibrant Handmade Accent
- Crochet Table Runner and Bedspread Motif: A Timeless Classic
The color pairing shown in the reference images, a buttery golden yellow against off-white cream, has the warmth of late afternoon light and works beautifully against natural wood, linen, or rattan surfaces. You could just as easily swap the palette to sage green and terracotta for an earthy, botanical feel, or lavender and white for a softer nursery aesthetic. The Crochet Flipping Turtle Coaster adapts to whatever corner of your home needs a little handmade character.
Materials and Tools
For this project, worsted weight yarn is your best friend, giving the turtle enough body and structure to function as an actual coaster while keeping the fabric soft enough that the finished piece has a slight give when you press the shell. The reference video uses what appears to be a smooth, lightly twisted worsted in cream and golden yellow, and a cotton-blend or acrylic-blend worsted in similar tones will give you that same airy yet structured quality. A 4mm crochet hook is the size to reach for here, as it keeps the SC rounds tight enough that the stuffing stays hidden and the shell holds its dome without gaps. Pick up a yarn needle for weaving in ends and attaching the head, and if you plan to stuff the shell dome, a small amount of polyfill will give it that satisfying rounded lift.
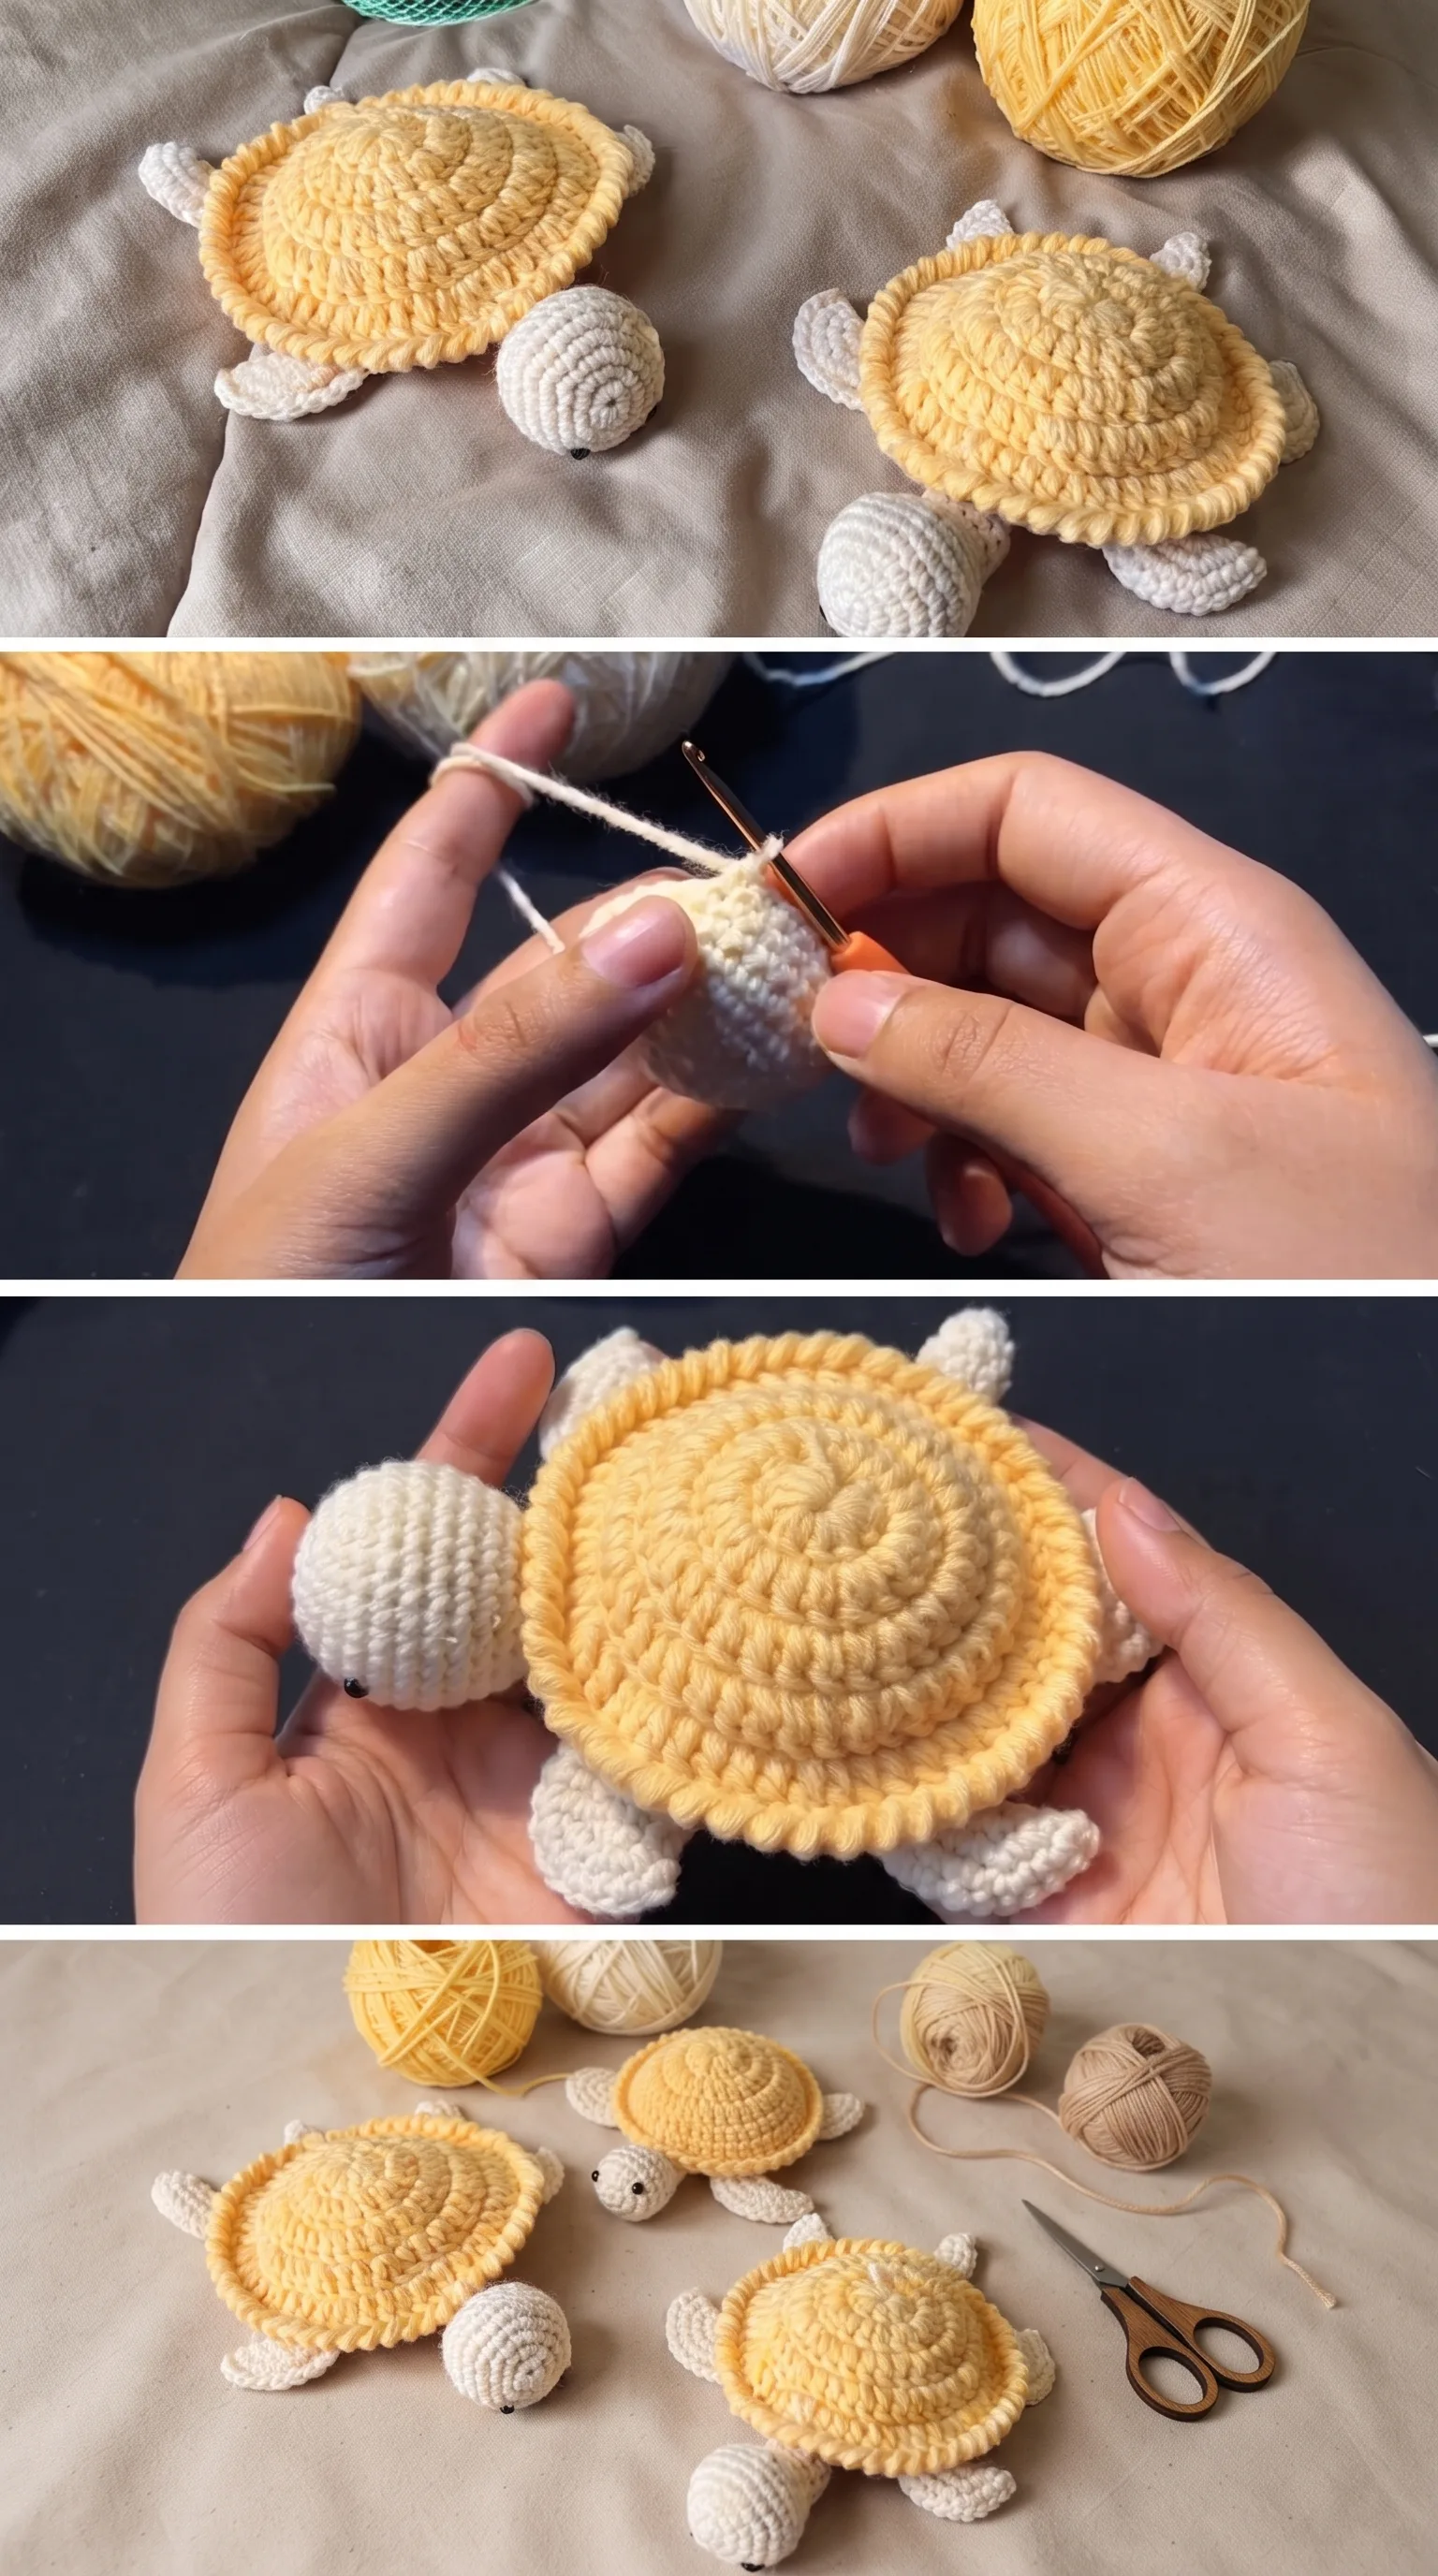
Stitch by Stitch
The Crochet Flipping Turtle Coaster draws on a small, approachable vocabulary of stitches that even a beginner can settle into with confidence.
BULLET:SC (Single Crochet) The foundation of the entire turtle body, legs, and head, worked in continuous rounds to build the amigurumi-style sections with a firm, even texture.
BULLET:DC (Double Crochet) Used in the shell construction to create the wider, flatter rounds that give the top of the shell its characteristic ripple and frilled edge.
BULLET:MR (Magic Ring) The starting point for each circular section, closing into a tight center so no gap appears at the top of the head or the peak of the shell dome.
BULLET:INC (Increase) Placing two SC into a single stitch to widen each round gradually, shaping the dome of the shell and the roundness of the turtle’s head.
There is a meditative rhythm to working these rounds, especially in the shell, where the repetition of DC increases creates a quiet, almost hypnotic pace that makes an hour disappear.
Construction
The Crochet Flipping Turtle Coaster is built in separate pieces that come together at the end, which is one of the reasons it suits both beginner-friendly and intermediate makers so well. The body and flat base are worked in the round using SC, the shell dome is crocheted separately and stuffed lightly before being attached, and each leg and the head are made as small individual units sewn into place with a yarn needle. The flipping quality of the design comes from the shell being attached at a single point or loosely sewn so it can be lifted, which the full video tutorial explains in clear visual detail. If you want to personalise yours, try adding safety eyes in a slightly larger size for a more cartoon-like expression, or work the frill edge of the shell in a contrasting color for a two-tone finish.
Wearing Your Flipping Turtle Coaster
Place the finished Crochet Flipping Turtle Coaster on a side table beside a ceramic mug and a stack of books, and it becomes a small still-life worth photographing. Make a set of four in coordinating colors for a housewarming gift, or tuck one into a gift basket alongside a candle and some herbal tea for a handmade present that feels genuinely considered. Once you finish your first, the second one moves faster and the urge to make a whole colony of them is very real.
Keeping Your Turtle Coaster Clean and Cozy
If you used an acrylic or acrylic-blend worsted yarn, your Crochet Flipping Turtle Coaster can be hand washed gently in cool water with a small amount of mild soap, then reshaped and left flat to dry so the shell dome keeps its curve. Cotton-blend versions may be slightly more robust and can often tolerate a delicate machine wash cycle in a mesh laundry bag, though air drying is always the kinder option for preserving the stitches. Avoid wringing the shell section, as the stuffing inside can shift and lose its shape if handled roughly when wet. Store your turtle flat or loosely nestled in a basket rather than stacked under heavy objects, and it will hold its form for a very long time.
Every stitch you put into this little turtle is a quiet act of making something real with your own hands, and that is worth more than any store shelf can offer. Find the full video tutorial to make your own Crochet Flipping Turtle Coaster, then share your finished photos on Pinterest so other makers can find this pattern and fall in love with it too.
Follow us on Pinterest and subscribe to the Newsletter so you don’t miss a thing!
Tutorial and photos of this flipping turtle coaster by: The Yarnling.