
A free video tutorial from Massive Crochet is available to guide you through every loop of this beautiful Crochet Scallop Border, and the way those rounded, petal-like clusters bloom along a plain edge is genuinely breathtaking!

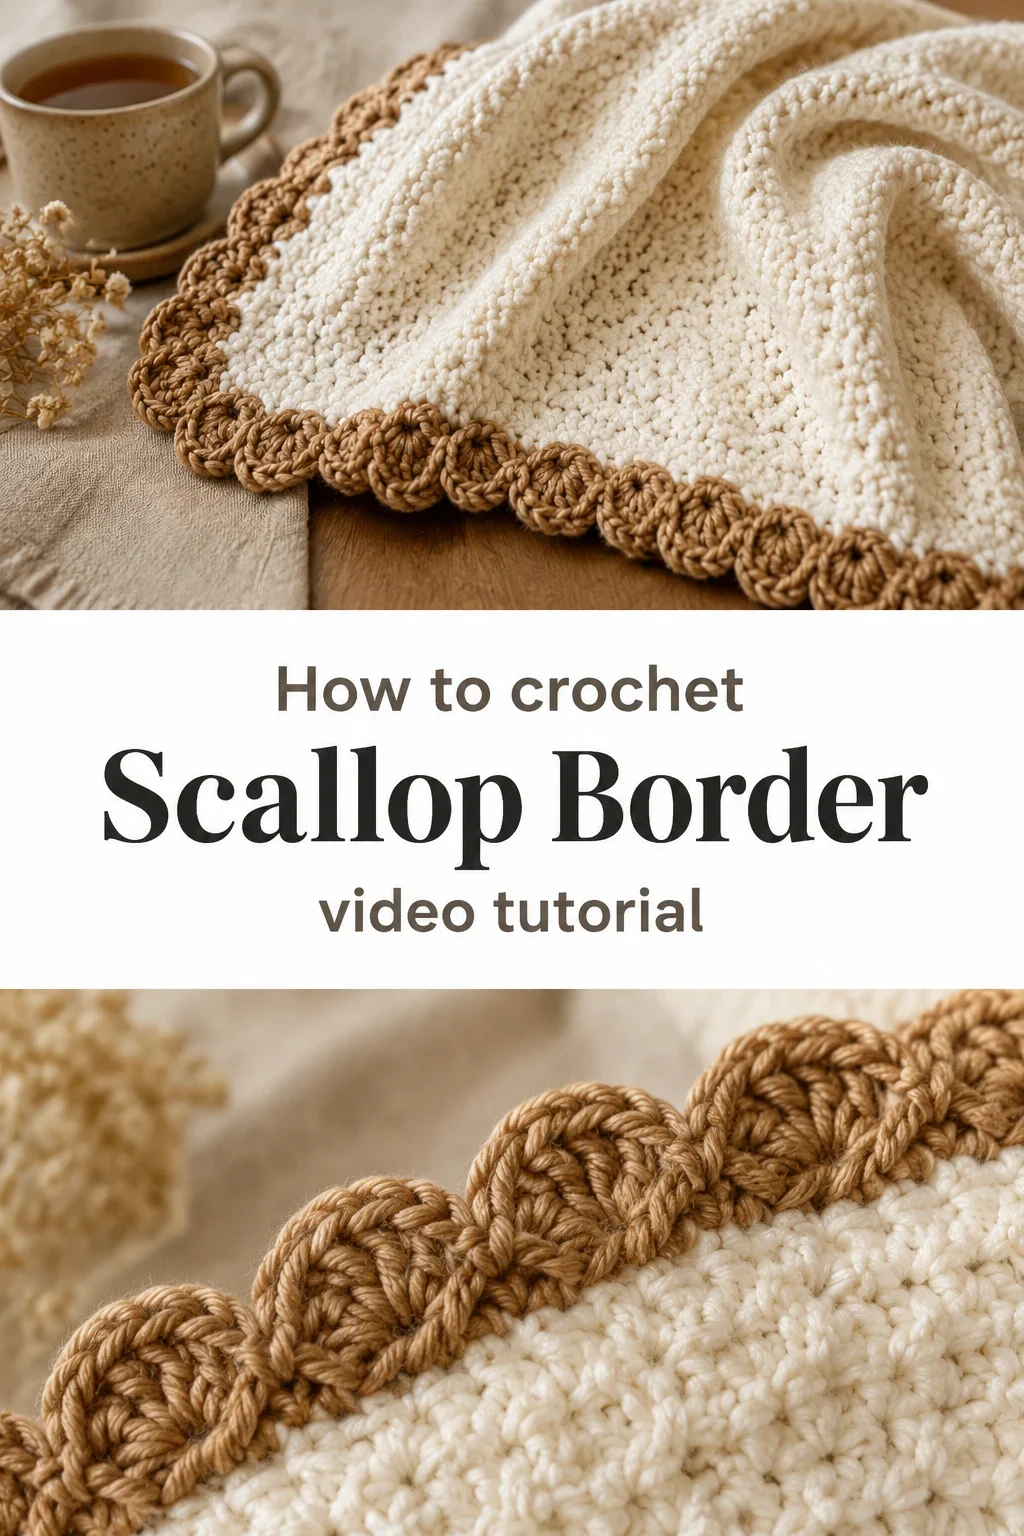
The Scallop Border
There is a quiet magic in the way a Crochet Scallop Border transforms the raw edge of a piece into something that looks as though it grew there naturally, soft and deliberate all at once. The scallops themselves have a rounded, cloud-like quality, sitting in a gentle rhythm of loops and clusters that feel airy yet structured when held up to the light. This border is made for the crafter who believes that finishing details are never an afterthought, that the edge of a blanket or cloth deserves the same care as its center. Whether you are a beginner finding your confidence or an intermediate maker looking to add a signature flourish, this is a border that welcomes you warmly.
Scallop Border Related Posts:
- Crochet Sun Hat: A Breezy Summer Essential
- Crochet Braided Headband: A Charming Handmade Accessory
- Crochet Bucket Hat: A Chic and Timeless Accessory
- Crochet Boston Bag: A Chic Designer Essential
In the reference images, the Crochet Scallop Border is worked in a warm caramel tan against a creamy off-white body, and that pairing has an almost nostalgic, linen-and-biscuit quality that feels at home in any season. You could equally work it in dusty sage against natural cotton, in ivory on pale blush, or go bold with a deep navy edging a heathered grey base. The border plays beautifully with both contrast and tonal harmony, which means it adapts to baby blankets, dish cloths, table runners, shawls, and everything in between without missing a beat.
Materials and Tools
For a result that mirrors the softness and definition seen in the tutorial, reach for a DK weight yarn in a smooth, plied construction that shows stitch detail clearly without muddying the scallop clusters. A cotton-blend or 100% cotton DK is ideal for items like dish cloths or table accessories, offering that slight crispness that helps the scallops hold their rounded shape, while a merino DK brings a whisper of warmth and drape to baby blankets or shawls. A 4mm crochet hook is the sweet spot for this weight, giving you enough tension to keep the scallops defined without pulling them tight. Keep a yarn needle close for weaving ends, and a locking stitch marker will be your quiet best friend for tracking your repeat points around corners.
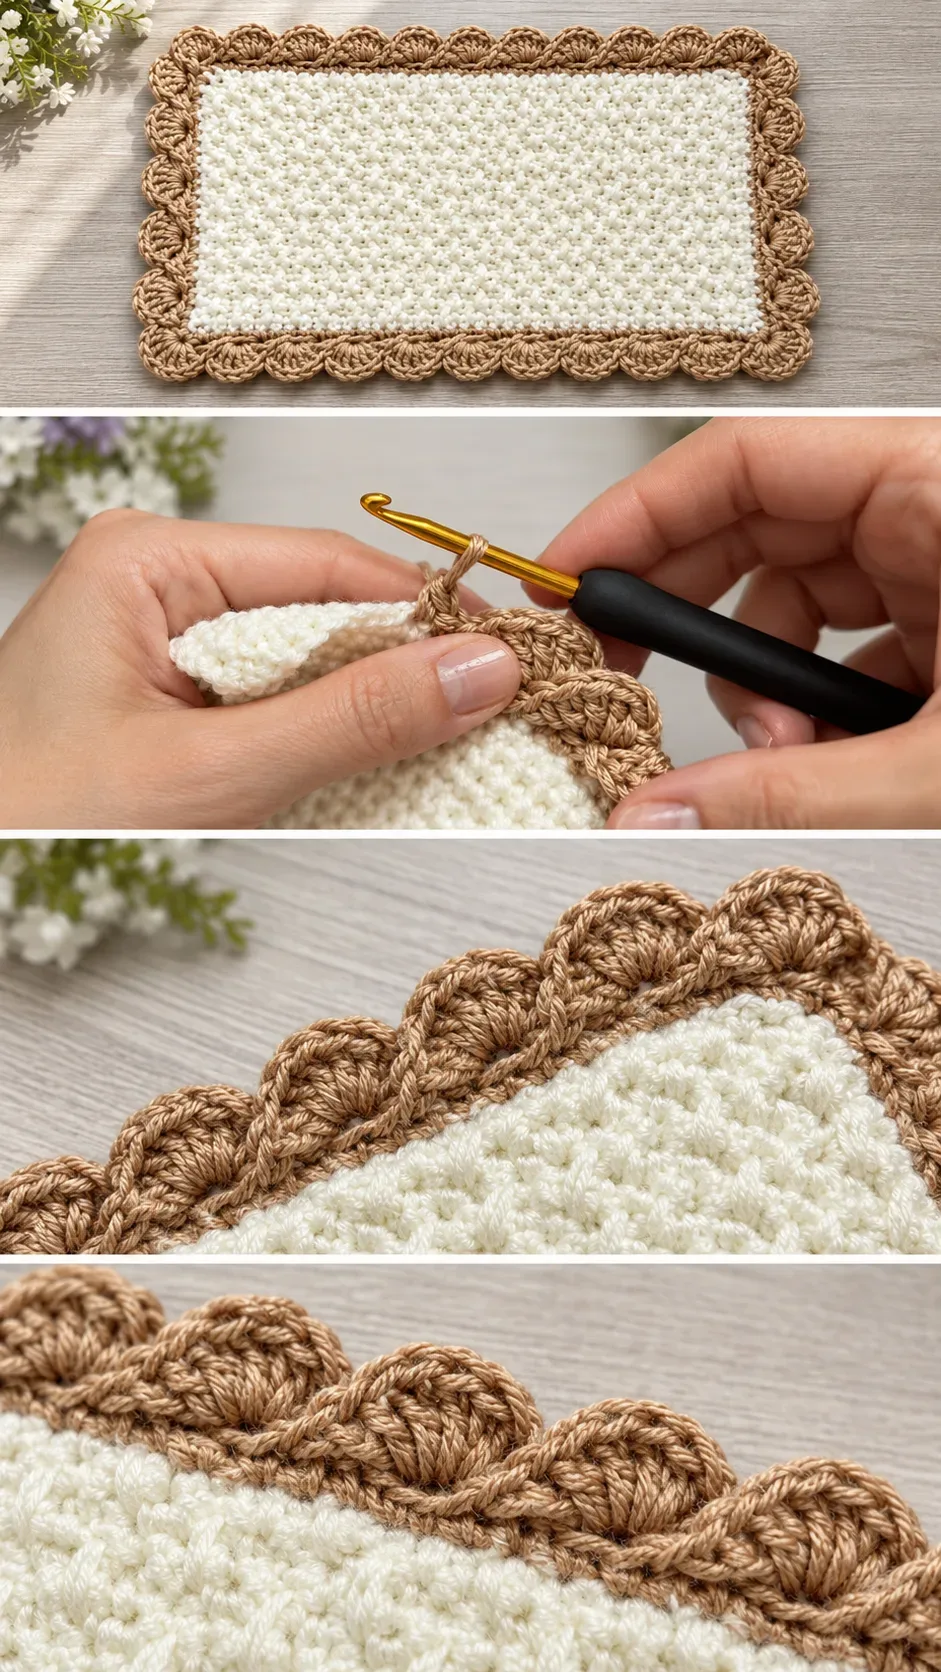
Stitch by Stitch
The Crochet Scallop Border draws on a handful of foundational stitches that combine into a pattern both satisfying to work and beautiful to look at.
BULLET:SC (Single Crochet) Forms the tight, stable base row that anchors the scallop clusters evenly along the fabric edge.
BULLET:DC (Double Crochet) The primary building block of each scallop cluster, stacked together in the same stitch to create that full, rounded petal shape.
BULLET:CH (Chain) Used to create the small lifting arches between clusters that give the border its light, open character.
BULLET:SL ST (Slip Stitch) Works quietly between repeats to position your hook without adding height, keeping the border lying flat and neat.
Once you find the repeat, the Crochet Scallop Border settles into a meditative rhythm that makes an hour disappear, your hands knowing where to go before your eyes catch up.
Construction
The border is worked directly onto the finished edge of your base fabric, which means no separate assembly and no seaming, just your hook picking up stitches along the prepared edge and building upward from there. A foundation row of SC is worked first to create an even, consistent surface, and the scallop repeat is then added on top, working in multiples that you can confirm in the full video tutorial from Massive Crochet. Corners are handled by working additional stitches into the corner points to keep the border turning naturally without pulling or ruffling. If you want a denser, more pronounced scallop, simply add one extra DC to each cluster, which takes all of ten seconds to decide and completely changes the character of the finished edge.
Wearing Your Scallop Border
A finished cloth or blanket edged with a Crochet Scallop Border has a quality that makes people reach out and touch it before they even think about it. Lay a scallop-edged dish cloth beside a soap dish and a sprig of dried lavender for a bathroom vignette that looks considered and handmade in the best possible way, or finish a baby blanket with this border and watch it become a keepsake rather than just a gift. On a shawl or wrap, the scalloped hem catches the light as it moves and adds a softness to any outfit that no purchased edge treatment can replicate.
Keeping Your Scallop Border Looking Its Best
If you worked your border in cotton or a cotton blend, a gentle machine wash on a cool, delicate cycle will keep it fresh and the scallops springy, though hand washing in cool water with a mild soap is always the kindest option. After washing, reshape the scallops by hand while the piece is damp, coaxing each cluster back to its rounded form, and then lay flat to dry away from direct sunlight to preserve both the fiber and the color. Blocking a scallop-edged piece, even lightly, makes a remarkable difference to how evenly the border sits, and a few blocking pins placed at the peak of each scallop will set that shape beautifully. Store finished pieces folded loosely rather than compressed tightly, so the scallops keep their loft between uses.
Every stitch you place along that edge is a small, deliberate act of making something more beautiful than it needed to be, and that is worth every moment. Save this to your Pinterest boards and share your finished Crochet Scallop Border so the handmade community can admire what your hands have made.
Follow us on Pinterest and subscribe to the Newsletter so you don’t miss a thing!
Tutorial and photos of this scallop border by: Massive Crochet.