
Today’s tutorial will teach you how to crochet a braided headband that looks as intricate as it is simple to make. Wear it to tame flyaways on a windy day, dress up a casual bun, or add a handmade touch to your everyday wardrobe.

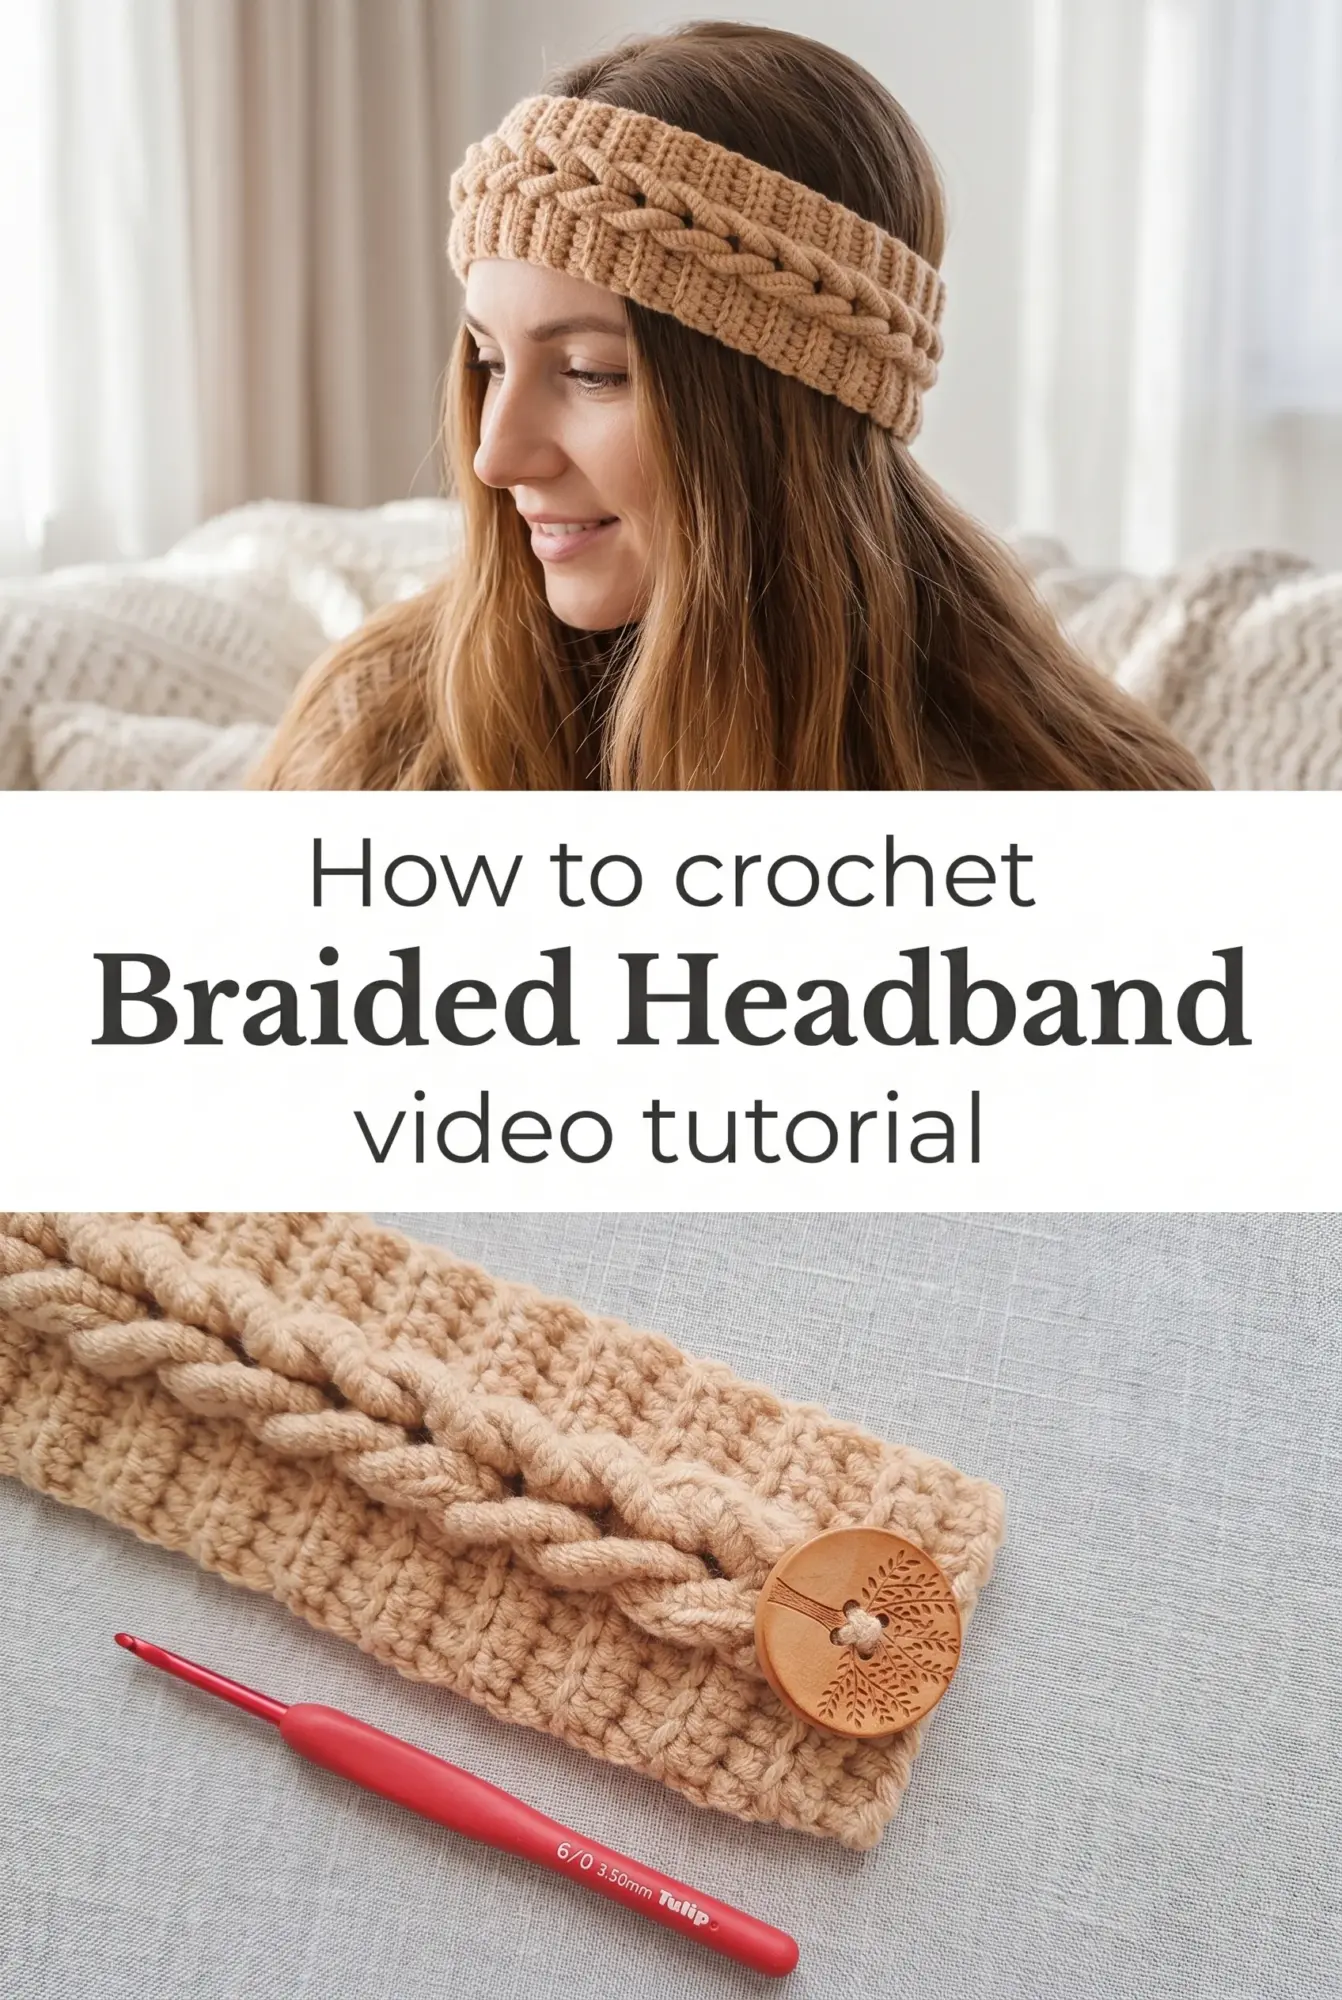
The Braided Headband
A Crochet Braided Headband brings texture and dimension to a classic accessory. The raised cables mimic the look of traditional braiding without the need for actual plaiting, giving you that woven, dimensional finish straight off your hook. This is a project for anyone who loves accessories that feel both polished and personal, something you can slip on and instantly feel put together.
Braided Headband Related Posts:
- Crochet Striped Card Case: A Practical Everyday Accessory
- Crochet Diamond Tote Bag: A Timeless Everyday Companion
- Crochet Phone Crossbody Bag: A Chic Modern Accessory
- Crochet Jasmine Stitch Lunch Bag: A Practical Daily Companion
Neutral tones like oatmeal, sand, taupe, and soft gray create an understated elegance that pairs with everything in your closet. You could also work this headband in autumn rust, dusty rose, or forest green for a seasonal pop of color. The beauty of this design is its adaptability, whether you want a subtle everyday piece or something that stands out.
Materials and Tools
For this Crochet Braided Headband, choose a worsted weight yarn with good stitch definition so the cables really stand out. A 5mm crochet hook gives you the right drape without making the fabric too stiff or too floppy. Cotton blends work beautifully if you want structure and breathability, while soft acrylics or cotton-bamboo blends offer a gentle feel against your forehead and hair. Keep a yarn needle handy for weaving in ends and seaming the band into its final loop.
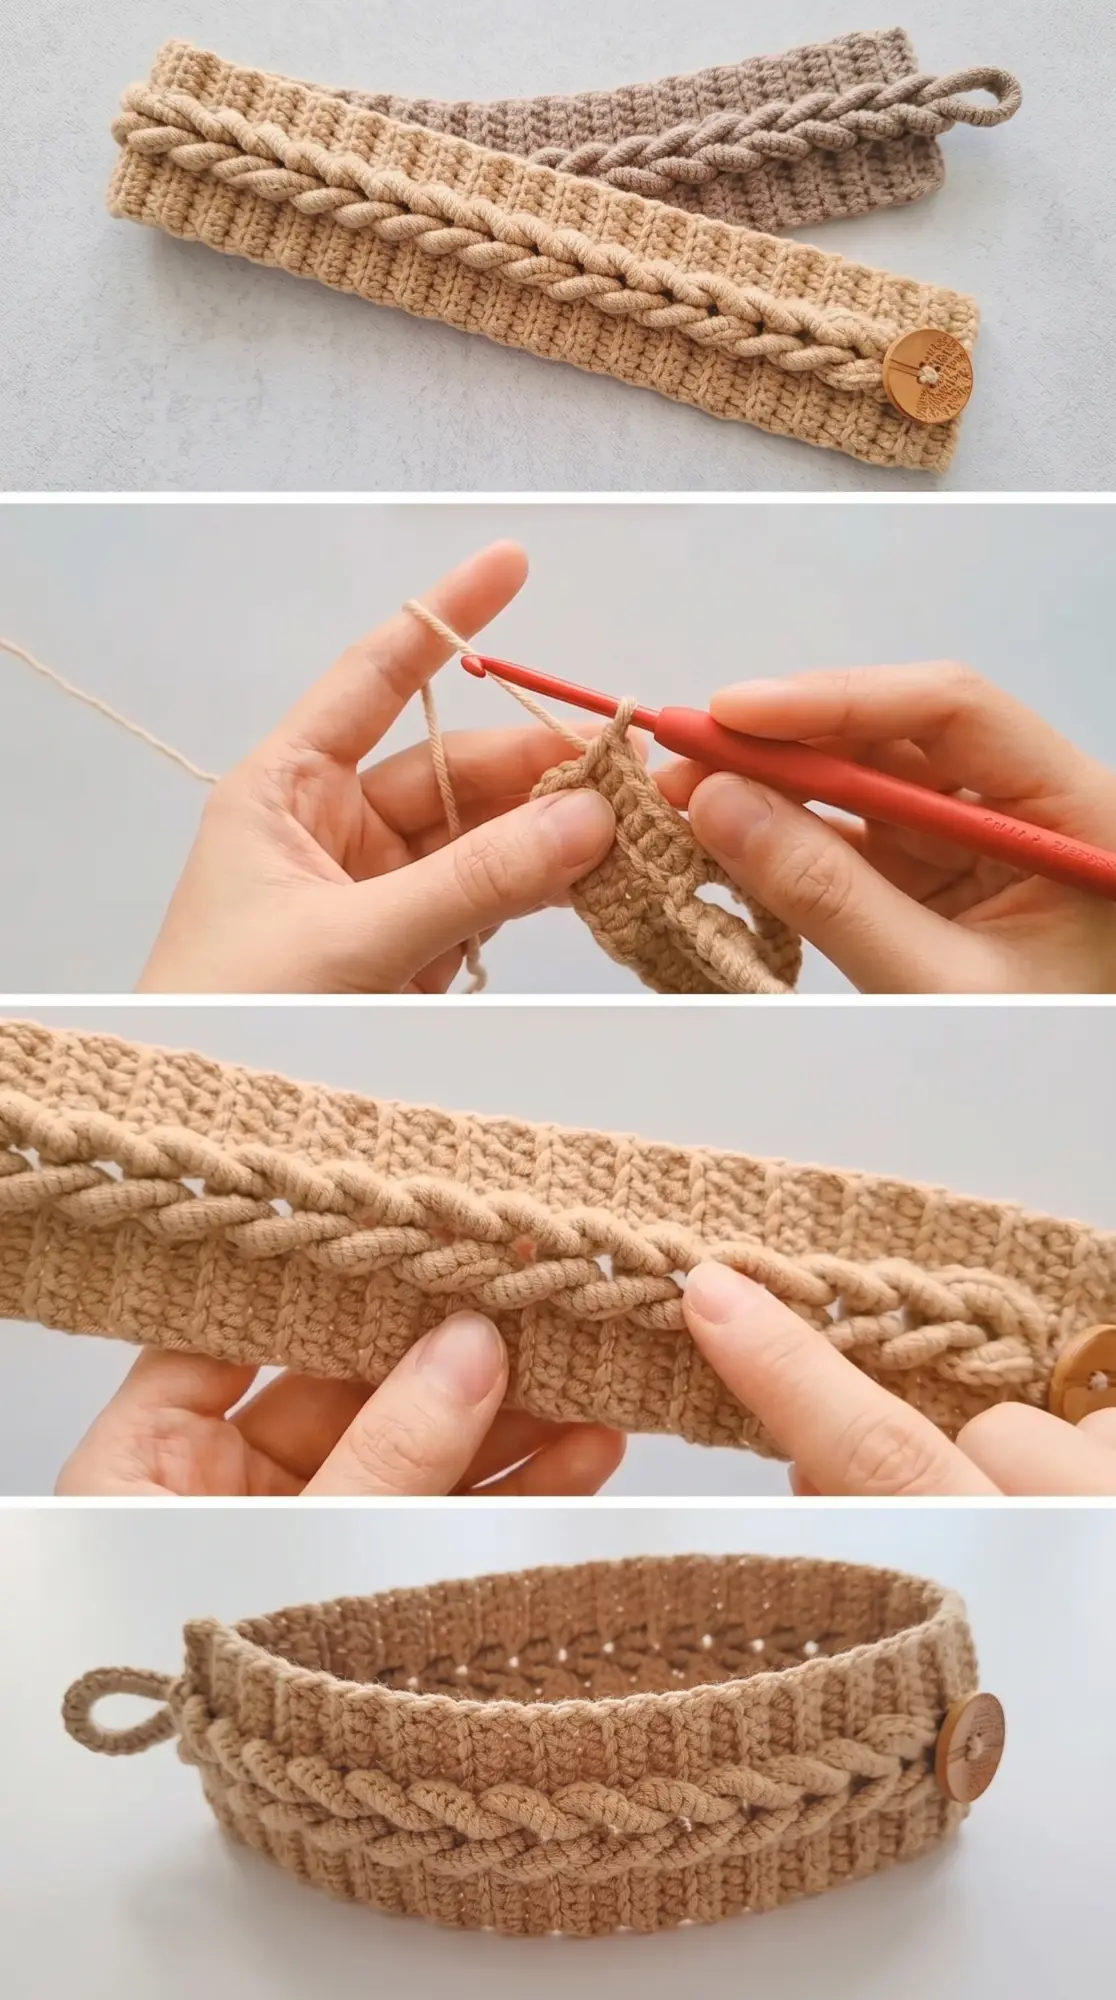
Stitch by Stitch
This pattern uses a few foundational stitches that build up into something far more impressive than their simplicity suggests.
BULLET:SC (single crochet) This stitch creates the flat, stable sections between the raised cables and gives structure to the edges.
BULLET:DC (double crochet) Worked in combination with front post and back post variations, this stitch forms the backbone of the braided texture.
BULLET:FPDC (front post double crochet) By crocheting around the post of the stitch below, you pull the yarn forward to create raised ridges that mimic braided strands.
BULLET:BPDC (back post double crochet) This pushes stitches to the back, creating depth and shadow that makes the cables appear three-dimensional.
The rhythm of switching between front and back post stitches becomes almost meditative once you settle into the pattern. You will find yourself anticipating the next cross, the next raised row, as the braid slowly takes shape beneath your hands.
Construction
The Crochet Braided Headband is worked flat in rows, creating a long strip that showcases the cable pattern across its width. Once you reach your desired length, which typically wraps comfortably around your head with a bit of stretch, you simply seam the short ends together to form a continuous band. Beginners will appreciate how forgiving this construction is, since you can try it on as you go and adjust the final length before closing the loop. If you prefer a snugger or looser fit, simply add or subtract a few rows before seaming.
Wearing Your Braided Headband
This headband looks beautiful worn across the forehead for a boho vibe, or pushed back slightly to keep hair off your face during cooler months. Pair it with a cozy sweater and loose waves for an effortless weekend look, or wear it over a sleek low ponytail to add texture and interest. It is the kind of accessory that makes even the simplest outfit feel intentional.
Caring for Your Handmade Headband
After finishing your Crochet Braided Headband, gently block it by pinning it flat and lightly misting with water to set the stitches and even out the cables. Hand wash in cool water with a mild detergent when needed, then lay it flat to dry to maintain its shape and elasticity. Store it folded or looped loosely in a drawer to prevent stretching, and it will hold its form beautifully wear after wear.
This is the kind of project that rewards you quickly and wears like a treasure. Every time you reach for it, you will remember the quiet pleasure of watching those cables come to life. Pin this tutorial and share your finished headband so others can fall in love with this pattern too.
Follow us on Pinterest and subscribe to the Newsletter so you don’t miss a thing!
Tutorial and photos of this braided headband by: 小师妹手作.