
Learn to crochet your very own Crochet Santa Claus amigurumi and bring a round, rosy, velvet-textured Father Christmas to life in your hands. Sit him on a mantelpiece, tuck him into a gift basket, or make a pair with Mrs. Claus for a holiday display that feels genuinely handmade and full of heart.

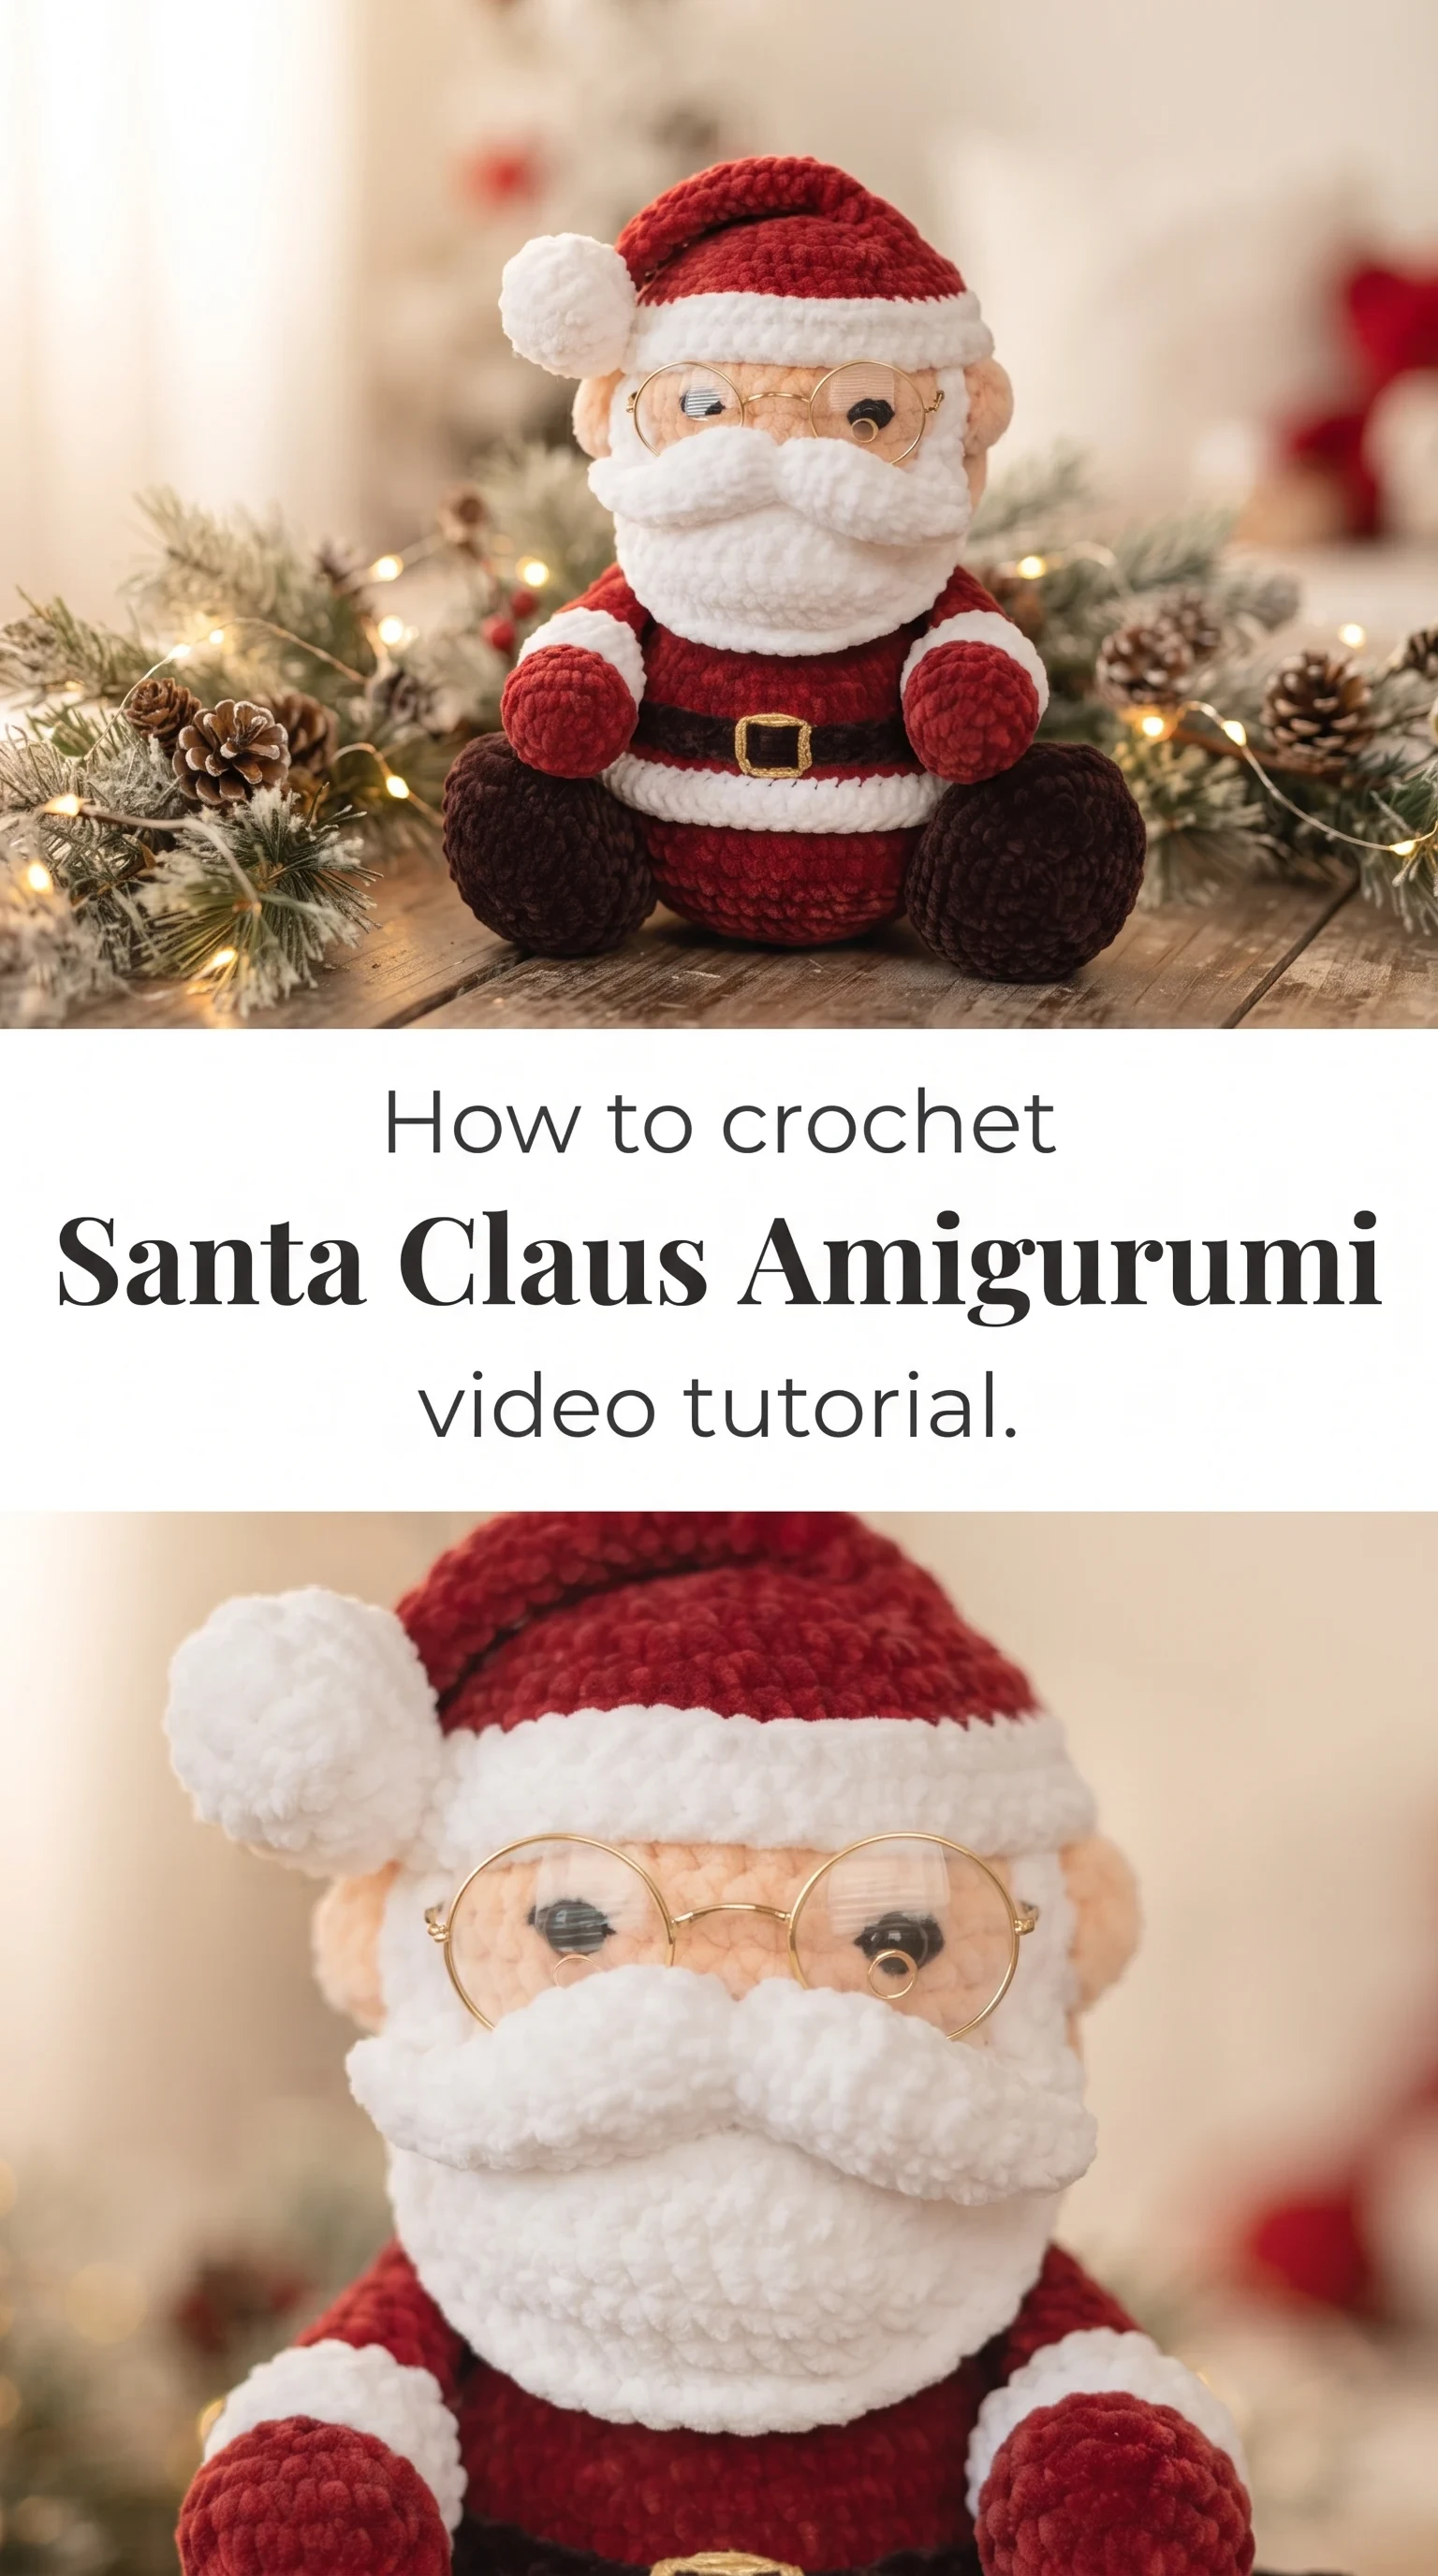
The Santa Claus
This Crochet Santa Claus is the kind of holiday piece that makes people stop mid-conversation and reach out to touch it. He is plump and compact, crocheted in the round into a satisfying sphere of a body, with stubby little boots in deep chocolate brown, a crimson coat trimmed in cloud-white velvet yarn, and a tiny gold belt buckle that catches the light. The texture of the bulky chenille yarn used for his beard gives him a softness that is almost irresistible, a kind of quiet warmth that belongs on a windowsill beside candles and pine branches. He is equally at home as a holiday decoration, a handmade gift, or a cherished keepsake passed between generations.
Santa Claus Related Posts:
- Crochet Pine Tree: A Festive Holiday Centerpiece
- Crochet Halloween Pumpkin: A Festive Seasonal Decor
- Crochet Pumpkin Basket: A Festive Halloween Essential
- Crochet Mandala Angel: A Delicate Decorative Treasure
The classic red, white, and dark brown palette here is part of the charm, but nothing stops you from leaning into a vintage cream and forest green colorway for a more old-world Christmas feeling. A dusty rose Mrs. Claus companion, as seen in the tutorial, makes the whole display feel complete and considered. Play with yarn texture as much as color, because mixing a smooth worsted for the body against a plush chenille for the trim is what gives this Crochet Santa Claus his dimensional, almost storybook quality.
Materials and Tools
For this project, you will want to work primarily with worsted weight yarn in your main colors, which are a deep holiday red, warm ivory or white, dark brown, and a soft peach or tan for the face and hands. The beard and coat trim call for a chenille or velvet-style yarn, also in worsted weight, which is what creates that irresistibly fluffy, cloud-like texture. A 4mm crochet hook is the right choice for keeping your amigurumi stitches tight and your stuffing invisible, as a looser gauge will show gaps through the fabric. You will also need polyester fiberfill stuffing, a pair of small round craft glasses available at most hobby stores, safety eyes or hand-embroidered eyes, and a yarn needle for seamless finishing.
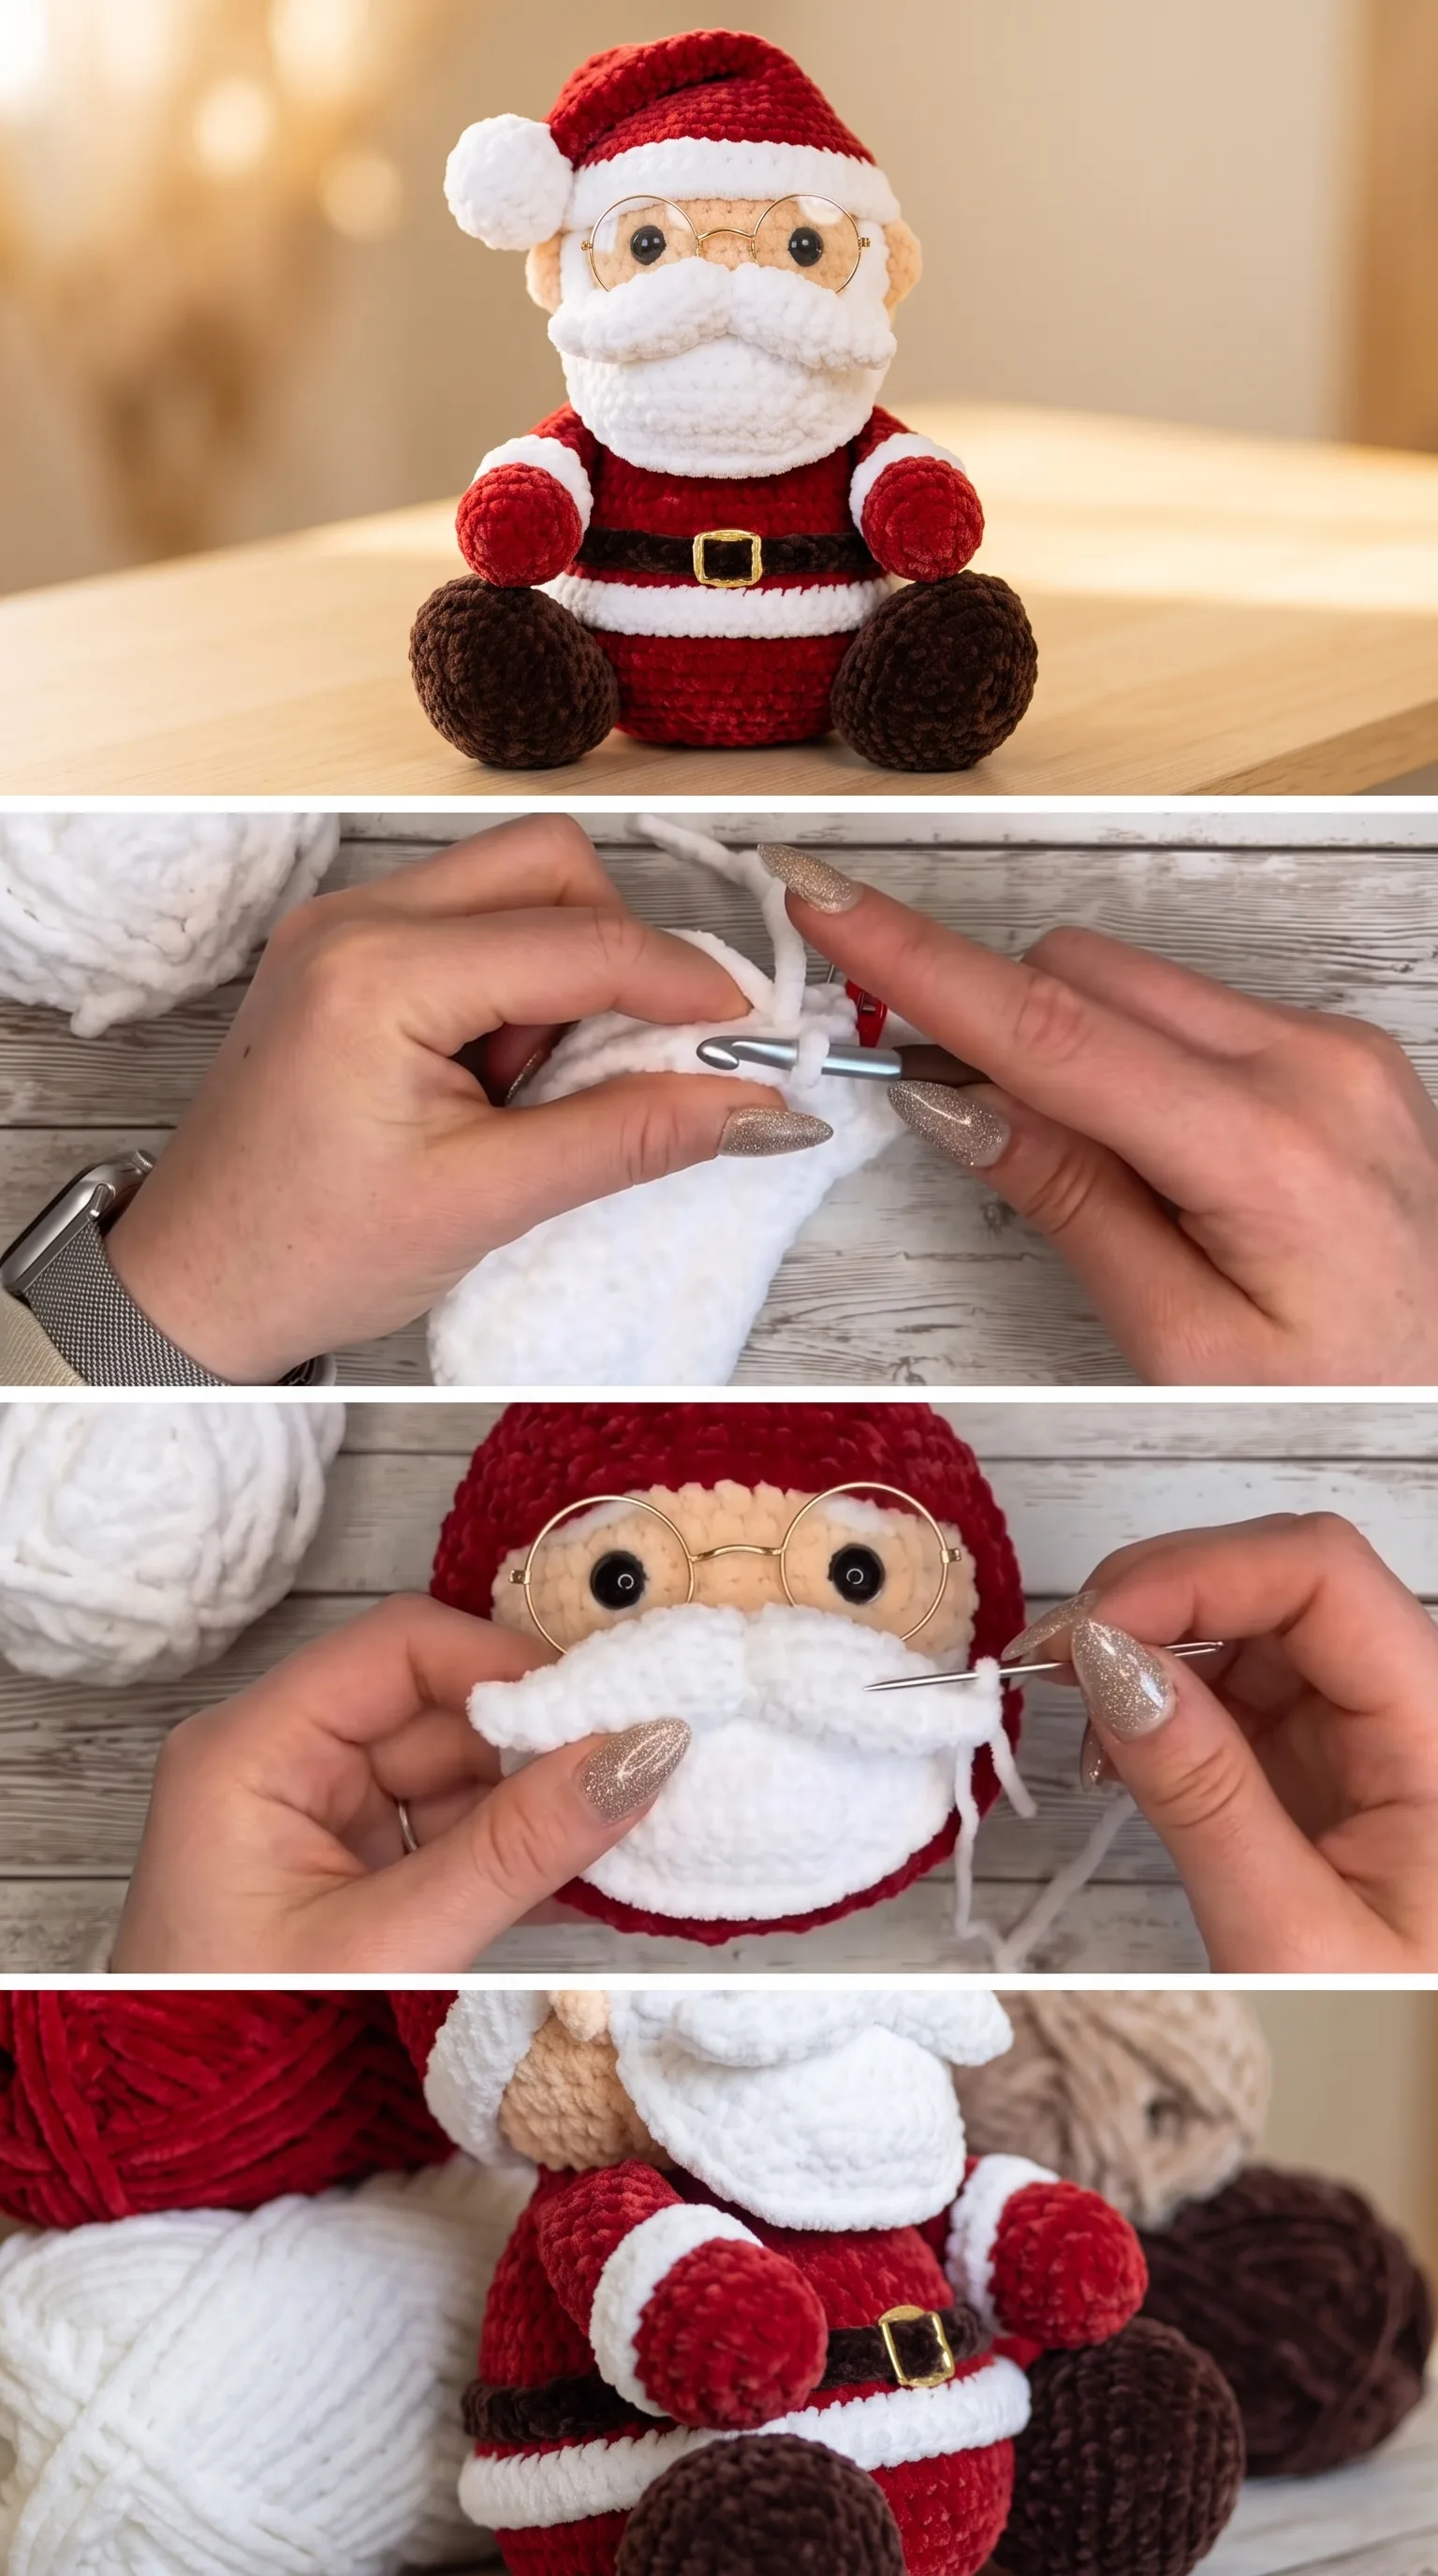
Stitch by Stitch
This Crochet Santa Claus relies on a small, friendly set of stitches that any beginner can pick up within the first few rounds.
BULLET:MR (Magic Ring) The foundation of every amigurumi piece here, the magic ring lets you begin crocheting in the round with a completely closed, invisible center.
BULLET:SC (Single Crochet) The workhorse stitch of the entire project, SC creates a dense, even fabric that holds its shape beautifully when stuffed.
BULLET:INC (Increase) Working two SC into a single stitch, the increase is how each rounded body part grows from a tiny circle into a full, three-dimensional form.
BULLET:DEC (Invisible Decrease) Used to close and shape each piece at the end, the invisible decrease pulls two stitches together without creating a visible hole in the fabric.
There is a meditative rhythm to working SC in continuous rounds, especially with a smooth worsted yarn, and many crocheters find they can complete an entire body section while barely glancing at their hook.
Construction
Every individual piece of this Crochet Santa Claus, including the body, head, arms, legs, boots, and hat, is worked separately in continuous rounds starting from a magic ring, then stuffed with fiberfill and sewn together using a yarn needle and the long yarn tails left at finishing. The head and body connect at center, with the face details, beard, and mustache layered on last for maximum expressiveness and dimension. Because each piece is small and self-contained, this is an ideal project for crochet sessions in short windows, a round or two while the kettle boils or the fire settles. If you want to personalise your Santa, consider swapping the craft glasses for hand-embroidered spectacles in gold thread, or adding a tiny crocheted sack of gifts made from a simple flat circle gathered at the top.
Wearing Your Santa Claus
Once finished, your Crochet Santa Claus deserves a display as considered as his construction. Tuck him beside a stack of wrapped gifts under the tree, let him anchor a holiday mantelpiece vignette with candles and holly, or wrap him in tissue paper and ribbon as a handmade gift for someone who collects meaningful, one-of-a-kind things. Finishing him alongside Mrs. Claus as shown in the tutorial creates a set that feels genuinely collectible and far more personal than anything you could find in a shop.
Keeping Your Santa Claus Looking His Best
Because your Crochet Santa Claus is stuffed with polyester fiberfill, he is best spot-cleaned rather than submerged in water, which can affect both the stuffing shape and the chenille fibers in the beard and trim. If the velvet yarn sections begin to flatten over time, a gentle steam from a distance using a clothes steamer can revive the plush texture without direct contact. Store him in a breathable cotton bag or open shelf rather than a sealed plastic container, as chenille and velvet yarns benefit from air circulation between seasons. With a little care, he will hold his round, cheerful shape for many Christmases to come.
Every stitch you place into this project is an act of making something that did not exist before, and that is quietly extraordinary. Find the full video tutorial from @crochetpinkpumpkin and when your Santa is finished, share a photo on Pinterest so other makers can find the pattern and fall in love with it too.
Follow us on Pinterest and subscribe to the Newsletter so you don’t miss a thing!
Tutorial and photos of this santa claus by: Crochet Pink Pumpkin.