
The Crochet Halloween Pumpkin offers a charming way to bring handmade warmth into your autumn decorating. This article will show you everything you need to create these seasonal treasures using a simple video tutorial and basic materials.

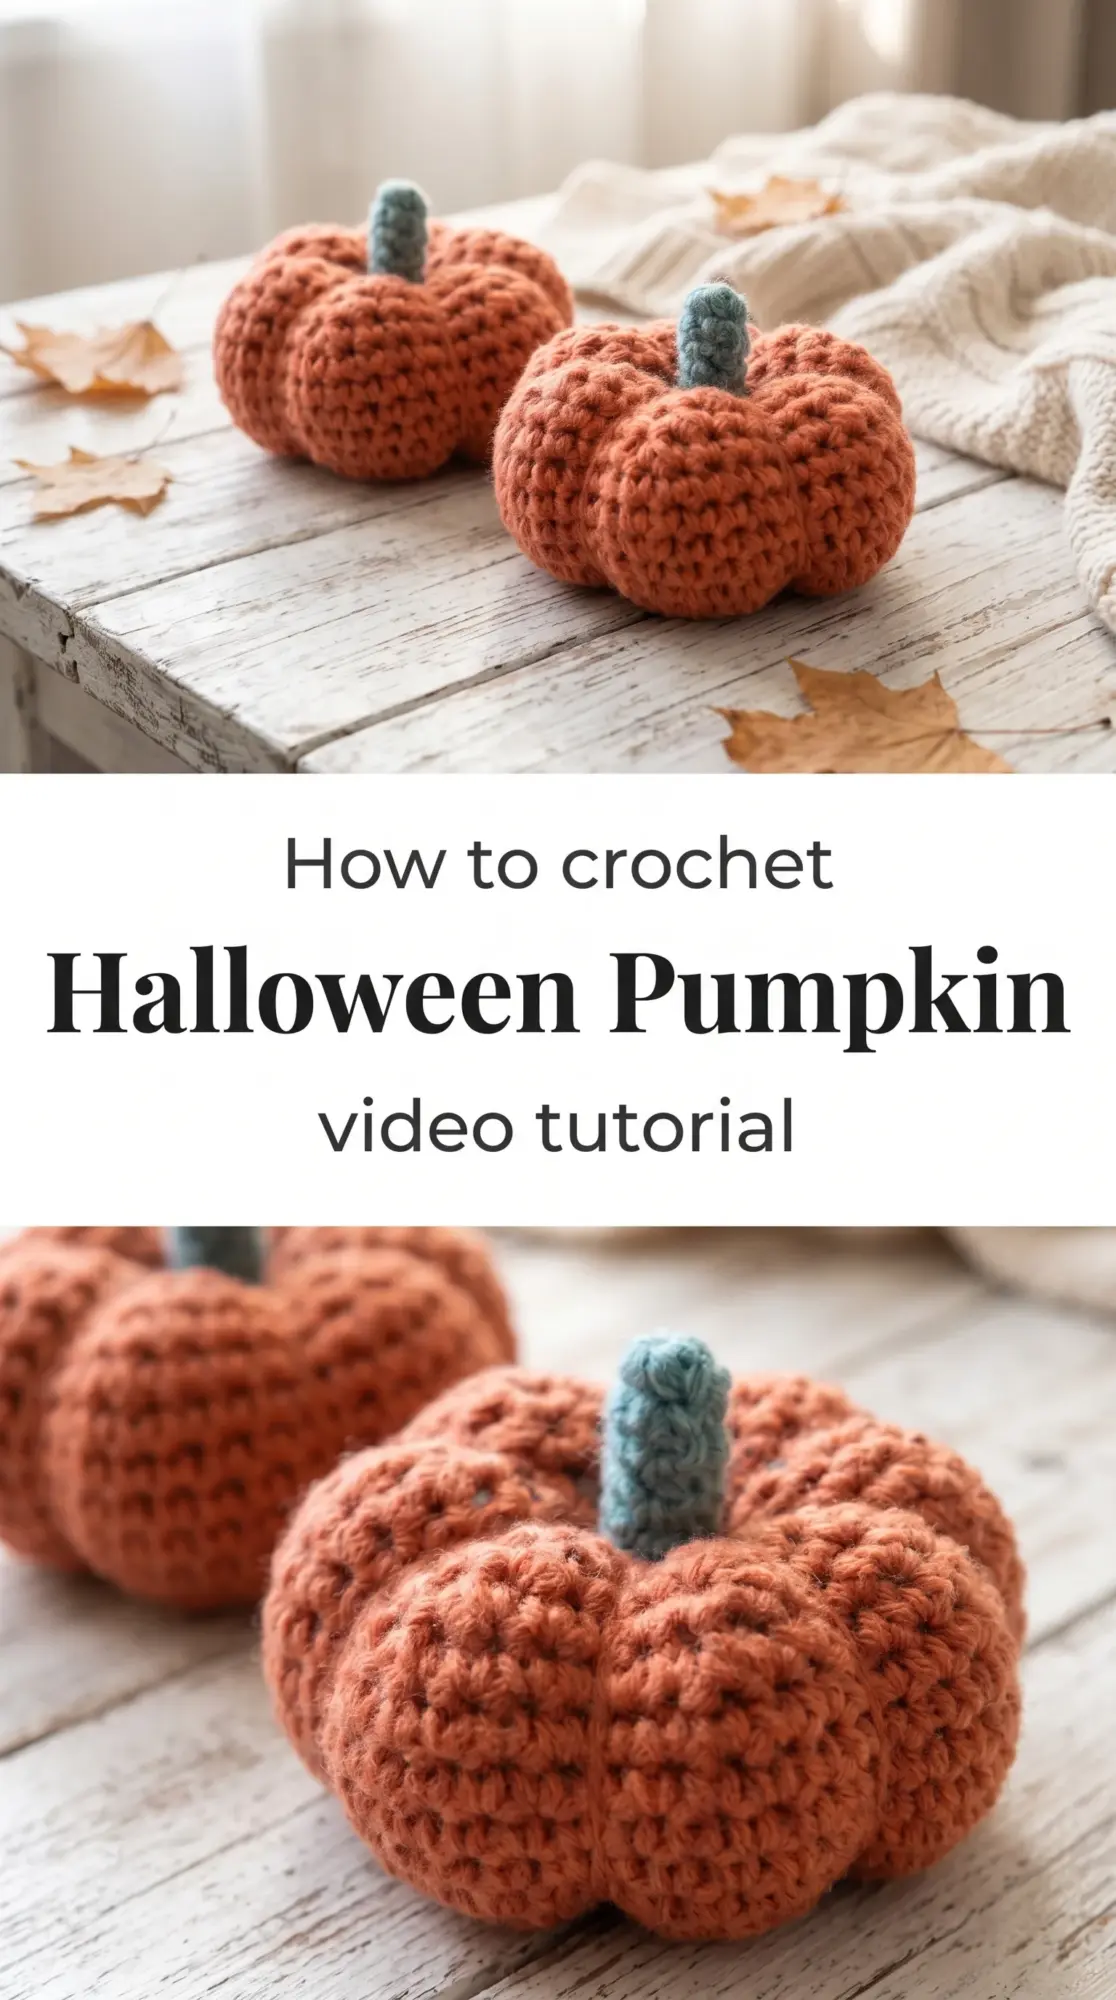
The Halloween Pumpkin
This plump crocheted pumpkin sits somewhere between folk art and modern minimalism, with a textured surface that invites touch and a silhouette that reads as pure October. The design works up quickly in chunky rounds, making it accessible for newer crocheters while offering enough detail to keep experienced hands engaged. Each Crochet Halloween Pumpkin becomes a little sculptural piece, sturdy enough to cluster on a mantel or nestle among real gourds on a farmhouse table. The contrasting stem in soft teal or sage adds a playful note that keeps these from feeling too literal.
Halloween Pumpkin Related Posts:
- Crochet Pine Tree: A Festive Holiday Centerpiece
- Crochet Heart Basket: A Romantic Valentine Essential
- Crochet Easter Bunny Egg: A Festive Spring Treasure
- Crochet Pumpkin Basket: A Festive Halloween Essential
The burnt orange shown in the reference images feels quintessentially autumn, but these pumpkins take beautifully to experimentation. Try cream and gold for a neutral fall palette, or go bold with deep plum and copper for something unexpected. A single pumpkin makes a sweet gift tucked into a basket, while a collection of three or five in graduated sizes creates a proper seasonal vignette.
Materials and Tools
You will need a worsted weight yarn with good stitch definition, something with a bit of body that holds its shape when stuffed. A 5mm crochet hook gives the right gauge for a palm-sized pumpkin with visible texture. Cotton blends work beautifully here because they block well and maintain structure, though a soft acrylic will be lighter and more forgiving for beginners. Keep a yarn needle nearby for weaving in ends and attaching that little stem, and have polyester fiberfill ready to give your Crochet Halloween Pumpkin its satisfying squish.
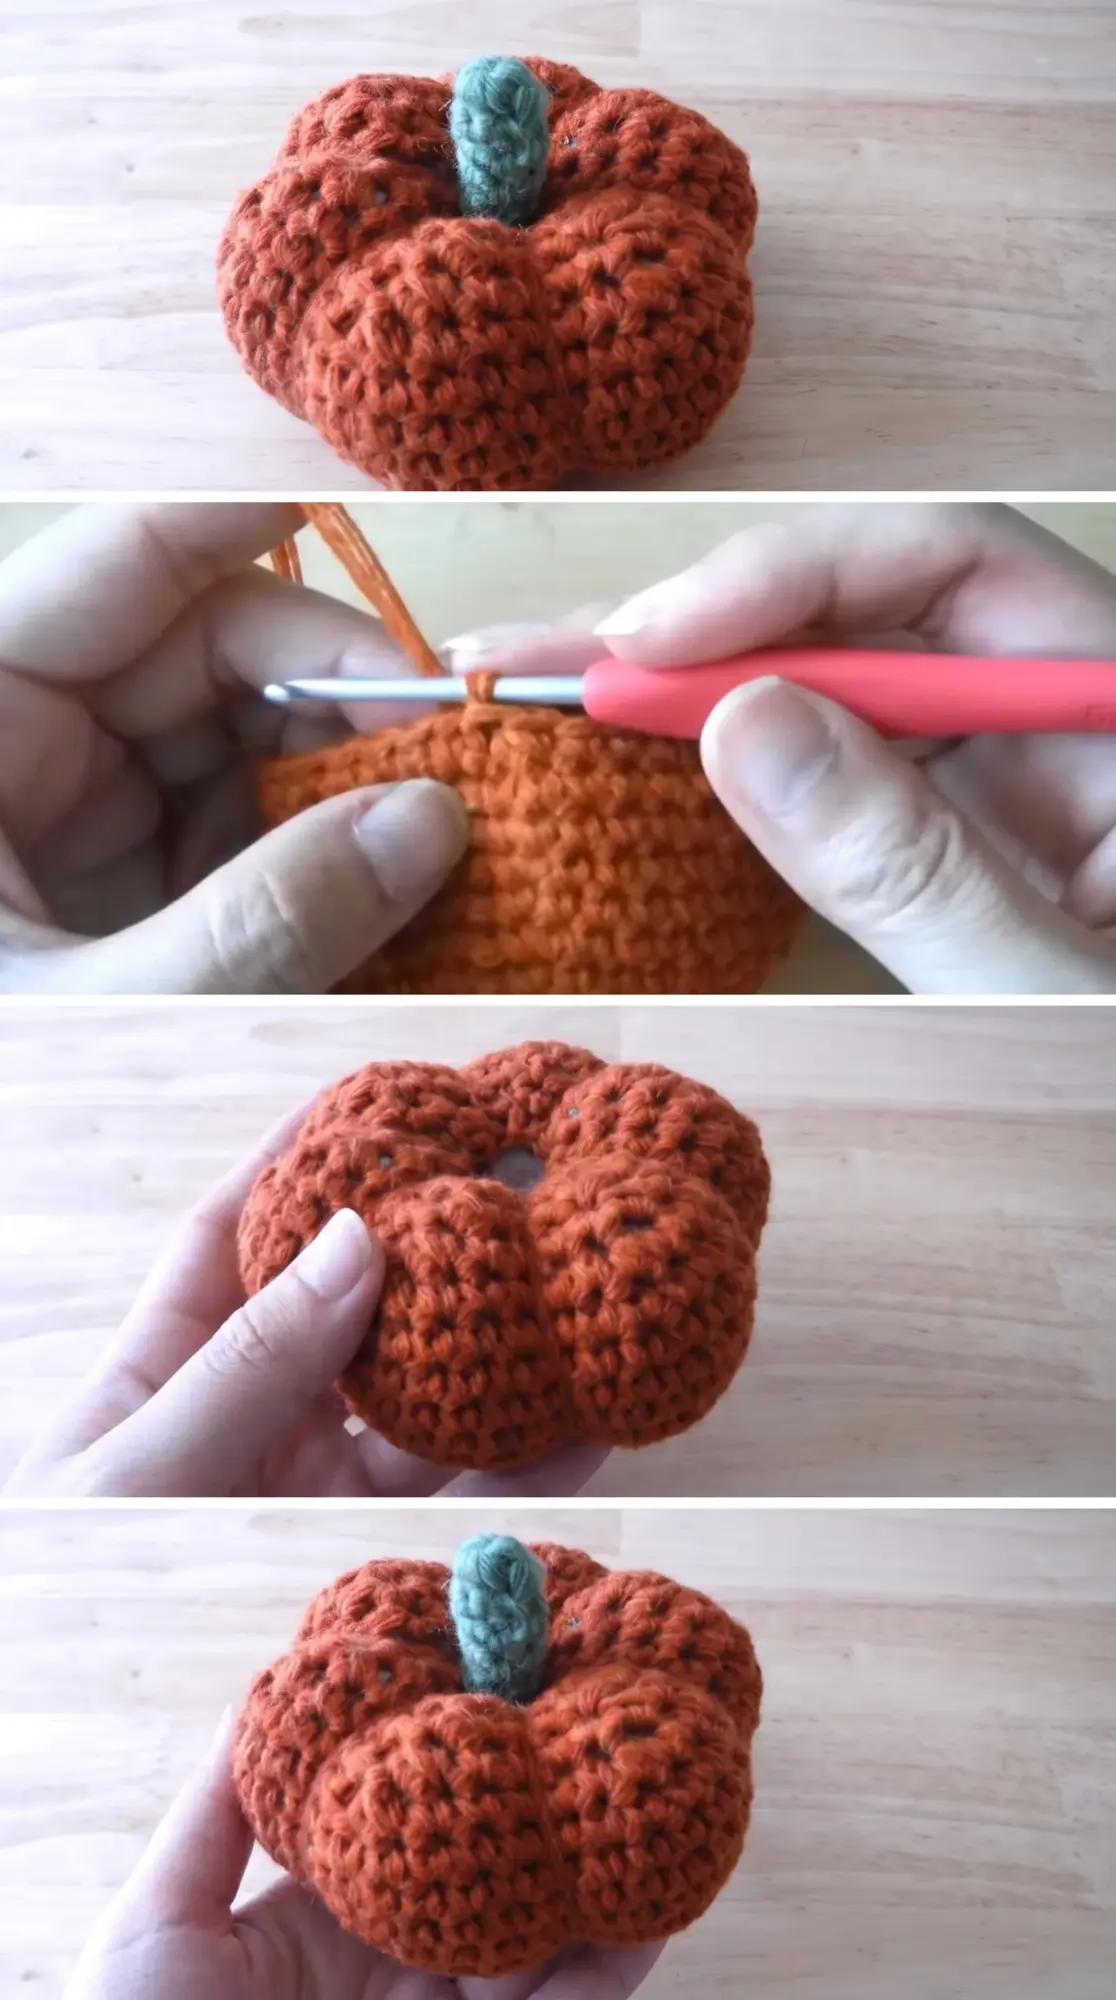
Stitch by Stitch
This pattern relies on foundational stitches that build confidence with every round.
BULLET:SC (single crochet) The workhorse stitch that creates the dense, textured body of the pumpkin with a tight fabric that holds stuffing securely.
BULLET:INC (increase) Working two single crochets into one stitch expands the rounds to create that rounded pumpkin belly.
BULLET:DEC (invisible decrease) This technique cinches the top of your pumpkin smoothly by working through the front loops of two stitches at once.
BULLET:CH (chain) Used to start your magic ring and create the little stem that crowns each piece.
The repetitive rhythm of working in the round becomes almost hypnotic, each stitch pulling you deeper into the simple pleasure of watching fabric curve into form.
Construction
The Crochet Halloween Pumpkin begins with a magic ring and spirals outward in continuous rounds, increasing until you reach the widest point, then decreasing back to a small opening at the top. You will stuff the form firmly before closing, then use scrap yarn threaded through strategic stitches to create the vertical ridges that give a pumpkin its characteristic segments. The stem works up separately as a small tube and gets sewn securely into the top opening. If you want a flatter base so your pumpkin sits without wobbling, simply work one final round of slip stitches along the bottom edge before fastening off.
Wearing Your Halloween Pumpkin
Arrange a trio of these Crochet Halloween Pumpkins down the center of a dining table alongside taper candles and dried wheat for an understated harvest centerpiece. Tuck one into a fall wreath on your front door, or let a collection of them fill a wooden bowl on your kitchen counter where their handmade texture softens the harder surfaces around them. They also make thoughtful teacher gifts or hostess offerings during the season when a homemade touch feels more meaningful than something store-bought.
Keeping Your Pumpkins Fresh Year After Year
Because these pumpkins are handled more than worn, spot cleaning with a damp cloth usually suffices for the occasional dust or smudge. If you have used cotton yarn, a gentle hand wash in cool water and a towel-dry followed by air drying will refresh them completely. Store your Crochet Halloween Pumpkin collection in a breathable fabric bag or basket rather than plastic, so the fibers stay fresh and the shapes hold through seasons of unpacking. A light spritz of lavender water before tucking them away will keep them sweet-smelling until next October arrives.
These little pumpkins carry the season in their curves and the care of your hands in every stitch. Save this tutorial to your seasonal boards and make a batch to share with someone who loves autumn as much as you do.
Follow us on Pinterest and subscribe to the Newsletter so you don’t miss a thing!
Tutorial and photos of this halloween pumpkin by: AmiaMikancl Crochet.