
A free video tutorial is waiting for you, and it shows how a simple band of textured stitches gathers itself into the most charming ruffled edge you have ever worked with a single hook!

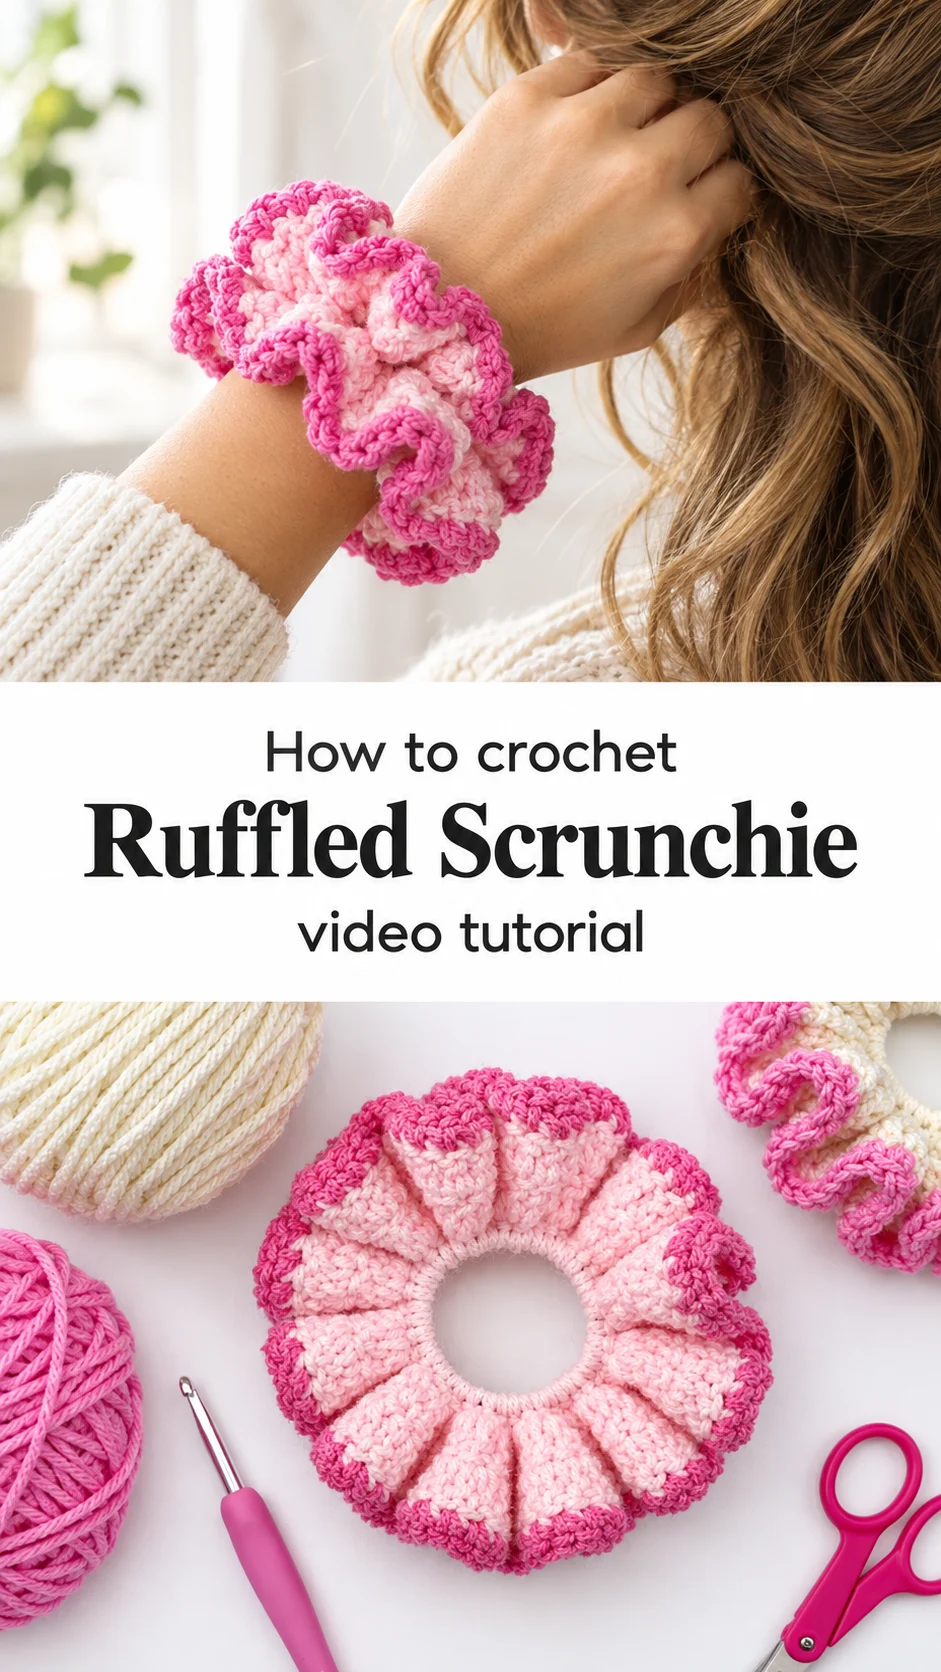
The Ruffled Scrunchie
This Crochet Ruffled Scrunchie is soft, dimensional, and full of quiet personality. Each ruffle folds over the next like petals opening in slow motion, and the colored edge gives the whole piece a dipped, sweetheart look. It is made for anyone who loves a hair accessory that feels handmade and a little bit nostalgic, from teens collecting scrunchies to adults who want a gentle pop of charm on a ponytail or wrist.
The pink and cream pairing in the photos is the classic starting point, with a pale blush body and a bolder rose trim that looks almost like frosting. Try sage with butter yellow, lilac with white, or a single neutral shade for a calmer, bridal feel. Because the ruffle is the star, even the simplest color combination looks intentional and styled.
Ruffled Scrunchie Related Posts:
- Crochet T-Shirt Yarn Handbag: A Stunning Statement Piece
- Crochet Two-Tone Tote: A Chic and Functional Carry-All
- Crochet Prada-Inspired Tote: A Chic and Luxe Accessory
- Crochet Scallop Border: A Charming Finishing Touch
Materials and Tools
Reach for a worsted weight acrylic or a soft acrylic and cotton blend, since it holds the ruffles open without feeling stiff against the hair. A 5mm hook gives a dense, tidy fabric that keeps its shape, and the ergonomic handle shown in the tutorial makes the repetitive stitching much kinder on your hands. You will also need a standard hair elastic to crochet around, a tapestry needle for the ends, and a pair of sharp scissors close by. Keep two colors on hand, one for the body and one for the contrasting edge.
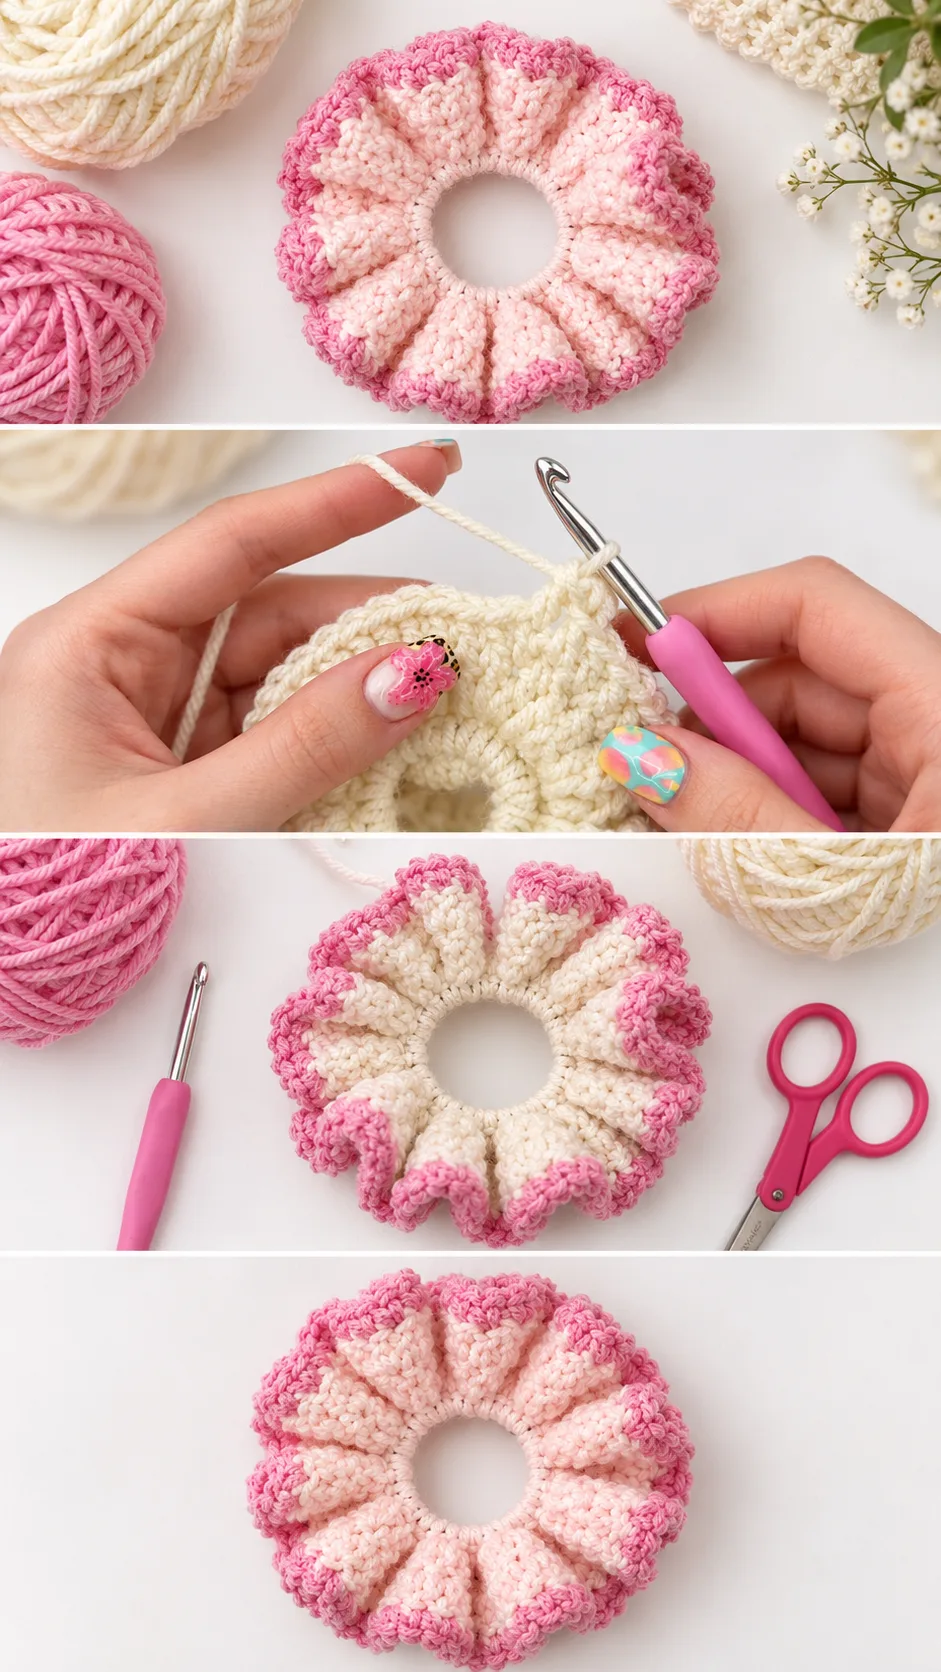
Stitch by Stitch
The texture of this scrunchie comes from a small handful of familiar stitches worked in a steady, repeating pattern.
- SC (single crochet) The foundation stitch that wraps snugly around the elastic and builds the inner ring.
- DC (double crochet) Adds height and softness, creating the airy body of each ruffle.
- YO (yarn over) The small wrap that gives your stitches their lift and keeps the fabric flexible.
- SL ST (slip stitch) Joins rounds neatly and keeps the edge clean when you switch to your contrasting color.
Once you find your rhythm, the repeating stitches settle into a calm, meditative motion that is perfect for evening crafting with a favorite show playing.
Construction
The scrunchie is worked in the round directly onto the hair elastic, so there is no seaming and no complicated assembly. Increases between rounds are what cause the fabric to ripple into ruffles, and the final rounds in the contrasting color create that rolled, dipped edge. Beginners will find the steps forgiving, since each round builds on the last in a predictable way. For a customized touch, add an extra round for a fuller, more dramatic ruffle, or keep the trim in a variegated yarn for a playful gradient.
Wearing Your Ruffled Scrunchie
Twist it around a high ponytail for a soft, romantic look, or wear it on your wrist as a bracelet with a summer dress. It also makes a sweet finishing touch on a messy bun for coffee dates and weekend markets. Make a few in different palettes and you will have a handmade gift ready for every friend.
Keeping Your Scrunchie Looking Its Best
Hand wash your Crochet Ruffled Scrunchie in cool water with a drop of gentle soap, then press out the water with a towel rather than wringing it. Reshape the ruffles with your fingers and let the piece dry flat so the folds keep their dimension. Store it loosely in a small basket or hang it on a hook so the ruffles never get crushed. If the edge starts to flatten over time, a light steam and a gentle fluff will bring the bounce right back.
You now have everything you need to turn a little yarn into a wearable bit of joy, and every ruffle you shape is proof of your growing skill. Save this Crochet Ruffled Scrunchie idea to your Pinterest board so you can come back to it whenever you want to make another.
Follow us on Pinterest and subscribe to the Newsletter so you don’t miss a thing!
Tutorial and photos of this ruffled scrunchie by: ElyseCrochets 💌.