
A free video tutorial is available to guide you through every step of making this beautiful Crochet Ripple Beanie, and the textured ribbing creates a richly dimensional fabric that genuinely mimics the look of hand-knitting without a single knitting needle in sight!

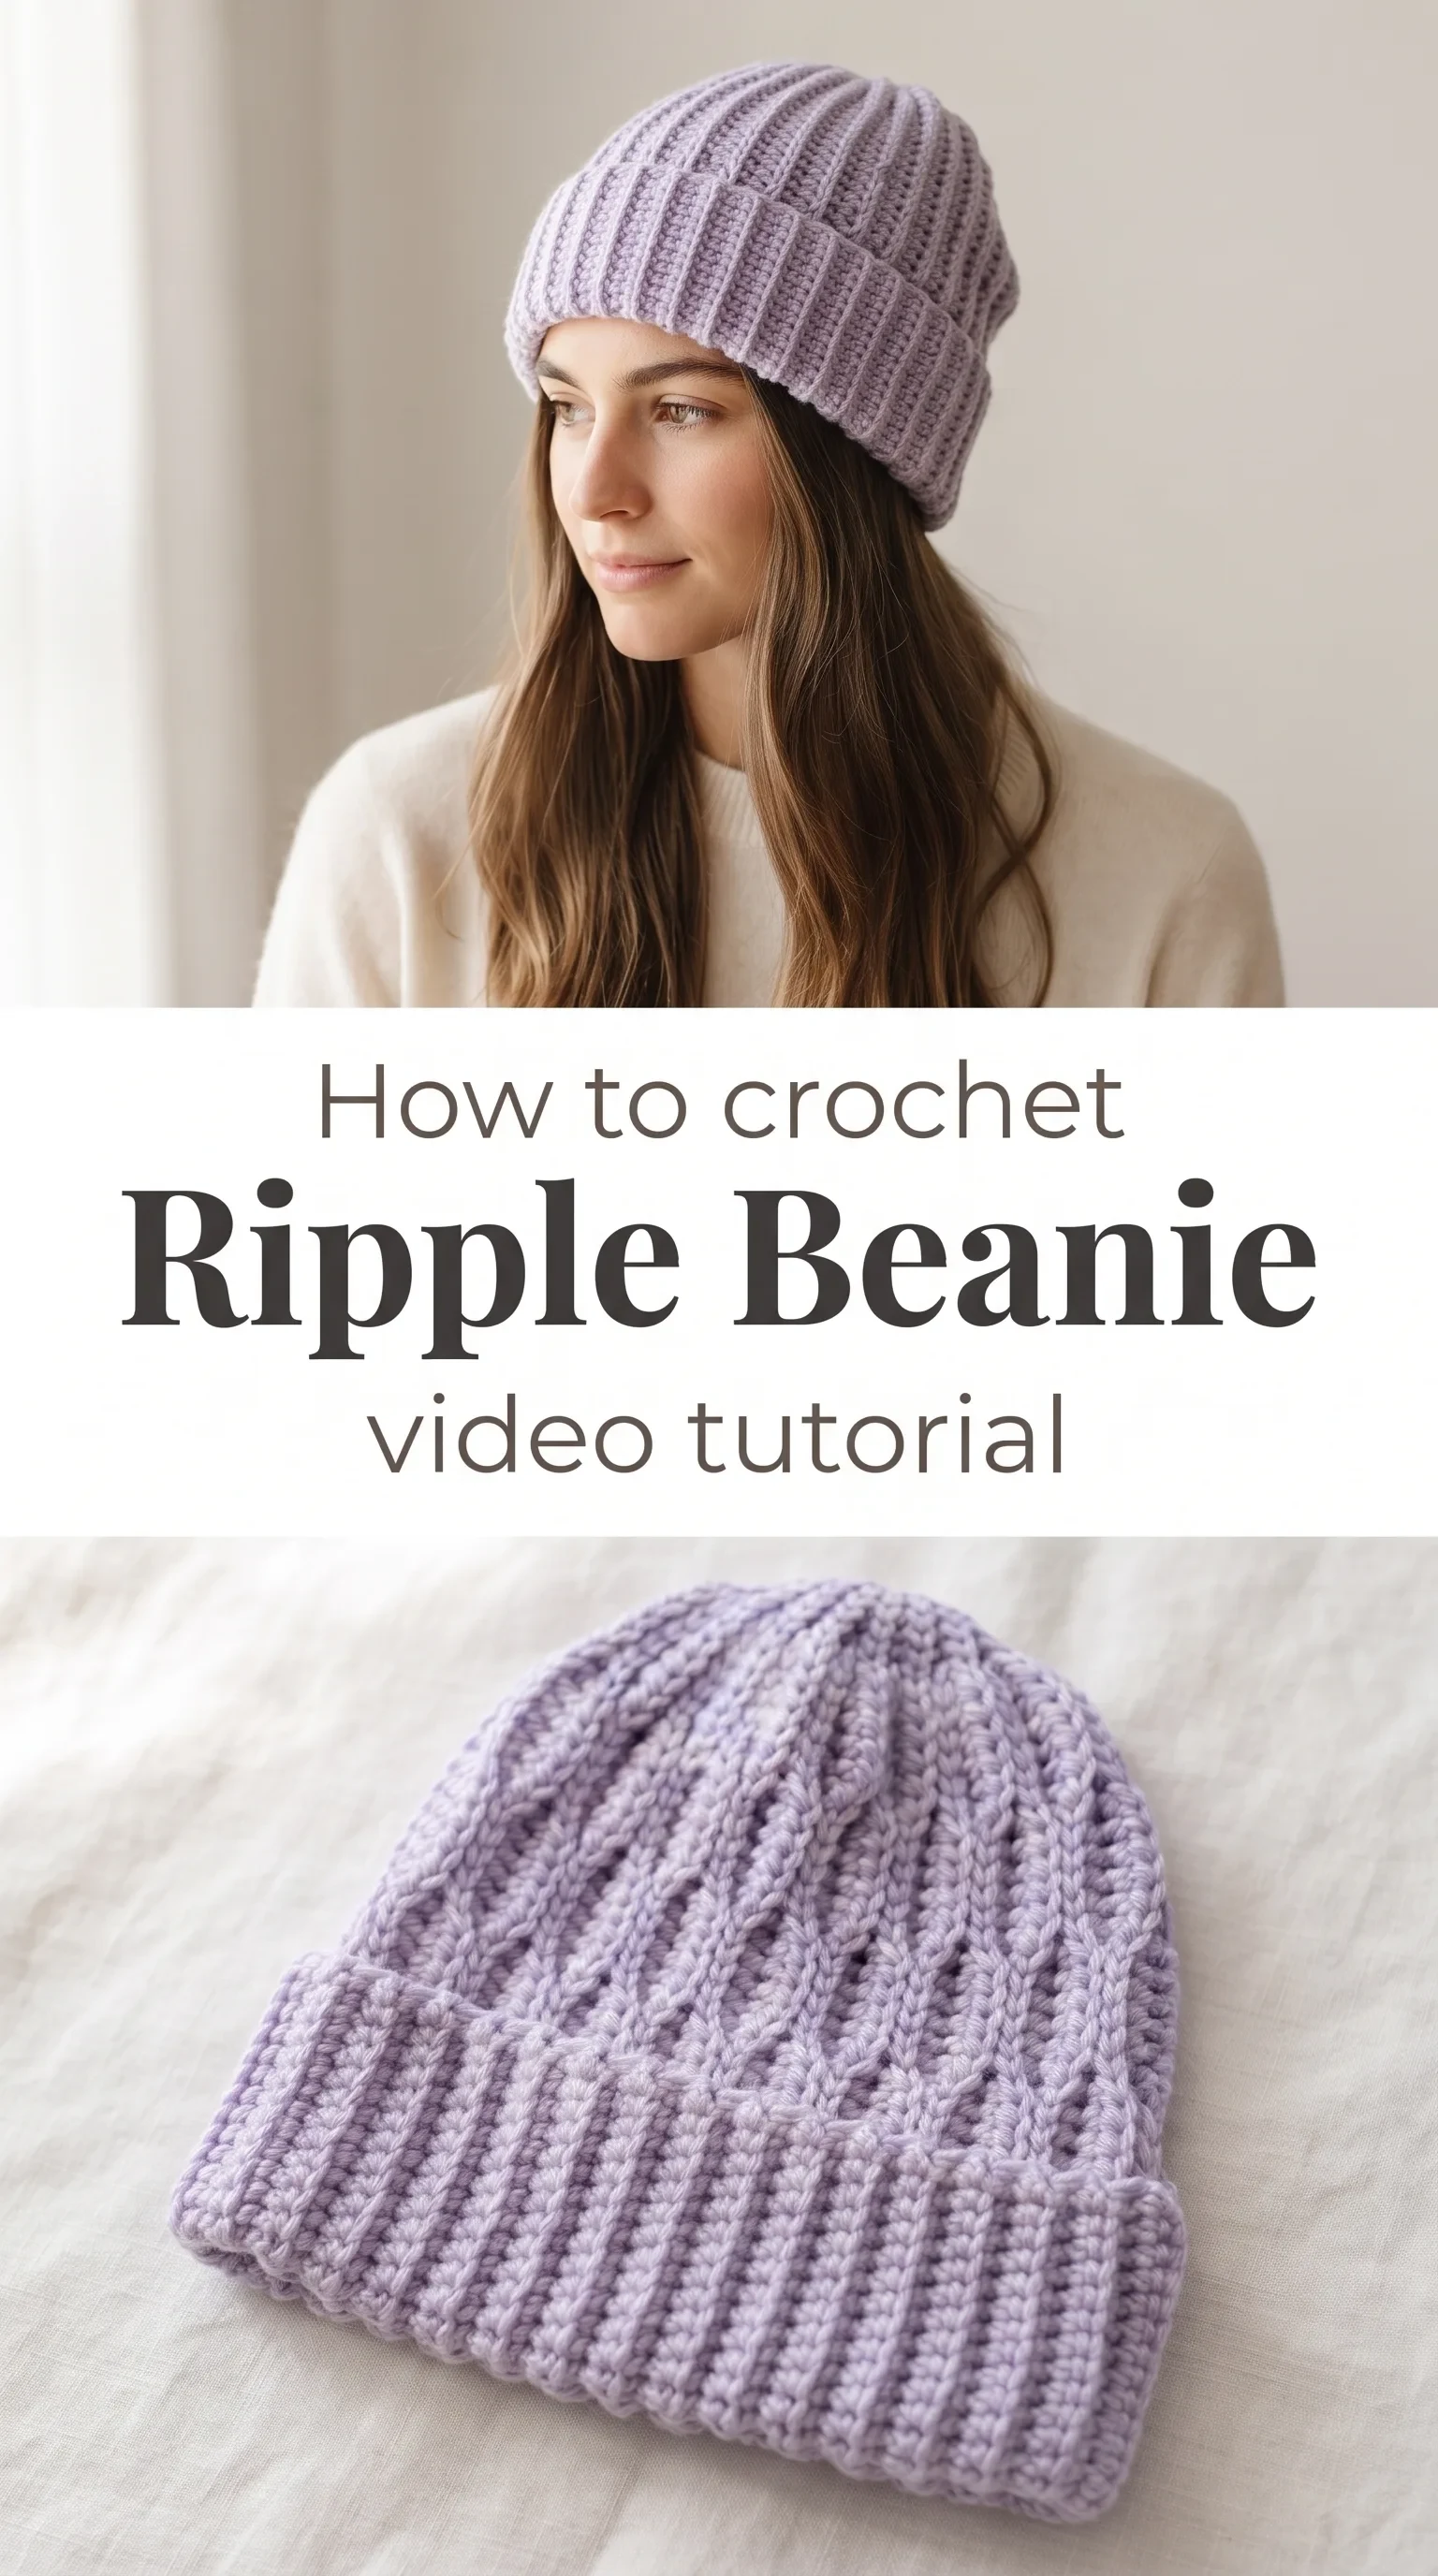
The Ripple Beanie
The Crochet Ripple Beanie is the kind of piece that makes you want to reach for it before you have even finished weaving in the ends. It sits softly against the forehead, structured enough to hold its shape in a winter wind, yet airy enough to wear indoors without that suffocating heaviness some hats carry. The vertical ridges ripple down from crown to brim in a way that feels almost architectural, like tiny waves frozen mid-movement in lavender wool. This is a hat for the slow morning, the cold commute, the reading chair by the window.
Ripple Beanie Related Posts:
- Crochet Vest and Top: A Versatile Rectangle Design
- Crochet Halter Bikini Top: A Flattering Summer Essential
- Crochet Bomber Jacket: A Modern Wardrobe Essential
- Crochet Cherry Embroidered Top: A Sweet Vintage Charm
Lavender and lilac are the obvious starting point, as the images show so beautifully, but this pattern genuinely transforms in dusty rose, warm oat, or deep forest green. A heathered yarn adds even more visual depth to those ripple ridges, making the texture pop with every shift of light. Wear it slouched with an oversized coat or fitted over a tucked bun, and it reads equally at home in both looks.
Materials and Tools
The Crochet Ripple Beanie works best in a worsted weight yarn, which gives the ripple texture the body it needs to stand out clearly without adding bulk. A wool-acrylic blend is an ideal choice here, offering warmth, gentle stretch, and enough memory to keep those ridges crisp wash after wash. If you prefer a completely natural fiber, a superwash merino in worsted weight will give you a softer drape and a beautifully smooth stitch definition. Work with a 5mm crochet hook, which strikes the right balance between a fabric that is dense enough to block cold air and relaxed enough to wear comfortably all day, and keep a locking stitch marker nearby to track your round beginnings without losing your place.
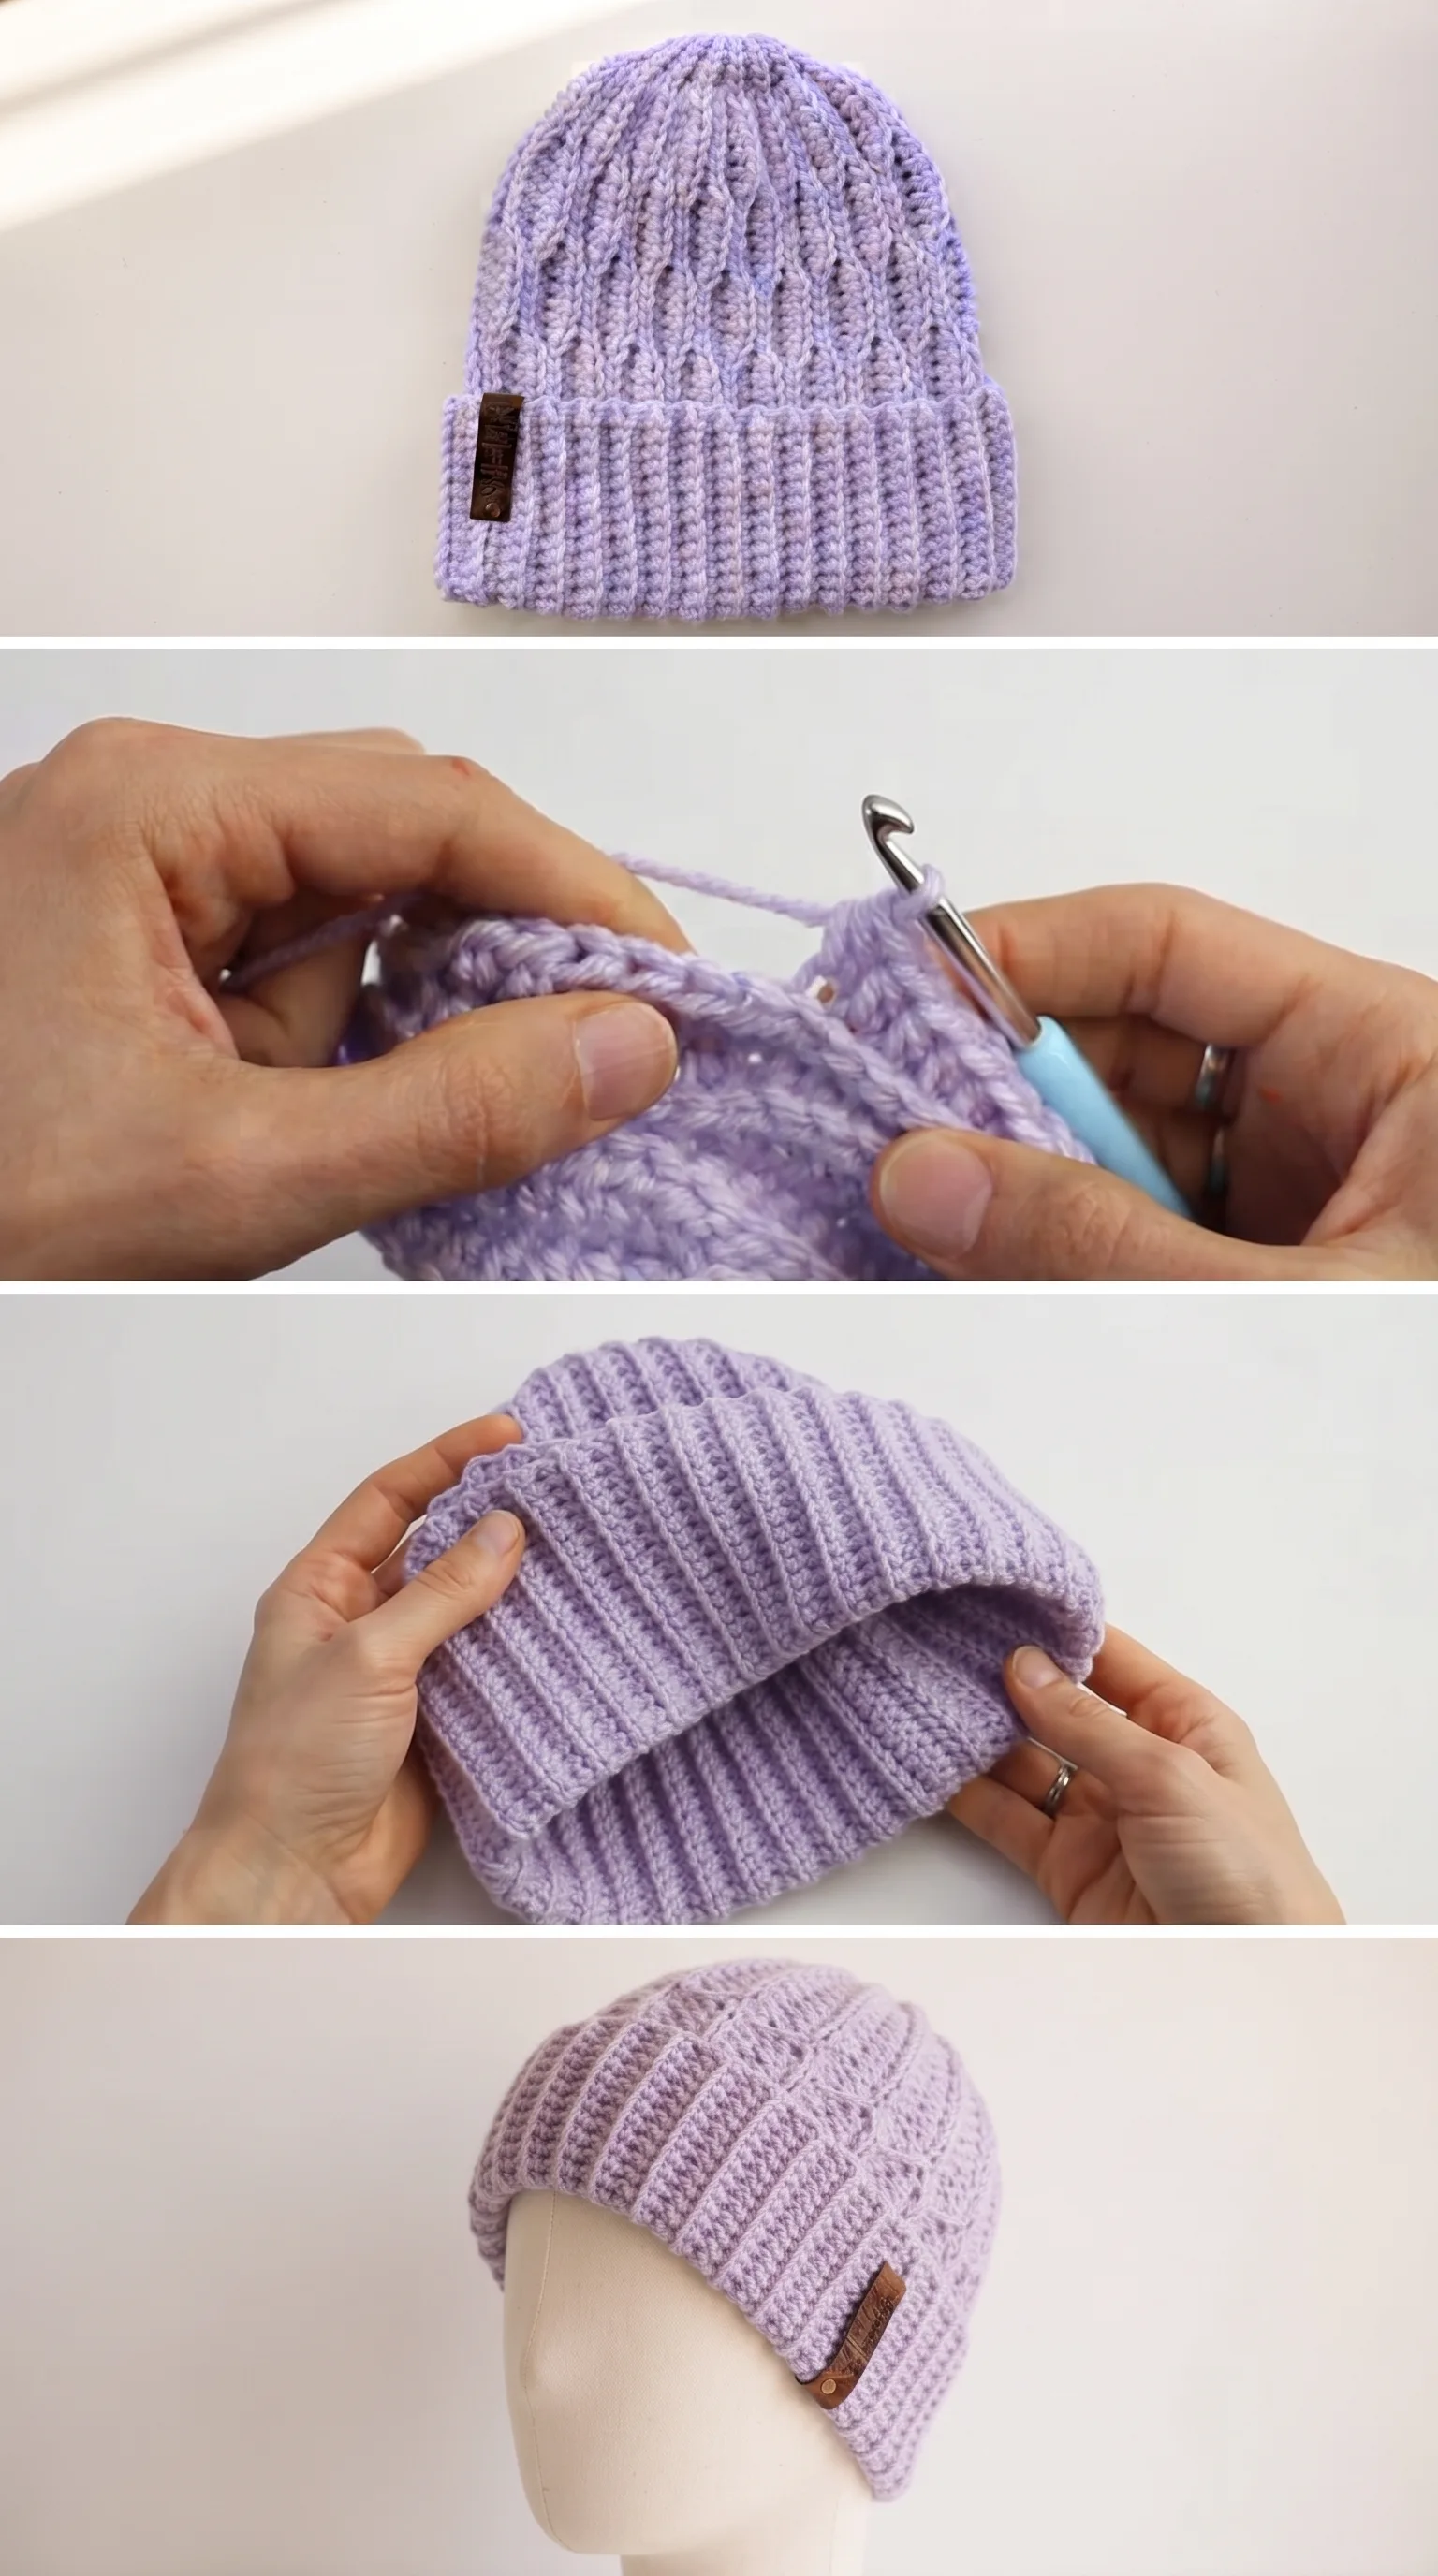
Stitch by Stitch
The Crochet Ripple Beanie draws on a small, approachable collection of stitches that combine to create its signature textured surface.
BULLET:SC (Single Crochet) The foundational stitch that anchors the brim and creates the tight, even fabric of the folded cuff.
BULLET:DC (Double Crochet) The primary stitch of the body, worked in a way that builds the vertical ripple columns rising from brim to crown.
BULLET:BLO (Back Loop Only) Working into the back loop only is what produces those bold raised ridges that give this beanie its knitted appearance.
BULLET:CH (Chain) Used to establish the foundation and to create the turning structure between rows during the ribbed brim section.
Once you find the rhythm of the BLO double crochet repeat, the pattern settles into something genuinely meditative, a quiet, repetitive motion that lets your hands work while your mind rests.
Construction
The Crochet Ripple Beanie is worked in a clever combination of flat and joined construction. The ribbed brim is crocheted flat in short rows of SC worked in BLO, then seamed to form a tube, and the body of the hat grows upward from there in joined rounds of DC also worked in BLO. The crown shaping draws the rounds inward gradually, keeping the ripple columns continuous right to the very top. If you want to adjust the fit, simply add or subtract a few rows during the brim section before you begin picking up for the body rounds.
Wearing Your Ripple Beanie
Pull the Crochet Ripple Beanie low over the ears on a blustery afternoon walk and pair it with a long scarf in a complementary tone for a coordinated cold-weather look that feels considered rather than accidental. It also works beautifully with a chunky knit sweater and high-waisted jeans for that layered, textural outfit that photographs so well in natural light. Make one in a neutral colorway and it will become the hat you reach for without thinking, the one that goes with almost everything already hanging in your wardrobe.
Keeping Your Ripple Beanie Looking Its Best
To preserve the beautiful texture of your Crochet Ripple Beanie, hand wash it gently in cool water with a small amount of wool-safe detergent, pressing out excess water without wringing or twisting the fabric. Lay it flat to dry over a clean towel, reshaping the brim fold and the crown gently while still damp so the ridges reset in their proper position. If you are working in a natural wool fiber, a light blocking with cool water before the first wear will open up the stitches slightly and let the ripple detail breathe even more. Store it folded softly in a drawer rather than hung, which can distort the crown shaping over time.
Every Crochet Ripple Beanie you finish is a small act of making something real and lasting with your own hands, and that always deserves to be celebrated. Save this to your crochet Pinterest board so you can find the video tutorial whenever you are ready to cast on your own.
Follow us on Pinterest and subscribe to the Newsletter so you don’t miss a thing!
Tutorial and photos of this ripple beanie by: Crochet Bits.