
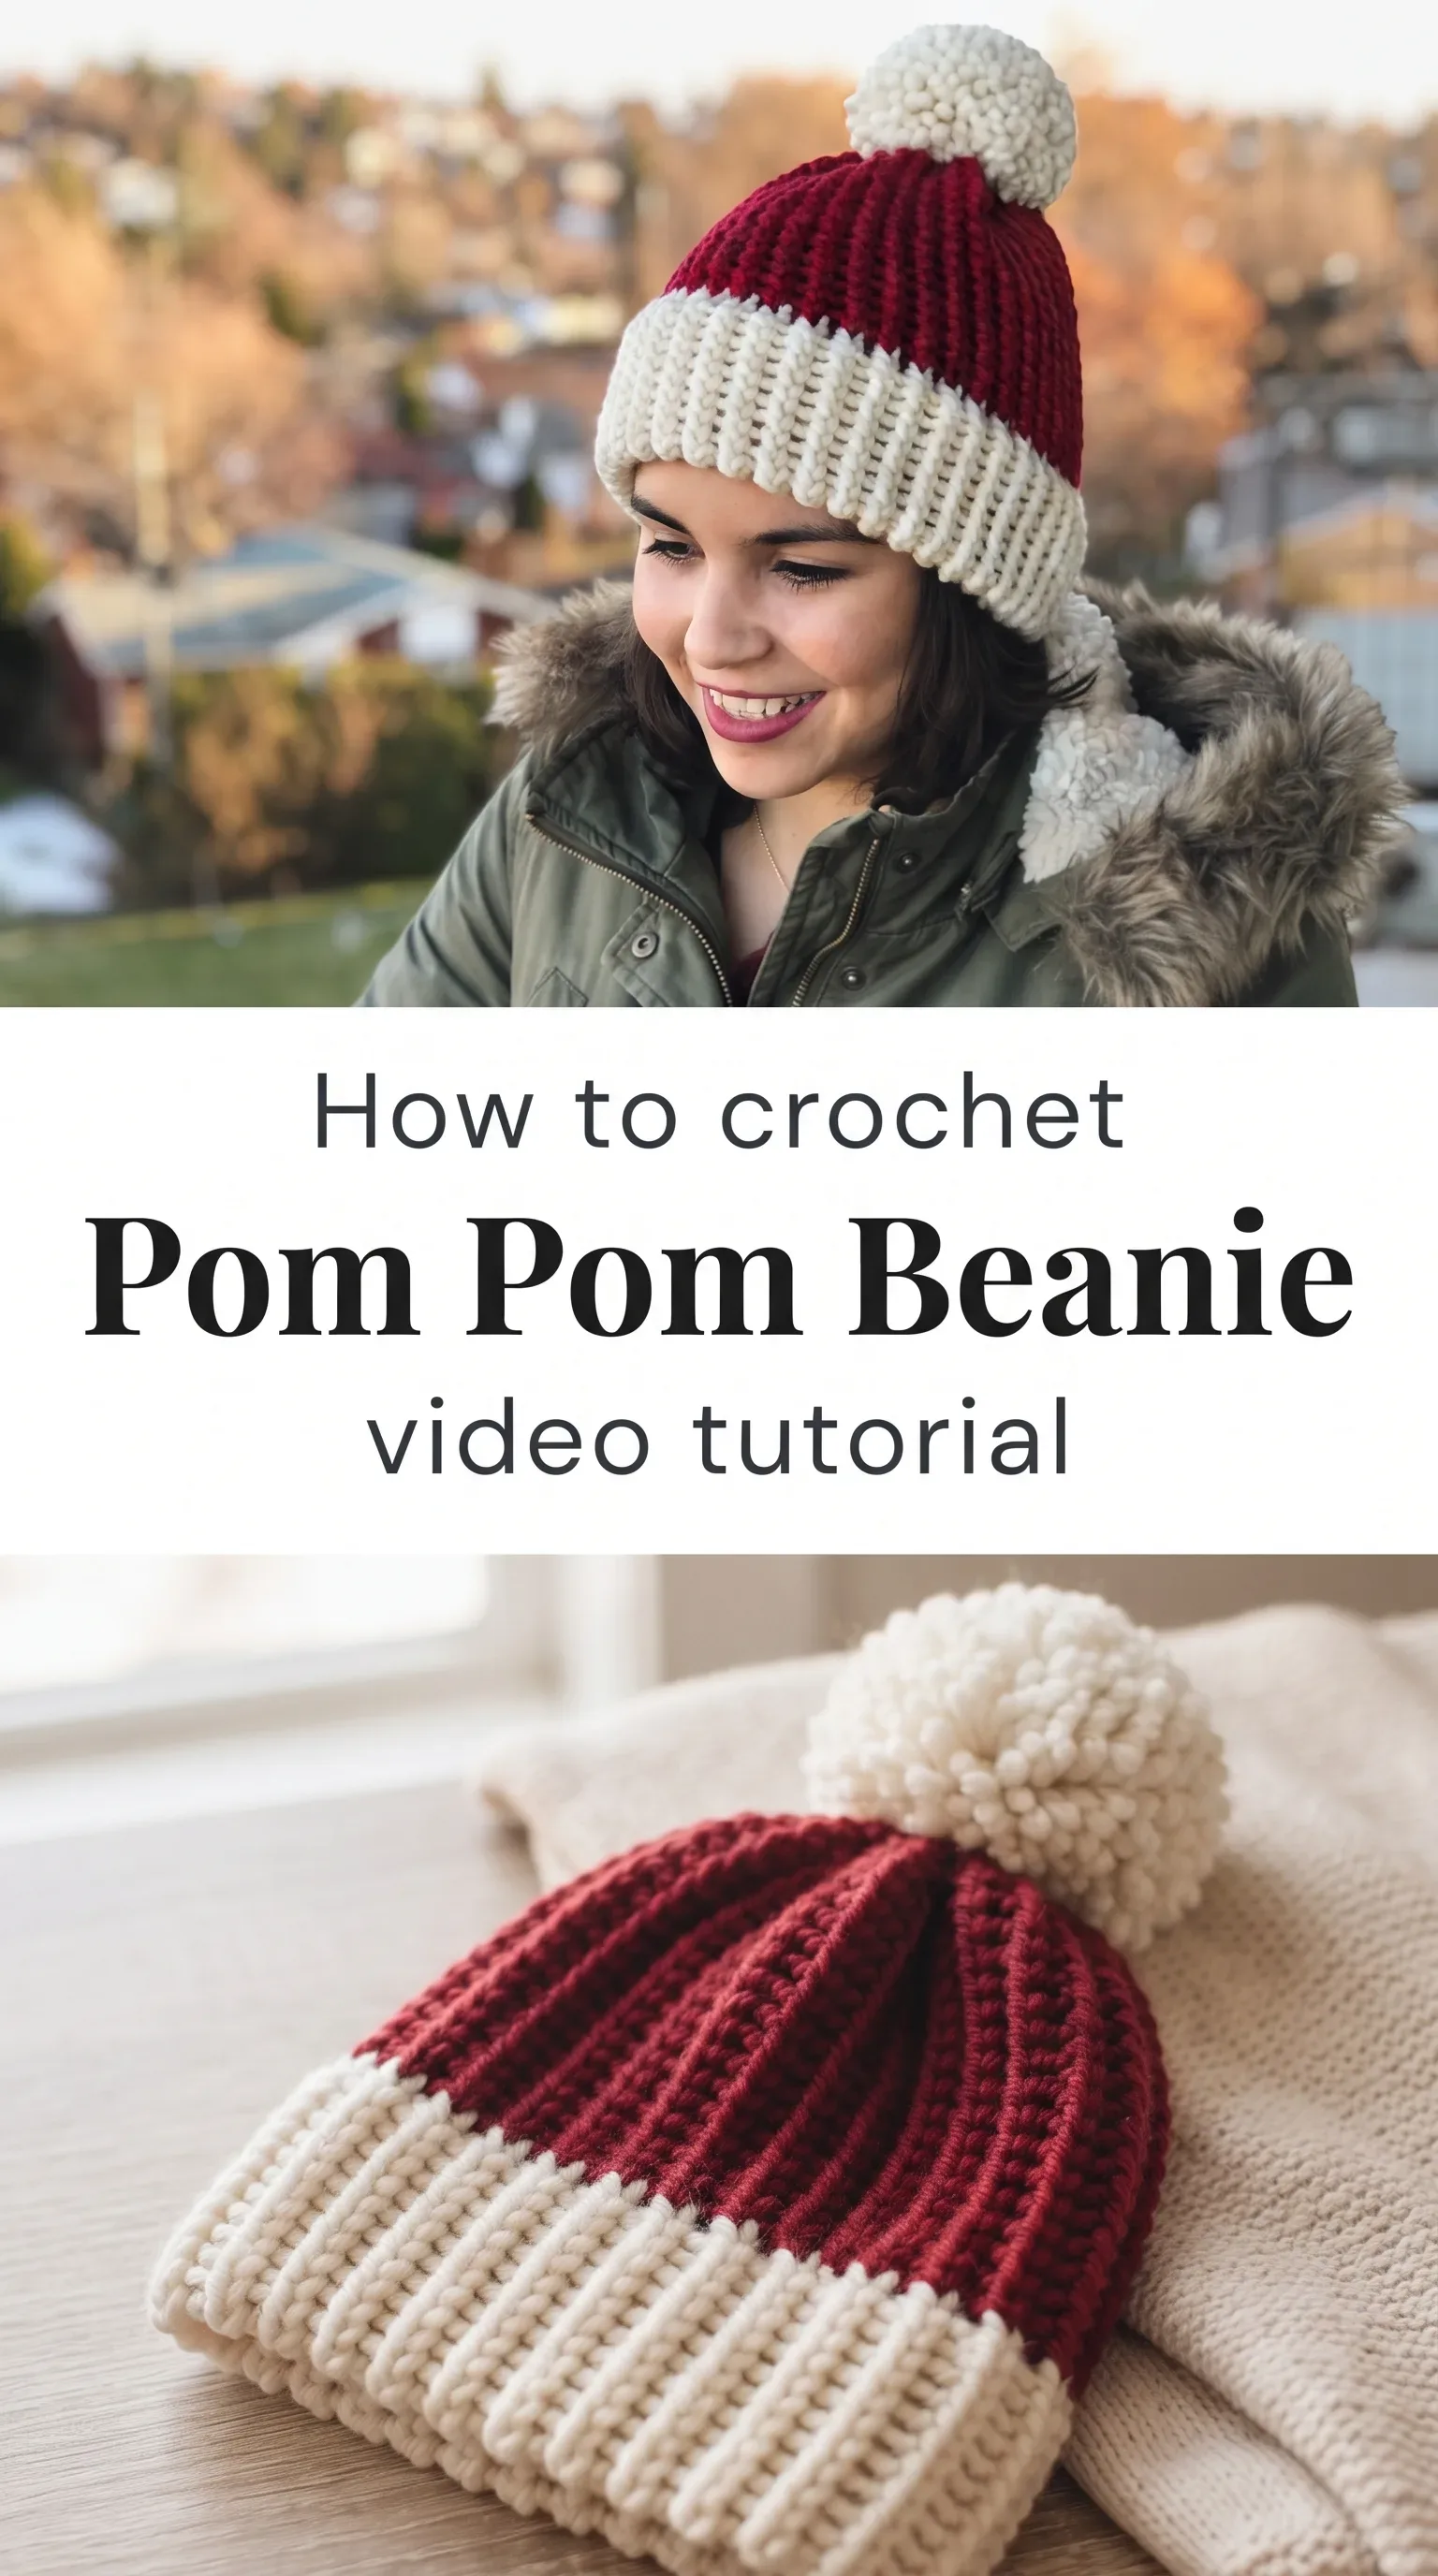
I am so excited to share this Crochet Pom Pom Beanie tutorial with you, because it genuinely stopped me mid-scroll the moment I saw it. The two-tone colorblock design topped with that gloriously oversized pompom has a kind of cozy, collected charm that makes you want to cast on immediately.

The Pom Pom Beanie
This Crochet Pom Pom Beanie is the kind of hat that feels like a warm exhale on a cold afternoon. It sits snugly against the head with a deep ribbed brim that folds back with quiet confidence, while the crown rises in rich, structured rows before gathering into that soft, cloud-like pompom on top. It is made for the person who wants their handmade wardrobe to feel intentional and beautiful, not merely functional. Whether you are a beginner finding your rhythm or an intermediate maker looking for a satisfying weekend project, this beanie wraps around both your skills and your head with equal care.
Pom Beanie Related Posts:
- Crochet Duster Cardigan: A Sleek and Stylish Essential
- Crochet Ribbed Crop Top: A Timeless Wardrobe Essential
- Crochet Halter Bikini Top: A Flattering Summer Essential
- Crochet Cable Stitch Duster: A Timeless Layering Piece
The classic colorblock of cream and deep cranberry red gives this hat a festive, timeless quality that works far beyond the holiday season. You could equally work it in charcoal and mustard for an autumn palette, or soft blush and ivory for something quieter and more everyday. It is the kind of piece that looks thought-out without requiring you to overthink it.
Materials and Tools
For this Crochet Pom Pom Beanie, you will want to reach for a super bulky weight yarn, specifically a size 6 yarn, which gives those ribs their satisfying thickness and the hat its cozy, sculptural body. A 9mm or 10mm crochet hook works beautifully here, allowing the stitches to breathe while still holding their shape with structure. A wool or wool-blend yarn is ideal if you want the natural warmth and slight elasticity that makes ribbed hats so comfortable, though an acrylic alternative will give you durability and easy care. Keep a loom pick or a blunt yarn needle nearby for weaving in your ends and assembling the pompom, which is made separately before being sewn securely to the crown.
Stitch by Stitch
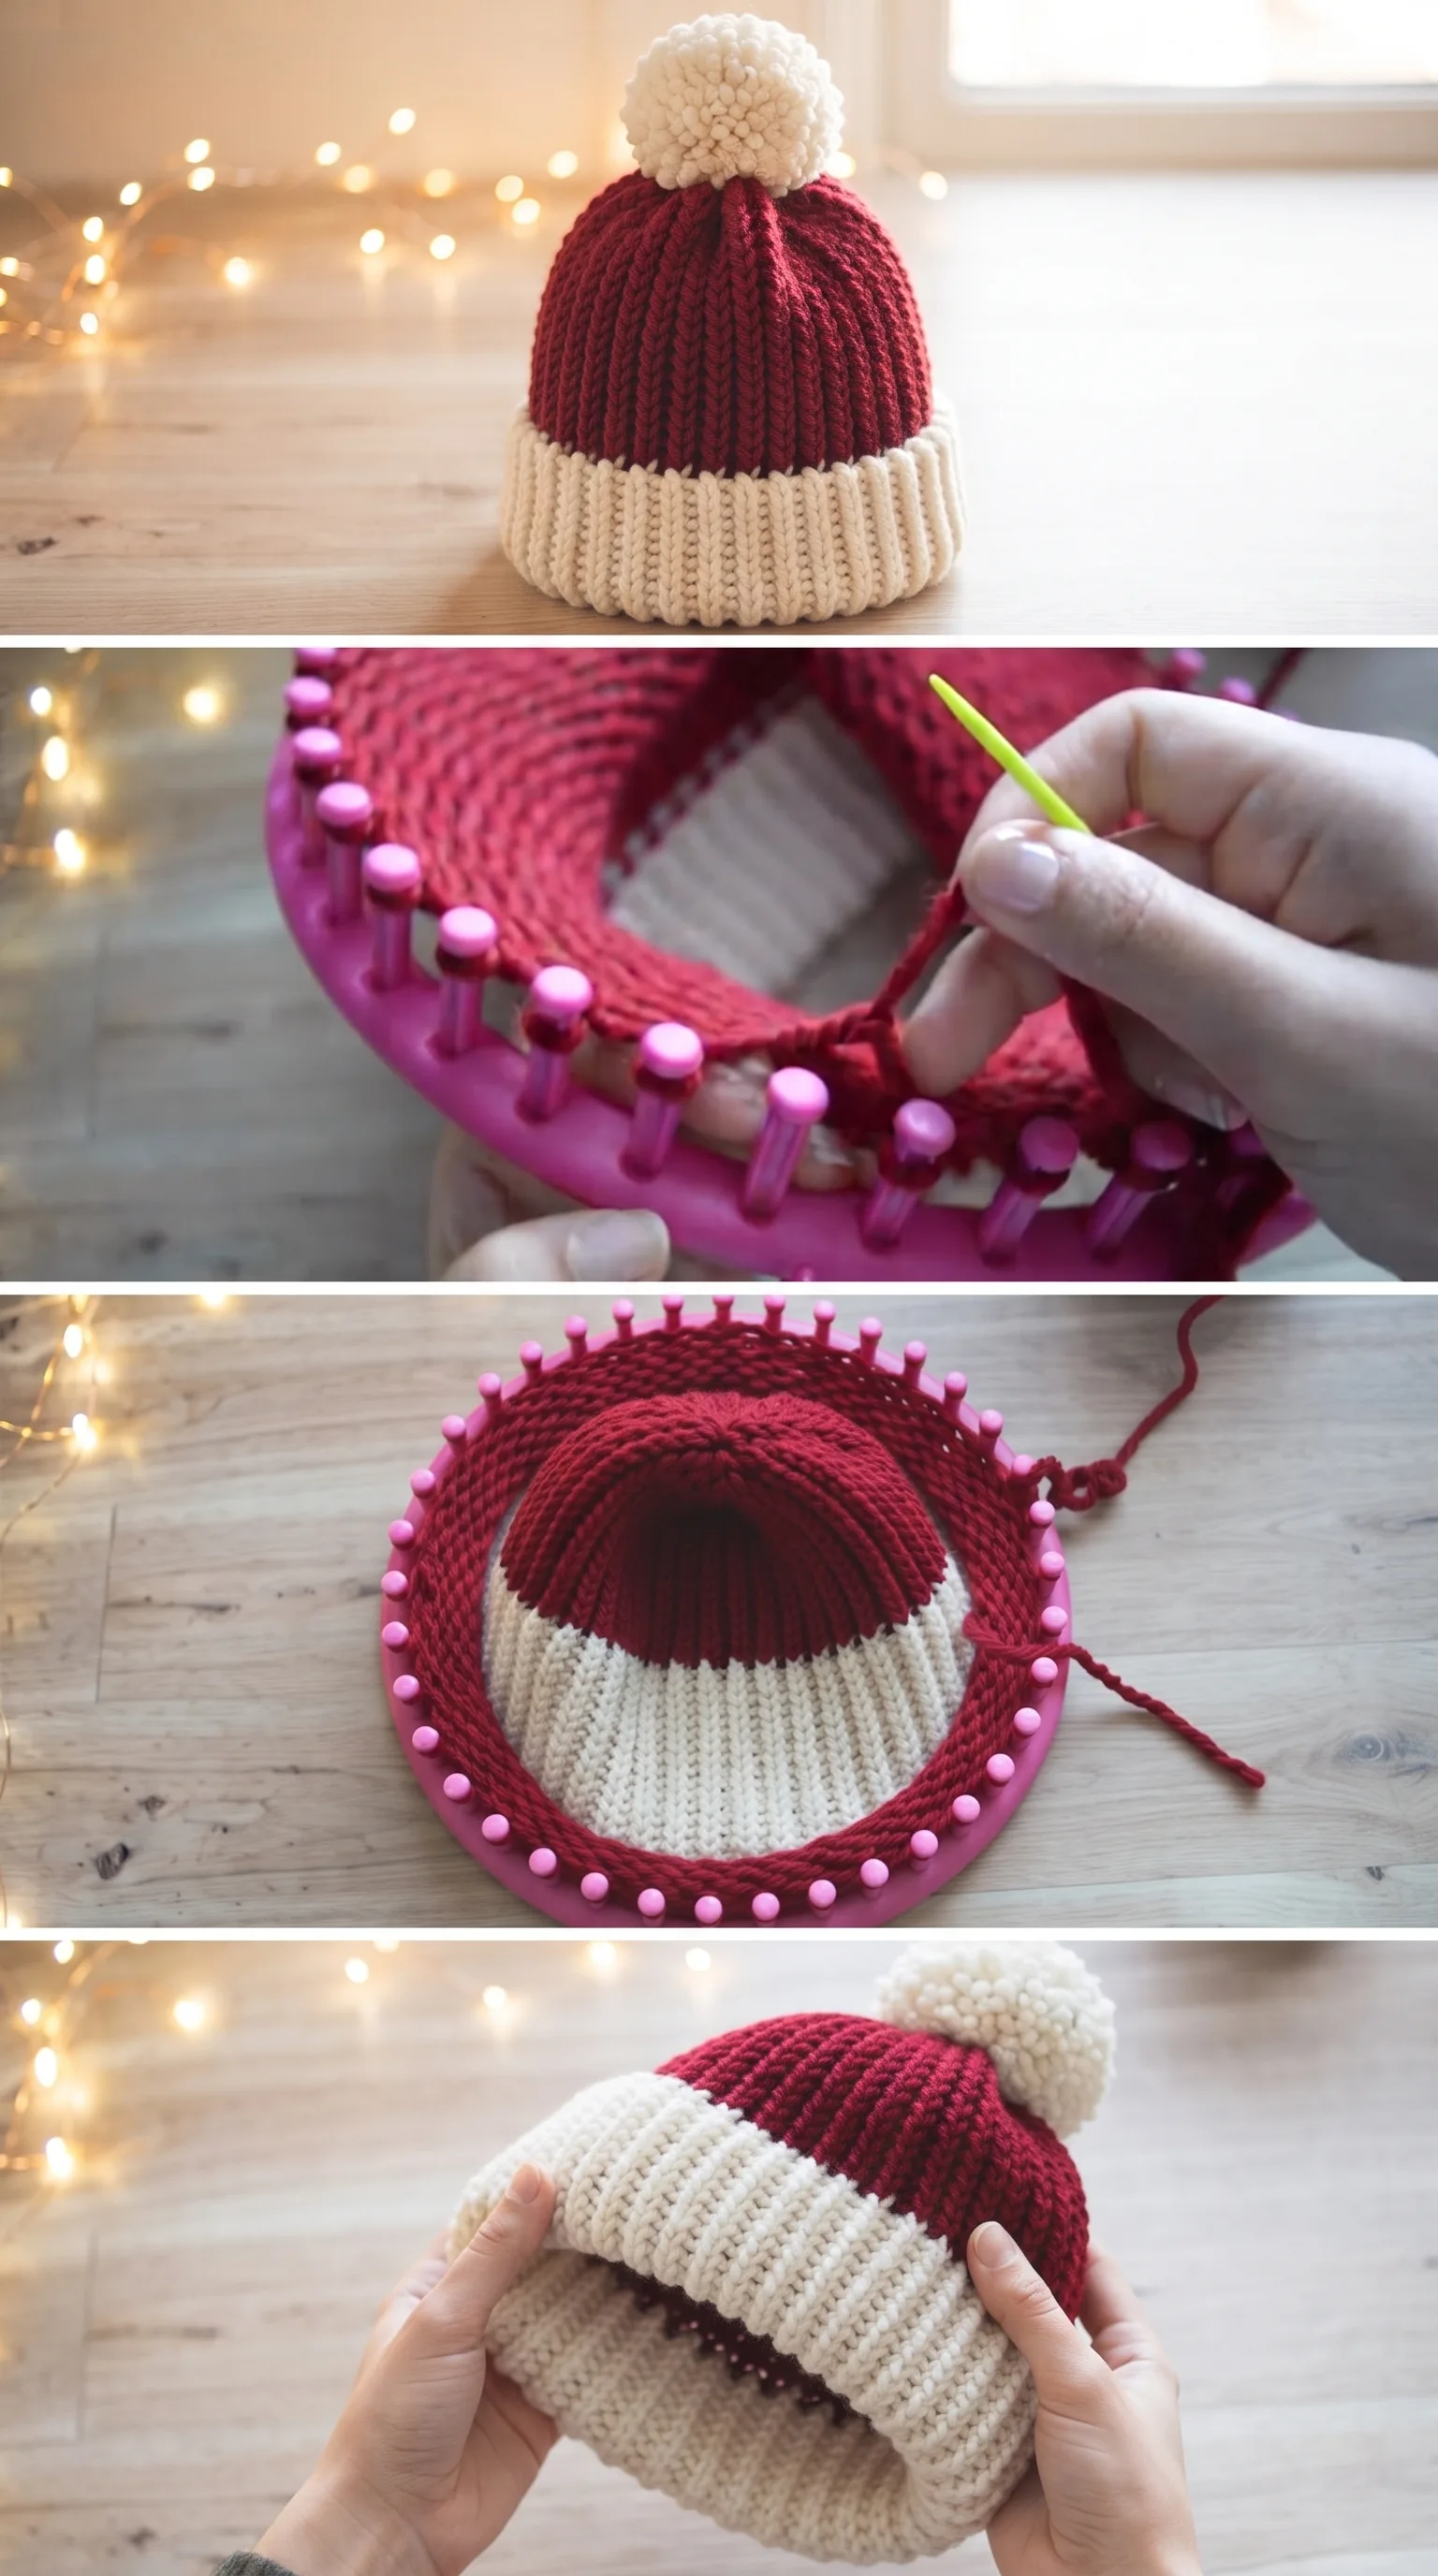
This hat draws on a small, satisfying collection of stitches that work together to create its airy yet structured texture.
BULLET:SC (Single Crochet) The foundational stitch used to build the body of the hat with clean, tight rows that hold the colorblock shape beautifully.
BULLET:DC (Double Crochet) Used through the back loop to create the ridged, ribbed texture that gives this beanie its classic knit-like appearance.
BULLET:BLO (Back Loop Only) Working into the back loop only is what produces those raised ribs that run vertically through the brim and body of the hat.
BULLET:Slip Stitch Used to join rounds when working in the round, keeping the construction neat and the edges smooth as you move from the brim toward the crown.
There is a meditative rhythm to this kind of ribbed work, the repetition of BLO stitches row after row becomes something close to soothing, and you will find yourself in a quiet, focused state long before the hat is finished.
Construction
The Crochet Pom Pom Beanie is worked flat in long ribbed strips that are then seamed together to form the cylindrical body of the hat, which is a wonderfully beginner-friendly approach because it keeps the stitch count consistent and easy to manage. You begin with the cream section, building the brim and lower body, before joining the cranberry yarn to complete the upper crown in the contrasting color. Once the hat body is assembled, the top is gathered and cinched closed before the pompom, made using a pompom maker or a simple cardboard ring method, is attached. If you want a slightly slouched silhouette, simply add a few extra rows to the body before switching colors, and the hat will drape with a relaxed, effortless quality.
Wearing Your Pom Pom Beanie
Pull this Crochet Pom Pom Beanie down over your ears with a long wool coat and you have an outfit that looks quietly considered and completely put together. It also works beautifully tucked onto a child, gifted in a basket with a matching scarf, or worn on a winter walk with a chunky knit sweater and your favorite boots. Finishing this hat will make you want to cast on three more immediately, one for yourself and two to give away.
Washing and Storing Your Pom Pom Beanie
If you have worked your Crochet Pom Pom Beanie in a wool or wool-blend yarn, hand washing in cool water with a gentle wool wash is the kindest option, and you should always press out the water rather than wringing it to protect the fibers and the shape of those beautiful ribs. Lay it flat on a clean towel to dry, reshaping the brim and pompom gently with your hands while it is still damp. If you used an acrylic yarn, a delicate machine cycle in a mesh laundry bag will serve you well. Store the finished hat folded softly rather than stuffed, so the pompom keeps its round, full shape season after season.
Every stitch you make with your own hands carries something that no shop-bought hat ever could, and this beanie is proof of that quiet, lasting truth. Watch the full video tutorial to follow along with every step, and when yours is finished, share a photo on Pinterest so other makers can find this pattern and fall in love with it too.
Follow us on Pinterest and subscribe to the Newsletter so you don’t miss a thing!
Tutorial and photos of this pom pom beanie by: CJ Design.