
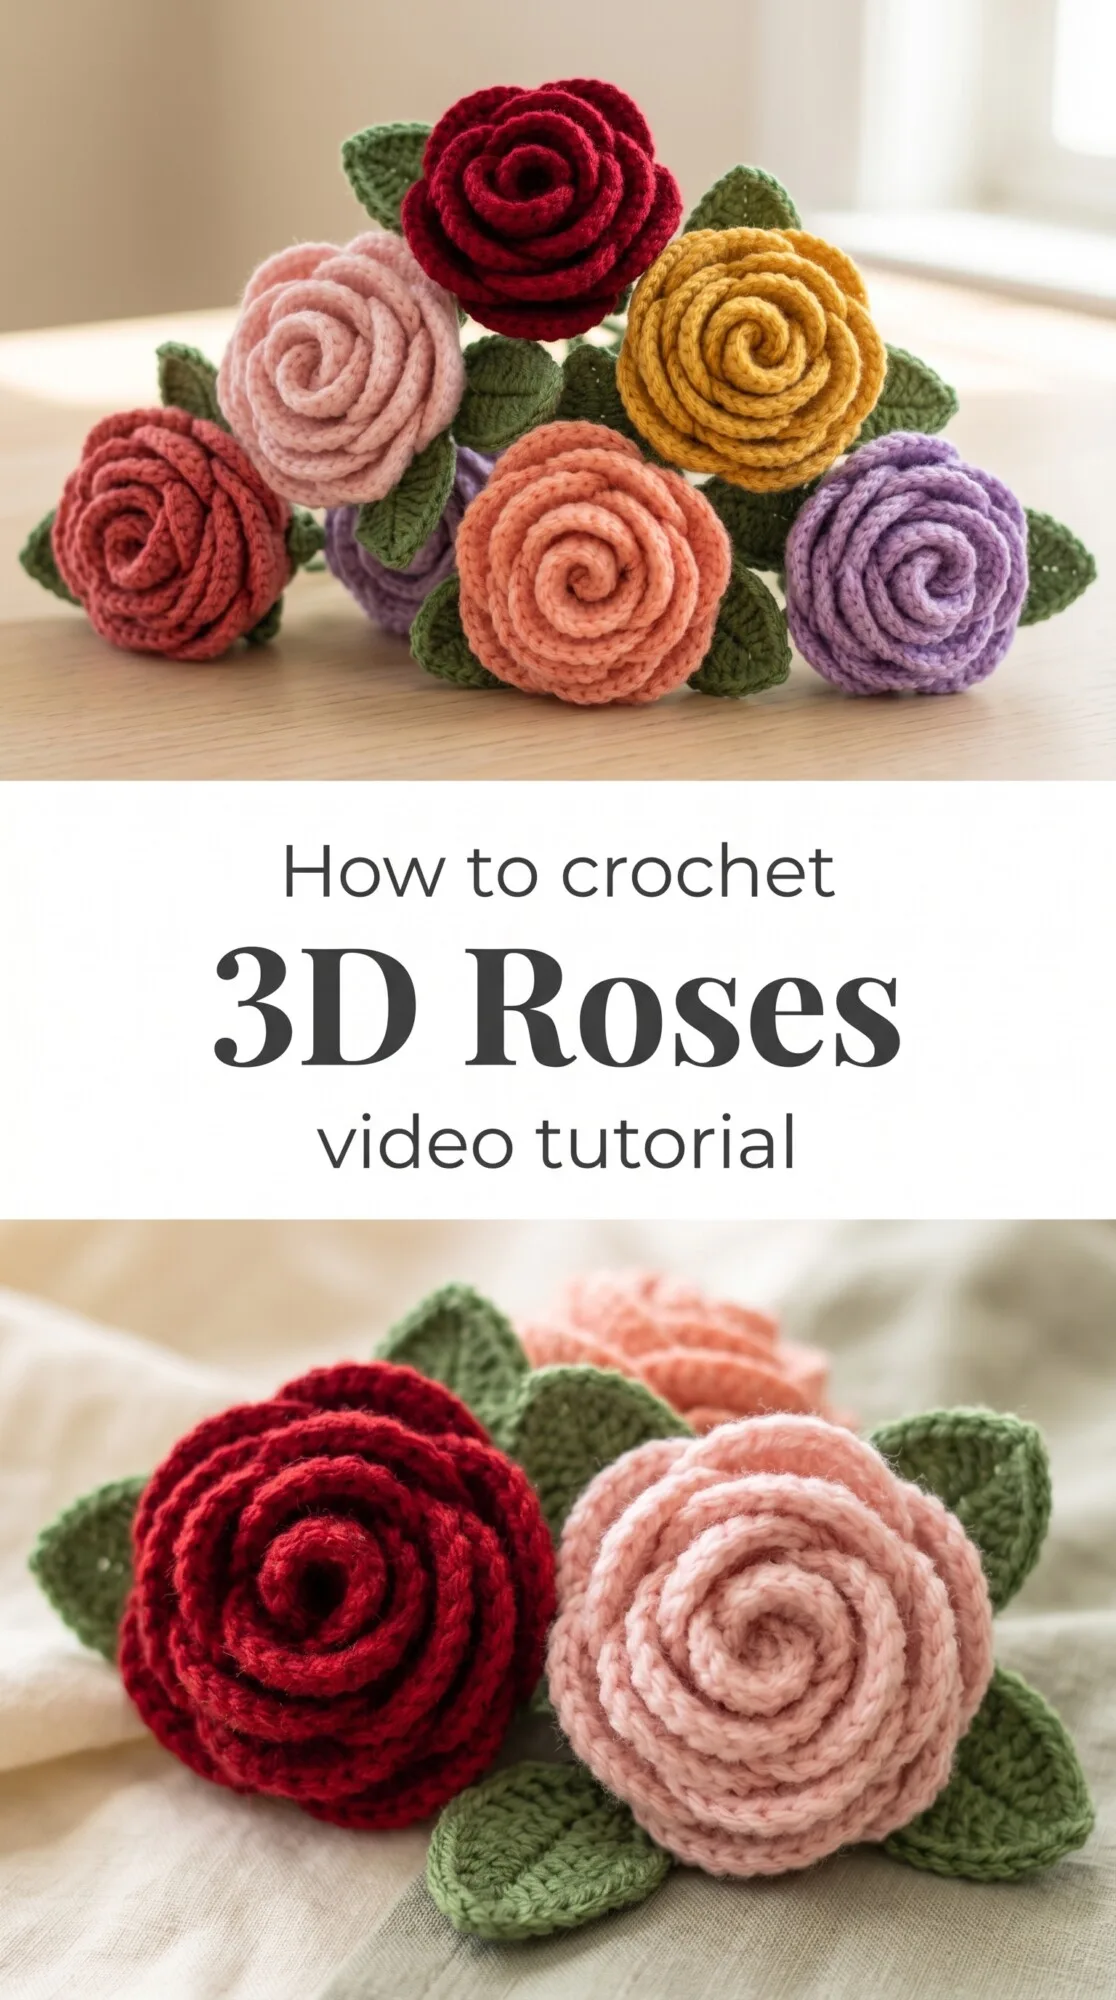
Today’s guide is all about Crochet 3D Roses, those lush, spiraling blooms that feel impossibly soft between your fingers and look like they were plucked from a cottage garden in full summer flush. Pull your yarn close and let’s bring these beautiful flowers to life together.
The 3D Roses
Crochet 3D Roses are the kind of handmade detail that stops people mid-sentence, the sort of thing someone reaches out to touch before they even think about it. Each rose is built in layers that coil inward like a real bloom caught just before it opens fully, giving it that airy yet structured quality that makes it feel simultaneously delicate and substantial. This pattern is warm enough for a beginner to fall in love with and rich enough in technique to keep an intermediate crocheter deeply engaged. Whether you are making one single red rose to pin to a coat lapel or building an entire rainbow collection, this project carries a kind of quiet magic.
3D Roses Related Posts:
- Crochet Lace Flower: A Delicate Handmade Beauty
- Crochet Heart Applique: A Sweet Handmade Charm
- Crochet Rose Choker: A Romantic Summer Statement
- Crochet Rose with Leaves: A Romantic Floral Accent
The color possibilities for Crochet 3D Roses are genuinely one of the most joyful parts of this whole project. A deep crimson feels classic and a little dramatic, while a soft blush pink or peachy coral reads like early morning light through a window. You might also consider making a whole set in graduating shades of orange and amber for a warm autumnal arrangement, or go unexpected with lavender and butter yellow for something that feels fresh and a little whimsical.
Materials and Tools
For these roses, a worsted weight yarn gives you the best combination of definition and body, allowing each petal layer to hold its rounded shape without collapsing or going limp. A smooth, plied acrylic or an acrylic-wool blend works beautifully here because it has just enough memory to keep the three-dimensional structure crisp after you roll and shape the flower. Pair your yarn with a 4mm crochet hook, which gives you a firm enough tension to create petals with real presence without making the fabric stiff or hard to work with. A blunt tapestry needle is your best finishing friend here, essential for weaving in ends and for the small, satisfying stitches that hold the coiled rose together at its base.
Stitch by Stitch
These Crochet 3D Roses draw on a small, friendly collection of stitches that you will find yourself repeating in a pleasantly meditative rhythm.
BULLET:SC (Single Crochet) The foundational stitch that builds the tight, neat base rows and gives the rose its structural integrity from the very first chain.
BULLET:DC (Double Crochet) The stitch that creates the taller, fuller petal sections, giving each layer of the rose its beautiful rounded, billowing shape.
BULLET:CH (Chain) Used to start the long foundation strip that will eventually be coiled into the rose, so getting a relaxed, even chain tension matters here.
BULLET:SL ST (Slip Stitch) Appears at key joining points and helps close rounds cleanly so the finished flower has no awkward gaps or puckering between its layers.
Once you settle into the repeating pattern of CH, SC, and DC across your strip, the work finds its own gentle pace and your hands begin to anticipate each next stitch before your eyes even catch up.
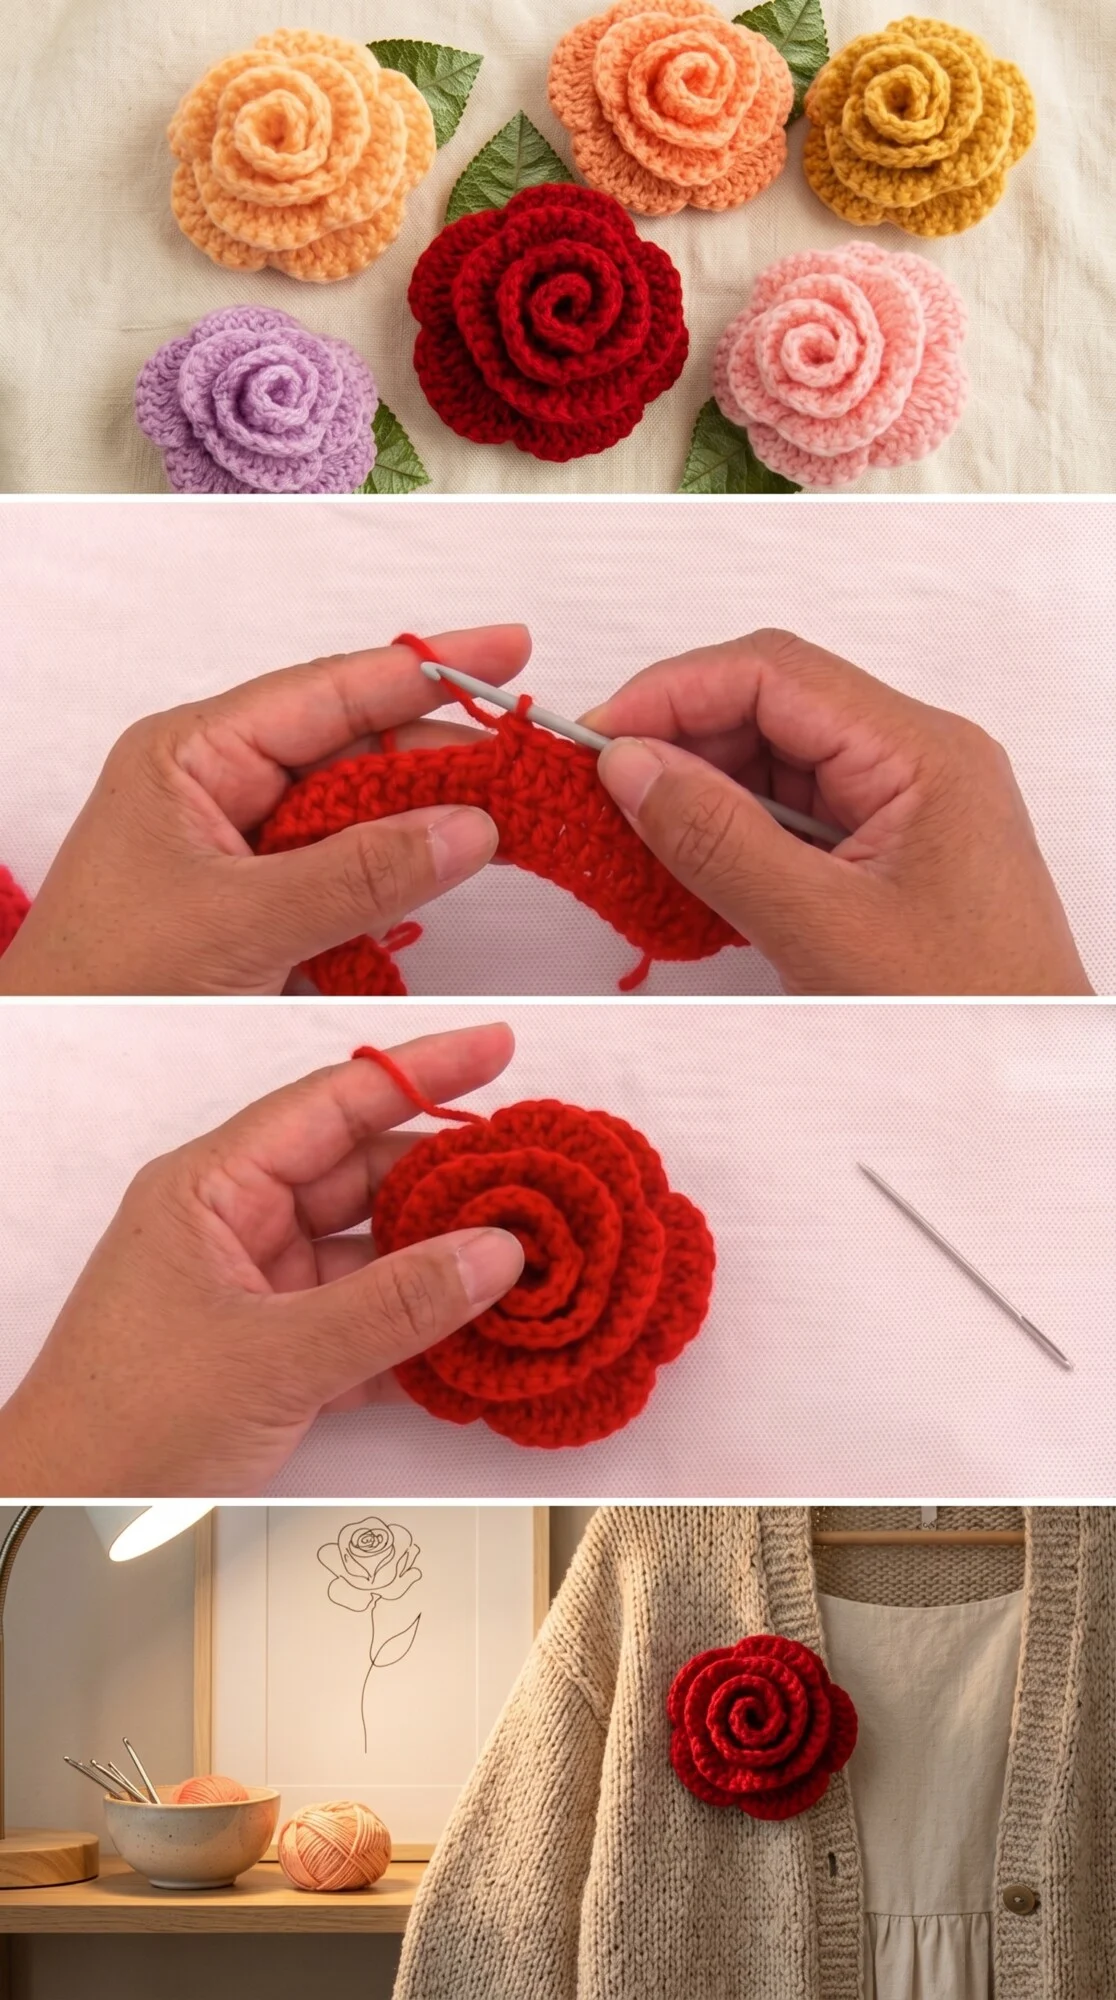
Construction
The construction method for these Crochet 3D Roses is one of the most satisfying in all of crochet because you work a long, ruffled strip and then simply coil it into a rose shape, securing the base with a needle and thread or a few well-placed slip stitches. The strip is worked flat in rows, building up petal layers of increasing height as you move along its length, so the innermost coil becomes the tight bud center and the outer edges become the wide, open outer petals. Because the assembly is done after the crocheting is finished, beginners can take their time shaping the rose and adjust the tightness of the coil to their preference. If you want a more compact, tightly furled bud, simply coil a little tighter at the center; for a fully open garden rose, let the outer layers sit looser and wider.
Wearing Your 3D Roses
A finished Crochet 3D Rose pinned to the lapel of a linen blazer or a chunky knit cardigan turns the simplest outfit into something that feels considered and personal. Tuck one into a market tote or attach a cluster of three in different colors to a wide-brimmed sun hat for something that feels genuinely artisan and unhurried. These roses also make incredibly sweet hair accessories when stitched onto a simple elastic band or a barrette clip, soft enough for everyday wear and lovely enough for a special occasion.
Keeping Your Crochet Roses Looking Fresh and Full
Because these roses are three-dimensional and depend on their shape for their beauty, it is worth taking a little extra care when washing them. Hand wash gently in cool water with a mild soap, then press out excess water with a clean towel rather than wringing, which can distort the coiled structure. Lay them flat on a dry towel to air dry and gently reshape any petals that have flattened during washing while the yarn is still slightly damp. Store your roses in a small box or basket rather than loose in a bag where other items might crush the petals and flatten that lovely dimensional quality you worked so carefully to create.
Every Crochet 3D Rose you make is a small, unhurried act of making something beautiful with nothing more than yarn and a hook, and that is worth celebrating loudly. The full video tutorial walks you through every step of this pattern so pin this post, share your roses when they bloom, and tag your finished flowers so the whole handmade community can admire what you have grown.
Follow us on Pinterest and subscribe to the Newsletter so you don’t miss a thing!
Tutorial and photos of this 3d roses by: tallermanualperu.