
Come and learn the Crochet Circle Starter, the humble first round that every flat circle, amigurumi, and coaster begins with. Once you have it in your hands, you can use it to shape plush toy eyes, cozy mug rugs, and petal-centered flowers.

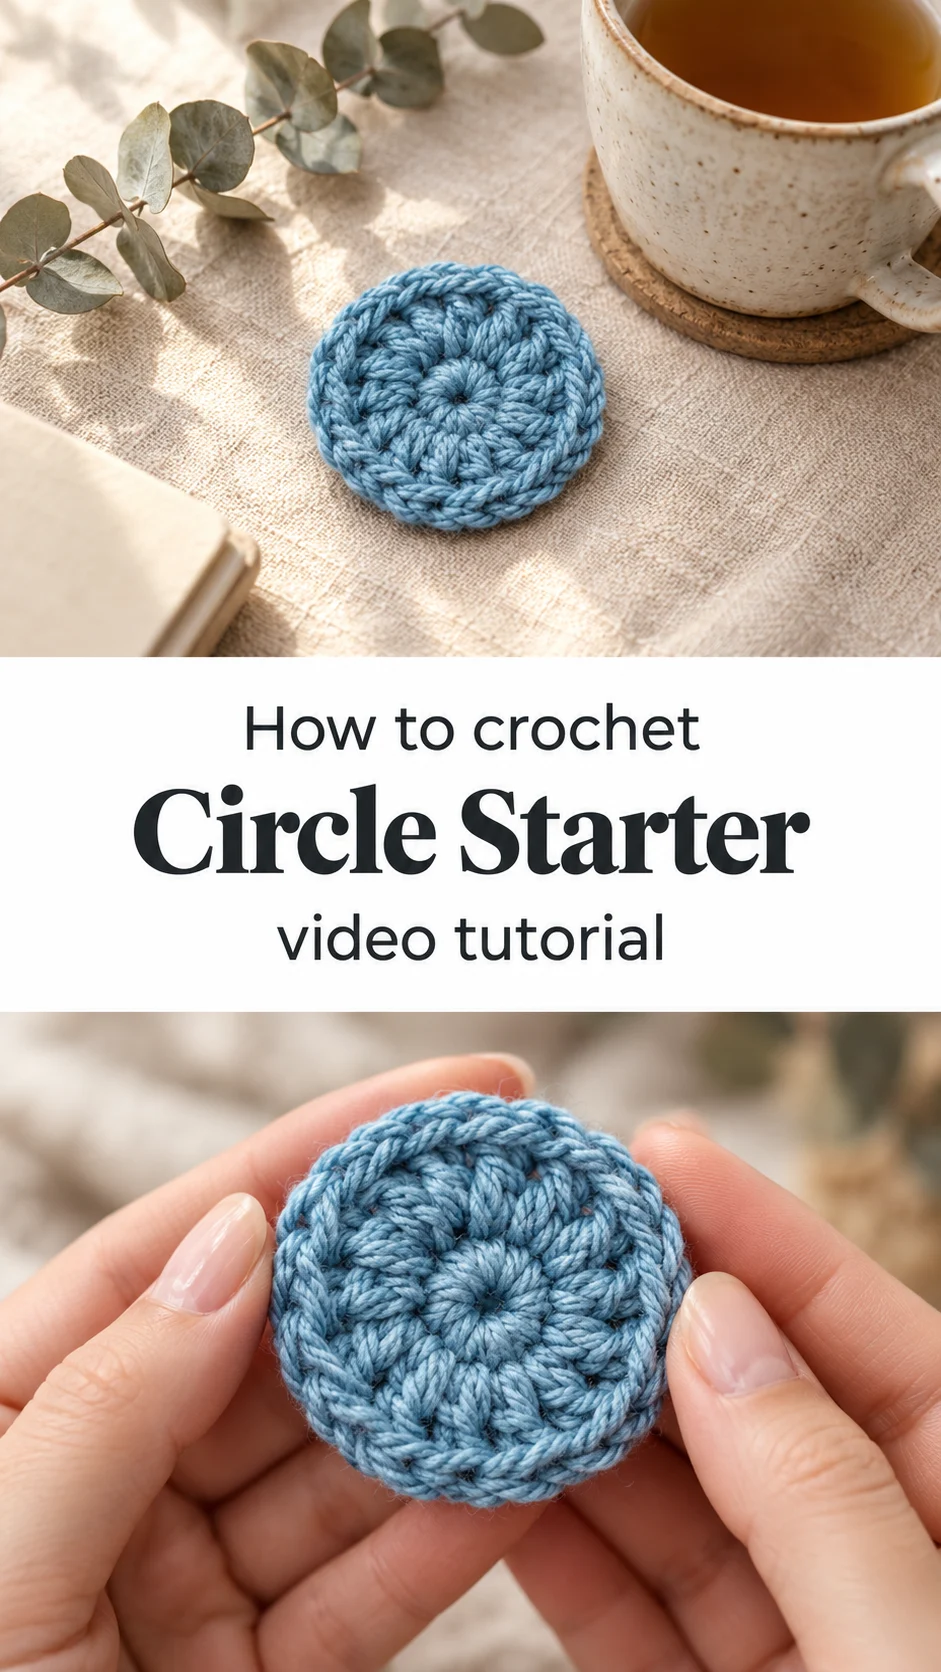
The Circle Starter
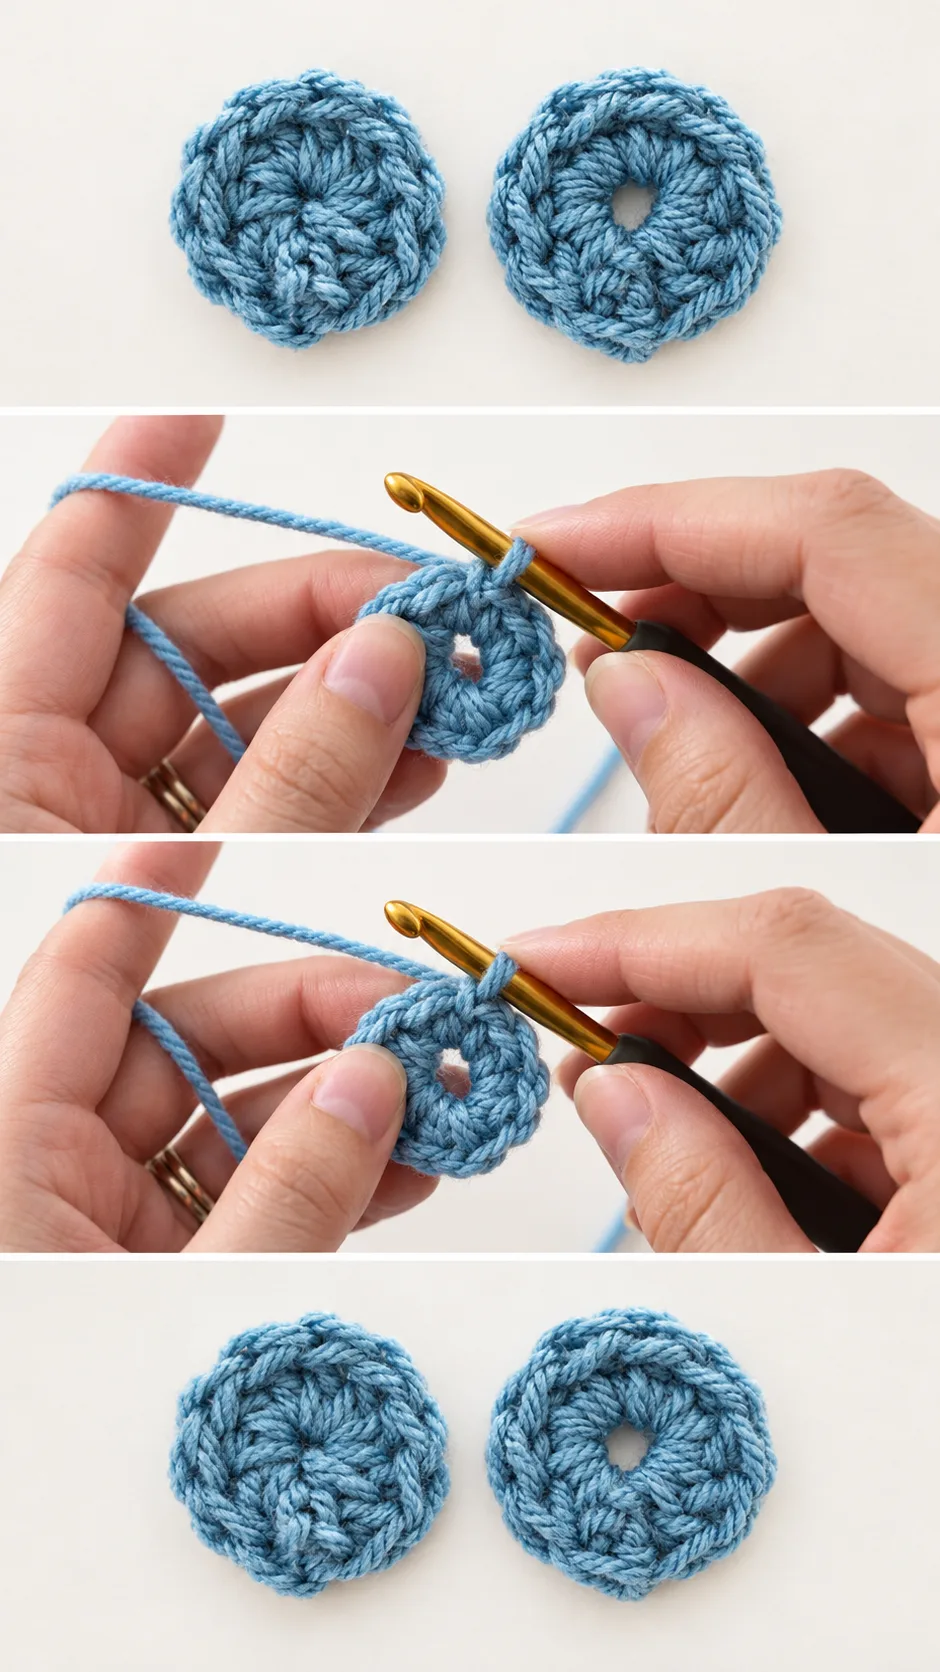
Every round object begins with a few loops of yarn and a quiet decision about the center. This Crochet Circle Starter gives you two lovely options: a closed, snug center that hides the hole entirely, and an open center that leaves a small, soft eyelet in the middle. Both are made in dusky blue worsted yarn in the tutorial, and both look like tiny rosettes of tightly packed stitches fanning out from the middle. It is for the maker who wants amigurumi that never gapes, or for the beginner who has been frustrated by wobbly, lopsided first rounds.
Soft denim blue, creamy oatmeal, blush pink, and sage green all look beautiful worked up as small discs. Stitch a handful in a gradient of one color family and you have the start of a garland, a set of appliqués, or a row of buttons for a cardigan. They sit just as happily on a market tote as on a nursery blanket.
Circle Starter Related Posts:
- Crochet Springtime Shawl: A Vibrant Seasonal Wrap
- Crochet Beanie Hat: A Warm and Timeless Classic
- Crochet Cat Paw Mittens: A Cute and Charming Accessory
- Crochet Shopper Bag: A Chic Everyday Essential
Materials and Tools
For a sample like the ones in the video, reach for worsted weight yarn in a smooth cotton or a soft acrylic blend, since stitch definition shows beautifully in both. Pair it with a 4mm hook, ideally one with an ergonomic handle like the gold-tipped hook with the dark grip shown in the tutorial, which keeps your hands relaxed through tight first rounds. A pair of small scissors and a tapestry needle for weaving in the tail are all else you need. If you plan to stuff your circles into amigurumi later, choose a yarn with a little bounce so the stitches stay tidy and firm.
Stitch by Stitch
The Crochet Circle Starter relies on only a handful of the simplest stitches, which is exactly why it suits beginners so well.
- CH (chain) Creates the starting loop or the small ring that holds your first round together.
- SC (single crochet) Builds a dense, sturdy fabric, perfect for the tight closed center of Option 1.
- DC (double crochet) Adds height and a gently ruffled edge as the circle begins to widen outward.
- SL ST (slip stitch) Joins the round neatly so your circle finishes with a clean, almost invisible seam.
Working these stitches into a tiny center has a soothing, repetitive rhythm, each one nudging the next into a gentle spiral. It becomes a meditative loop of hook, yarn, and breath that makes the circle seem to grow on its own.
Construction
Everything is worked in the round, starting from the center and spiraling outward, with no seaming and no separate pieces. Option 1 begins with a magic ring pulled snug so no hole remains, while Option 2 begins with a chain joined into a ring, leaving that sweet little opening at the middle. Both are friendly to beginners, and the video tutorial walks you through each loop slowly enough to follow along in real time. To customize, simply keep adding rounds with even increases and your tiny disc will grow into a coaster, a hat crown, or a rug.
Wearing Your Circle Starter
Stitch a few Crochet Circle Starter discs into flower centers and sew them onto a denim jacket for a handmade touch. Join several together for a granny-square style shawl, or use a single open-centered round as a charming ring for a keychain or a baby rattle. Once you see how quickly they work up, you will want to make a whole basket of them.
Keeping Your Small Circles Looking Their Best
Small crocheted circles benefit from a gentle bath in cool water with a drop of mild wool wash, pressed rather than wrung to keep the stitches plump. Lay them flat on a clean towel and pat into a perfect round shape, then let them dry fully before use. If your circle has curled at the edges, pin it out gently while damp and the rosette shape will relax beautifully. Store finished pieces in a breathable cotton bag away from direct sunlight so the color stays soft and true.
Every great project begins with a good first round, and now you have two ways to make yours. Pin this Crochet Circle Starter guide to your crochet board and come back to it every time you start something round.
Follow us on Pinterest and subscribe to the Newsletter so you don’t miss a thing!
Tutorial and photos of this circle starter by: B.Hooked Crochet.