A free video tutorial for this Crochet Beanie Hat is waiting for you over at Jayda InStitches, and the way this pattern uses a simple slip stitch rhythm to create such incredible texture is genuinely exciting!

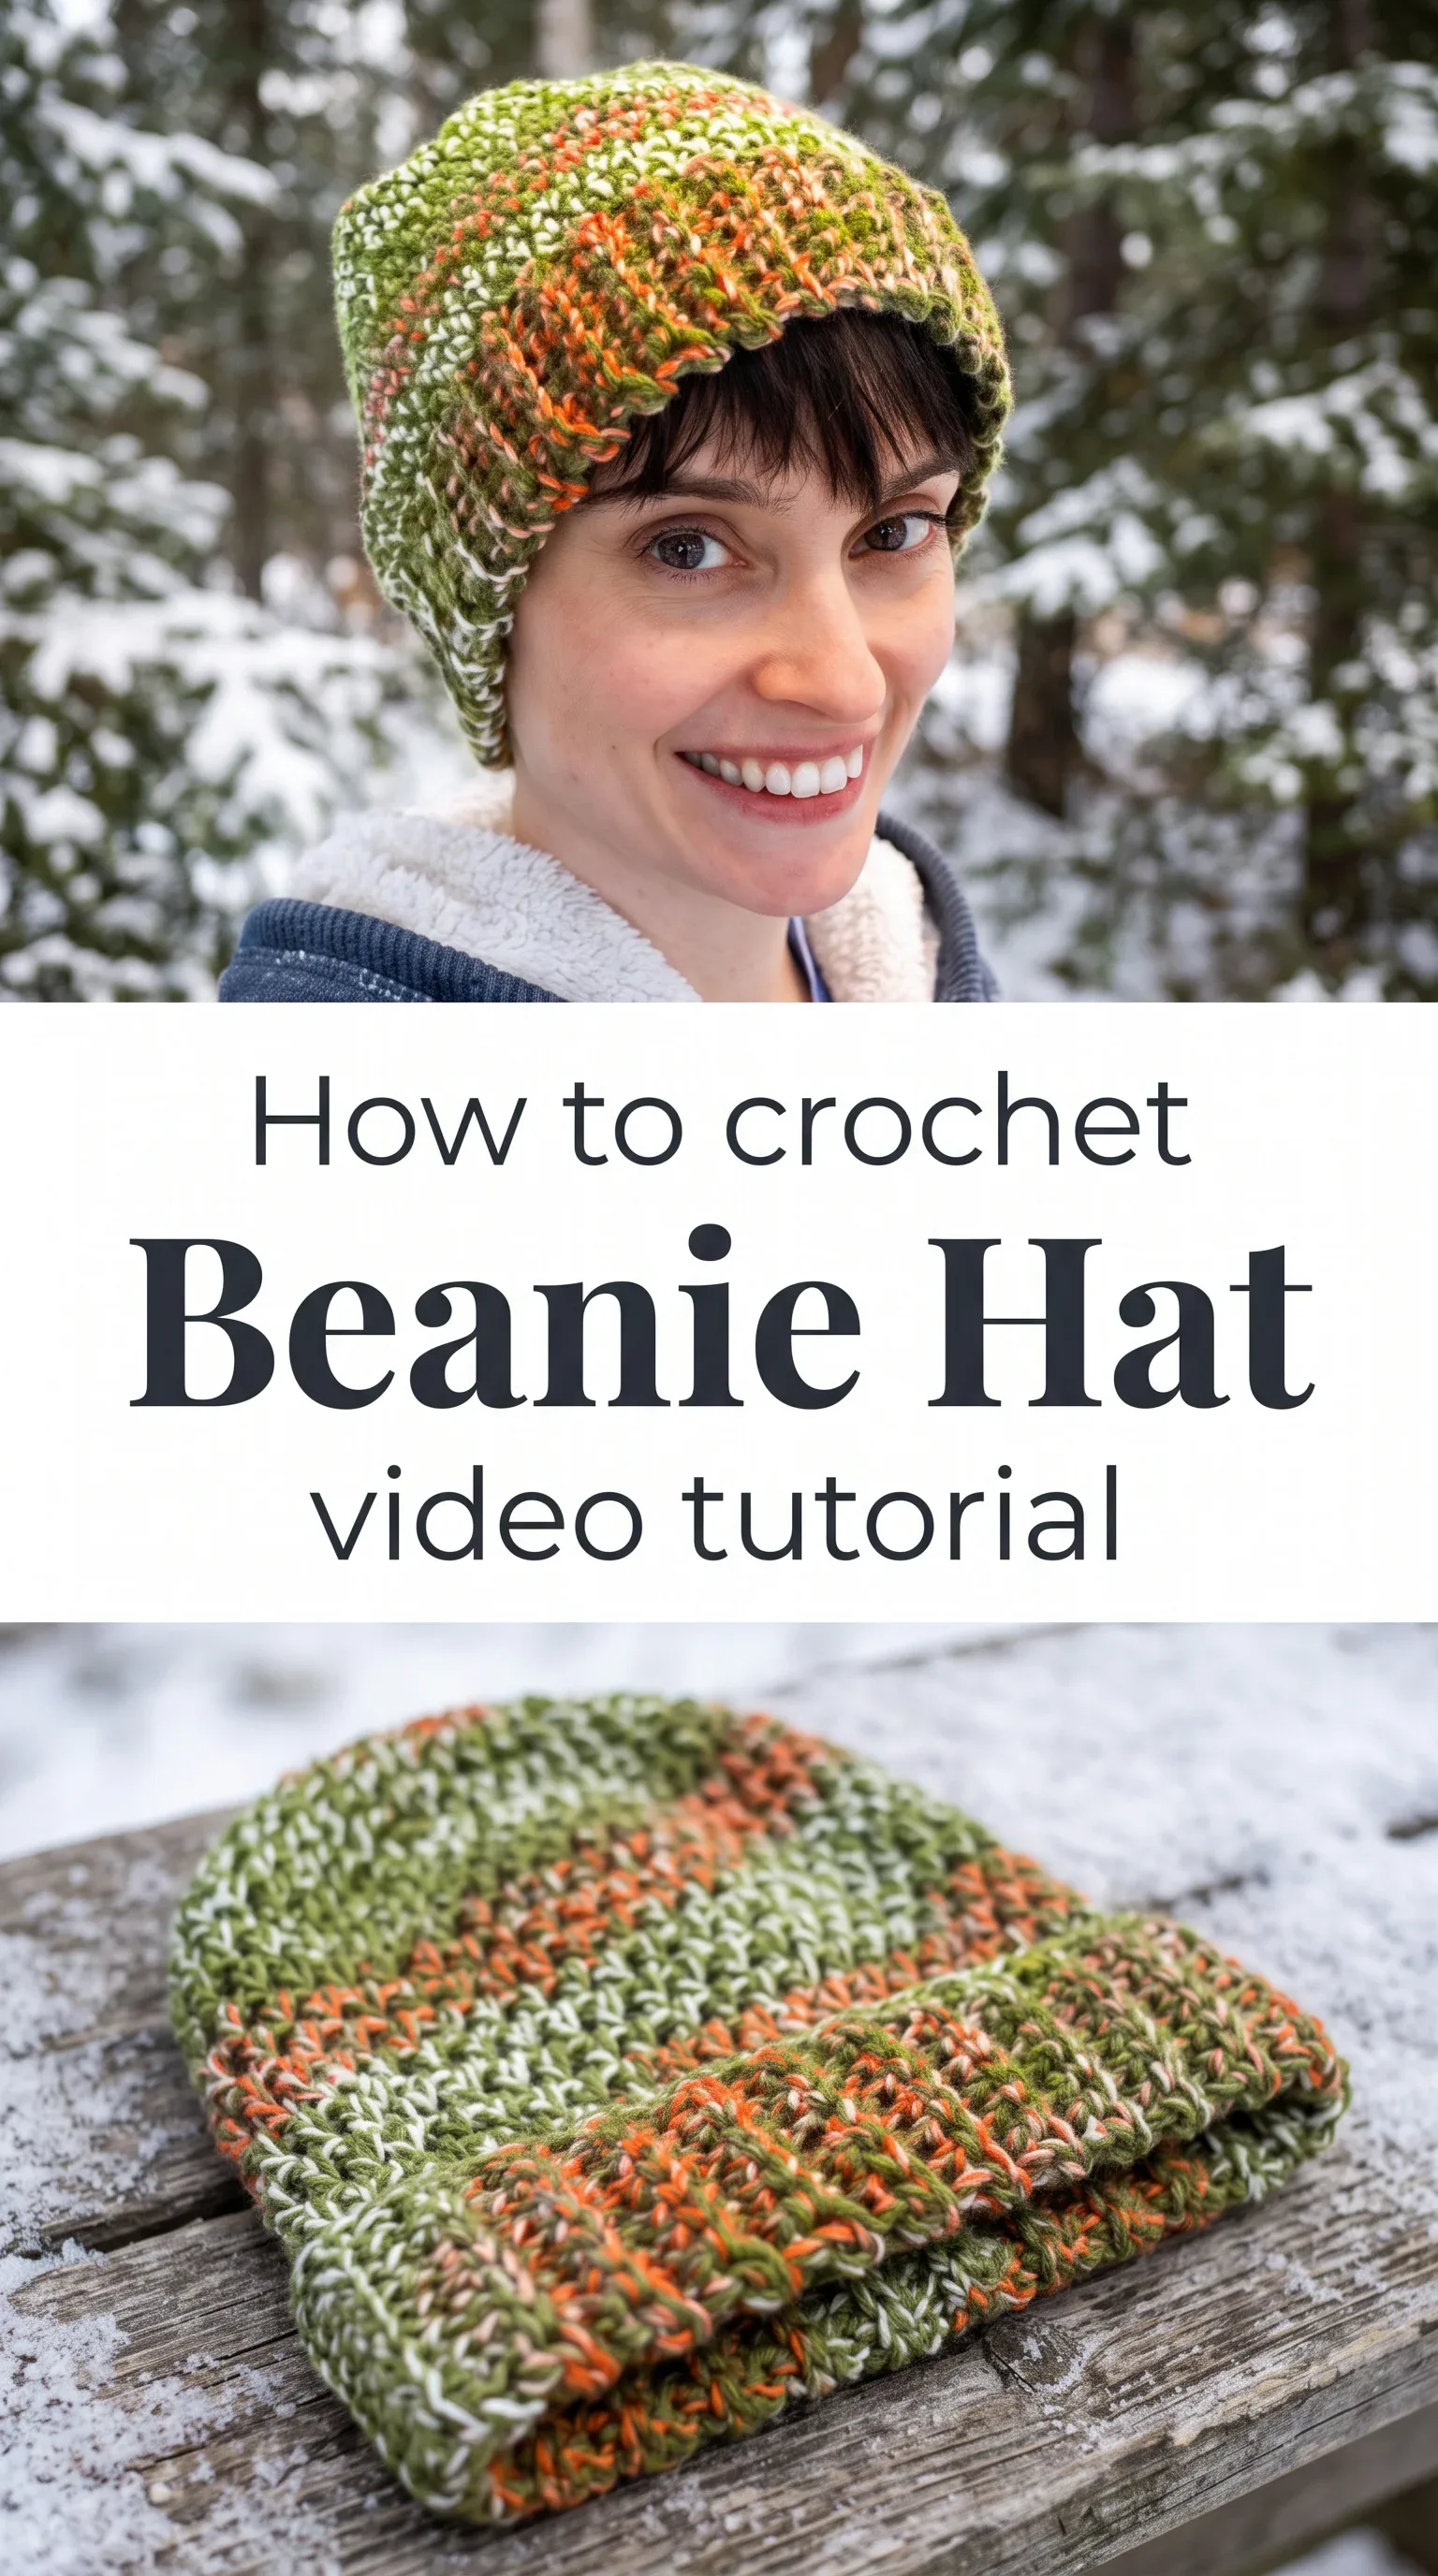
The Beanie Hat
A Crochet Beanie Hat carries something quietly powerful about it, the way it sits close to the head, warm and structured yet soft enough to feel like a comfort rather than an accessory. This particular design has an airy yet structured fabric that catches the light in ridges and valleys, making it look far more complex than it truly is to make. It suits the beginner who wants their first wearable project to feel worth the effort, and it rewards the intermediate crafter who wants something quick, satisfying, and genuinely beautiful.
Beanie Hat Related Posts:
- Crochet Strawberry Pouch: A Sweet and Charming Accessory
- Crochet Mesh Tote: A Breezy Everyday Essential
- Crochet Dreamcatcher Keychain: A Whimsical Bohemian Charm
- Crochet Woven Tote: A Chic Designer-Inspired Piece
The multicoloured variegated yarn shown in the tutorial moves through mossy greens, burnt oranges, and warm creams, giving the hat an autumnal, woodland quality that pairs effortlessly with a chunky scarf or a wool coat. If you prefer something more understated, a single-colour deep charcoal or slate blue in the same weight would produce a beanie with clean, architectural lines. This is the kind of hat that works with everything from a Sunday farmers market outfit to a ski slope layered look.
Materials and Tools
For this Crochet Beanie Hat, you will want to reach for a bulky weight yarn, something in the 5 or 6 weight category, to achieve that satisfying density and warmth you can see in the finished piece. A 6mm or 6.5mm crochet hook works beautifully here, giving the stitches room to breathe without losing the structural integrity of the fabric. Wool or a wool-acrylic blend is ideal because the fibres hold the texture firmly and offer that natural warmth a winter hat demands. A stitch marker tucked into your work will help you keep track of rounds without any confusion, especially as you begin the crown shaping.
Stitch by Stitch
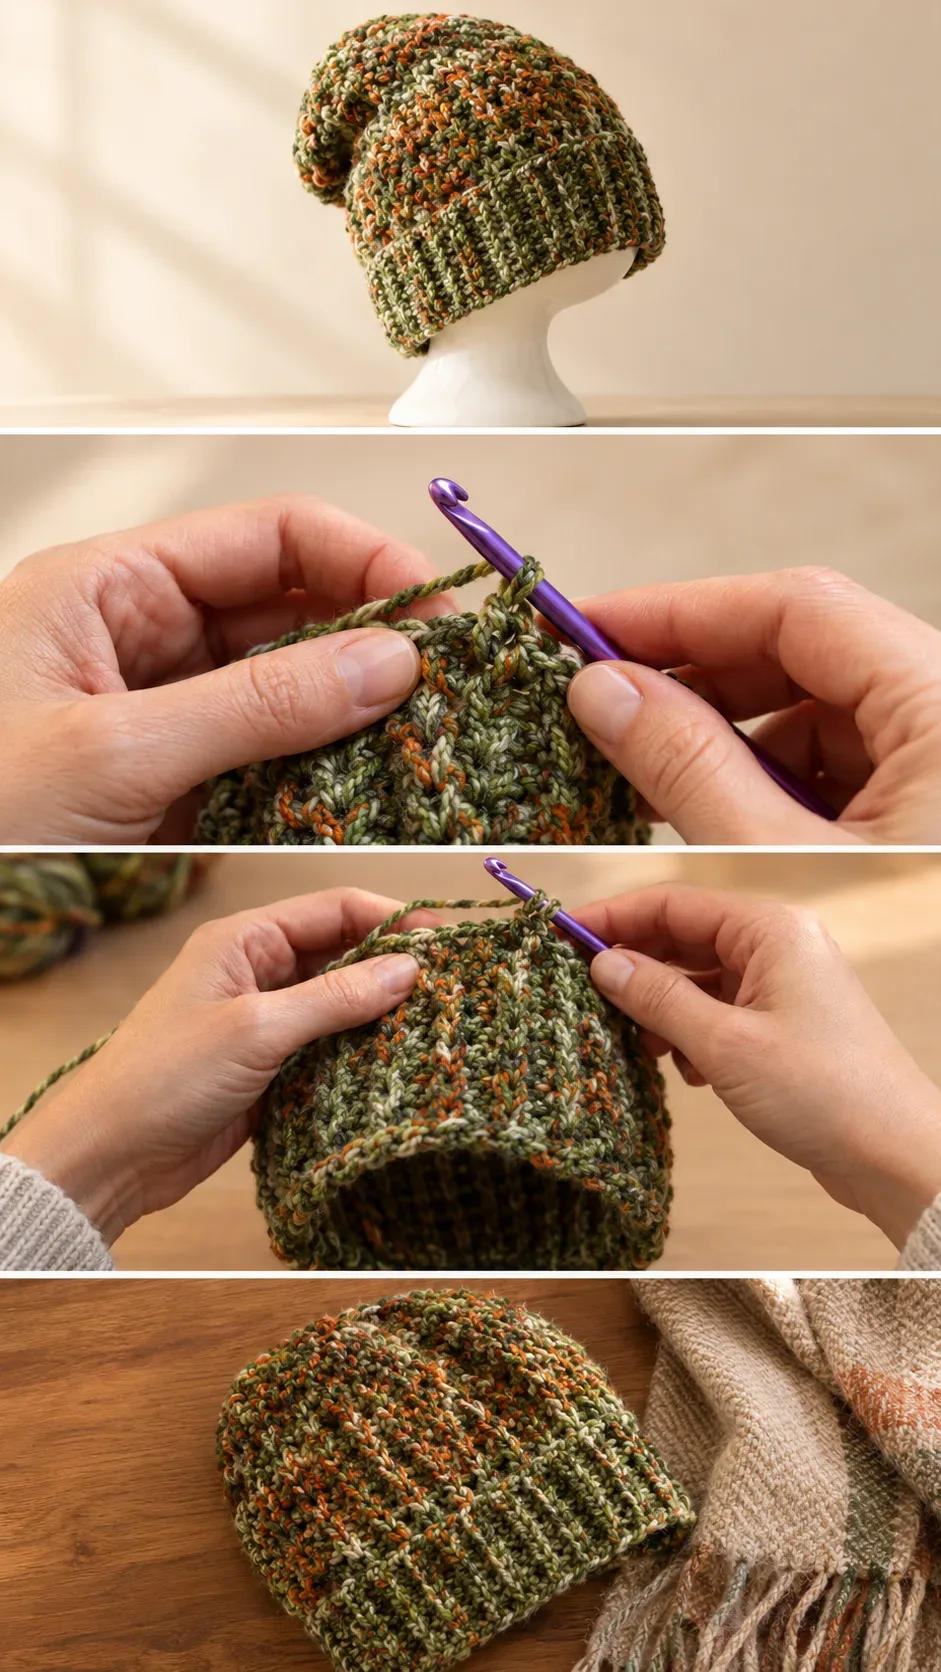
This pattern builds its character from a small, honest collection of stitches that work together to create that ridged, tactile surface.
BULLET:SC (Single Crochet) The foundational stitch that forms the tight, even base rows at the brim of the hat.
BULLET:SL ST (Slip Stitch) Used to join rounds and, crucially, to create the beautiful textured columns that define the body of this Crochet Beanie Hat.
BULLET:CH (Chain) The starting point for the foundation row and for turning at the beginning of each new section.
BULLET:INV DEC (Invisible Decrease) A cleaner alternative to SC2TOG used during crown shaping to close the top of the hat without visible holes or lumps.
There is something meditative about working slip stitches across a round, each one a small, deliberate pull of the hook that slowly builds a fabric with real weight and personality under your hands.
Construction
This Crochet Beanie Hat is worked flat in rows for the body and then seamed, which makes it wonderfully approachable for those who find working in the round intimidating at first. The brim is created separately with a ribbed texture before the main body is attached, giving the hat that neat, folded edge you can see in the tutorial thumbnails. Crown shaping is worked by spacing decreases evenly across the final rounds, pulling the fabric into a smooth dome at the top. If you want a slouchy fit, you can simply add additional rows before beginning the decreases, which is an easy and very forgiving customisation.
Wearing Your Beanie Hat
Pull your finished Crochet Beanie Hat down low over your ears on a frost-sharp morning walk and pair it with a long camel coat and fingerless mitts for an effortlessly put-together look. It sits equally well with a chunky knit sweater and jeans for weekend ease, or tucked over damp post-swim hair at the edge of a winter lake. The moment you wear something you made with your own hands, every outing feels a little more intentional.
Keeping Your Beanie Hat Soft and Shapely
If you chose a wool or wool-blend yarn, hand washing in cool water with a gentle wool wash is always the kindest treatment, pressing the water out carefully rather than wringing, which can distort the stitches. Lay the hat flat on a clean towel to dry, reshaping it gently over a balloon or a rounded bowl if you want to maintain the dome of the crown. Avoid hanging it while wet, as the weight of the water will stretch the ribbed brim out of shape over time. Store it folded softly in a drawer rather than on a hook to help it hold its structure between wears.
Every stitch you place into a Crochet Beanie Hat is a small act of making something real, warm, and entirely yours. Save this article to your Pinterest boards and share your finished hat so the whole handmade community can celebrate it with you.
Follow us on Pinterest and subscribe to the Newsletter so you don’t miss a thing!
Tutorial and photos of this beanie hat by: Jayda InStitches.