
When the cold months arrive and every outfit calls for something substantial and real, the Crochet Cable Hoodie is the answer your wardrobe has been waiting for. In this article, you will discover the materials, techniques, and construction approach that bring this richly textured piece to life.

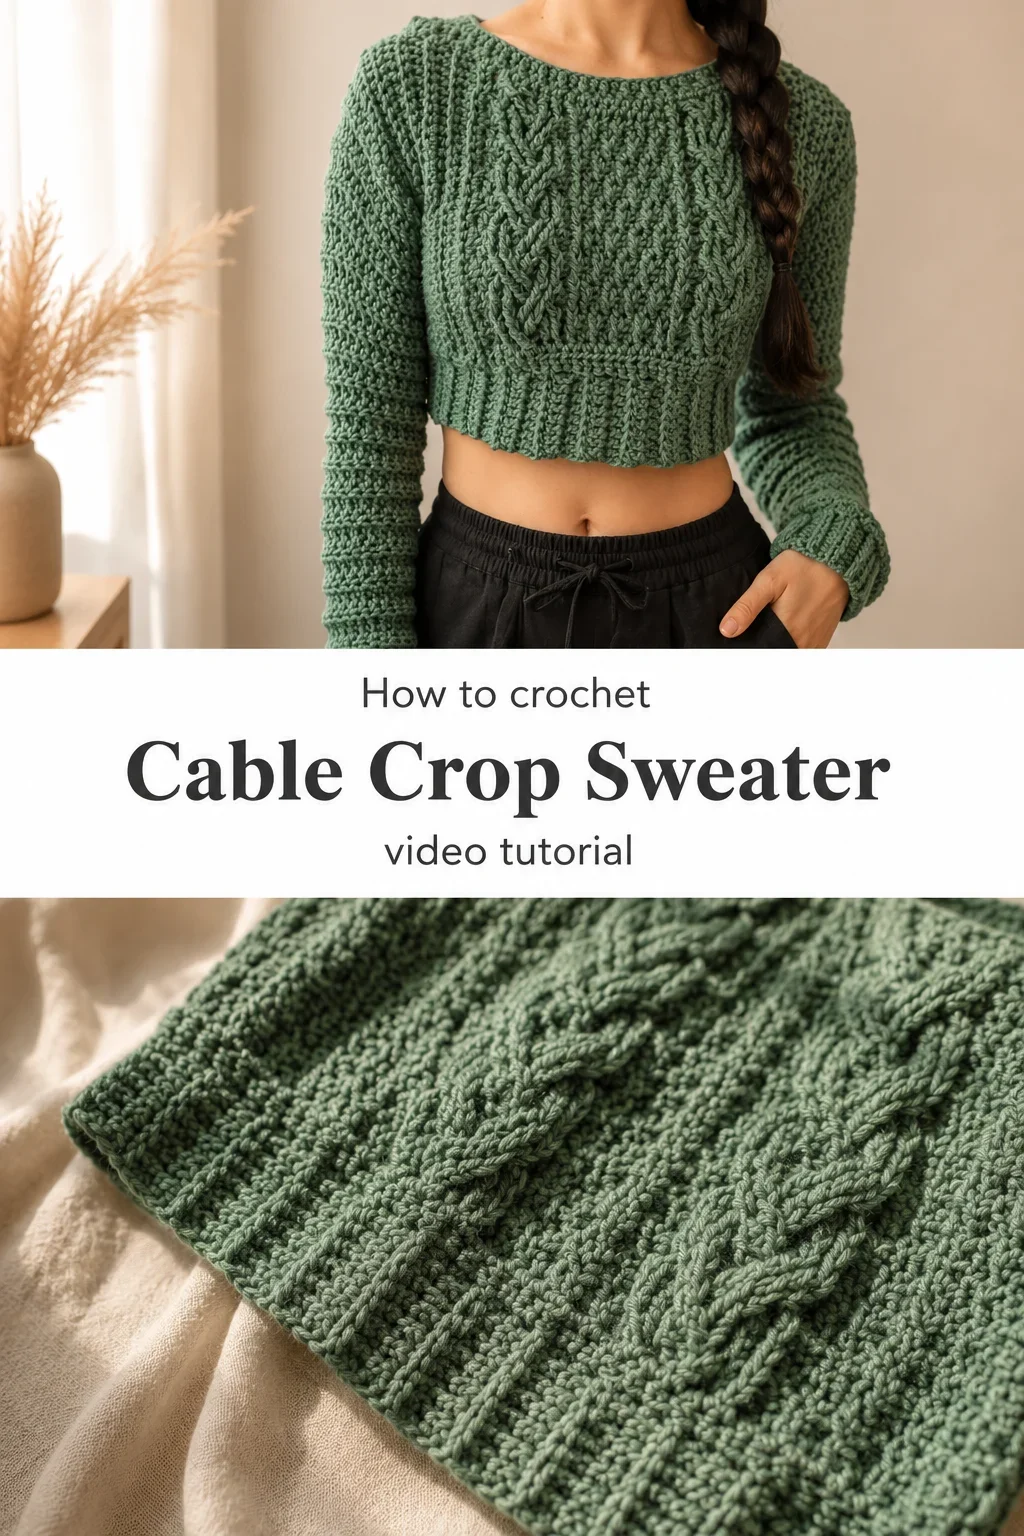
The Cable Hoodie
The Crochet Cable Hoodie is the kind of piece that stops people mid-conversation. Its front panel is worked in a bold, interlocking cable pattern that reads almost architectural, thick rope-like crossings of yarn that catch light and shadow in equal measure. This is a sweater for the person who wants handmade clothing to look unmistakably intentional, not rustic or improvised, but confident and crafted. It sits cropped and close, with long sleeves and a ribbed hem that holds everything neat and structured against the body.
Cable Hoodie Related Posts:
- Crochet Festival Halter Top: A Bohemian Summer Essential
- Crochet Ribbed Beanie: A Sleek Winter Essential
- Crochet Ripple Beanie: A Textured Winter Essential
- Crochet Classic Bralette: A Timeless Wardrobe Essential
A deep forest green, the way it appears in the reference images, is a deeply satisfying choice for this pattern because the cables read with extraordinary clarity against a single, saturated tone. That said, this design would be equally striking in oatmeal cream, dusty burgundy, or a soft slate blue. Wear it over high-waisted black trousers for a clean, put-together look, or pull it on with your favourite worn-in jeans for something easier and more lived-in.
Materials and Tools
For this Crochet Cable Hoodie, you will want to reach for a bulky or super bulky weight yarn that gives the cables the volume and definition they deserve. The version shown in the tutorial uses what appears to be a smooth, slightly plied yarn with excellent stitch definition, which is critical when working cables in crochet. A wool-acrylic blend or a pure wool in this weight will give you warmth with structure, and the stitches will hold their shape beautifully after blocking. Work with a 6mm or 6.5mm crochet hook, and keep a cable needle or a spare short hook nearby for managing the front-post stitch crossings that create those signature twists.
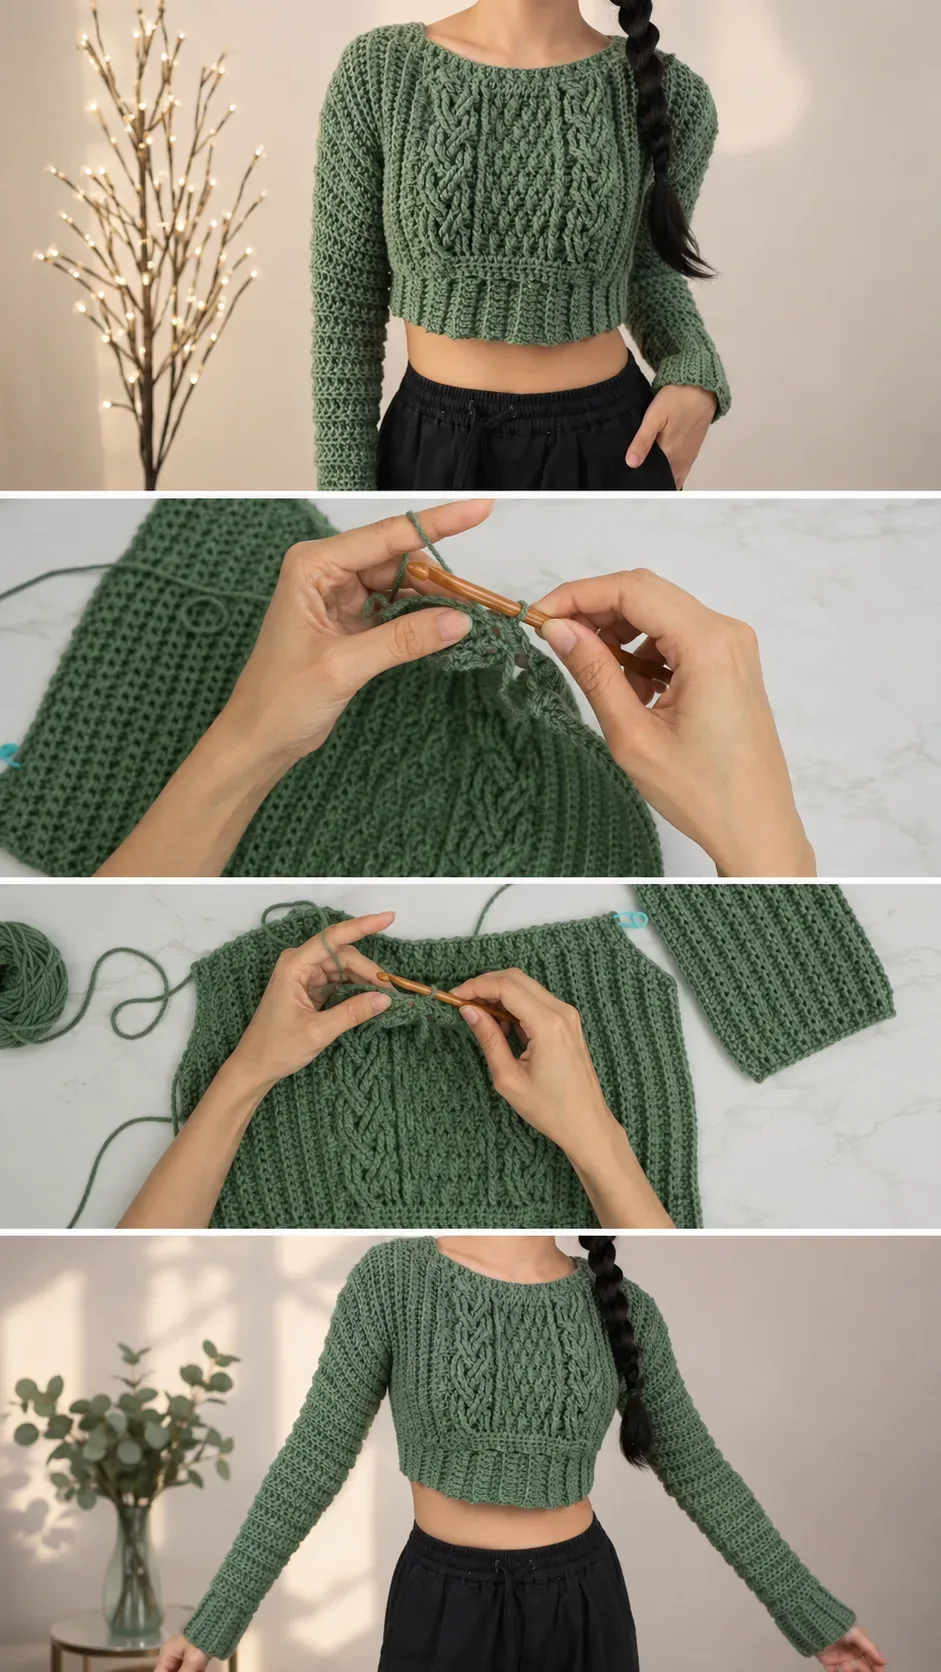
Stitch by Stitch
This pattern draws on a focused set of stitches that layer together to create both the textured background and the dramatic cable foreground.
BULLET:SC (Single Crochet) The foundational stitch used in ribbing sections and seaming, keeping edges firm and tidy.
BULLET:DC (Double Crochet) The primary stitch of the body fabric, creating a flexible, airy yet structured fabric between cable panels.
BULLET:FPdc (Front Post Double Crochet) The essential stitch for raised texture, worked around the post of the stitch below to bring the cable forward from the surface.
BULLET:BPdc (Back Post Double Crochet) Worked in tandem with FPdc to push stitches back and create the illusion of depth within the cable columns.
Once you find the rhythm of alternating FPdc and BPdc across the cable repeats, the work takes on a meditative quality, each crossing of stitches building something that feels increasingly satisfying in your hands.
Construction
The Crochet Cable Hoodie is constructed in flat panels that are seamed together, which makes it approachable even for crocheters who are still building confidence with garment construction. The front panel is worked separately to spotlight the cable design, while the back and sleeves use a simpler textured stitch that keeps the overall piece balanced without competing visually. Seaming is done with a yarn needle and matching yarn using a slip stitch or mattress-style join, and the ribbed hem and cuffs are added after assembly for a polished, clean finish. If you want a longer, less cropped silhouette, simply add extra rows to the body before beginning the ribbed band.
Wearing Your Cable Hoodie
Layer this piece over a fitted turtleneck for the coldest days and let the cables do all the visual work. It also pairs beautifully with wide-leg linen trousers and flat mules for a more relaxed, early-autumn outfit. Every time you reach for it, you will feel the quiet satisfaction of wearing something you made entirely with your own hands.
Keeping Your Cable Hoodie Looking Its Best
After completing your Crochet Cable Hoodie, a gentle wet block will open up the cables and settle the fabric into its final shape, so do not skip this step even if the piece already looks beautiful off the hook. Hand wash in cool water with a wool-safe detergent, pressing the water through the fabric rather than wringing or twisting. Lay the sweater flat on a blocking mat and pin the cables open so they dry in full definition. Store it folded, never hung, to prevent the shoulders from stretching out of shape over time.
Every stitch you place into this piece is a small act of devotion to slowness, to warmth, and to the particular pleasure of making something real. If you want the full step-by-step video tutorial for this Crochet Cable Hoodie, head to the @TCDDIY channel and save this pattern before you begin. Share your finished sweater on Pinterest so other makers can find it and be inspired to start their own.
Follow us on Pinterest and subscribe to the Newsletter so you don’t miss a thing!
Tutorial and photos of this cable hoodie by: TCDDIY.