
Learn to crochet this adorable Apple Amigurumi with a free video tutorial that guides you through every step. Display it on your kitchen shelf, tuck it into a gift basket, or let children use it as a soft toy for imaginative play.

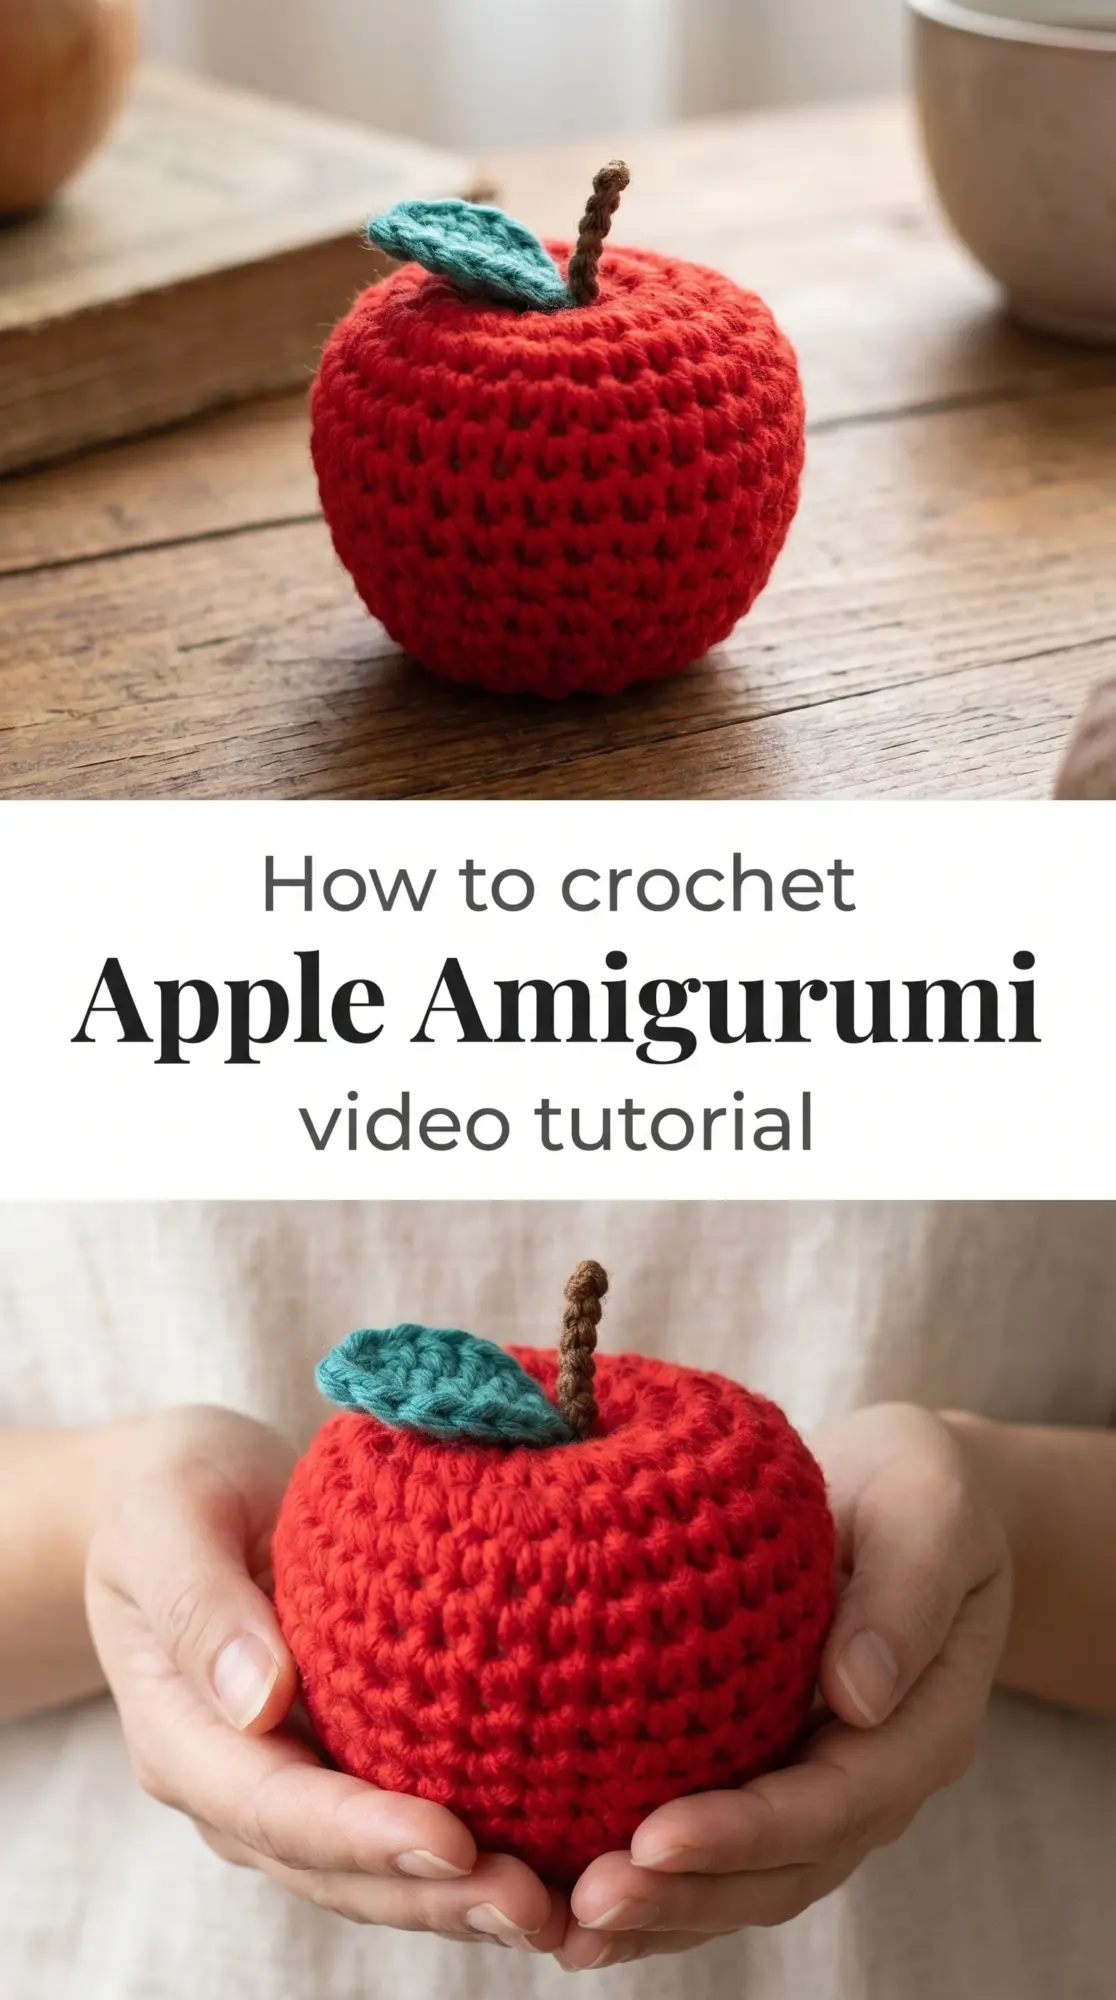
The Apple Amigurumi
This Crochet Apple Amigurumi brings a touch of farmhouse charm and whimsy to your handmade collection. Worked in cheerful red with a leafy green top and braided brown stem, it captures the essence of autumn harvest baskets and sunny orchard afternoons. The rounded shape sits perfectly in your palm, soft and pleasantly weighted when stuffed with fiberfill. Perfect for beginners exploring amigurumi or seasoned crocheters looking for a quick, satisfying project to fill an afternoon.
Apple Amigurumi Related Posts:
Classic red yarn gives you the traditional apple look, but imagine working this pattern in golden yellow for a honeycrisp variety or soft green for a granny smith interpretation. You could even stitch a whole bowl of apples in varying shades, each one unique and full of handmade personality.
Materials and Tools
Choose a worsted weight cotton or acrylic blend yarn in red for the apple body, with small amounts of green and brown for the leaf and stem details. A 3.5mm crochet hook creates tight, even stitches that prevent stuffing from showing through the fabric. Cotton yarn offers a crisp, structured finish that holds the apple shape beautifully, while acrylic provides softness and washability if the piece will be handled by little ones. Keep a yarn needle handy for weaving in ends and attaching the stem and leaf securely.
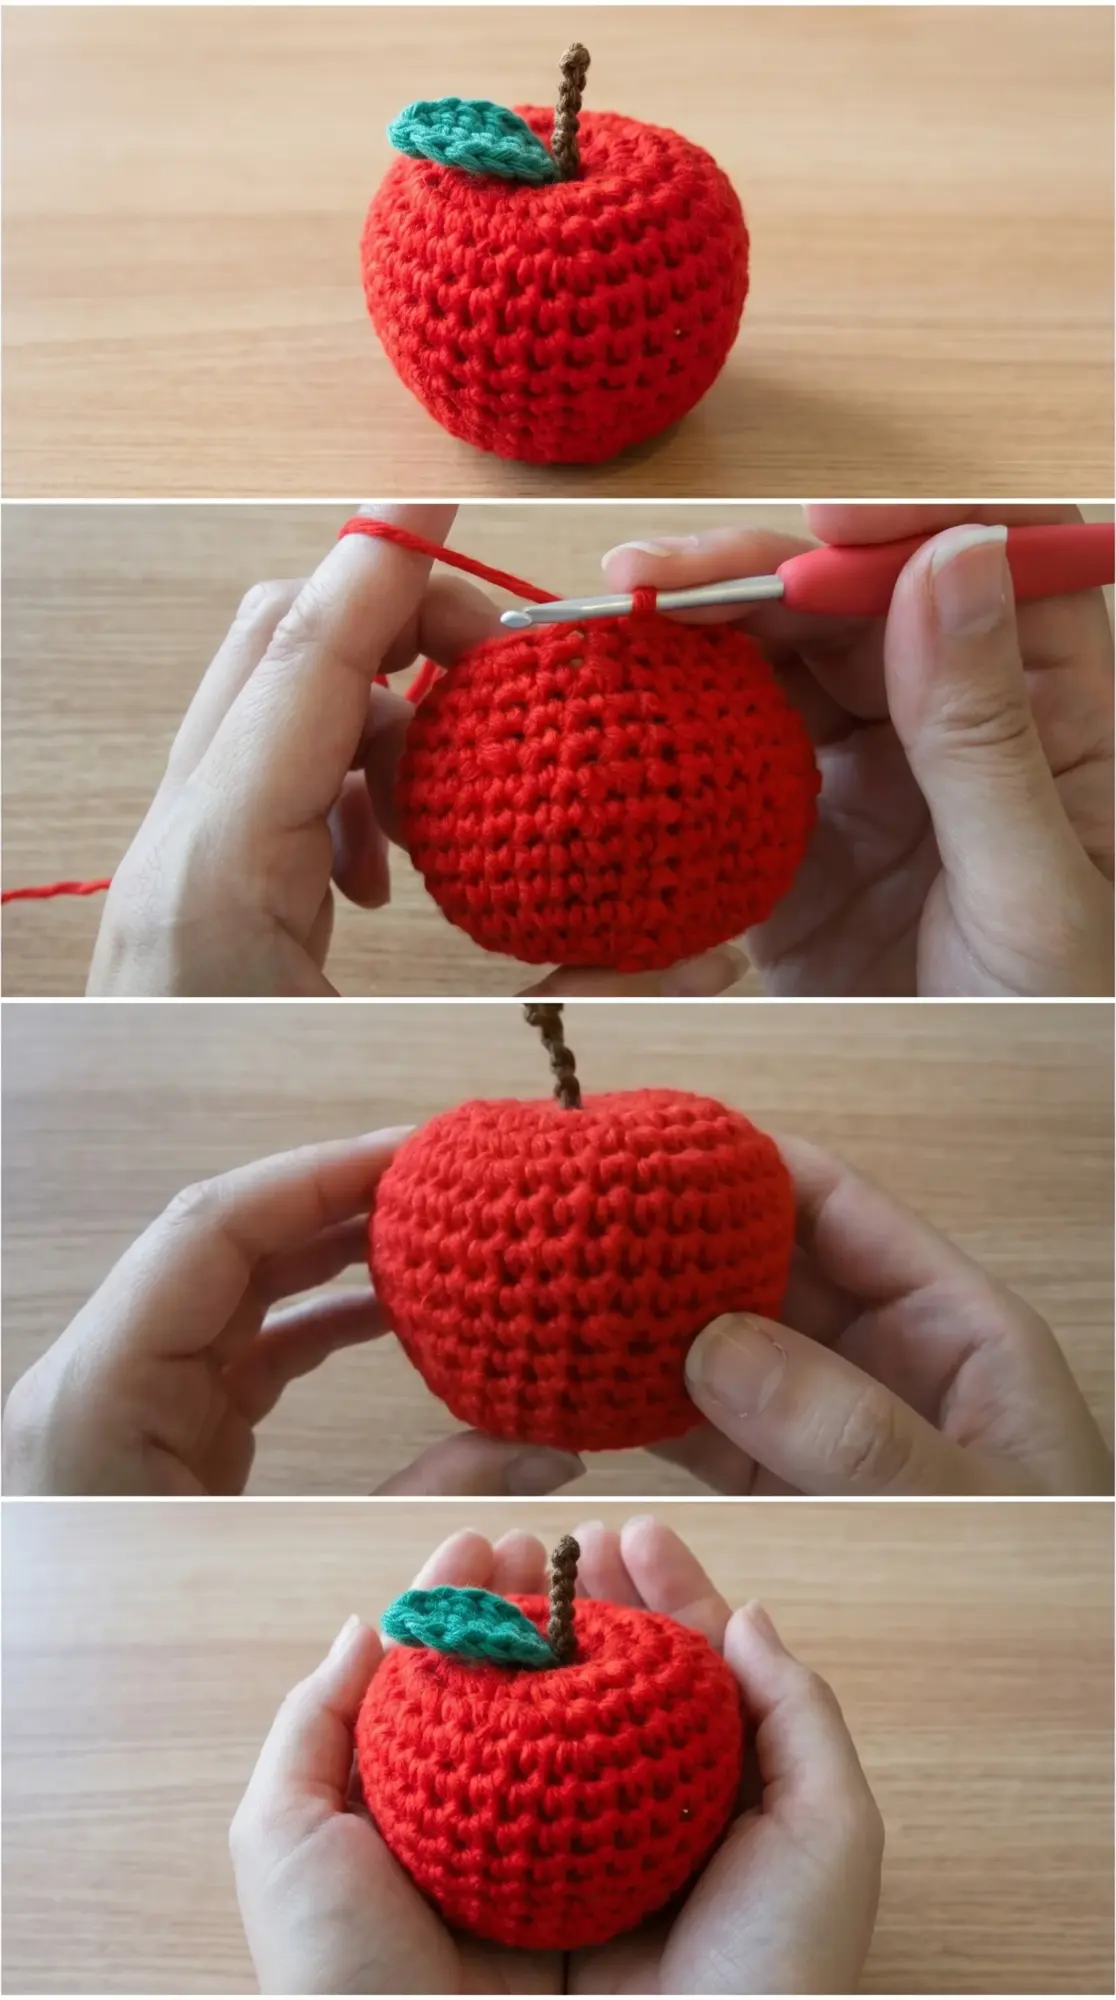
Stitch by Stitch
This pattern relies on foundational amigurumi stitches that build a three-dimensional form.
BULLET:SC (single crochet) The workhorse stitch of amigurumi, creating tight, dense fabric that shapes and holds the rounded apple form.
BULLET:Inc (increase) Worked by placing two single crochets into the same stitch, this expands the rounds to create the apple’s curved sides.
BULLET:Dec (invisible decrease) Pulling through the front loops of two stitches before completing the decrease keeps the surface smooth and professional looking.
BULLET:Magic ring A adjustable starting loop that closes neatly at the bottom of the apple with no visible hole.
The repetitive rhythm of working in continuous rounds becomes almost meditative, each stitch building upon the last until the apple takes shape in your hands.
Construction
The Crochet Apple Amigurumi is worked in continuous spiral rounds from the bottom up, starting with a magic ring and gradually increasing to create the widest part of the apple before decreasing again toward the top. The video tutorial demonstrates how to stuff the piece firmly but not overly tight, maintaining that natural apple roundness without distorting the stitches. Once the main body is complete, you’ll crochet a simple leaf shape separately and create a twisted stem from brown yarn before securing both pieces at the top. Adjust the stuffing density to your preference, adding more for a display piece or less for a softer, squeezable toy.
Wearing Your Apple Amigurumi
Arrange a collection of Crochet Apple Amigurumi pieces in a wooden bowl as a centerpiece that never bruises or spoils, bringing year-round harvest warmth to your dining table. Tuck one into a teacher appreciation gift alongside a handwritten note, or string several together as charming garland for autumn decorating. Children love using them in pretend play kitchens, and the durable construction withstands endless tea parties and grocery store games.
Keeping Your Apple Fresh and Bright
Cotton yarn apples can be spot cleaned with a damp cloth and mild soap, then reshaped and left to air dry completely. Acrylic versions tolerate gentle machine washing in a lingerie bag, though hand washing preserves the leaf and stem attachment points better over time. Store your finished pieces in a basket or on a shelf away from direct sunlight to prevent fading, and give them an occasional gentle squeeze to maintain their plump, just-picked appearance. If the stem loosens with handling, a few quick stitches with your yarn needle secures it again.
This Crochet Apple Amigurumi proves that the smallest projects often bring the greatest joy, transforming simple yarn and basic stitches into something delightful and wholly your own. Pin this tutorial to your amigurumi board and share your finished apple creations with fellow makers who appreciate the beauty of handmade details.
Follow us on Pinterest and subscribe to the Newsletter so you don’t miss a thing!
Tutorial and photos of this apple amigurumi by: AmiaMikancl Crochet.