
Today’s guide brings you a collection of soft, round-bodied Crochet Amigurumi Birds that rest in your palm like found treasures. Let’s craft these gentle companions with texture and care.

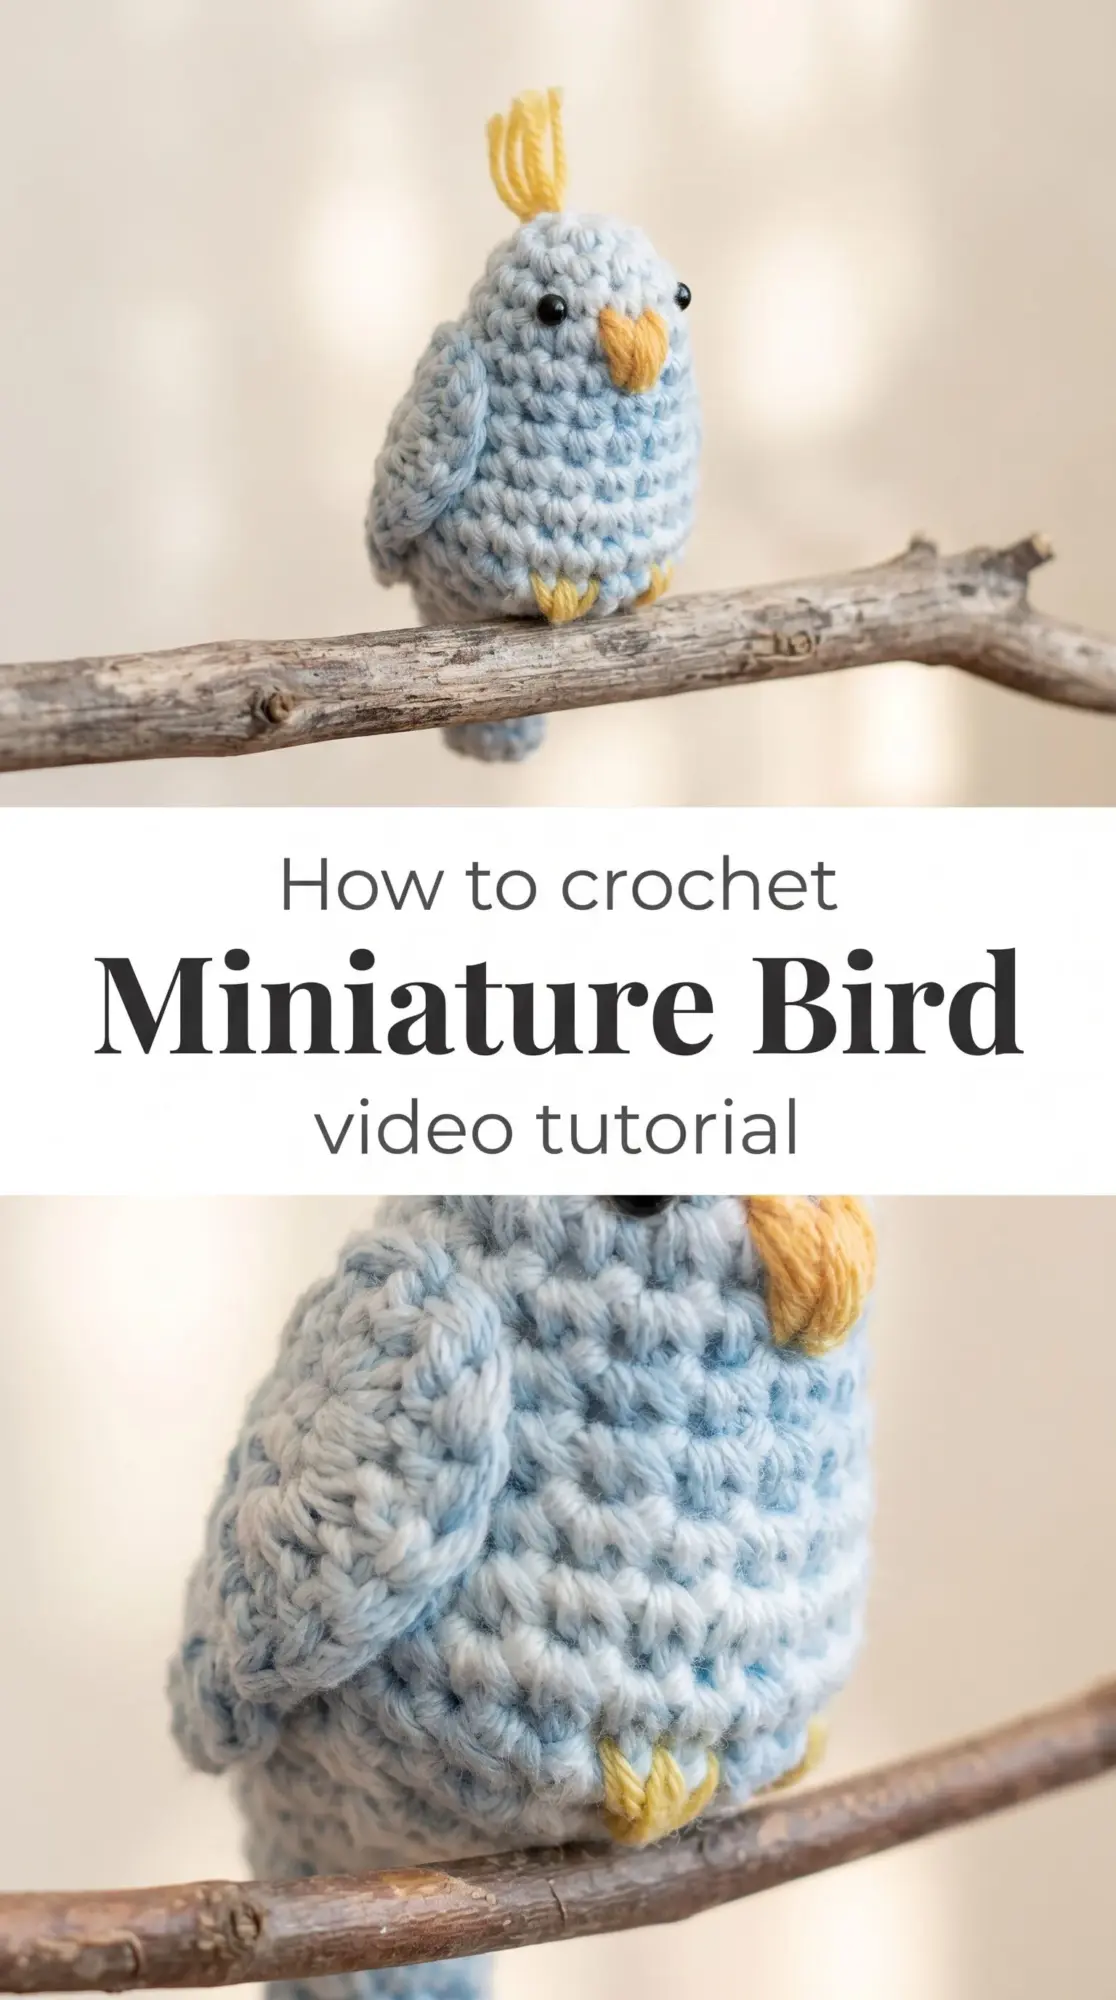
The Amigurumi Birds
These Crochet Amigurumi Birds are small enough to tuck into a pocket yet full of character, from the perched parakeet with its cheerful crest to the plump budgie holding its crocheted wing. Each bird works up quickly in spiraling rounds that build a sculptural form with surprising ease. They’re ideal for beginners ready to practice shaping and stuffing, or for seasoned makers who want a quick, soulful gift.
The birds in these images show a palette of soft blues, creamy grays, and pops of buttercup yellow, but you could just as easily work them in robin’s egg and coral, or forest green and amber. They adapt beautifully to scrap yarn projects or coordinated sets that look lovely lined up on a nursery shelf or clipped to a child’s backpack.
Materials and Tools
You’ll want a DK weight cotton or acrylic blend yarn for structure and stitch definition, something that holds its shape without going stiff. A 3.5mm crochet hook keeps the fabric tight enough to contain the stuffing while still allowing your stitches to glide smoothly. Black safety eyes in 6mm give these birds their bright, attentive gaze, and a yarn needle will help you weave in ends and attach those tiny beaks and wings. Polyester fiberfill works beautifully for the stuffing, giving each bird a soft, huggable body.
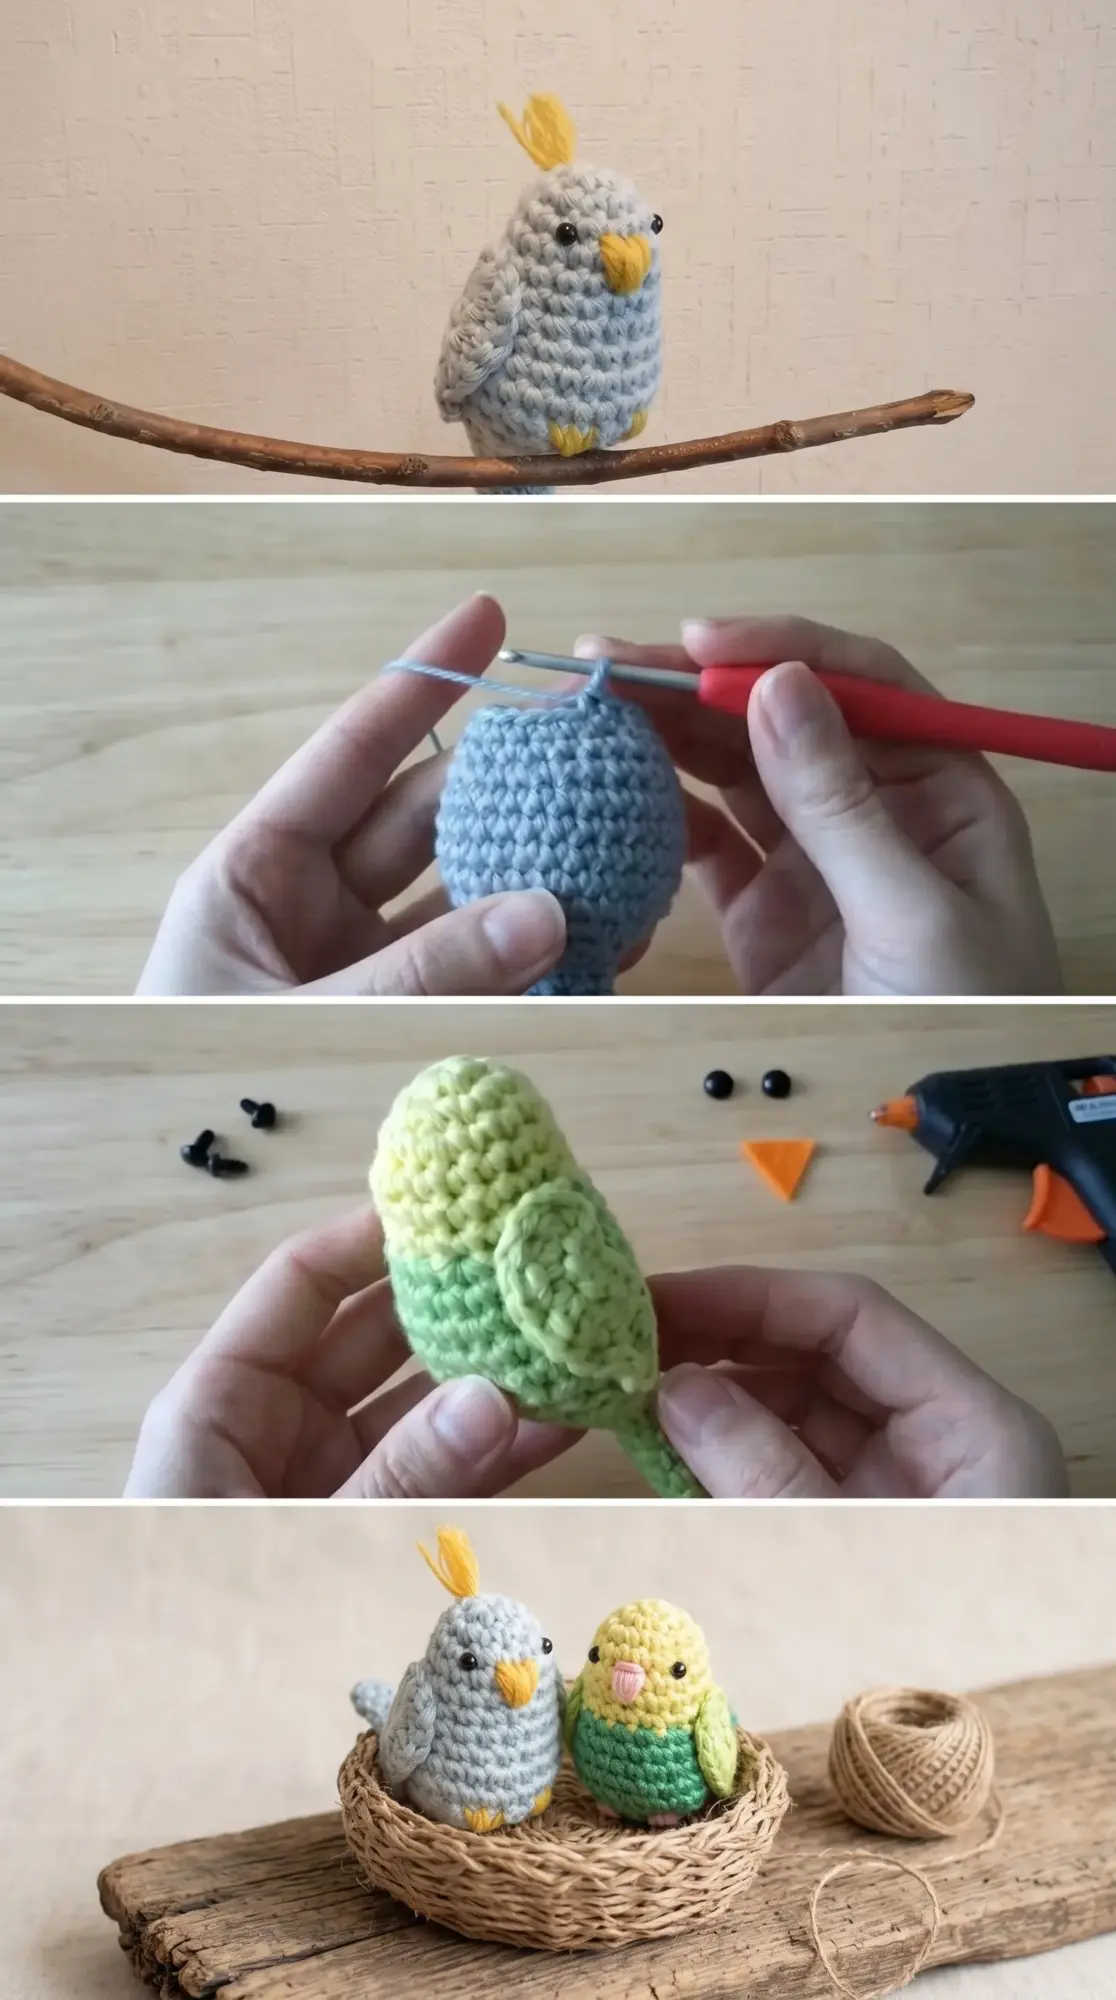
Stitch by Stitch
The pattern relies on a handful of foundational stitches that build dimension and charm.
BULLET:SC (single crochet) This stitch forms the dense, even fabric that shapes the bird’s body and keeps stuffing secure.
BULLET:INC (increase) Worked as two single crochets in the same stitch, increases add width and create the rounded belly.
BULLET:DEC (invisible decrease) This technique closes stitches neatly without leaving gaps, essential for shaping the head and tapering the tail.
BULLET:Magic ring The starting point for working in the round, it cinches tight to prevent any holes at the base of the bird.
The rhythm of these rounds is steady and calming, each stitch building on the last until the shape emerges almost on its own.
Construction
Crochet Amigurumi Birds are worked in continuous spirals from the base up, with increases placed strategically to widen the body before decreasing toward the head. The wings and tail are crocheted separately as small flat pieces, then sewn on with a few secure stitches. Beginners will appreciate how forgiving the process is, as slight variations in tension only add to the handmade charm. You can elongate the tail for a parakeet or keep it stubby for a chubby chickadee, adjusting the final rounds to suit your vision.
Wearing Your Amigurumi Birds
These little birds make thoughtful keychains, nursery mobiles, or quiet companions tucked into a tote bag for a child who needs something soft to hold. They’re also lovely perched on a bookshelf or hanging from a rearview mirror, bringing a touch of handmade warmth wherever they land.
Keeping Your Little Birds Fresh and Intact
Spot clean your Crochet Amigurumi Birds with a damp cloth and mild soap if they pick up dust or spills, avoiding soaking them if you’ve used safety eyes that could rust. Let them air dry fully before returning them to display or play. Store them in a basket or small box where they won’t get squashed, and check the stitching on wings and beaks occasionally to reinforce any loosening threads.
These birds are small acts of making that carry big feeling, proof that a few rounds of yarn can hold personality and joy. Pin this tutorial and start stitching your own flock today.
Follow us on Pinterest and subscribe to the Newsletter so you don’t miss a thing!
Tutorial and photos of this amigurumi birds by: AmiaMikancl Crochet.