
This guide walks you through creating your own Crochet Strawberry Amigurumi, a charming little fruit that sits perfectly in the palm of your hand with its textured stitches and curling green stem. Let’s crochet something sweet and small that brings a smile with every stitch.

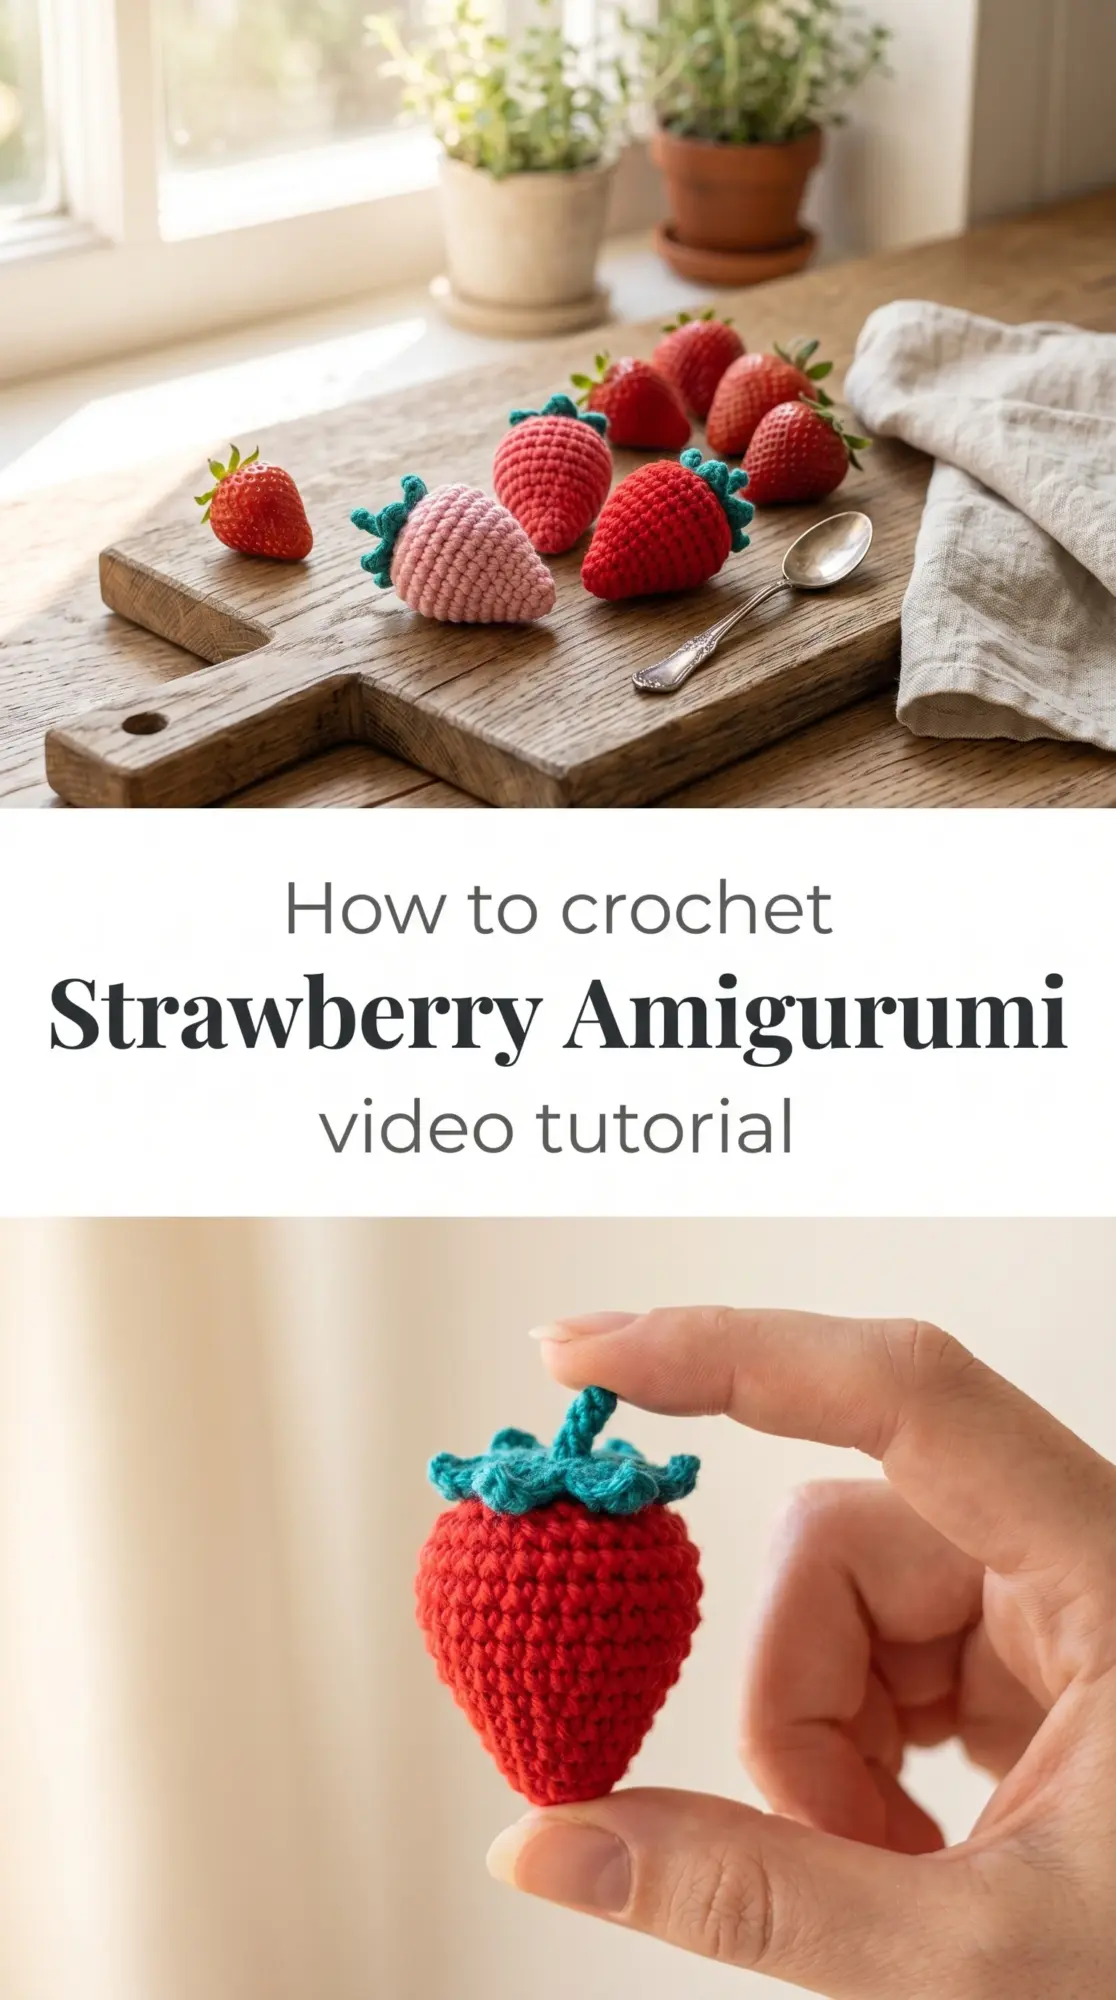
The Strawberry Amigurumi
The Crochet Strawberry Amigurumi is a delightful miniature that captures the plump, dimpled texture of real strawberries through careful increases and tight stitches. Each berry sits rounded and full, topped with a cluster of green leaves and a graceful stem that curls upward like new growth. This project speaks to beginners who want to practice shaping and to anyone who loves small, cheerful objects that carry color and whimsy into everyday spaces.
Strawberry Amigurumi Related Posts:
- Crochet Zodiac Mouse: A Charming Year of the Rat Keepsake
- Crochet Amigurumi Birds: A Charming Miniature Collection
- Crochet Apple Amigurumi: A Charming Handmade Delight
- Crochet Daruma Doll: A Traditional Japanese Treasure
The classic combination is bright red with forest green, but you could explore soft pink for an unripe look or even cream with pale green for a dreamy pastel version. These little fruits adapt beautifully to whatever palette calls to you. Make a whole basket in varying shades from coral to deep crimson for a collection that feels alive and gathered fresh.
Materials and Tools
You’ll need DK weight cotton yarn in your chosen red and green shades, worked with a 3mm crochet hook to create the dense, structured fabric that amigurumi requires. Cotton holds its shape beautifully and gives each berry a satisfying weight and presence. A yarn needle for weaving in ends and a small amount of polyester fiberfill for stuffing complete your supplies. The video tutorial demonstrates each step with clear hand movements, guiding you through the shaping and assembly with patience.
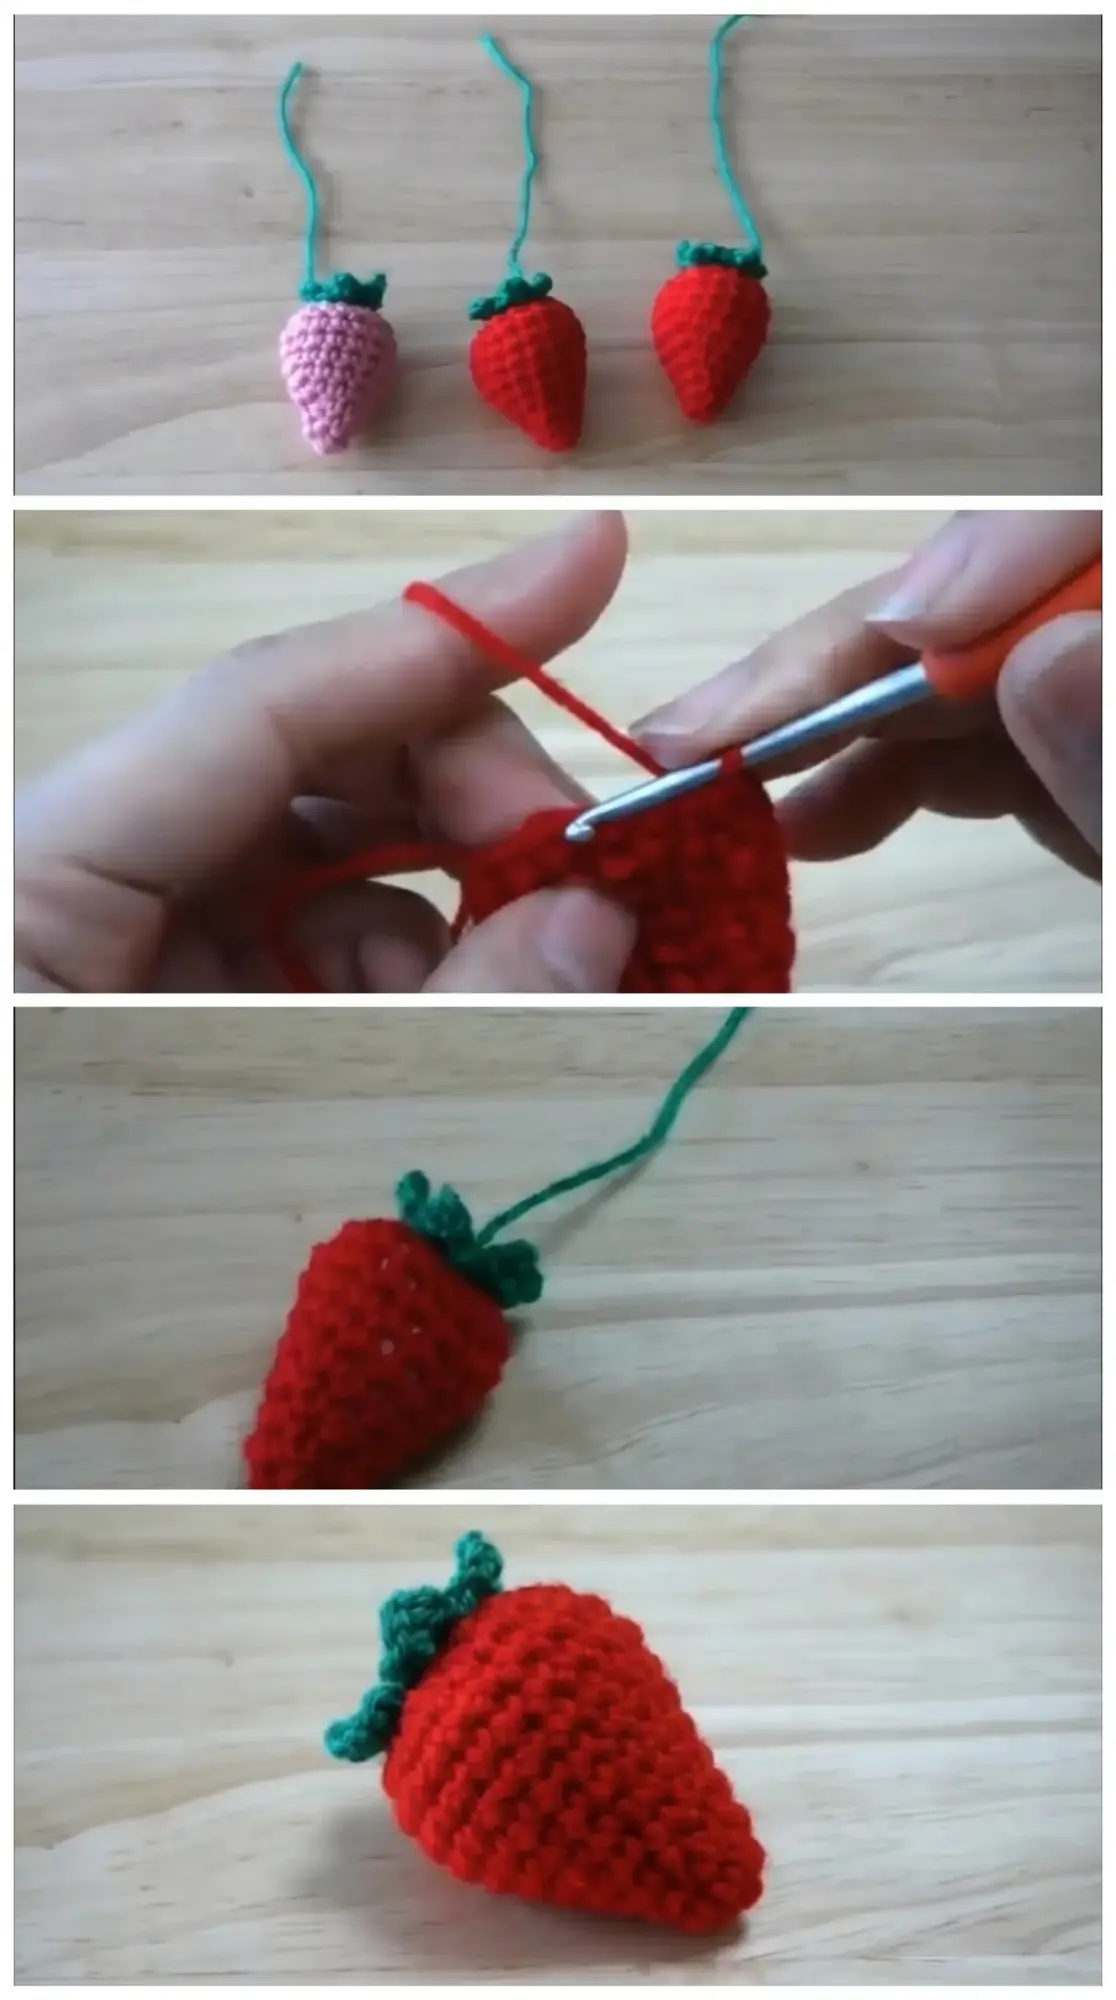
Stitch by Stitch
The pattern relies on foundational amigurumi techniques worked in continuous rounds.
BULLET:SC (single crochet) This stitch forms the entire body of the strawberry, creating tight, even fabric that holds stuffing without gaps.
BULLET:Inc (increase) Two single crochets worked into the same stitch allow the berry to expand from its small base into its characteristic rounded shape.
BULLET:Dec (invisible decrease) This technique pulls two stitches together seamlessly, tapering the top of the fruit without visible lumps or irregularities.
BULLET:Sl st (slip stitch) Used to join the green leaves and finish off rounds cleanly.
The rhythm of working in a spiral, with no jarring joins or turning chains, becomes almost hypnotic as the strawberry grows beneath your fingers. Each round builds on the last in a continuous flow that mirrors the organic growth of the fruit itself.
Construction
The Crochet Strawberry Amigurumi begins at the pointed tip with a magic ring, expanding outward through regular increases until it reaches its widest point, then decreasing again toward the top where the green cap will attach. The leaves are worked separately in short rows or rounds, then stitched around the opening before you close it completely. Beginners will find this pattern forgiving, as the small scale means you can complete one berry in an hour or two and immediately see your results. If you want a slightly larger strawberry, simply add an extra round or two at the widest section before beginning your decreases.
Wearing Your Strawberry Amigurumi
These little berries make perfect bag charms when you attach a lobster clasp to the stem, adding a pop of handmade charm to your everyday carry. Cluster several together as a garland for a child’s room or string them along a kitchen shelf for year-round color. They also work beautifully as play food for little ones, soft and safe and endlessly charming in pretend market baskets.
Keeping Your Berries Fresh and Bright
Cotton yarn can be gently hand washed in cool water if your Crochet Strawberry Amigurumi needs refreshing, though the tight stitches resist dirt remarkably well. Press gently in a towel to remove excess water, then reshape while damp and allow to air dry completely before handling. Store your strawberries in a basket or bowl where air can circulate, keeping the fiberfill filling from compressing over time. The stems may relax and straighten with handling, but a quick steam or dip in hot water will restore their cheerful curl.
You’ve just created something that holds both craft and joy in equal measure, a tiny tribute to summer fruit that lives beyond any season. Pin this Crochet Strawberry Amigurumi tutorial and share your finished berries so others can find their way to this sweet, satisfying make.
Follow us on Pinterest and subscribe to the Newsletter so you don’t miss a thing!
Tutorial and photos of this strawberry amigurumi by: AmiaMikancl Crochet.