
A free video tutorial is available to guide you through the Crochet Magic Circle step by step, making this foundational technique completely accessible from your very first attempt. There is something genuinely thrilling about the way this single starting method transforms a loose loop of yarn into a tight, gapless centre that anchors every round you will ever work!

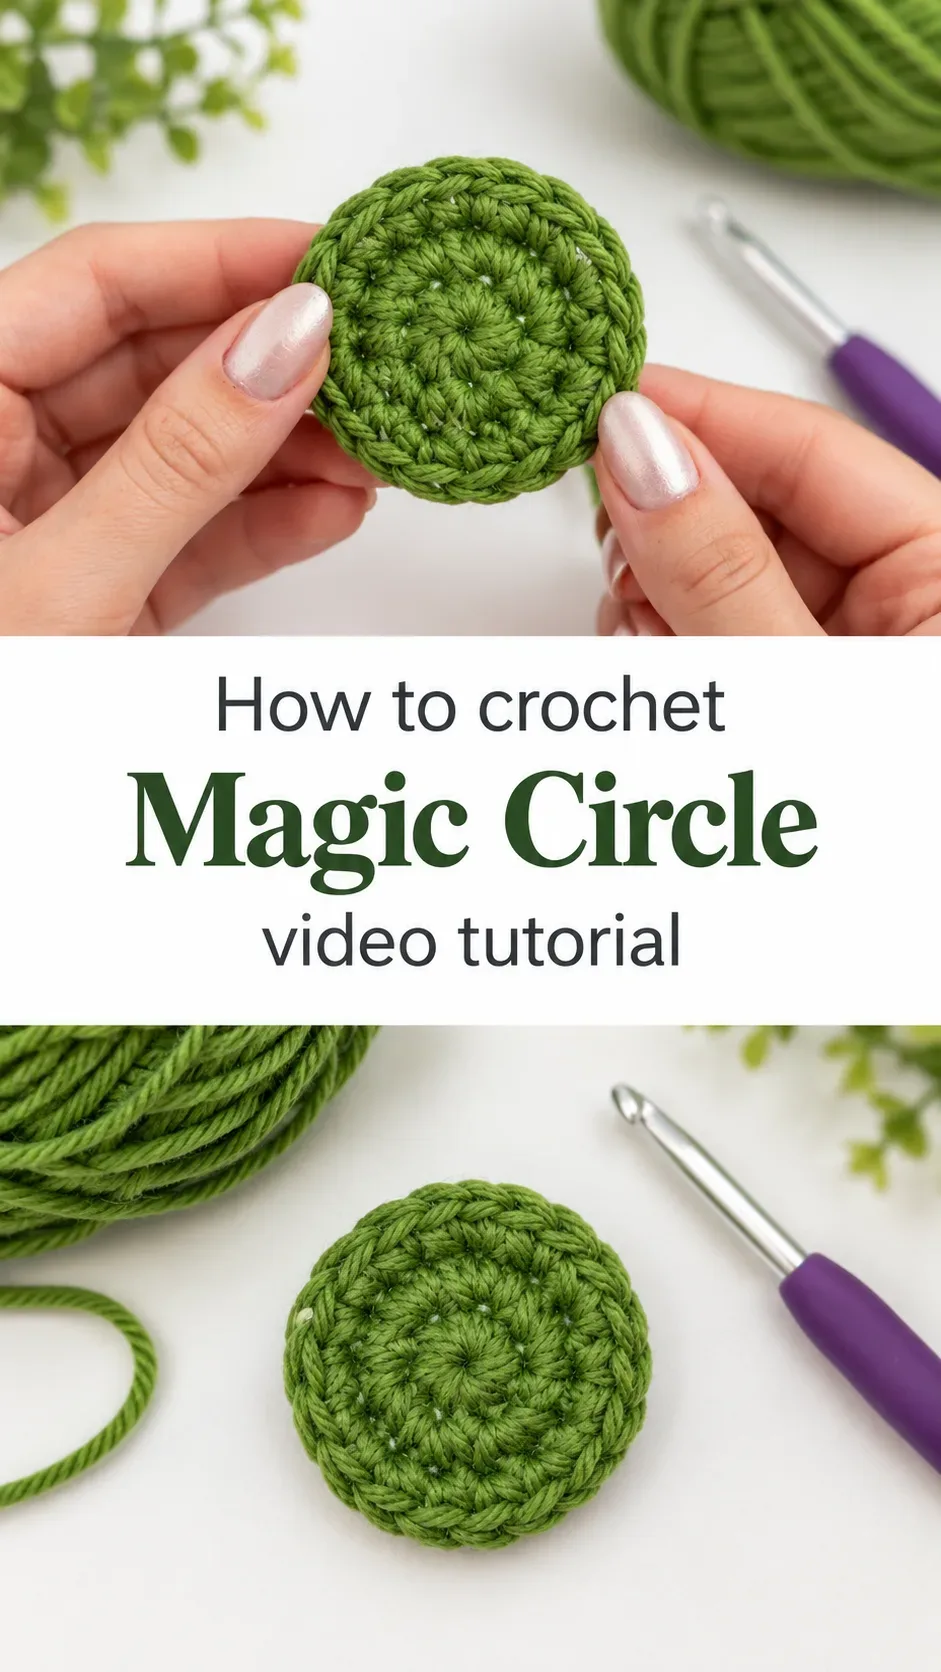
The Magic Circle
The Crochet Magic Circle is one of those techniques that feels almost ceremonial the first time you pull the loop closed and watch the centre of your work cinch into a perfect, seamless ring. It carries a quiet elegance, that meditative satisfaction of knowing there is no unsightly hole at the heart of your amigurumi, your granny square, or your crocheted flat circle. Whether you are a beginner holding a hook for the second or third time, or an experienced maker who has been working in rows for years and is finally ready to commit to working in the round, this technique welcomes you without condition. The finished circle sits flat, airy yet structured, with a centre so tidy it almost looks professional before you have even worked your second round.
Magic Circle Related Posts:
- Crochet Yoshi Plushie: A Playful Gaming Classic
- Crochet Mini Apples: A Sweet and Whimsical Delight
- Crochet Apple Amigurumi: A Charming Handmade Delight
- Crochet Minion Plush: A Playful Cuddly Companion
Green is a natural choice for practising, as you can see in the reference images, and there is something grounding about working with earthy, botanical tones when you are learning a new skill. But the Crochet Magic Circle belongs to every palette: soft oatmeal and cream for amigurumi animal faces, deep terracotta and rust for boho coasters, or bright primary colours for children’s toys. Pick the colour that makes you want to sit down and make something right now.
Materials and Tools
For practising the Crochet Magic Circle, a worsted weight yarn is your most forgiving companion. It is thick enough to see every stitch clearly, smooth enough to glide without snagging, and widely available in every craft shop and online marketplace. A cotton-acrylic blend works beautifully for flat circles and amigurumi bases, as it holds its shape without stretching, while a pure cotton yarn adds a lovely crispness that makes each SC crisp and defined. Pair your yarn with a 4mm crochet hook, which gives you just enough tension to keep the stitches even without cramping your hand, and keep a yarn needle nearby for weaving in that initial tail once you have closed your circle.
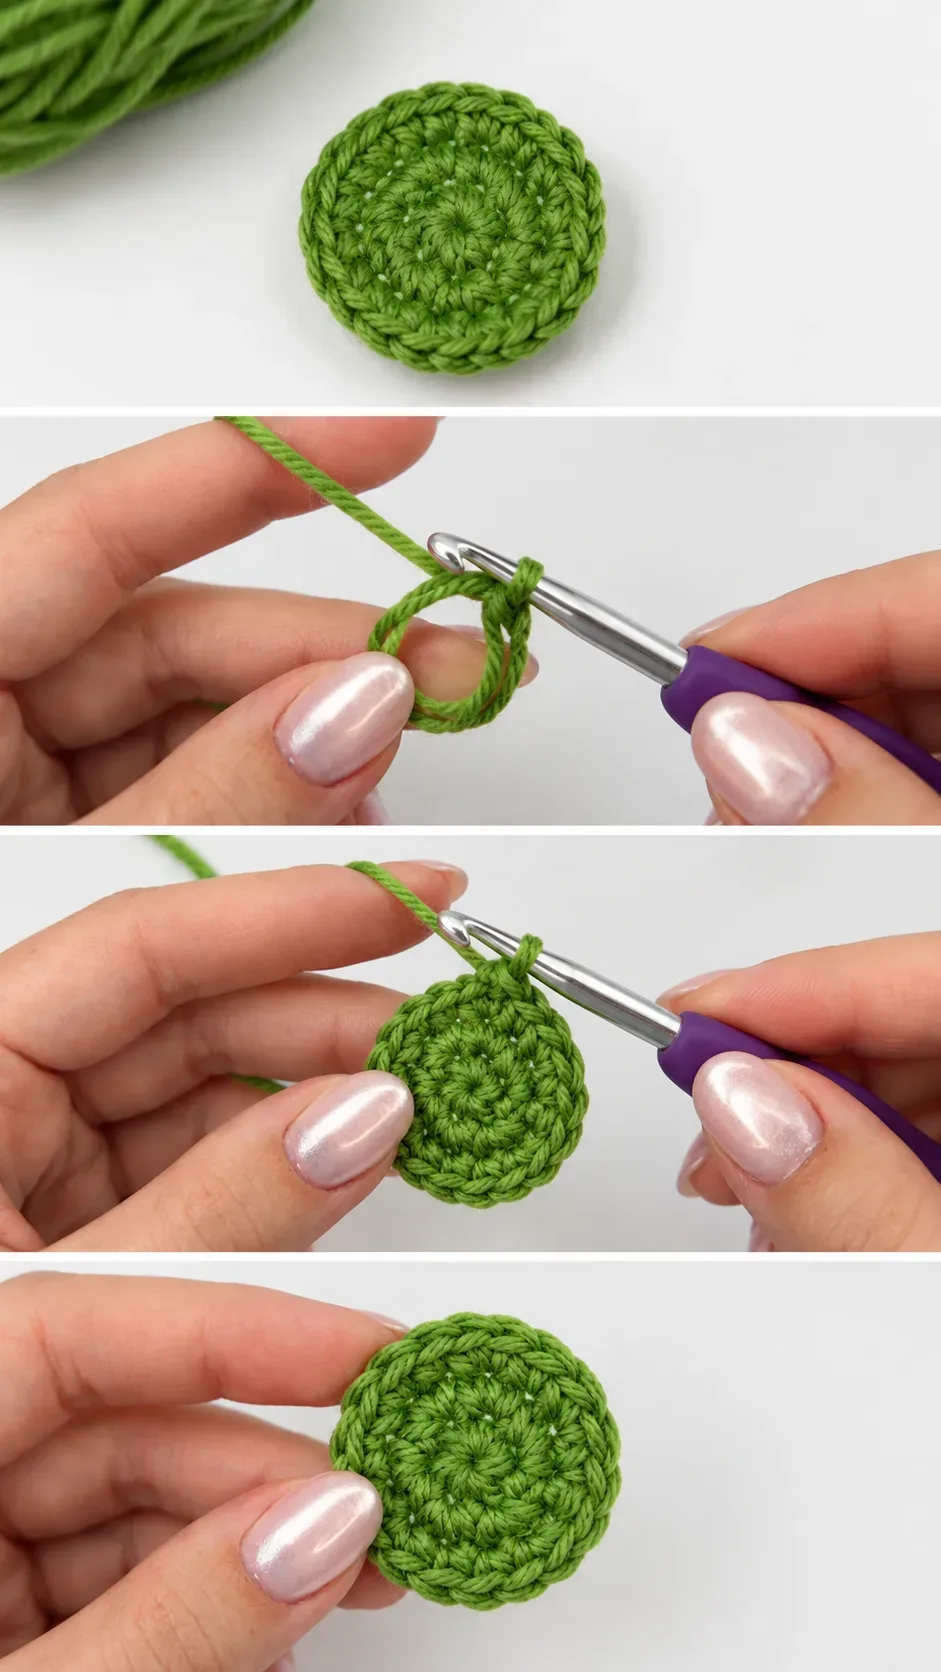
Stitch by Stitch
The Crochet Magic Circle relies on a small, elegant collection of stitches that layer together with pleasing logic.
BULLET:MC (Magic Circle) The foundational adjustable loop that replaces a traditional chain start, allowing you to pull the centre completely closed.
BULLET:SC (Single Crochet) The primary stitch worked into the magic circle during your first round, building a compact and even fabric.
BULLET:DC (Double Crochet) A taller stitch sometimes used in later rounds when you want your circle to grow in circumference more quickly.
BULLET:SS (Slip Stitch) Used to join the end of each round to the beginning, creating a clean, continuous spiral or closed round depending on your method.
There is a meditative rhythm to working SC after SC into that initial loop, each stitch settling beside the last like something that was always meant to be there, and by the time you pull the tail to close the centre, the repetition will already feel familiar and reassuring.
Construction
The Crochet Magic Circle is worked entirely in the round from the centre outward, which means there are no seams to sew and no panels to join. You begin by forming the adjustable loop, working your first round of SC stitches directly into that loop, then pulling the yarn tail to close the centre before continuing to build outward round by round. For beginners, working in a spiral rather than closed rounds can feel more intuitive, as you simply continue without joining, and a stitch marker placed in the first stitch of each round helps you keep count without losing your place. As a customisation note, the number of SC stitches you work into the initial circle determines how flat or how dimensional your finished piece will be, so increasing that count slightly will give you a flatter, wider disc, while a smaller count begins to cup naturally into a three-dimensional shape.
Wearing Your Magic Circle
Once you have mastered the Crochet Magic Circle, you will find it sitting at the heart of almost every project you want to make: the face of a crocheted stuffed animal, the base of a bowl or basket, the centre of a mandala-style wall hanging. A flat circle worked in soft green worsted weight becomes the crown of an amigurumi broccoli, a set of circles in muted linen tones becomes a collection of reusable face pads, and a larger circle in chunky cotton becomes the base of a market bag. Finishing one small circle and holding it in your hand, knowing you started from nothing but a loop of yarn, is the kind of quiet satisfaction that makes you reach immediately for the next project.
Keeping Your Crochet Circle in Perfect Shape
Circles worked in cotton or cotton-blend yarn respond beautifully to wet blocking: simply soak the finished piece in cool water, press out the excess gently without wringing, and pin it flat to a foam mat until it dries completely. This step is especially worth doing if you notice any slight cupping or rippling at the edges, as blocking coaxes the fibres into a smooth, even disc that lies flat with confidence. For amigurumi pieces that will be stuffed, blocking is less critical, but storing your finished crocheted items folded loosely in a breathable cotton bag will protect the fibres from dust and keep the colour looking fresh. Avoid hanging crocheted circles for long periods, as the weight can distort the shape over time.
Every Crochet Magic Circle you make is a small act of craft confidence, proof that a technique which once seemed fiddly becomes second nature with just a little practice. Share your finished circles on Pinterest or tag your progress on Instagram so other makers can find the inspiration to pick up their hook and begin.
Follow us on Pinterest and subscribe to the Newsletter so you don’t miss a thing!
Tutorial and photos of this magic circle by: ElyseCrochets 💌.