
A free video tutorial is waiting for you, and it unlocks one of the most beautiful ribbed textures you will ever hook, with slanted columns that twist like soft ripples across the fabric!

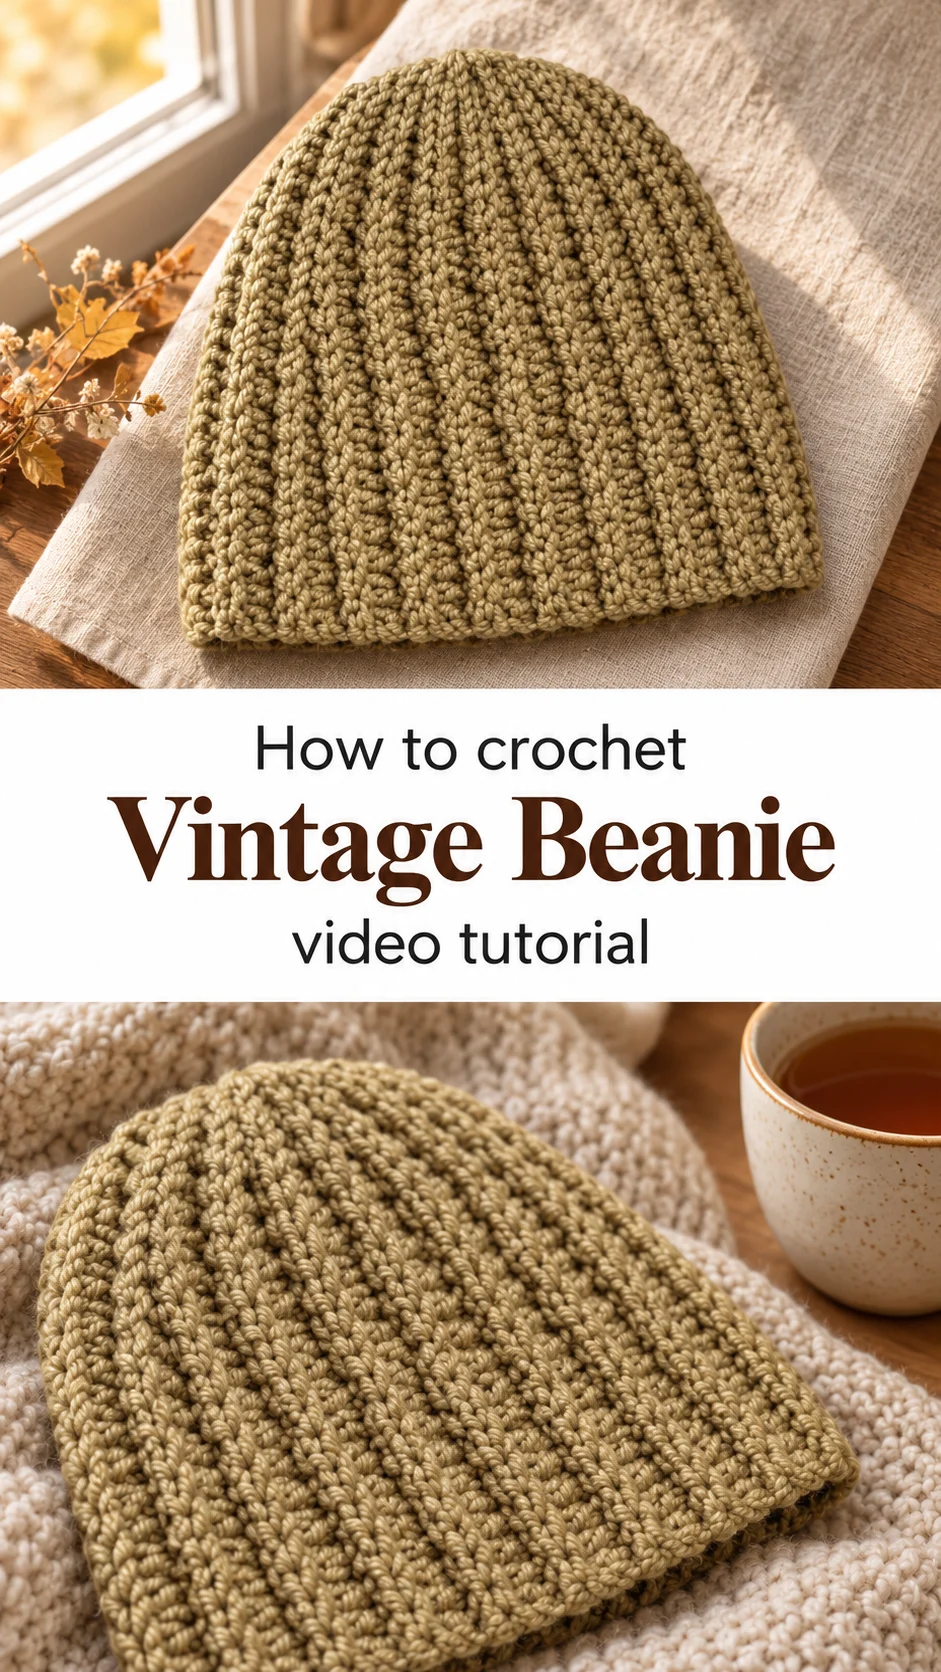
The Vintage Beanie
The Crochet Vintage Beanie carries the quiet charm of a hand-knit cap from another era, yet it grows entirely from a single crochet hook. Its slanted ribs sweep gently upward toward the crown, giving the fabric an airy yet structured look that hugs the head without feeling tight. It suits anyone who loves a slouchy, relaxed silhouette with a little heritage built into every stitch. Put it on and you feel wrapped in something made with patience and care.
Warm oatmeal, soft camel, and sandy beige show off the texture beautifully, as in the sample here. Dusty rose, forest green, or charcoal grey would turn the same pattern into a moodier, more modern piece. It pairs easily with wool coats, chunky scarves, and weekend denim.
Vintage Beanie Related Posts:
- Crochet Halter Top: A Chic Summer Essential
- Crochet Festival Halter Top: A Bohemian Summer Essential
- Crochet Classic Beanie: A Simple Wardrobe Essential
- Crochet Bolero Shrug: A Chic and Timeless Layer
Materials and Tools
Choose a smooth worsted weight yarn in a wool blend or soft acrylic so the ribbed texture stays crisp and the stitches stay clearly defined. A 5mm hook works well with this weight and gives a fabric that is cozy and flexible rather than stiff. Merino blends feel especially lovely against the skin, while a machine-washable acrylic is practical for daily wear. Keep a pair of sharp scissors and a yarn needle close by for trimming and weaving in your ends.
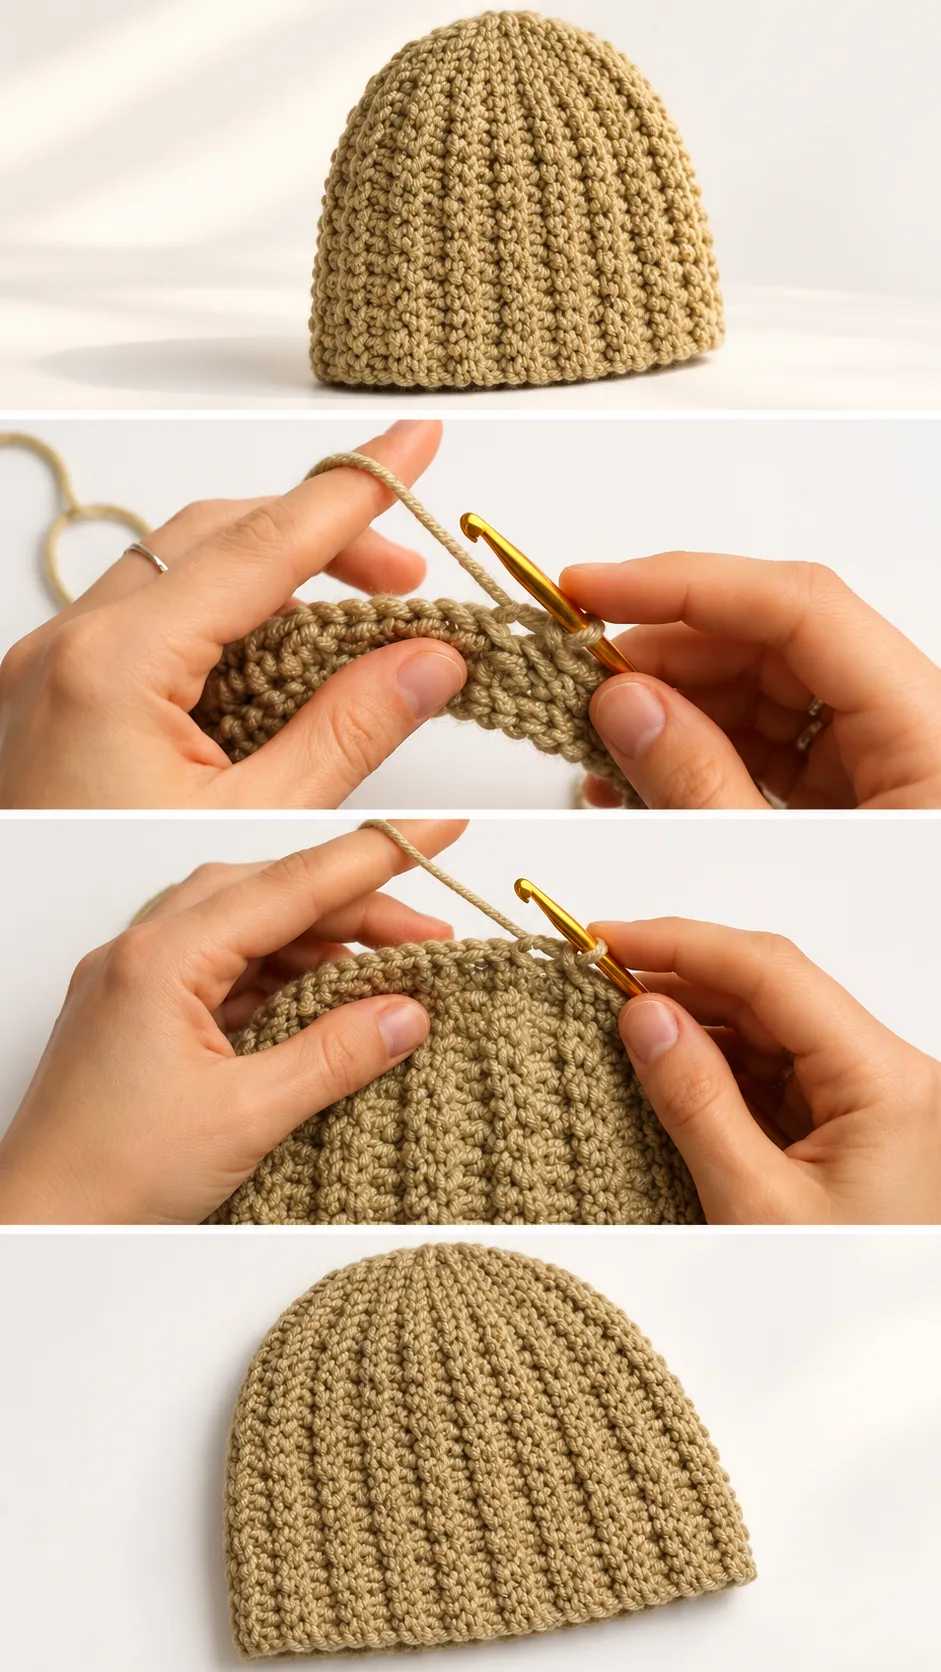
Stitch by Stitch
This Crochet Vintage Beanie relies on a handful of simple stitches worked in a gentle, repeating rhythm.
- SC (single crochet) The compact base stitch that gives the beanie its sturdy, snug structure.
- DC (double crochet) A taller stitch that adds height and softness to the ribbed columns.
- YO (yarn over) The wrap of yarn around the hook that sets up each taller stitch.
- Slip stitch Used to join rounds neatly and keep the edges clean and tidy.
Once the pattern settles into your hands, the meditative rhythm takes over and the slanted ribs appear almost on their own. It is the kind of project that turns an evening of television or a rainy afternoon into pure, quiet pleasure.
Construction
The beanie is worked in the round from the crown outward, so there is no seaming and no fuss with panels. You increase gradually at the start to form a flat circle, then work evenly down the sides until the hat reaches your preferred depth. Beginners will find the repeating rounds easy to follow, especially with the video tutorial guiding every step of the full pattern. If you like a deeper slouch, simply add a few extra rounds before finishing the brim.
Wearing Your Vintage Beanie
Pull it low over the ears with a long wool coat for crisp autumn walks, or tilt it back for a relaxed morning coffee run. It also layers beautifully under a hood on windy days. Imagine slipping it on and feeling the soft ribs warm against your forehead while you finish the final brim.
Keeping Your Vintage Beanie Looking Its Best
Wash your beanie gently by hand in cool water with a mild wool wash, pressing out the water rather than wringing it. Lay it flat on a clean towel and shape the ribs with your fingers so the slanted texture dries evenly. Avoid hanging it, since wet yarn stretches and can lose that lovely structure. Store it folded in a drawer or breathable basket to keep it fresh and ready for the next cold morning.
Every ribbed round you make is a small act of warmth, and the finished Crochet Vintage Beanie will be a classic you reach for again and again. Save this pin to your crochet board so you can find the tutorial the moment you are ready to start!
Follow us on Pinterest and subscribe to the Newsletter so you don’t miss a thing!
Tutorial and photos of this vintage beanie by: Crochet Bits.