
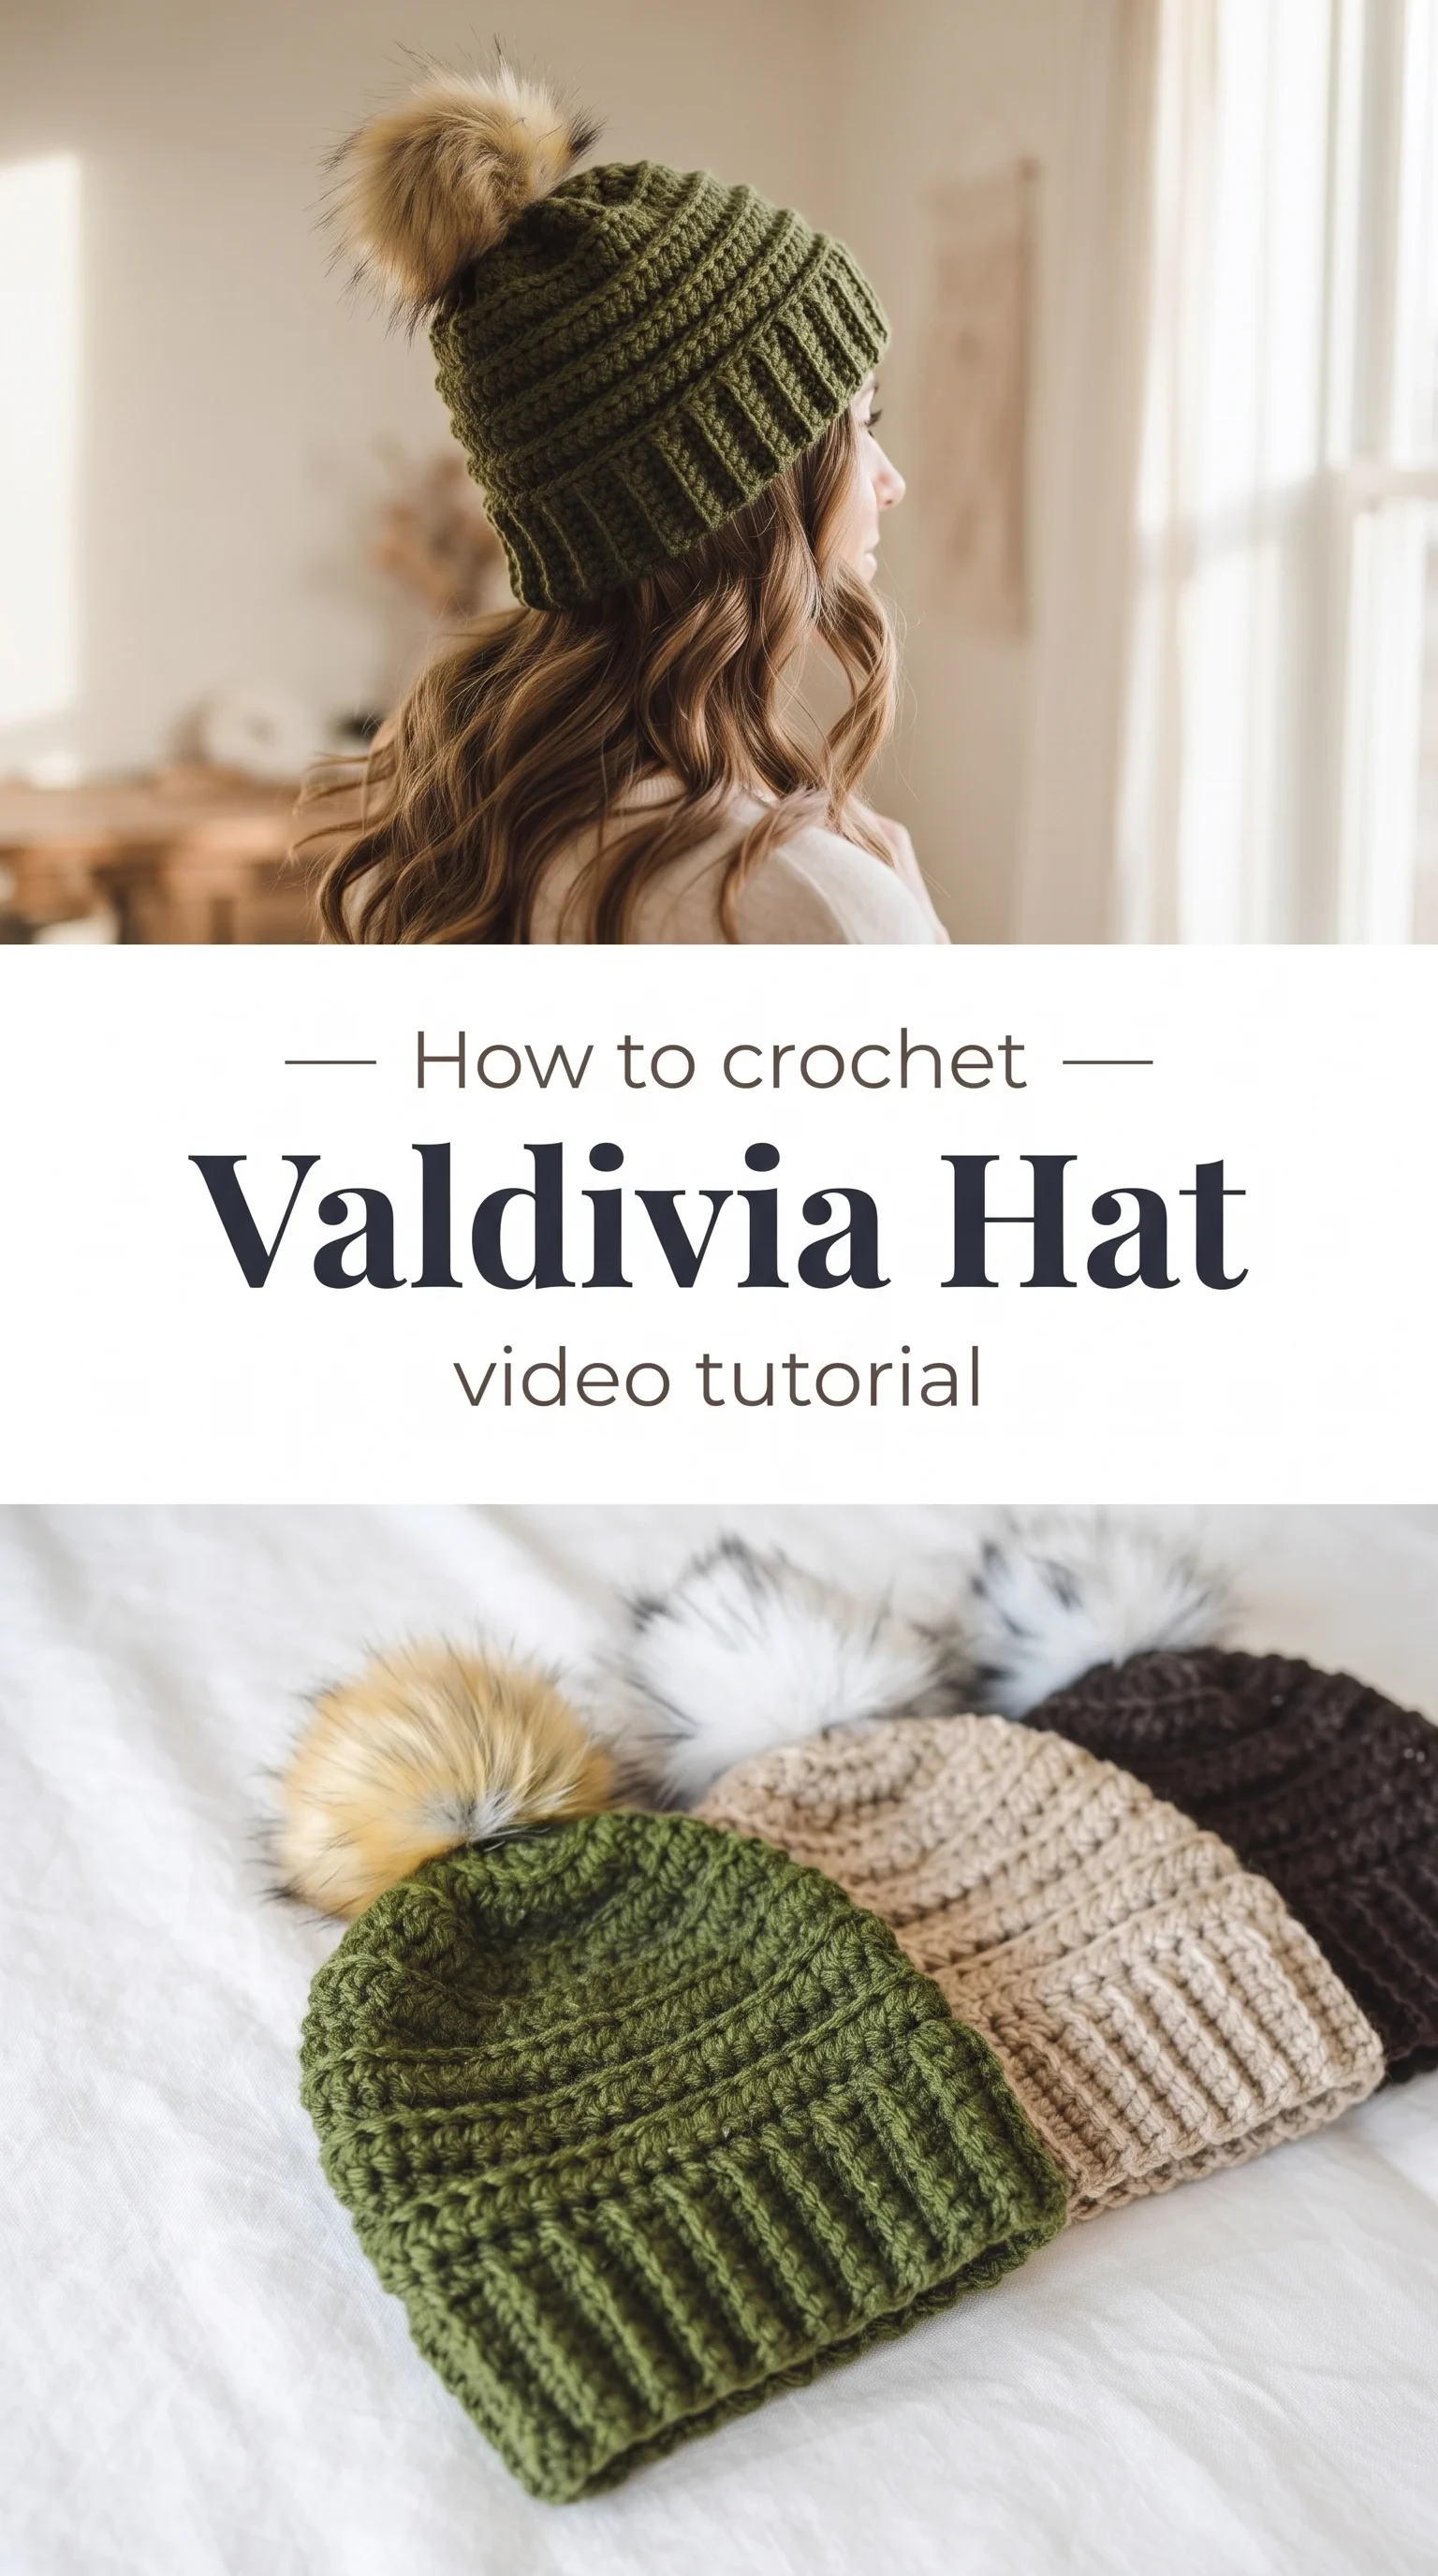
I am so excited to share this Crochet Valdivia Hat tutorial with you, because it has completely taken over my crafting table this season. The way the ribbed brim folds up with such clean definition while the crown gathers into that soft, rounded dome is honestly one of the most satisfying things I have crocheted in a long time.

The Valdivia Hat
The Crochet Valdivia Hat is the kind of piece that feels considered and intentional, like something you might find tucked into a vintage basket at a mountain-town market. It has an airy yet structured silhouette, with a deep ribbed brim that hugs the ears warmly and a crown that blooms upward with a gentle fullness. Topped with a faux fur pompom in cream, golden blonde, or salt-and-pepper grey, it carries a whisper of elegance that makes it feel more than just a winter accessory. This hat is made for anyone who wants their handmade pieces to look effortlessly polished.
Valdivia Hat Related Posts:
- Crochet Tile Shawl: A Dazzling Versatile Masterpiece
- Crochet Skyla Top: A Delicate Summer Essential
- Crochet Ribbed Crop Top: A Timeless Wardrobe Essential
- Crochet Scrub Cap: A Practical Healthcare Essential
The color palette shown in the video leans into earthy neutrals, a rich espresso brown, a warm oat beige, and a deep forest olive green, all of which pair beautifully with wool coats, chunky scarves, and leather boots. Any bulky or super bulky solid yarn will let the texture speak for itself, but if you want something with a little more personality, a heathered or tweed blend adds wonderful visual depth. The Crochet Valdivia Hat is the kind of project you will want to make in three colors at once, because once you start, stopping at one feels almost impossible.
Materials and Tools
The Crochet Valdivia Hat works beautifully in a bulky weight yarn, and from the reference images the texture suggests something with a slight halo or wool content that softens the stitch definition just enough to feel cozy rather than stiff. A fiber like merino wool, a wool-acrylic blend, or even a premium acrylic in a chunky weight will give you that plush, substantial body you can see in the finished hats. For hook size, a 6mm or 6.5mm crochet hook is ideal for achieving the structured yet relaxed gauge this hat calls for, and a blunt-tipped yarn needle for weaving in your ends is the one small tool you will reach for at the very end. If you plan to attach a faux fur pompom, a large button on the inside of the crown makes it removable and washable.
Stitch by Stitch
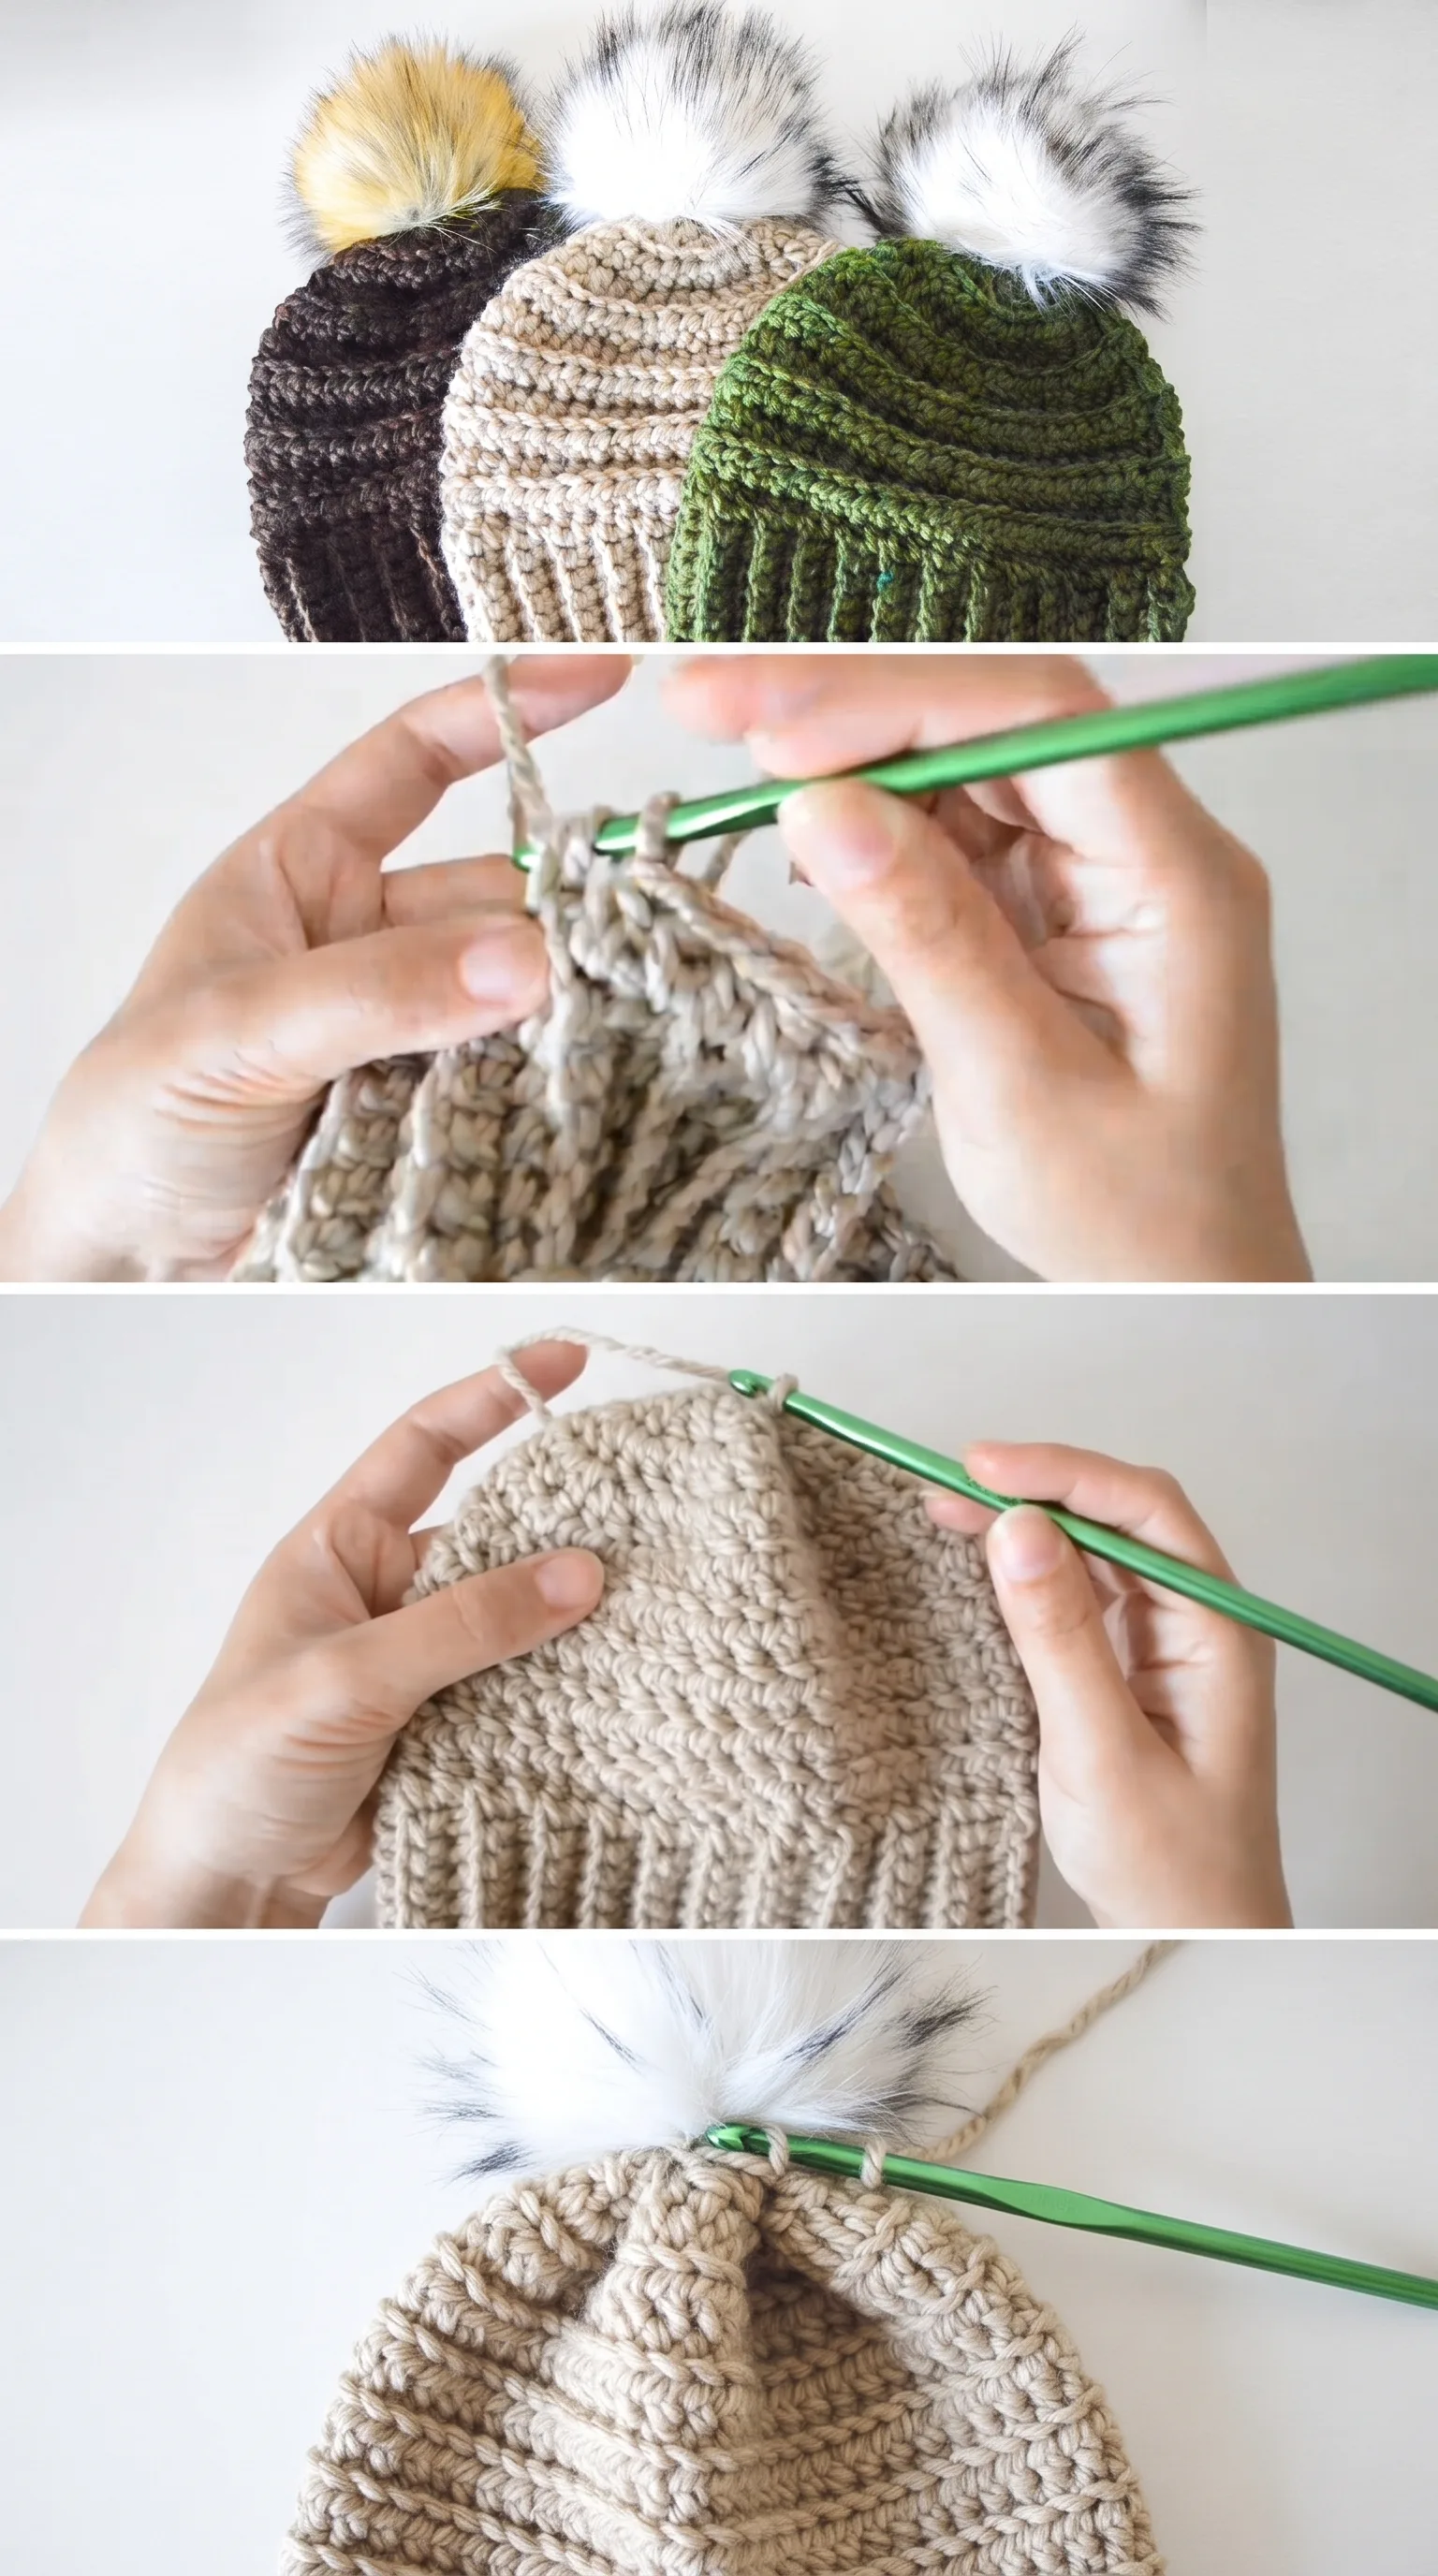
The Crochet Valdivia Hat draws on a small but satisfying collection of stitches that build texture and rhythm row by row.
BULLET:SC (Single Crochet) The foundational stitch used in the ribbed brim section, creating that tight, flexible band that hugs the head.
BULLET:DC (Double Crochet) The primary stitch of the hat body, worked in back loops or in specific cluster arrangements to build the crown’s soft structure.
BULLET:BLO (Back Loop Only) Working through the back loop only is what creates the deeply defined ribbing you can see along the brim in the finished hats.
BULLET:YO (Yarn Over) A motion woven into nearly every DC, controlling the tension and the way each stitch sits against its neighbor.
Once you find the meditative rhythm of moving through those back loops and watching the ribbing stack up row after row, the whole hat becomes something you can work on while listening to music or watching a film, your hands knowing exactly what to do.
Construction
The Crochet Valdivia Hat is constructed in two distinct parts that come together beautifully: the ribbed brim is worked flat and then seamed to form a continuous band, after which you pick up along the edge and work the body of the hat in joined rounds from the bottom up toward the crown. The crown decreases are worked evenly and pulled closed at the top, giving that smooth, rounded finish visible in all three hats in the reference images. Because the brim is worked separately, it is very easy to try it on as you go and adjust the length before seaming, which makes this a genuinely beginner-friendly construction despite its polished result. For a customised fit, simply add or subtract rows in the brim section before joining.
Wearing Your Valdivia Hat
Pull the Crochet Valdivia Hat low over your ears with the brim folded up for a classic, structured look that pairs perfectly with a long wool coat and a chunky knit scarf on cold city mornings. Wear it pushed back slightly with the pompom sitting high for a more playful, casual feel alongside a puffer jacket and tall boots on a weekend hike. Finish one in forest green or deep brown and you will find yourself reaching for it every single time the temperature drops.
Washing and Storing Your Valdivia Hat
If you have worked your Crochet Valdivia Hat in a wool or wool-blend yarn, hand washing in cool water with a gentle wool wash is the kindest way to keep the fibers soft and the stitch definition crisp. Gently press out the excess water without wringing, then reshape the hat over a balloon or a round bowl and allow it to dry flat away from direct heat. For acrylic yarns, a cool machine wash in a mesh laundry bag works well, though always air dry to preserve the pompom. Store your finished hat folded loosely in a drawer or in a breathable cotton bag rather than compressed under heavier items, so the pompom keeps its full, fluffy shape.
Every hat you finish with your own hands carries something no store-bought version ever could, and the Crochet Valdivia Hat is a beautiful reminder of what patience and good yarn can create together. Pin this article to your winter crochet board and tag your finished makes so the whole community can see your colors and pompom choices.
Follow us on Pinterest and subscribe to the Newsletter so you don’t miss a thing!
Tutorial and photos of this valdivia hat by: CJ Design.