
Today’s guide walks you through the making of a Crochet Table Doily worked in concentric circles of deep crimson and soft white, each round building on the last with a satisfying, tactile pull of the hook. Pull up your chair, choose your colors, and let your hands find their rhythm.

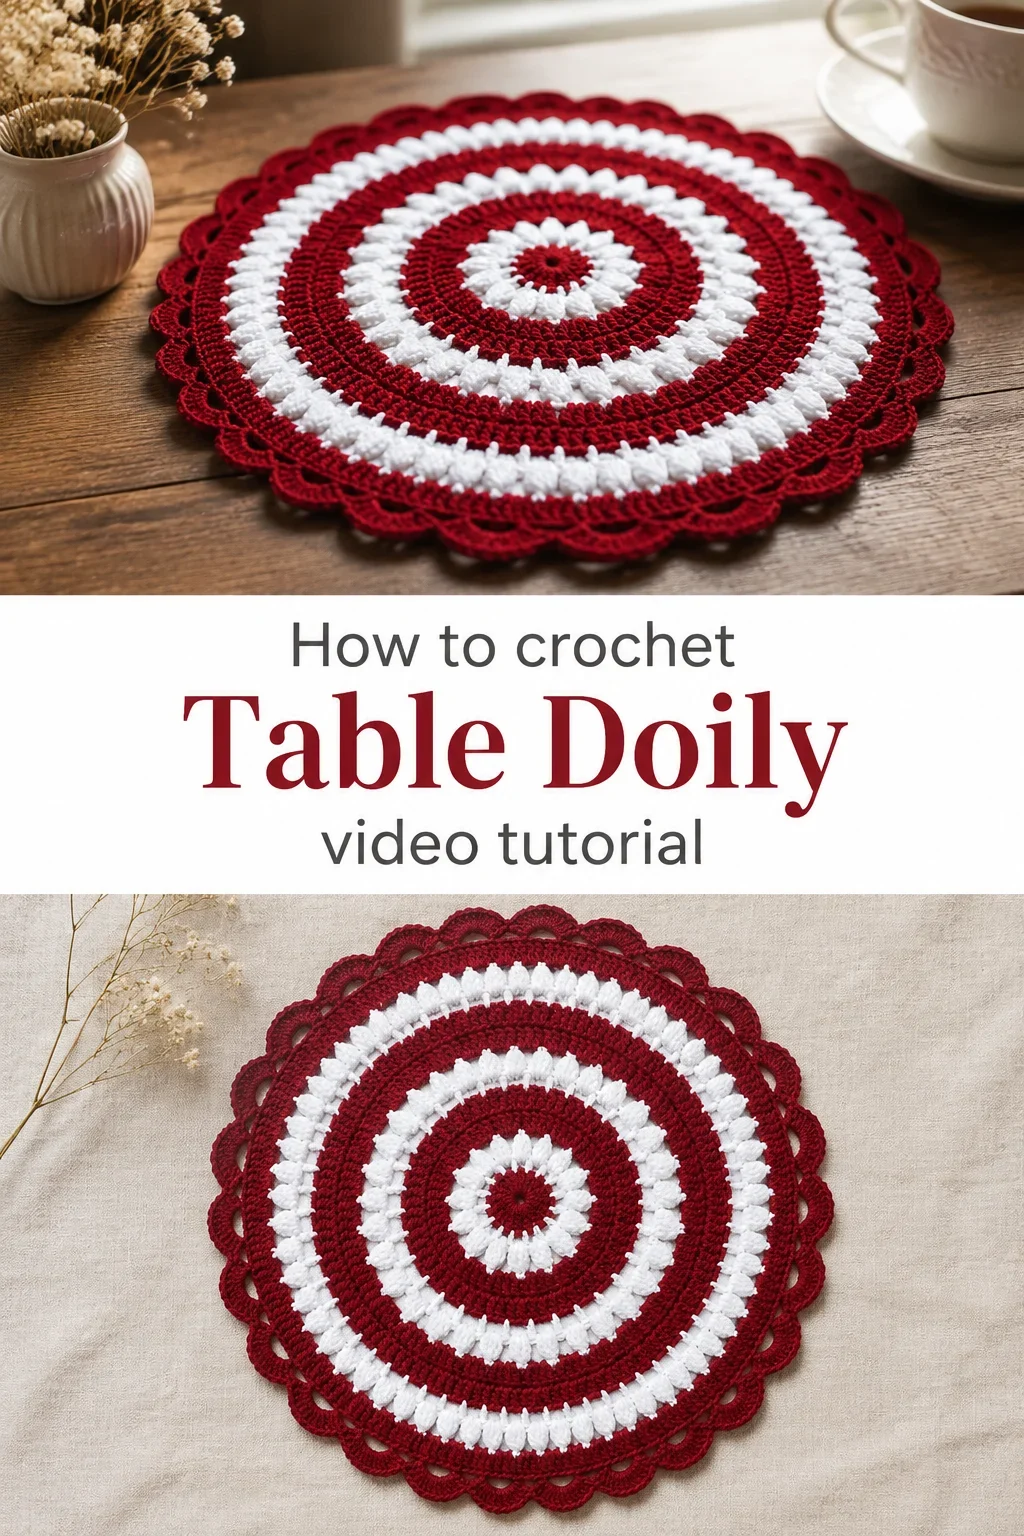
The Table Doily
A Crochet Table Doily carries a kind of quiet confidence, the sort of handmade piece that transforms an ordinary surface into something worth pausing over. Worked outward from a tight central ring, the finished piece fans into a circular form edged with scalloped loops that feel airy yet structured beneath your fingertips. It is made for the crafter who wants their home to feel considered and unhurried, who appreciates the whisper of elegance that a handmade accent brings to a dining table, a console, or a bedside shelf. Beginners will find it approachable, while those with a few rounds of experience will enjoy the satisfying complexity of its textured white rows.
Table Doily Related Posts:
- Crochet Lace Motif: A Timeless and Delicate Accent
- Crochet Mandala Doily: A Beautiful Decorative Accent
- Crochet Lace Table Runner: An Elegant Home Accent
- Crochet Lace Doily: A Delicate Timeless Accent
The crimson and white palette shown here is bold and classic, evoking winter tablescapes and festive gatherings, but this same Crochet Table Doily would be equally beautiful worked in dusty rose and cream, sage and ecru, or a monochromatic all-white cotton for year-round styling. The color changes happen rhythmically round by round, so swapping tones to suit your home is as simple as choosing two skeins that speak to your space. Lay it under a candle, a small vase, or a bowl of fruit and it immediately earns its place.
Materials and Tools
For this Crochet Table Doily, reach for a smooth worsted weight cotton yarn, as the stitch definition in cotton holds the petal-like bobble texture far better than acrylic or wool blends, and the finished piece stays flat and crisp after blocking. The project shown uses two colors, a deep red and a bright white, so you will need approximately one skein of each at around 100 to 150 meters per color. A 4mm crochet hook is the ideal size here, giving you firm, even stitches without pulling the rounds too tight or letting them sag. Keep a locking stitch marker close by to track the beginning of each round, as it will save you from losing your place as the doily grows outward.
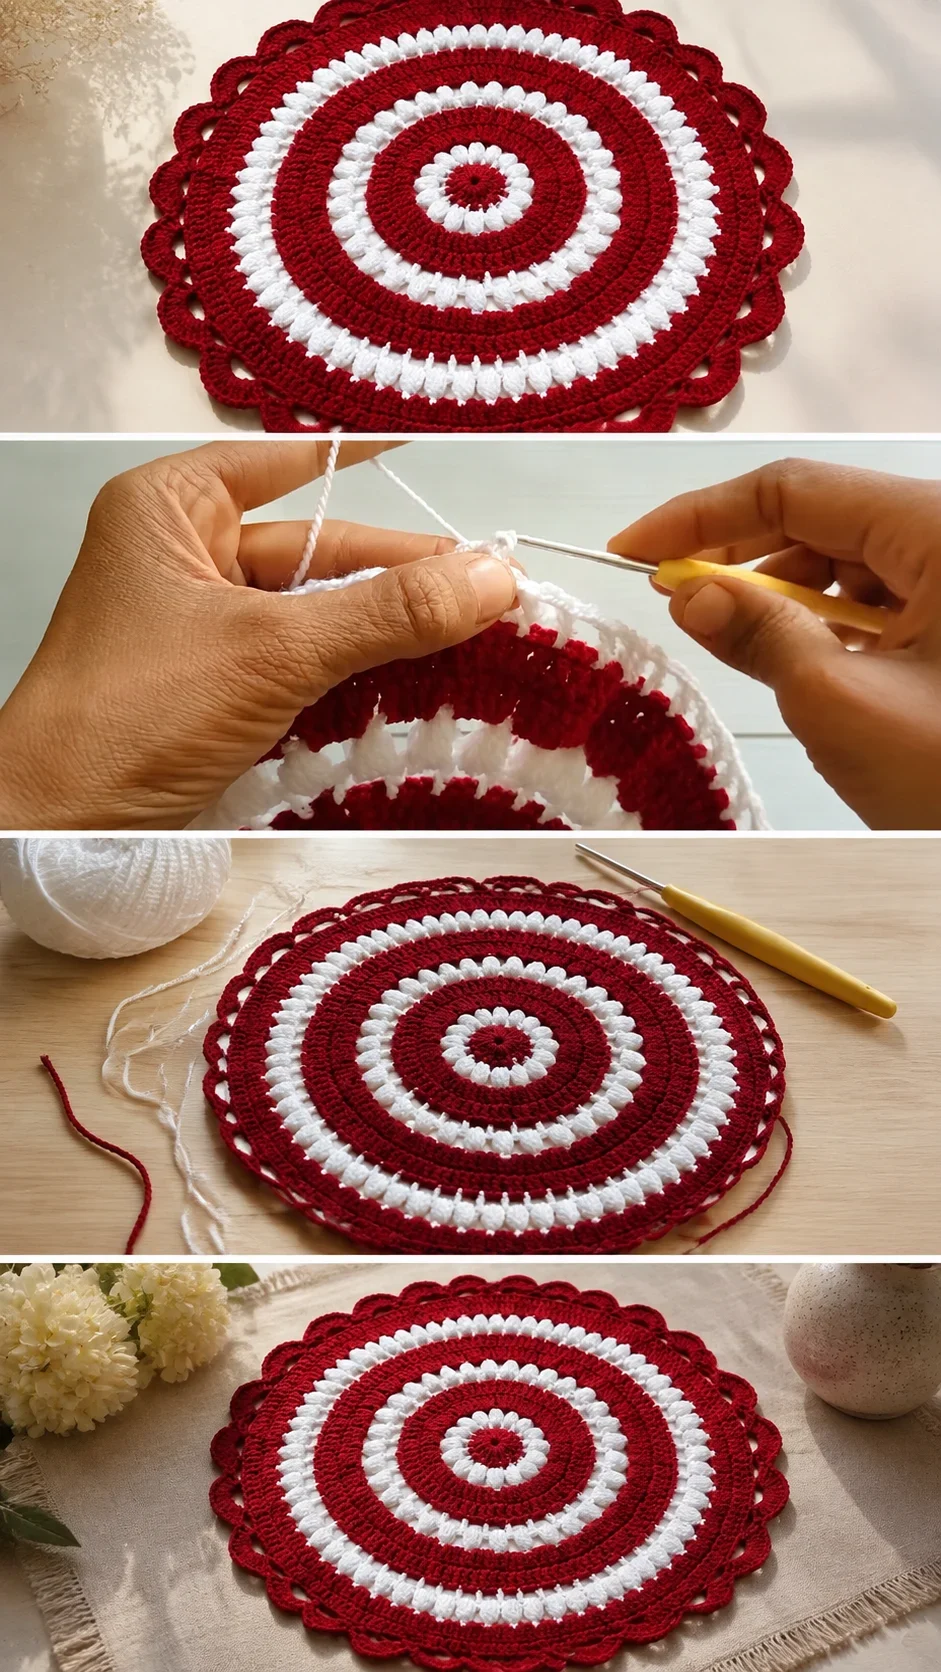
Stitch by Stitch
This doily draws on a small but expressive set of stitches, each one contributing to the layered, circular structure.
BULLET:SC (Single Crochet) Forms the dense, flat foundation rounds that anchor the petal rows and give the doily its structural body.
BULLET:DC (Double Crochet) Used in the scalloped border rounds, the DC creates the looping, open arches that frame the outer edge with grace.
BULLET:YO (Yarn Over) The foundational action repeated throughout every stitch, keeping consistent tension is what makes the finished rounds look uniform and deliberate.
BULLET:MB (Make Bobble) The raised, petal-shaped clusters that define the white textured rounds are formed by working multiple incomplete DCs into the same stitch before closing them together.
Working a Crochet Table Doily in the round has a meditative rhythm to it, each stitch feeding naturally into the next so that before long your hands are moving without thought, and the circle simply grows.
Construction
The doily is worked entirely in the round, beginning with a magic ring at the center and expanding outward in increasingly wider rounds, with color changes introduced at regular intervals to create the alternating stripe effect. Each white round builds its bobble clusters directly into the stitches of the previous red round, so the two colors interlock rather than simply sit beside each other. If you are newer to circular crochet, the full video tutorial linked here walks through every round with clear close-up guidance, so you can follow along at your own pace without needing a written chart. For a larger piece, simply continue the established pattern for additional rounds before working the final scalloped border.
Wearing Your Table Doily
Place your finished Crochet Table Doily beneath a ceramic jug of dried grasses for an effortless autumnal centerpiece, or use it under a lantern on an outdoor dining table where its texture catches the warm evening light. It works beautifully as a charger plate liner at a holiday dinner setting, adding a layer of handmade warmth beneath your finest plates. Once you finish one, you will almost certainly want to make a second in a different colorway.
Keeping Your Doily Flat and Fresh
Cotton doilies respond wonderfully to wet blocking, which is the most important finishing step for this kind of piece. Once complete, soak your doily in cool water for ten minutes, gently squeeze out the excess without wringing, and pin it flat onto a foam blocking board, stretching each scallop into its natural curve as you go. Allow it to dry completely before removing the pins, and you will find the stitches open up and the shape becomes perfectly even and crisp. Store flat or loosely rolled to prevent any creasing in the bobble texture between uses.
Every Crochet Table Doily you make is a small act of choosing slowness and care in a world that rarely asks for it, and that makes it worth every round. Share yours on Pinterest or tag your progress on Instagram so other makers can find the beauty in the making too.
Follow us on Pinterest and subscribe to the Newsletter so you don’t miss a thing!
Tutorial and photos of this table doily by: Jagruti Art Work.