
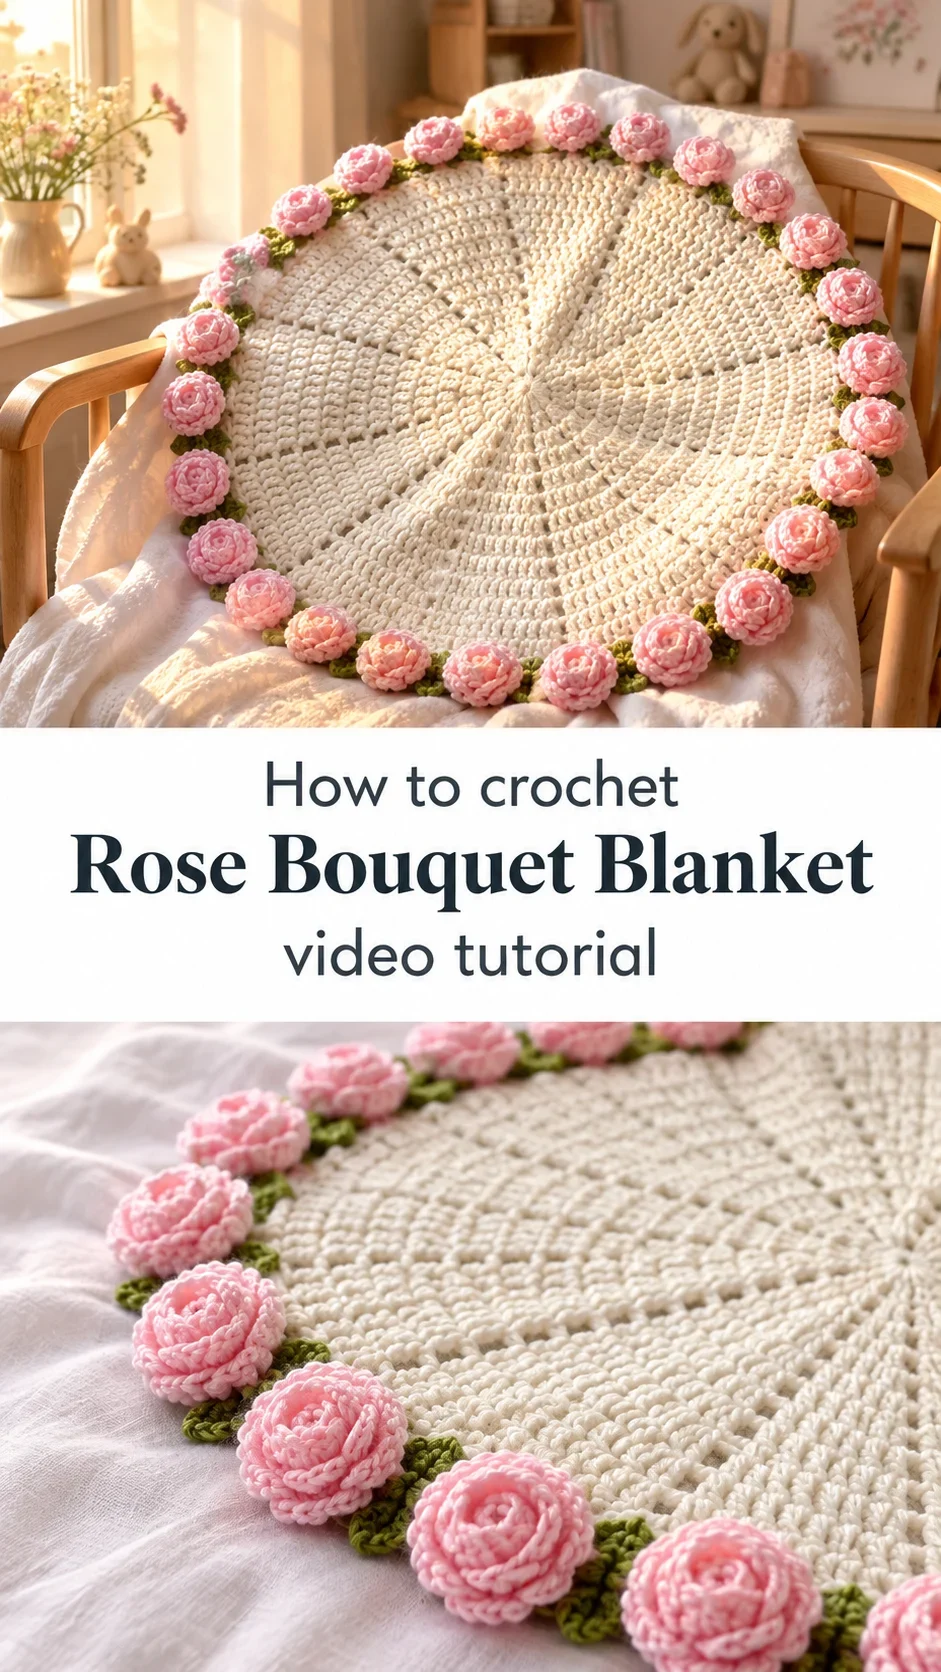
I am absolutely in love with this Crochet Rose Bouquet Blanket tutorial, and I could not wait to share it with you because it made my heart skip the moment I saw it finished. Every single rose along that border is individually crocheted and attached, giving this piece a three-dimensional lushness that looks almost too beautiful to be handmade.

The Rose Bouquet Blanket
The Crochet Rose Bouquet Blanket is the kind of piece that makes people stop mid-conversation to reach out and touch it. It is a circular blanket worked from the center outward in cream or soft white yarn, with a border of individually crafted pink roses nestled against a green edging that mimics stems and leaves. The roses are full and dimensional, each one curling inward the way a real garden rose does in the early morning before it fully opens. This piece is made for the romantic crafter who wants their work to feel like poetry laid flat.
Bouquet Blanket Related Posts:
- Crochet Tunisian Vest Blanket: A Versatile Handmade Treasure
- Crochet Striped Baby Blanket: A Warm and Cheerful Treasure
- Crochet Chevron Blanket: A Timeless Colorful Classic
- Crochet Lace Motif Blanket: A Timeless Floral Treasure
The classic colorway of soft blush pink roses against a white or ivory center is breathtaking, but imagine this same Crochet Rose Bouquet Blanket worked in dusty mauve roses with a cream center for a vintage Victorian mood, or in coral roses with a pale sage base for something more bohemian and sun-warmed. The green edging between each rose is a small but powerful detail that can shift from olive to bright lime depending on the season you are decorating for. This piece layers beautifully over a wicker chair, across the foot of a bed, or folded over the arm of a linen sofa.
Materials and Tools
For the main circular body of this blanket, you will want to reach for a DK weight yarn in a smooth cotton or cotton-blend fiber, which gives the stitches beautiful stitch definition and keeps the finished piece light enough to drape without bulk. The roses are worked separately and benefit enormously from a soft acrylic or cotton-acrylic blend in DK or light worsted weight, as both hold their spiral shape without stiffening. A 4mm crochet hook is the sweet spot for this project, giving you a fabric that is airy yet structured without gaps large enough to distort the circular form. Keep a yarn needle close by throughout, because weaving in ends as you go makes the final assembly feel far less overwhelming.
Stitch by Stitch
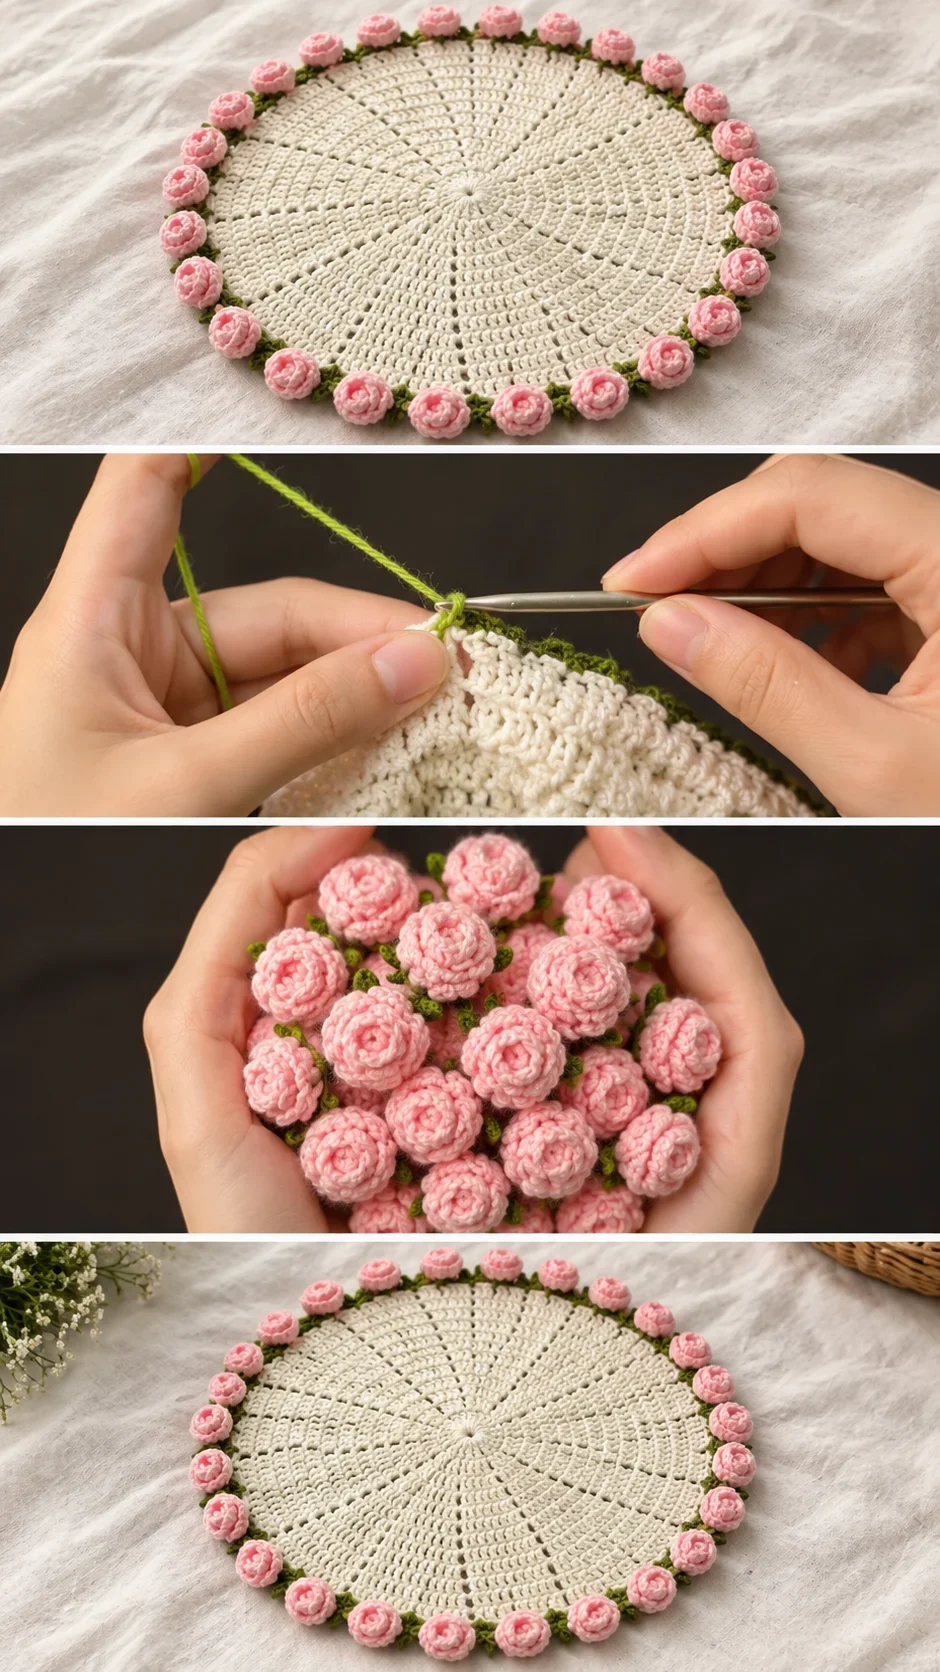
This blanket draws from a small but satisfying collection of stitches that work together to build both the circular base and the sculptural roses along its edge.
BULLET:SC (Single Crochet) The workhorse of this project, used throughout the circular base to create a dense, even fabric that holds its round shape beautifully.
BULLET:DC (Double Crochet) Woven into the outer rows of the circle to open the fabric slightly and add a subtle lace-like quality to the middle section of the blanket.
BULLET:CH (Chain) Used as the foundation ring and as the structural spine of each crocheted rose as the petals are built upward in a spiral.
BULLET:SL ST (Slip Stitch) The quiet connector that joins rounds invisibly and secures the green border edging between each rose without any visible seam.
There is a meditative rhythm to working the circular base round after round, and once you move into making the roses, each small flower feels like its own satisfying mini-project within the larger whole.
Construction
The Crochet Rose Bouquet Blanket is worked in the round from a central magic ring, expanding outward in consistent rounds until the circle reaches your desired diameter, with the full tutorial in the video walking you through every round clearly. Once the base is complete, a round of green yarn is worked around the outer edge to create the leafy border that will cradle each rose. The roses are made separately, each one a small spiral of chained petals that coils into a bud shape, and they are then attached evenly around the green border using a yarn needle or slip stitch join. If you want a larger blanket, simply continue adding rounds to the base before beginning your border, and scale up the number of roses accordingly to keep the edge full and lush.
Wearing Your Rose Bouquet Blanket
Drape the finished Crochet Rose Bouquet Blanket over a reading chair with a cup of tea nearby and it immediately transforms the corner of any room into something that feels curated and personal. It works equally well folded at the end of a child’s bed as a decorative accent, or laid flat as a centerpiece on a round side table beneath a vase or candle. Finishing this piece will make you want to sit in that room and never leave.
Washing and Storing Your Rose Bouquet Blanket
Because the roses are three-dimensional and attached individually, hand washing this blanket in cool water with a gentle wool or delicate wash is strongly recommended to protect their shape and the integrity of each join. Press the blanket gently between two clean towels to remove excess water, then lay it flat on a dry surface to block, reshaping each rose with your fingers while the fibers are still slightly damp. Blocking this piece flat rather than hanging it prevents the circular base from stretching unevenly under its own weight. Store it folded loosely in a cotton bag or on an open shelf where the roses are not crushed, and it will hold its shape and beauty season after season.
Every stitch you put into a Crochet Rose Bouquet Blanket is an act of real care, and the finished piece carries that warmth in every rose along its border. If you make yours, please share a photo and tag it so our whole community can celebrate what you have made with your own hands.
Follow us on Pinterest and subscribe to the Newsletter so you don’t miss a thing!
Tutorial and photos of this rose bouquet blanket by: The Yarnling.