
If you need a go-to winter hat that works with everything and never goes out of style, this crochet ribbed beanie is your answer. In this tutorial, you’ll discover how to create a textured, structured beanie that fits beautifully and works up faster than you’d expect.

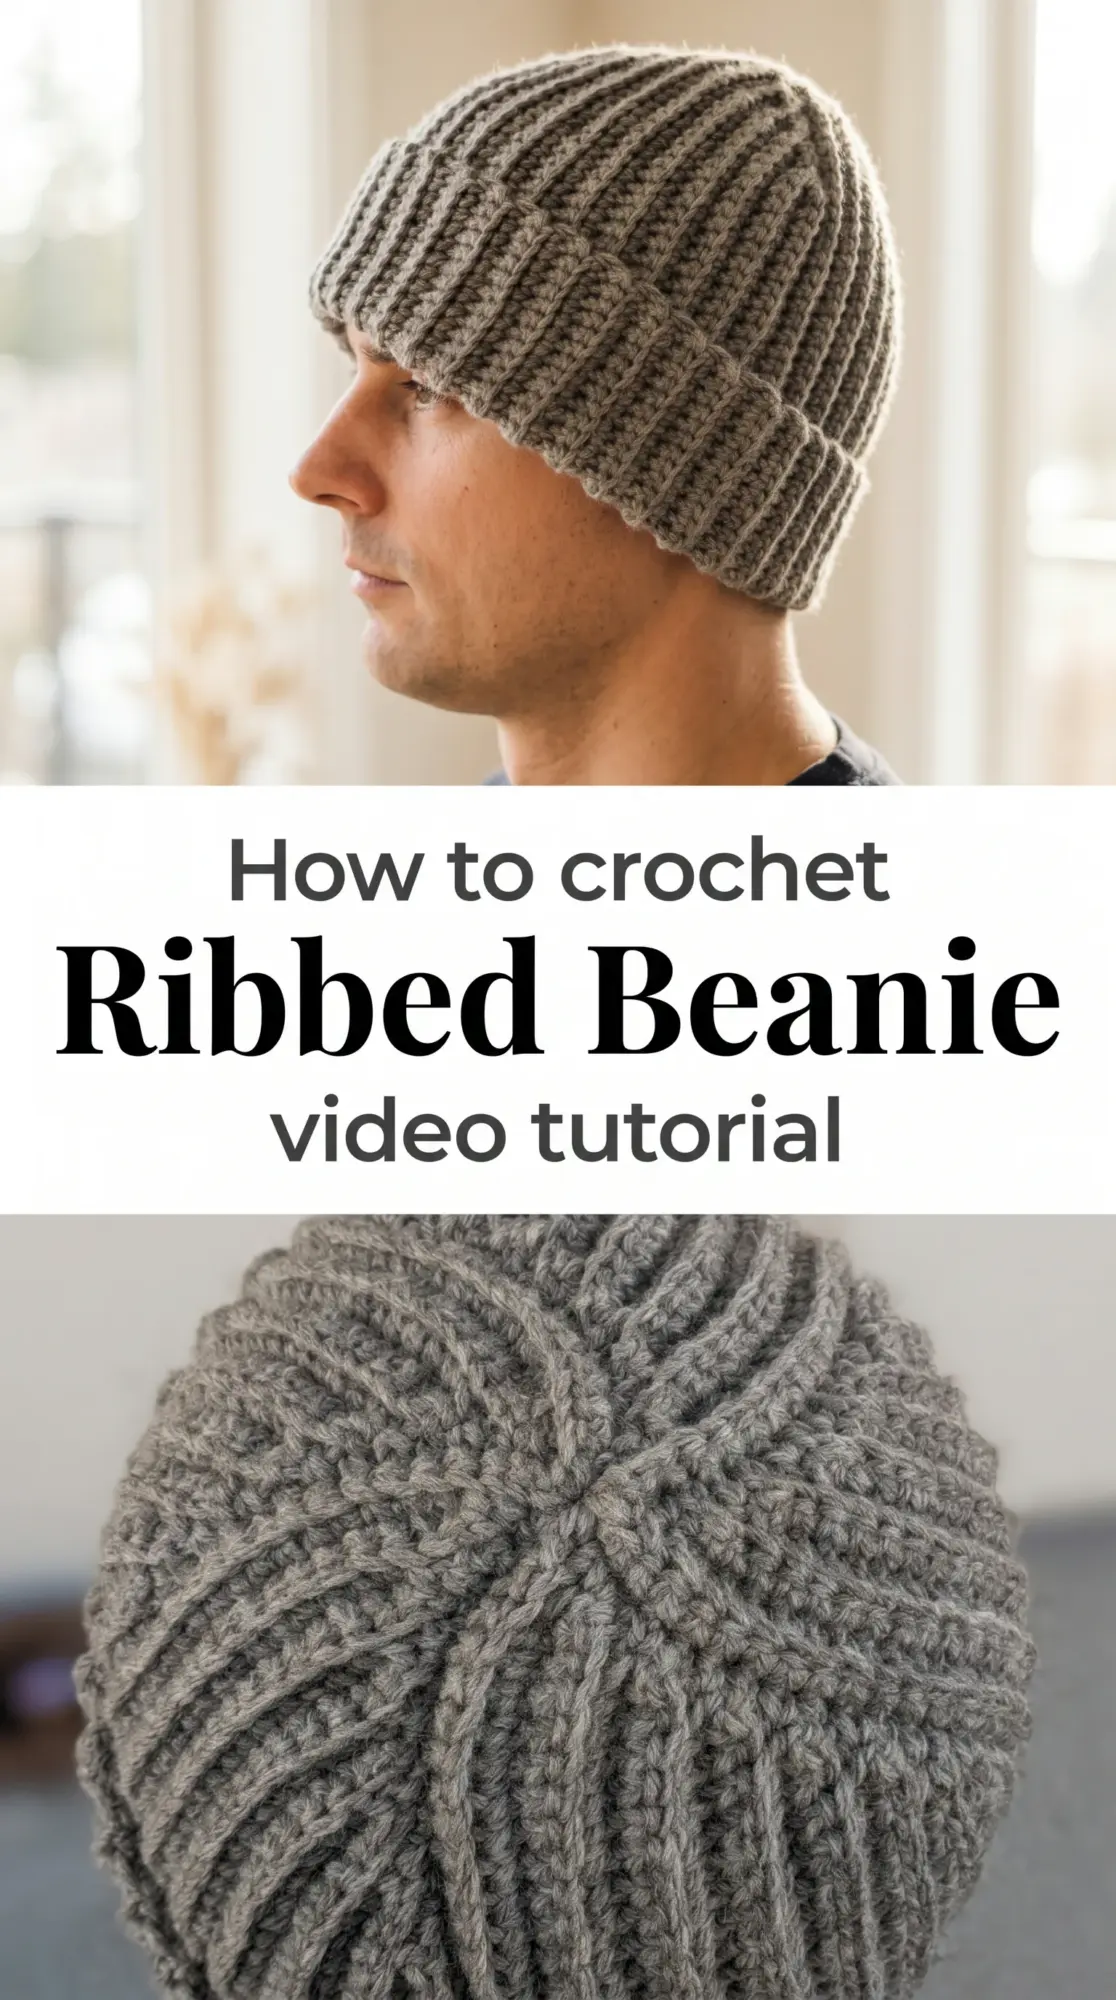
The Ribbed Beanie
The crochet ribbed beanie sits snugly without being too tight, its vertical ridges running from brim to crown in clean, parallel lines. This is the beanie for minimalists who crave function, for knitters-turned-crocheters who miss the look of ribbing, and for anyone building a handmade winter wardrobe that feels both intentional and timeless. The texture catches the light differently than smooth crochet, creating depth and visual interest without any fuss.
Ribbed Beanie Related Posts:
- Crochet Market Tote: A Breezy Summer Essential
- Crochet Spa Headband: A Fresh and Practical Treat
- Crochet Fluffy Fur Bag: A Soft and Playful Accessory
- Crochet Phone Crossbody Bag: A Chic Modern Accessory
Charcoal and oatmeal are the obvious choices here, grounding your winter palette in neutrals that pair with scarves, coats, and boots you already own. But don’t overlook dusty rose, forest green, or a rich burnt orange if you want your beanie to become the anchor piece of your cold-weather look.
Materials and Tools
You’ll want a worsted weight yarn with good stitch definition for this crochet ribbed beanie, something that holds its shape without being stiff or scratchy against your forehead. A 5mm crochet hook gives you the right tension to create ribbing that’s firm but still has a bit of give. Wool blends are ideal because they breathe, wick moisture, and bounce back after being stuffed in a coat pocket. Keep a yarn needle nearby for weaving in ends and seaming if you’re working in rows rather than rounds.
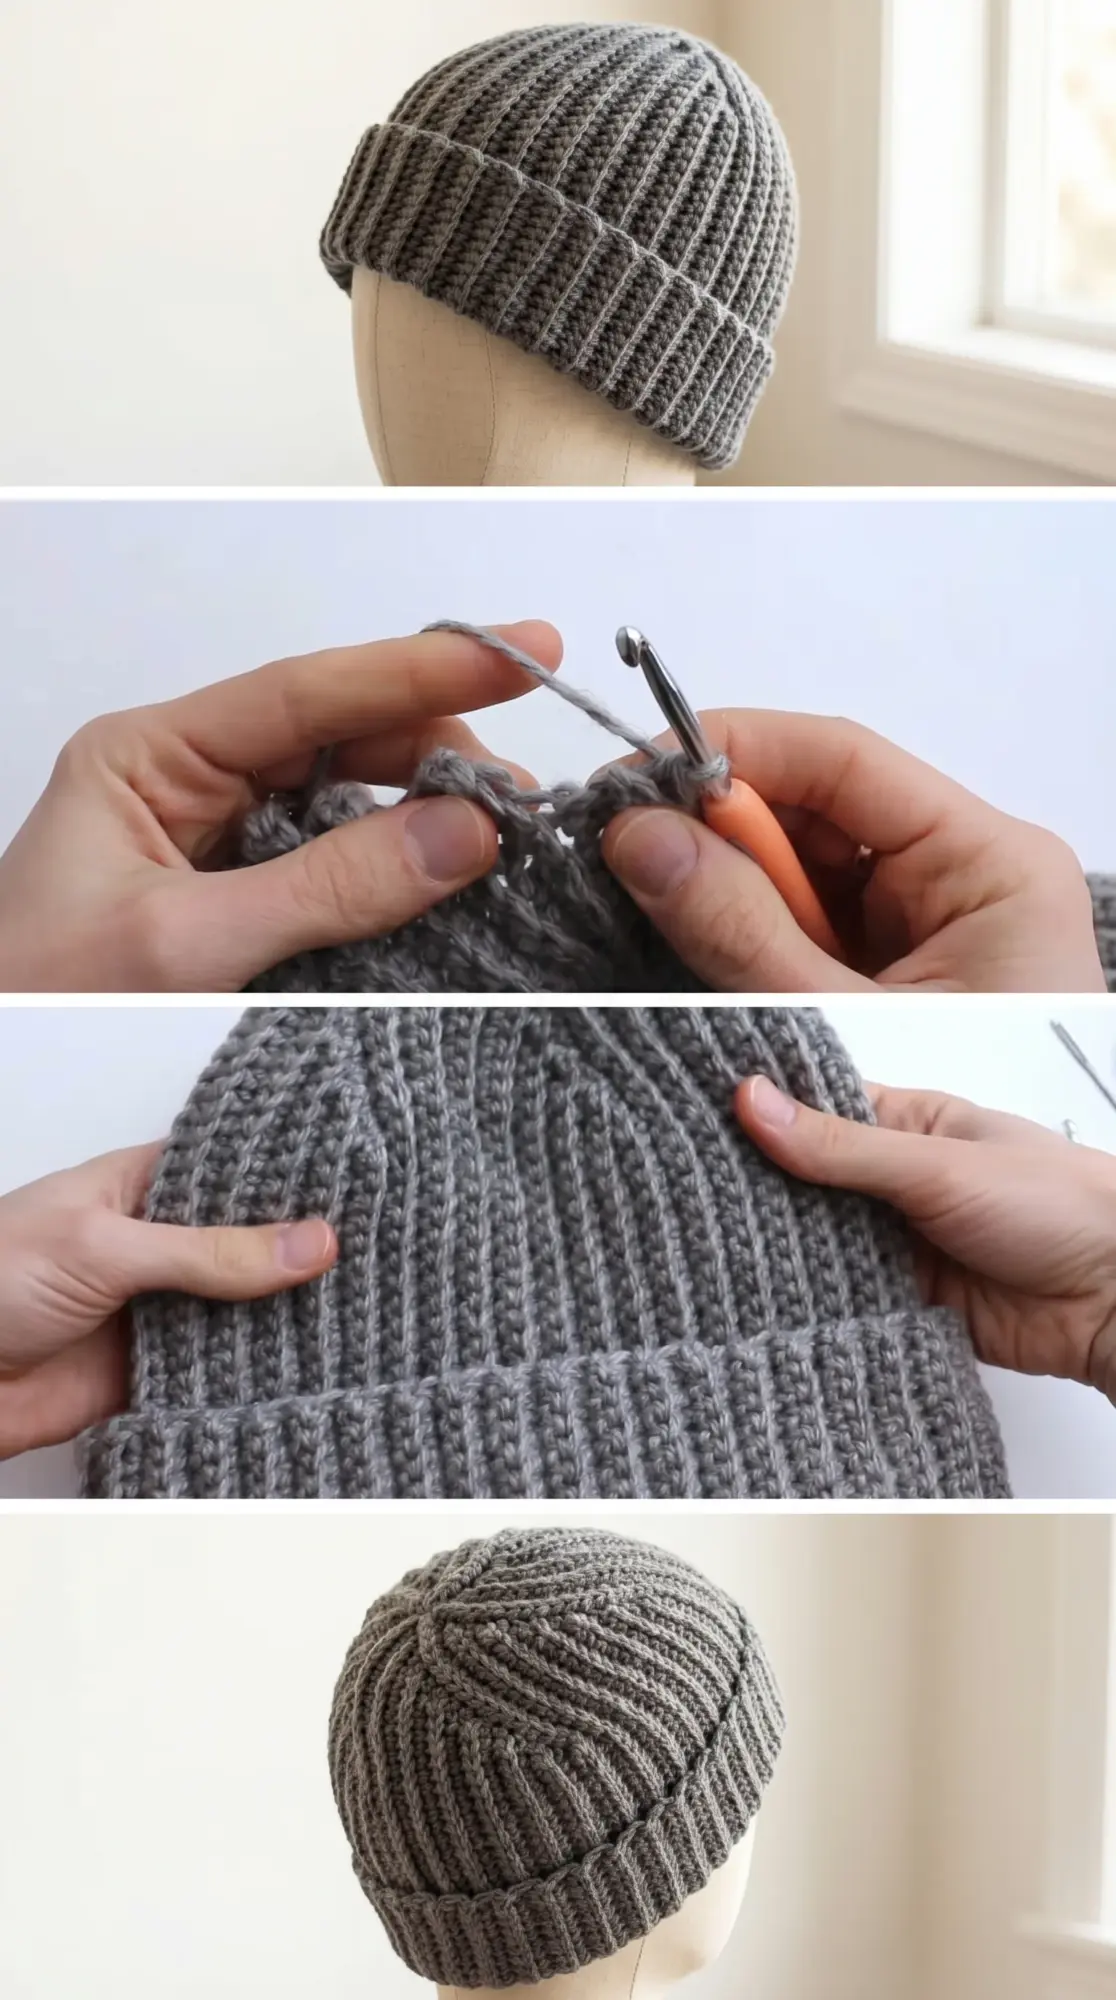
Stitch by Stitch
This pattern relies on just a few foundational stitches that come together to mimic the look of knitted ribbing.
BULLET:SC (Single Crochet) This low, tight stitch forms the foundation of your ribbed texture and keeps the fabric from stretching out of shape.
BULLET:BLO (Back Loop Only) Working into only the back loop of each stitch creates raised horizontal ridges that, when turned sideways, look like classic ribbing.
BULLET:SLST (Slip Stitch) Used for joining rounds or moving yarn across your work without adding height.
BULLET:CH (Chain) Your starting foundation and the bridge between rows or rounds.
The rhythm of working BLO single crochet becomes almost hypnotic, each stitch clicking into place as you build row after row of soft, stretchy ridges.
Construction
This crochet ribbed beanie is worked flat in rows to create a ribbed panel, then seamed along the short ends to form a tube. Once your band is the right circumference to fit your head, you’ll work rounds upward, decreasing gradually toward the crown until you can cinch the top closed. It’s beginner-friendly because the stitch is simple and the shaping is intuitive. If you want a slouchier fit, just add a few more rounds before you start decreasing.
Wearing Your Ribbed Beanie
Cuff it once for a snug fit with just a hint of slouch, or leave it uncuffed for a taller, more relaxed silhouette. Pair it with an oversized wool coat and leather boots for weekend errands, or tuck it into your jacket pocket on the commute home and pull it on when the wind picks up.
Keeping Your Beanie Fresh and Shaped
Hand wash your crochet ribbed beanie in cool water with a gentle wool wash, then roll it in a towel to remove excess moisture before laying it flat to dry. Avoid wringing or hanging, which can stretch out the ribbing and distort the shape. Store it folded rather than stuffed to keep those vertical ridges crisp and defined season after season.
You’re about to make a beanie you’ll reach for every single day, one that feels as good as it looks. Pin this pattern, gather your yarn, and let’s get hooking.
Follow us on Pinterest and subscribe to the Newsletter so you don’t miss a thing!
Tutorial and photos of this ribbed beanie by: Crochet Bits.