
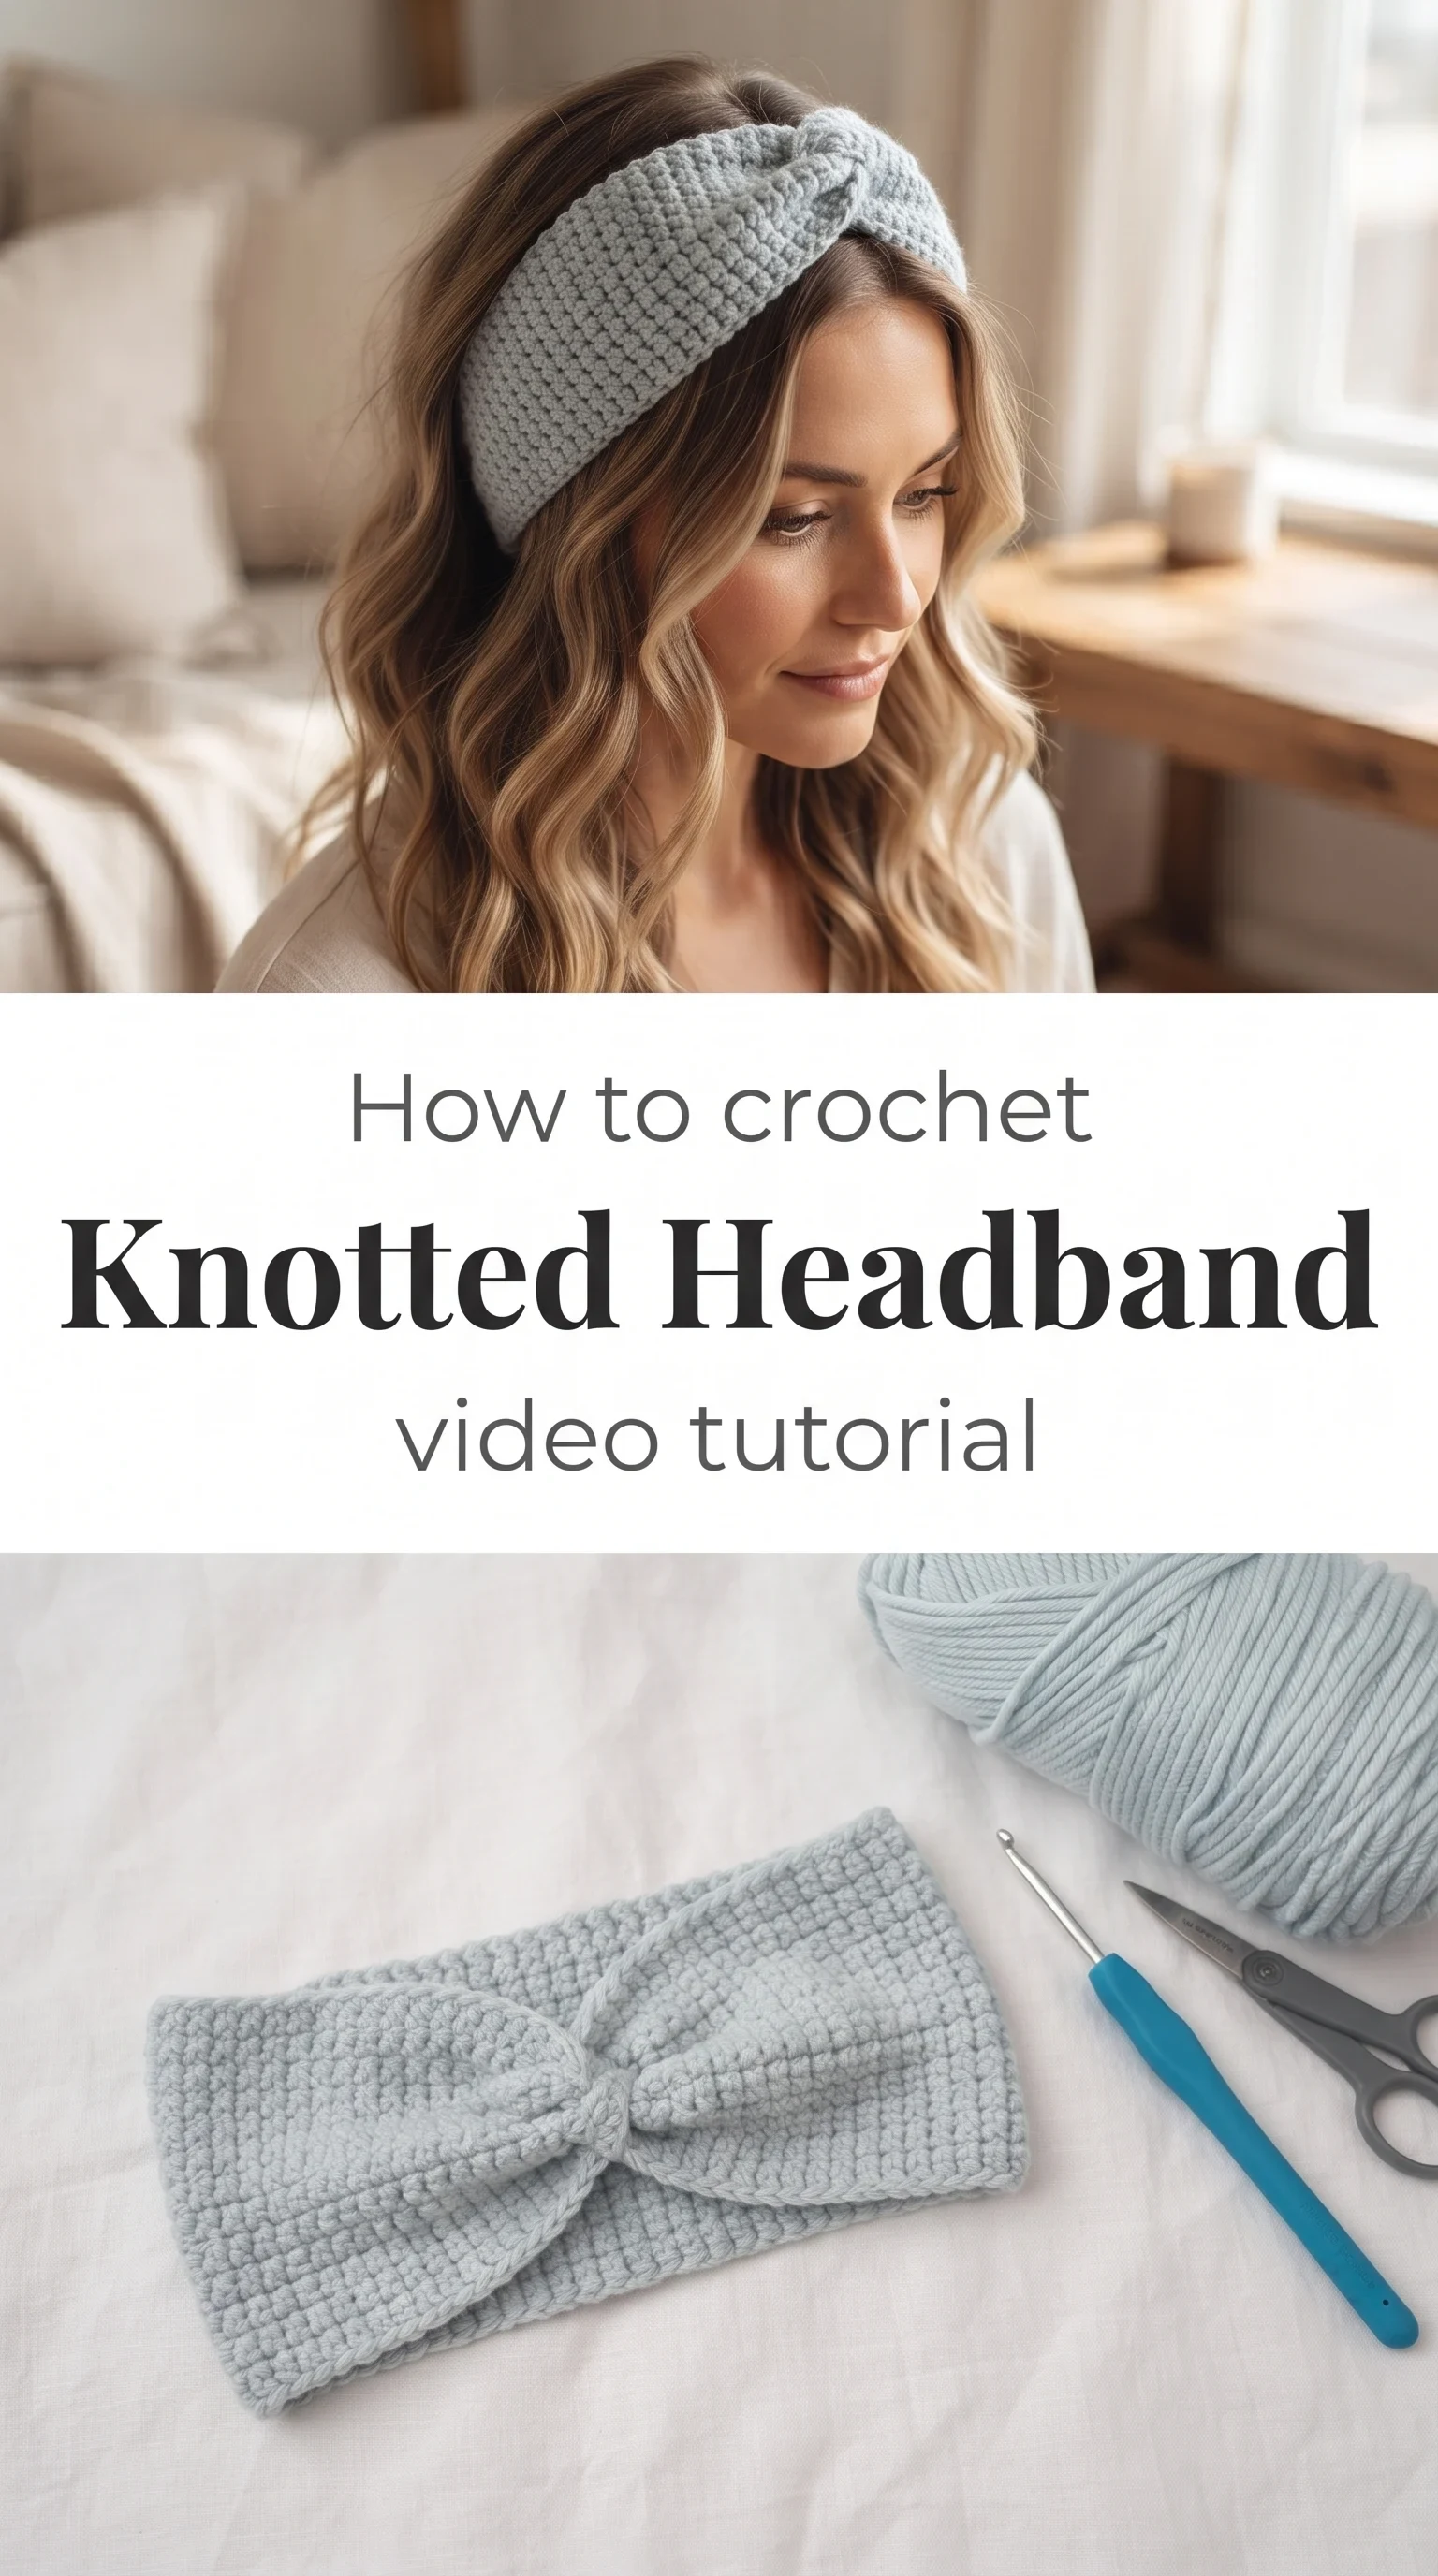
I am so genuinely excited to share this Crochet Knotted Headband tutorial with you, because it has completely stolen my heart. That gathered, twisted knot at the centre gives it an effortless sophistication that makes it look like something you would find in a boutique, not something you whipped up in an afternoon.

The Knotted Headband
The Crochet Knotted Headband is one of those pieces that feels airy yet structured the moment you hold it, a soft band that sits against your hair with quiet confidence. It is made for the woman who wants something handmade but polished, something that looks considered rather than crafted. The knot detail at the front is the heart of the whole design, gathering the fabric into a sculptural twist that catches the light and draws the eye. Whether your hair is loose and windswept or pinned back neatly, this headband settles into the look like it always belonged there.
Knotted Headband Related Posts:
- Crochet Granny Square Bag: A Colorful Handmade Accessory
- Crochet Ribbed Tote: A Chic Everyday Accessory
- Crochet Oreo Bag: A Fresh and Playful Accessory
- Crochet Shoulder Bag: A Charming Everyday Accessory
In a pale silver-blue like the one shown in the reference images, this headband carries a whisper of elegance that works with everything from a linen shirt to a winter coat. It also translates beautifully in warm neutrals like oat, sand, or dusty rose, or you could go bold with a deep forest green or terracotta for a more grounded, earthy feel. One skein is genuinely enough to try two or three colourways, which makes it an irresistible quick gift project as well.
Materials and Tools
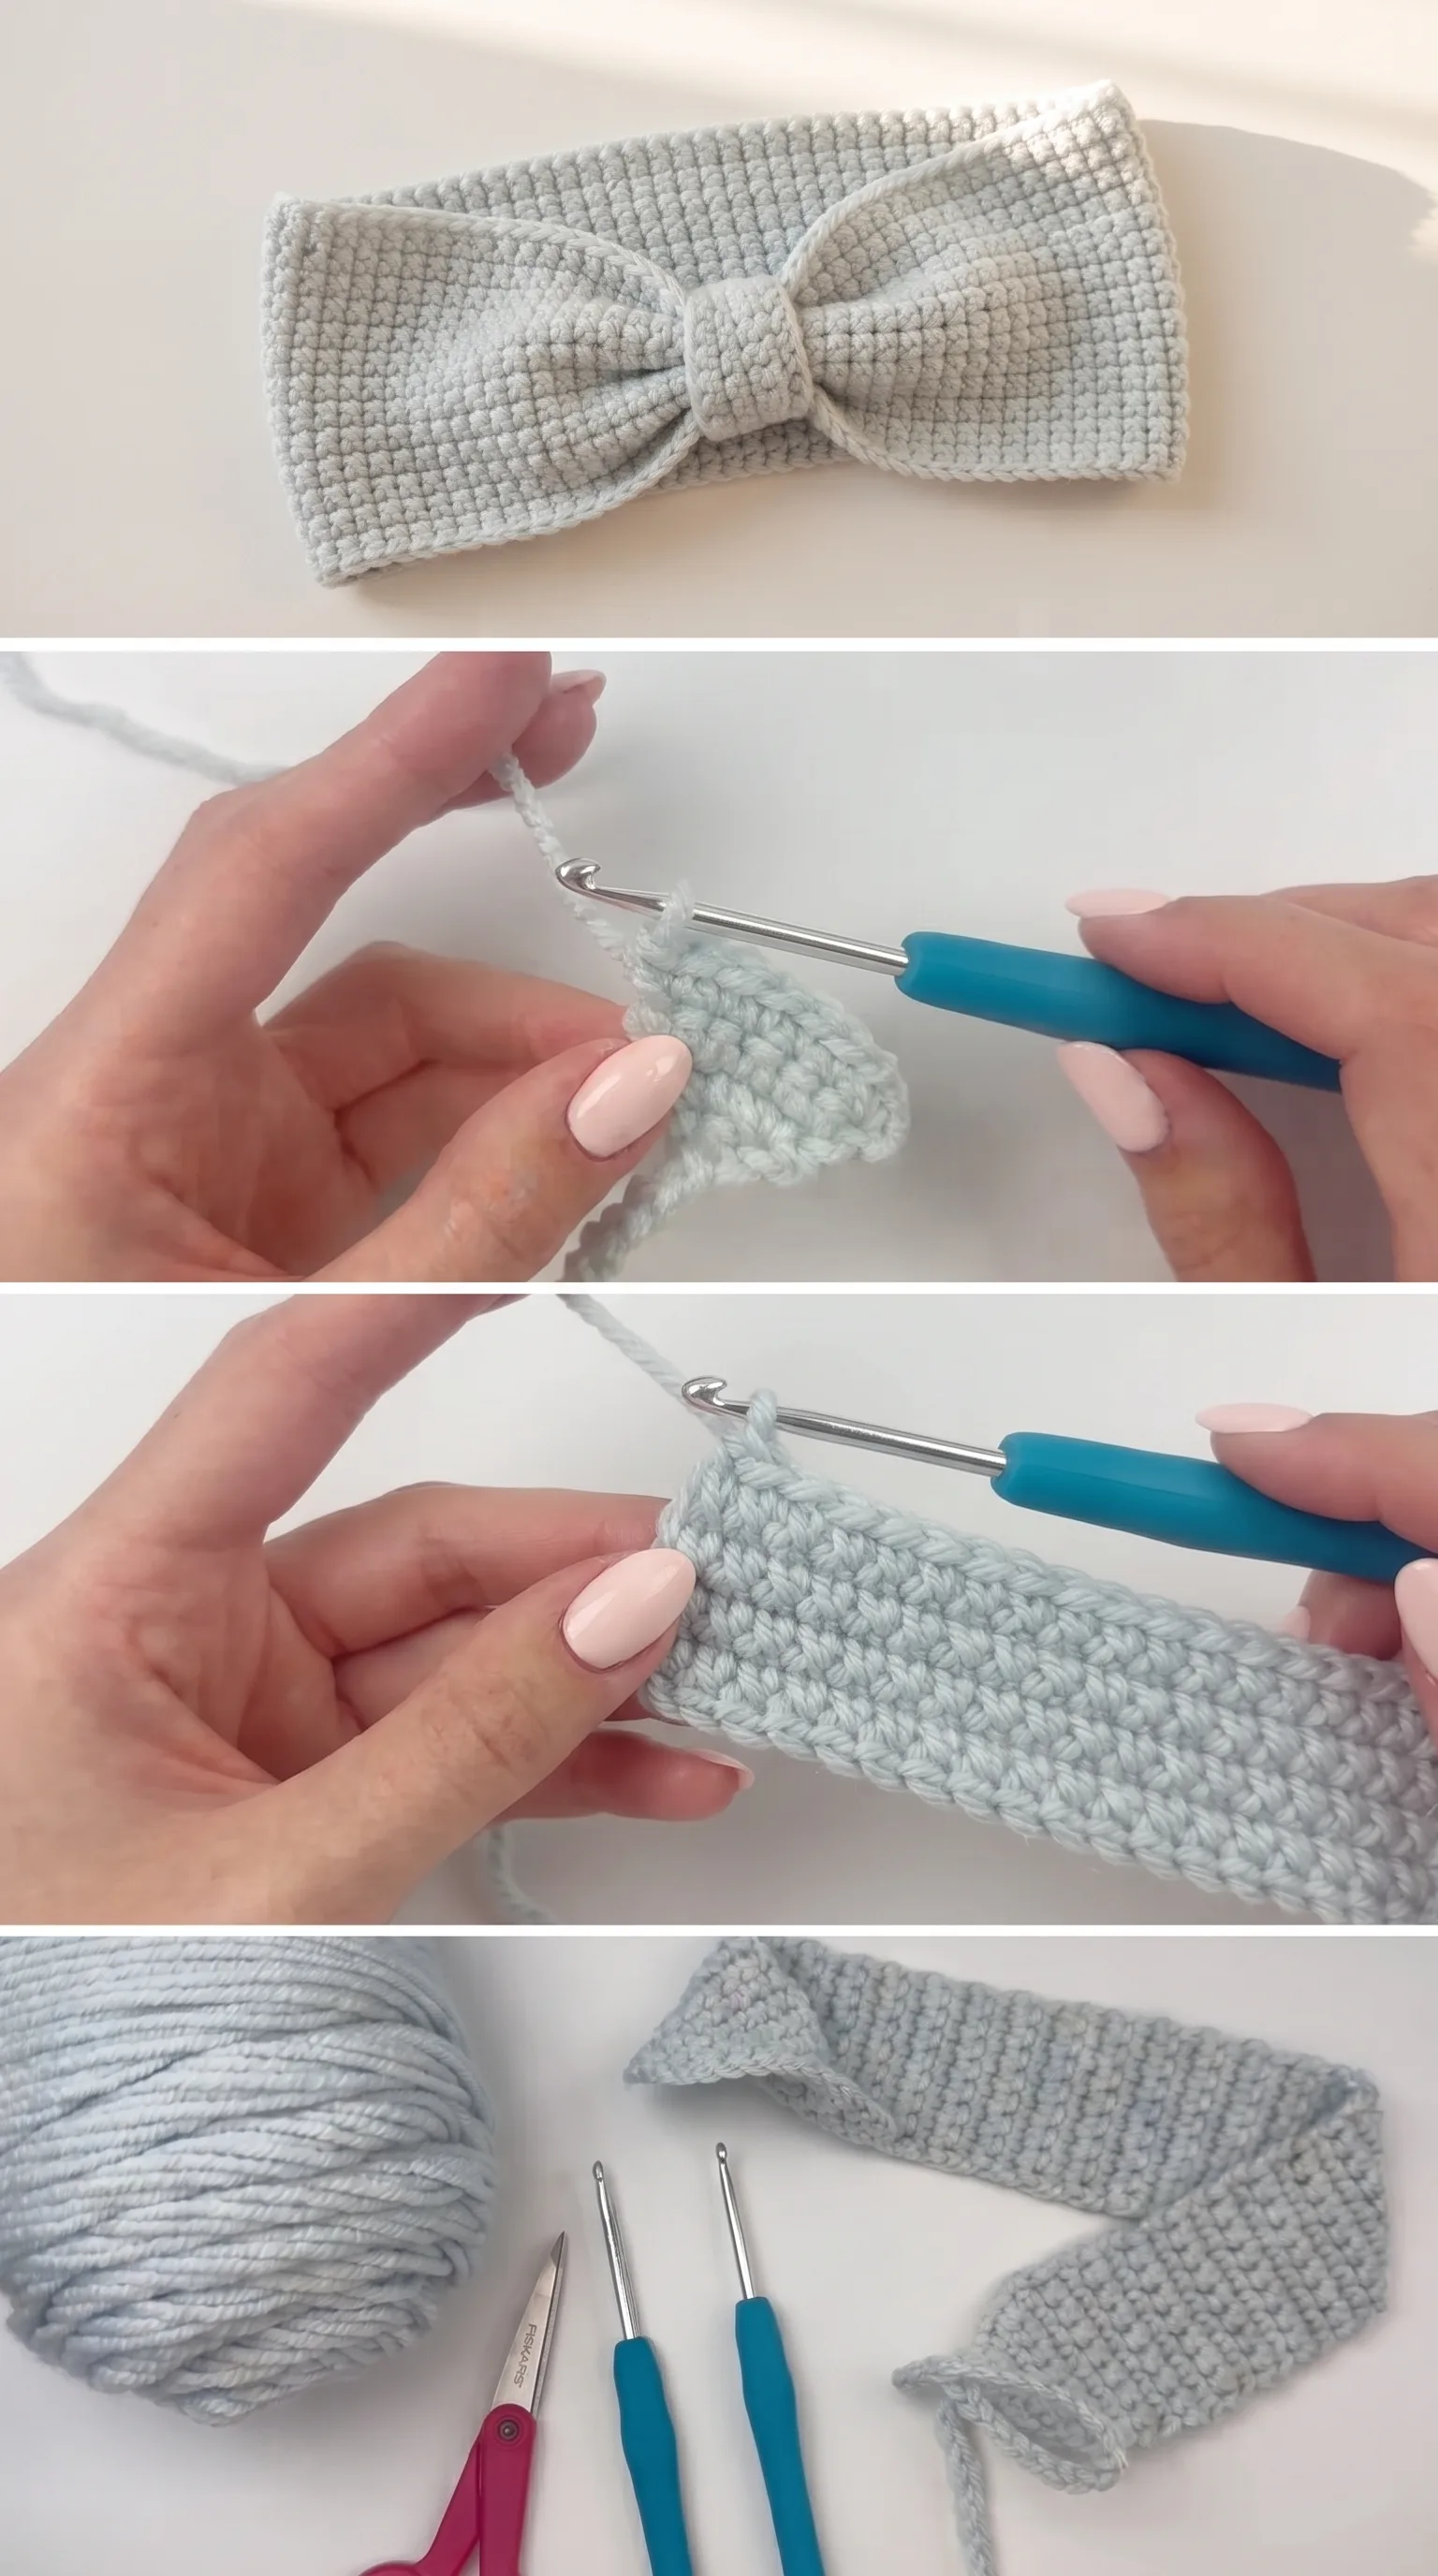
For this Crochet Knotted Headband, you will want to reach for a DK weight yarn in a smooth, tightly spun fibre that shows stitch definition clearly and holds its shape well after wear. The headband in the video tutorial is worked in a soft pale blue that looks like a cotton-acrylic blend, which gives it just enough stretch to sit comfortably on the head without slipping. A 4mm crochet hook is the sweet spot for this weight, giving you a fabric that is firm enough to keep the knot structured but not so stiff that it loses its wearable drape. A blunt tapestry needle is all you need for finishing, and a pair of sharp scissors like the Fiskars shown in the reference image will make your yarn cuts clean and precise.
Stitch by Stitch
This headband is built on a small and satisfying collection of stitches that any beginner can learn quickly and any intermediate crocheter will find genuinely relaxing to work.
BULLET:SC (Single Crochet) The foundation stitch of the entire band, worked in rows to build a dense, even fabric with a lovely texture on both sides.
BULLET:CH (Chain) Used to begin the work and to turn at the end of each row, keeping your edges tidy and your stitch count consistent.
BULLET:SL ST (Slip Stitch) Appears during the finishing stage to join sections neatly or to close the band without adding visible bulk.
BULLET:YO (Yarn Over) The fundamental motion that drives every stitch in this piece, pulling the yarn through loops to build up the fabric one pass at a time.
There is something deeply meditative about the SC rhythm in a project like this, row after row building a soft, repeating pattern that lets your hands work almost without thinking while your mind quietly unwinds.
Construction
The Crochet Knotted Headband is worked flat in rows, creating two rectangular panels that are long enough to wrap around the head comfortably and meet at the front. Once the band reaches the right length, the fabric is gathered at the centre and wrapped with a short separate piece of yarn to form that characteristic twisted knot, which is the signature detail of the whole design. The full step-by-step process is shown clearly in the video tutorial, which walks you through both the band construction and the knot assembly so nothing feels guesswork. If you want a wider headband with a chunkier knot, simply add more starting chains and the rest of the pattern scales naturally.
Wearing Your Knotted Headband
Pull the finished Crochet Knotted Headband on over loose, air-dried waves for an effortlessly put-together weekend look, or use it to anchor a low bun on a busy morning when you want something that feels a little special. It also layers beautifully over a rolled-up beanie in cooler months, sitting just above the ears and adding a sculptural softness to a heavier winter outfit. Every time you wear it, you will feel that quiet satisfaction of knowing you made it yourself.
Keeping Your Knotted Headband Fresh and Beautiful
Because the headband is worked tightly in DK weight yarn, it benefits from a gentle hand wash in cool water with a mild wool or delicate wash, even if your yarn is acrylic, as this keeps the fibres smooth and the knot centre looking crisp. Lay it flat on a clean towel to dry, reshaping the band gently with your fingers so the knot sits centred and the edges stay even. If you are using a natural fibre like cotton or a wool blend, a light wet block over a rounded form will help the headband hold its shape beautifully over time. Store it flat or loosely rolled rather than folded so the knot does not develop a crease at its centre.
Making this Crochet Knotted Headband is a small act of care for yourself, proof that something beautiful can come from a few hours and a single skein of yarn. Save this to your Pinterest crochet board so you can find it whenever you are ready to pick up your hook and make something that is quietly, genuinely yours.
Follow us on Pinterest and subscribe to the Newsletter so you don’t miss a thing!
Tutorial and photos of this knotted headband by: ElyseCrochets 💌.