
A free video tutorial is available for this Crochet Honeycomb Beanie, and the way the honeycomb stitch creates that raised, geometric texture in a single colour of yarn is genuinely breathtaking!

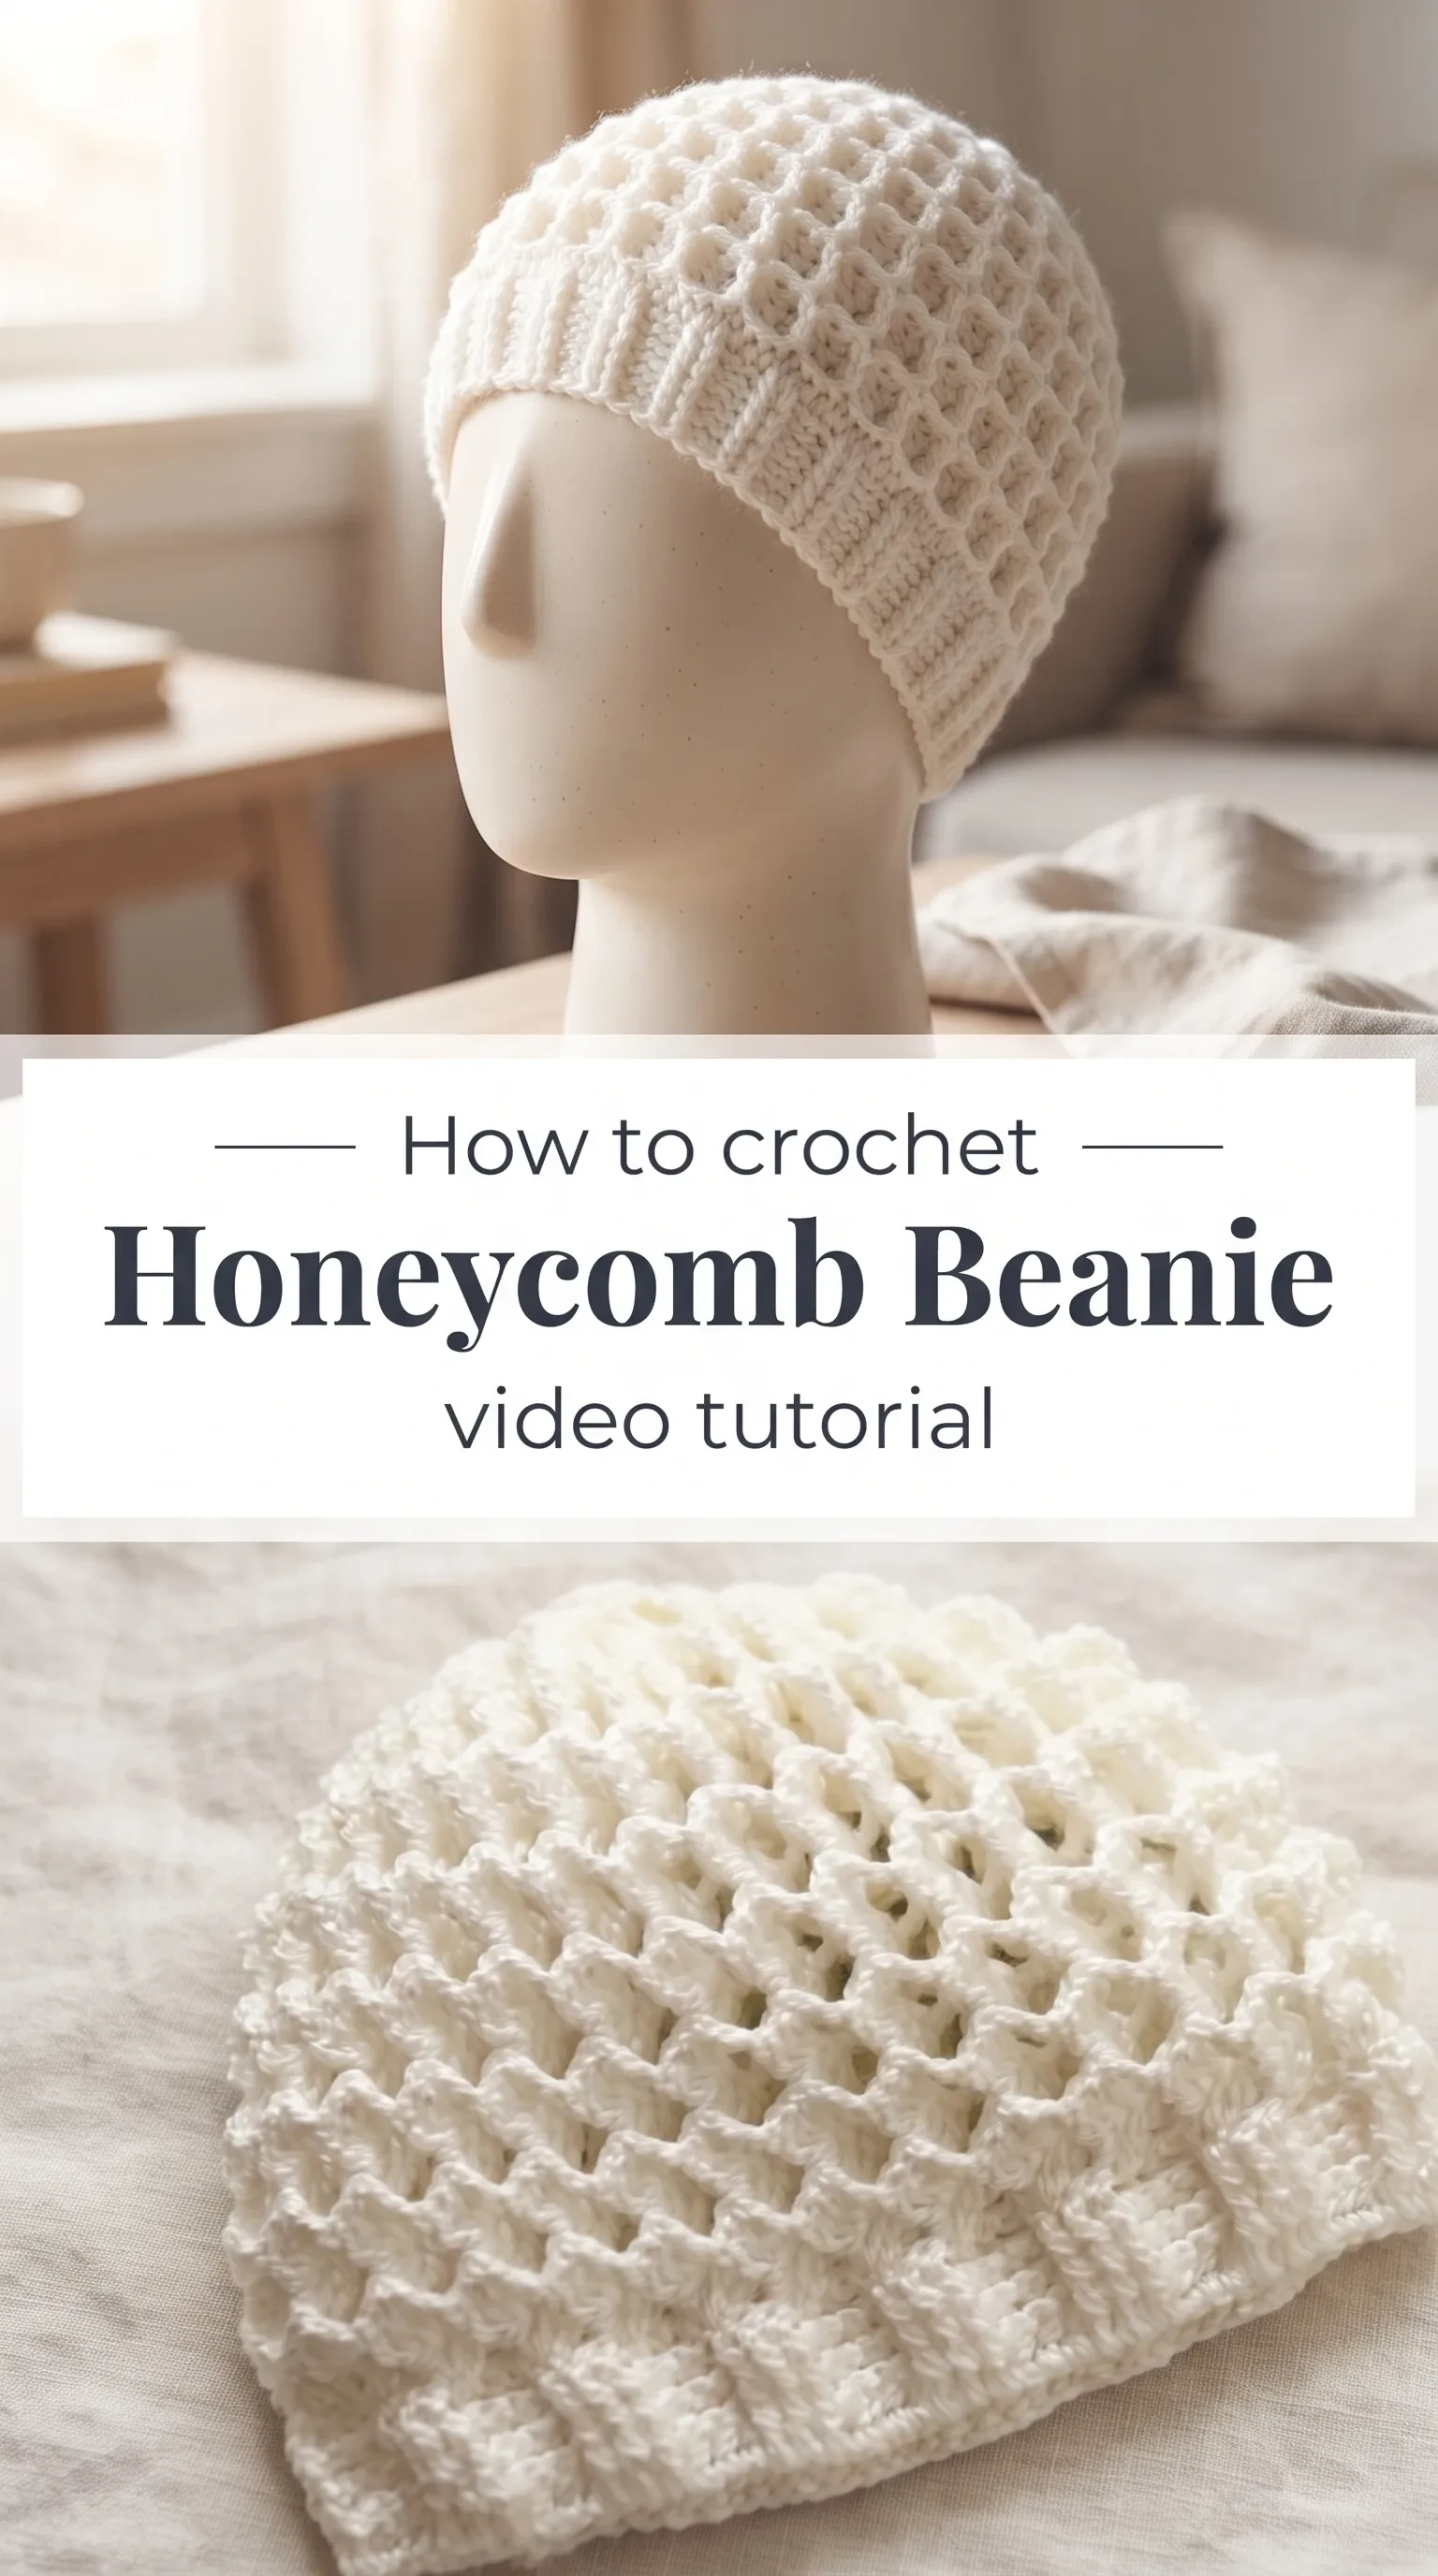
The Honeycomb Beanie
The Crochet Honeycomb Beanie is the kind of accessory that looks as though it took great skill and great patience, yet rewards you with something airy yet structured that sits beautifully on the head. Each little cell of the pattern catches light in its own quiet way, creating a surface that is almost architectural, like something pulled from nature and translated into yarn. This beanie is for the crafter who wants their work to look considered and artful, whether they are making it for themselves or gifting it to someone who deserves something truly handmade. It suits everyone from teenagers to grandmothers, and that rare universality is part of what makes it so worth making.
Honeycomb Beanie Related Posts:
- Crochet Evening Bag: A Quick and Chic Accessory
- Crochet Heart Mosaic Pouch: A Charming Handmade Accessory
- Crochet Woven Tote: A Chic Designer-Inspired Piece
- Crochet Lemon Shoulder Bag: A Fresh and Playful Accessory
In white, as shown in the video, this beanie has a clean, almost bridal softness that pairs with absolutely everything in a wardrobe. But imagine it in dusty rose, oat cream, sage green, or deep navy, and suddenly it becomes something entirely new with each colour choice. Worn slouchy or fitted, tucked over a bun or pulled down over the ears on a cold morning, the Crochet Honeycomb Beanie is one of those pieces that earns its place in a capsule wardrobe without ever trying too hard.
Materials and Tools
To recreate this Crochet Honeycomb Beanie, you will want to reach for a DK weight yarn in a smooth, light-reflecting fibre, as this is what gives those honeycomb cells their satisfying definition. A cotton-acrylic blend works beautifully for three-season wear, while a merino DK will bring a whisper of elegance and warmth for autumn and winter months. Pair your yarn with a 4mm crochet hook, which gives the stitch pattern just enough tension to hold its shape without becoming stiff or heavy. A yarn needle for weaving in ends is the only other tool you will truly need, making this a wonderfully low-investment project from the very start.
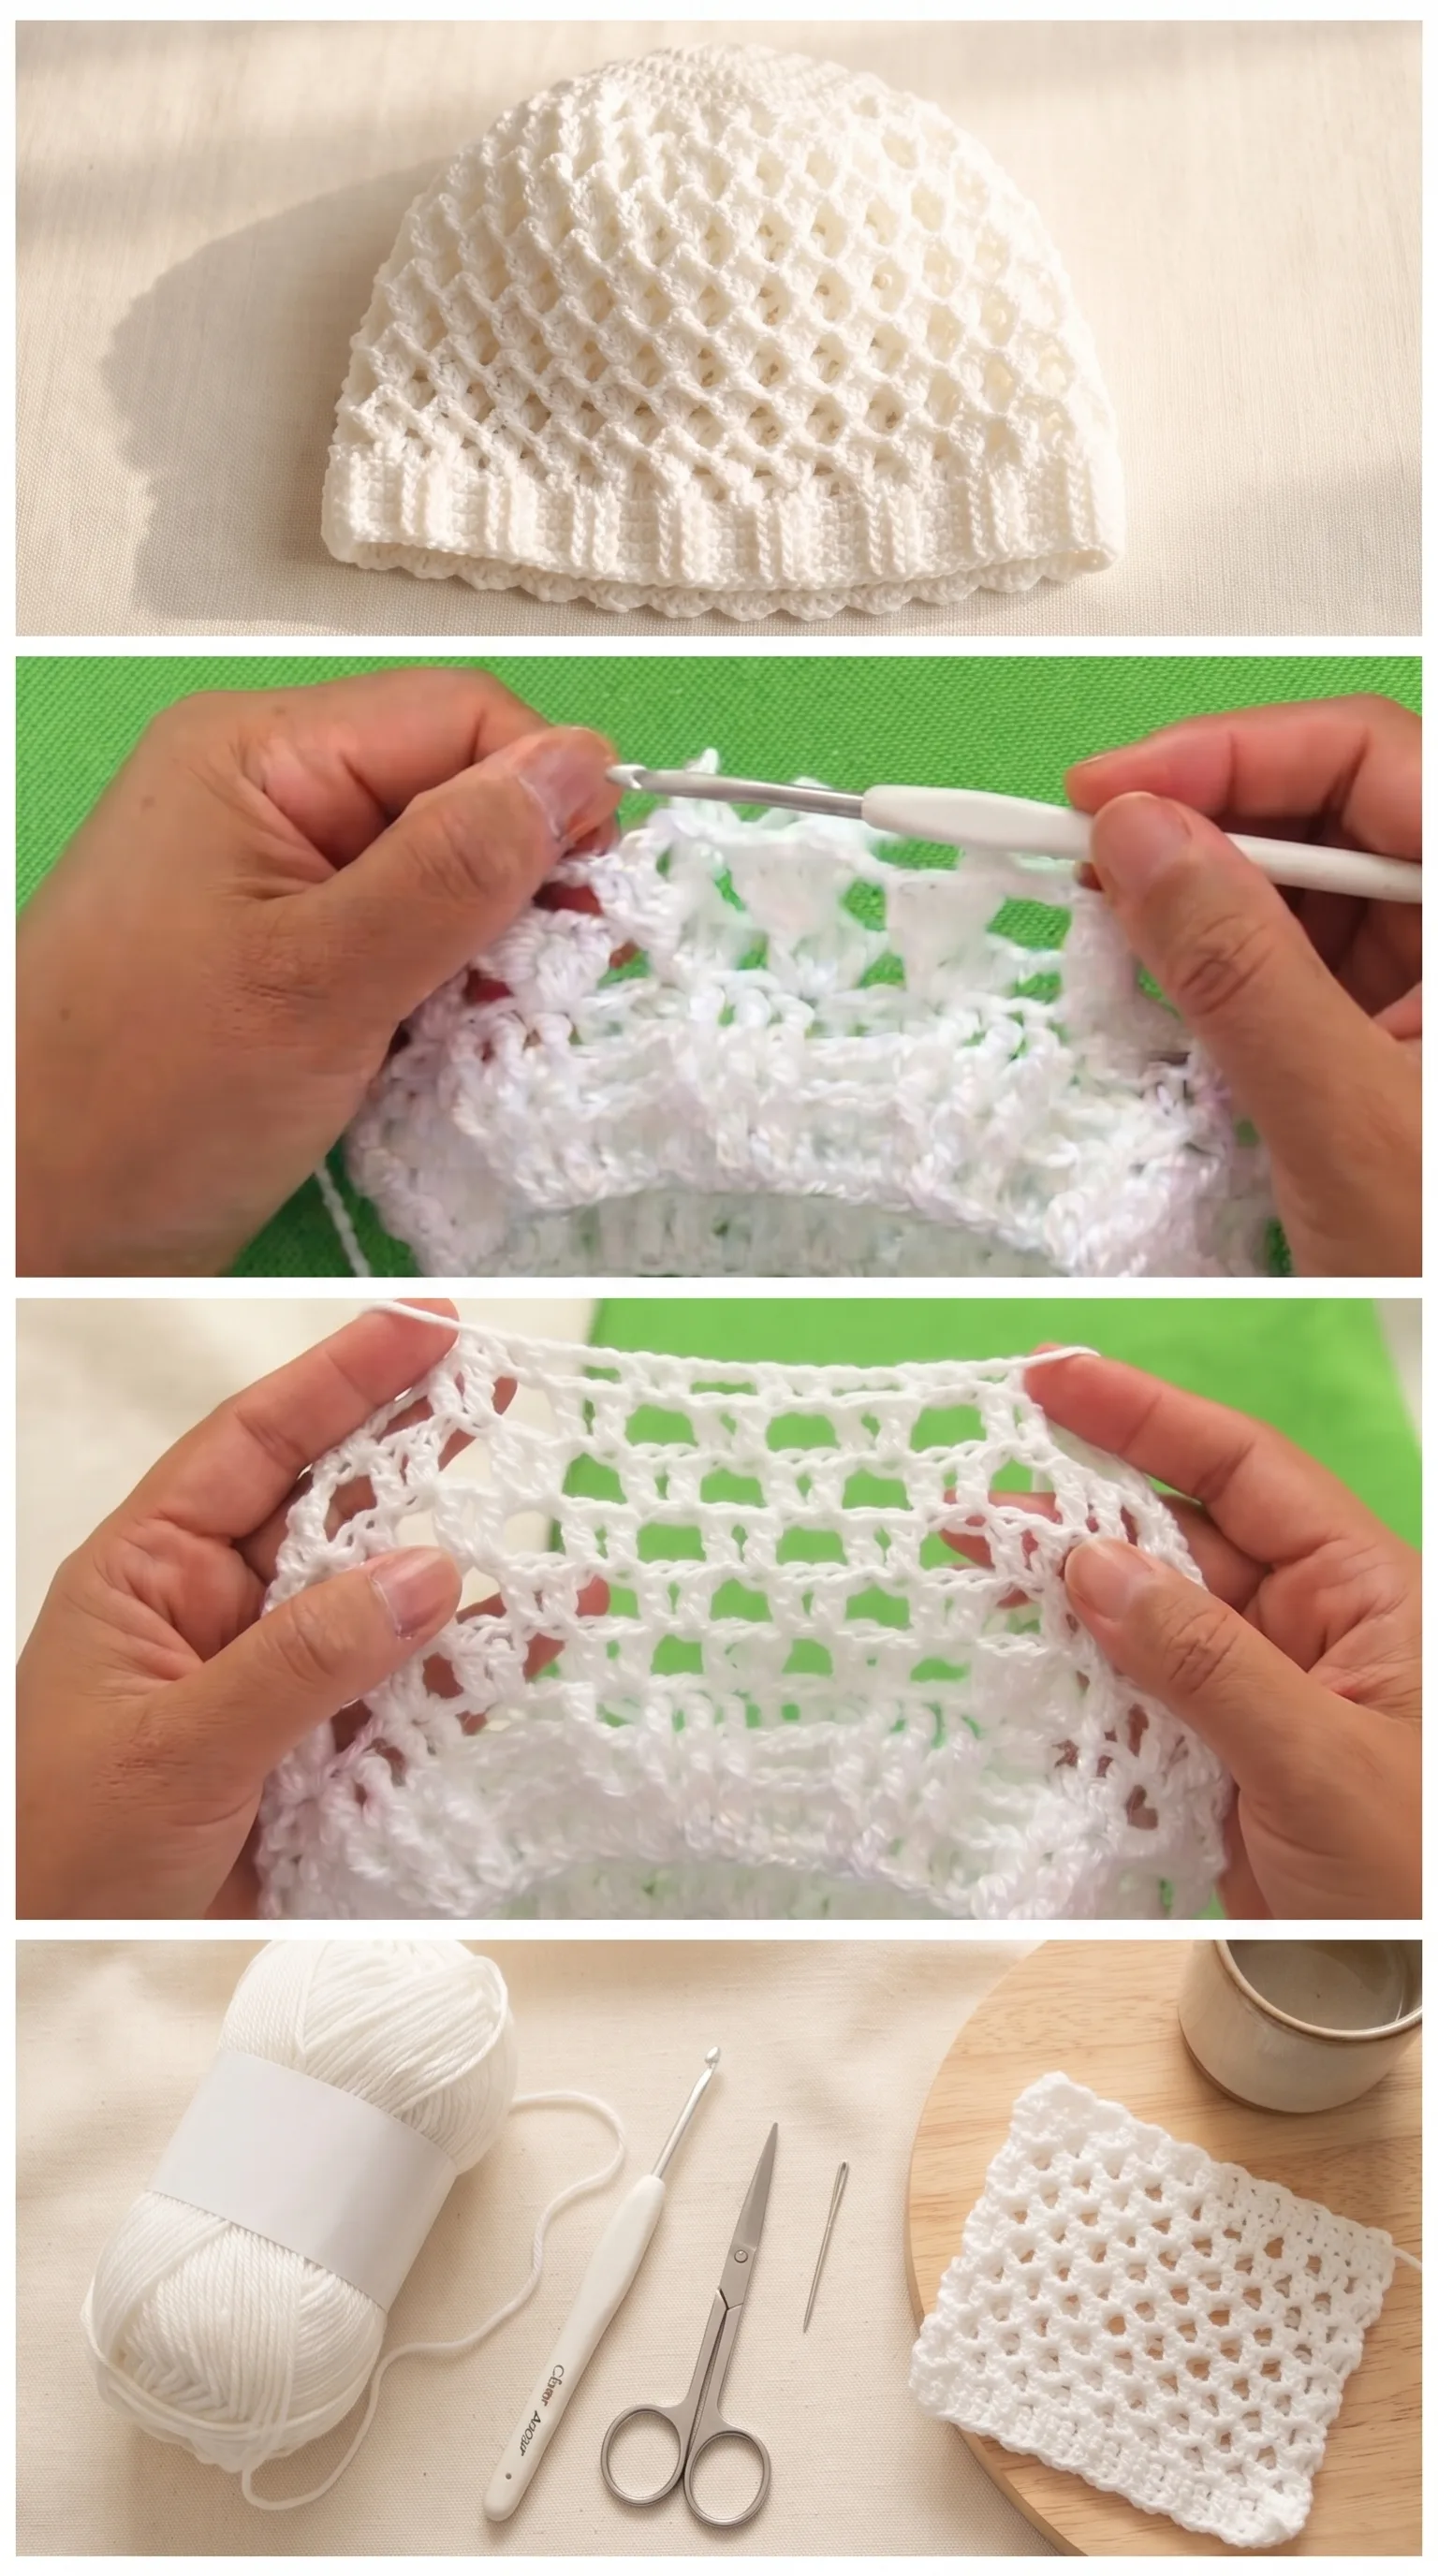
Stitch by Stitch
This pattern draws on a small and approachable vocabulary of crochet stitches that combine to create that unmistakable honeycomb effect.
BULLET:CH (chain stitch) The foundation of the beanie and used throughout to create the open spaces between clusters that give the pattern its cellular structure.
BULLET:SC (single crochet) Used at the brim and in joining rounds to anchor the work and create a neat, firm edge that holds the beanie’s shape.
BULLET:DC (double crochet) The primary building block of the honeycomb texture, worked in groups to form the raised, padded cells across the body of the hat.
BULLET:YO (yarn over) A motion you will repeat in a meditative rhythm throughout the DC clusters, wrapping the hook to build height and volume into each stitch.
Once your hands find the repeat, the pattern settles into a quiet, satisfying cadence that makes it the kind of project you return to in the evenings, picking it up for twenty minutes at a time until it is finished almost without noticing.
Construction
The Crochet Honeycomb Beanie is worked in the round from the brim upward, which means you build the structured band first and then watch the honeycomb pattern bloom row by row as you move toward the crown. The increases at the top are gentle and gradual, shaping the dome naturally so the finished hat sits with a softly rounded silhouette rather than a flat or pointed crown. Because the construction is circular from start to finish, there are no seams to sew and no panels to join, which makes this an excellent choice for crocheters who are moving past their first projects and want something that feels genuinely rewarding without being overwhelming. If you want a snugger fit, simply work your DC clusters with a slightly tighter tension, or drop down to a 3.5mm hook for a denser fabric.
Wearing Your Honeycomb Beanie
Pull the finished Crochet Honeycomb Beanie on over loose waves or a relaxed bun and pair it with an oversized knit coat and ankle boots for that effortless slow-fashion aesthetic that never dates. It looks equally at home with a simple linen shirt and jeans on a cool spring morning as it does layered over a thick turtleneck in the depths of winter. Every time you wear something you made with your own hands, it carries a quiet pride that no shop-bought accessory can replicate, and that feeling alone is reason enough to cast on today.
Washing and Storing Your Honeycomb Beanie
Because the honeycomb stitch has open cells and a raised texture, hand washing in cool water with a gentle detergent is the kindest way to clean your beanie and preserve that beautiful structure. Gently press out excess water between two clean towels rather than wringing, and then reshape the hat by hand before laying it flat to dry so the cells hold their form as the yarn settles. If you have worked your beanie in a natural fibre like merino, a light wet block over a round object such as a dinner plate or balloon will help the honeycomb cells open up evenly and look their most polished. Store it folded gently in a drawer or breathable cotton bag rather than hung, as hanging can stretch the crown over time and distort that satisfying domed shape.
You made something real, something textured and considered that carries the warmth of the hours you put into it, and that is always worth celebrating. Share your finished Crochet Honeycomb Beanie on Pinterest and tag it so other makers can find this pattern and feel inspired to make their own.
Follow us on Pinterest and subscribe to the Newsletter so you don’t miss a thing!
Tutorial and photos of this honeycomb beanie by: tallermanualperu.