
A Crochet Heart Cushion is built from two mirrored heart panels worked flat, joined and stuffed to create a sculptural, pillow-soft accent that sits somewhere between folk art and modern décor. From a gift for a dear friend to a dreamy centerpiece on a linen-dressed bed, this one pattern quietly opens the door to a whole collection of handmade heart-shaped pieces in every scale and colorway imaginable.

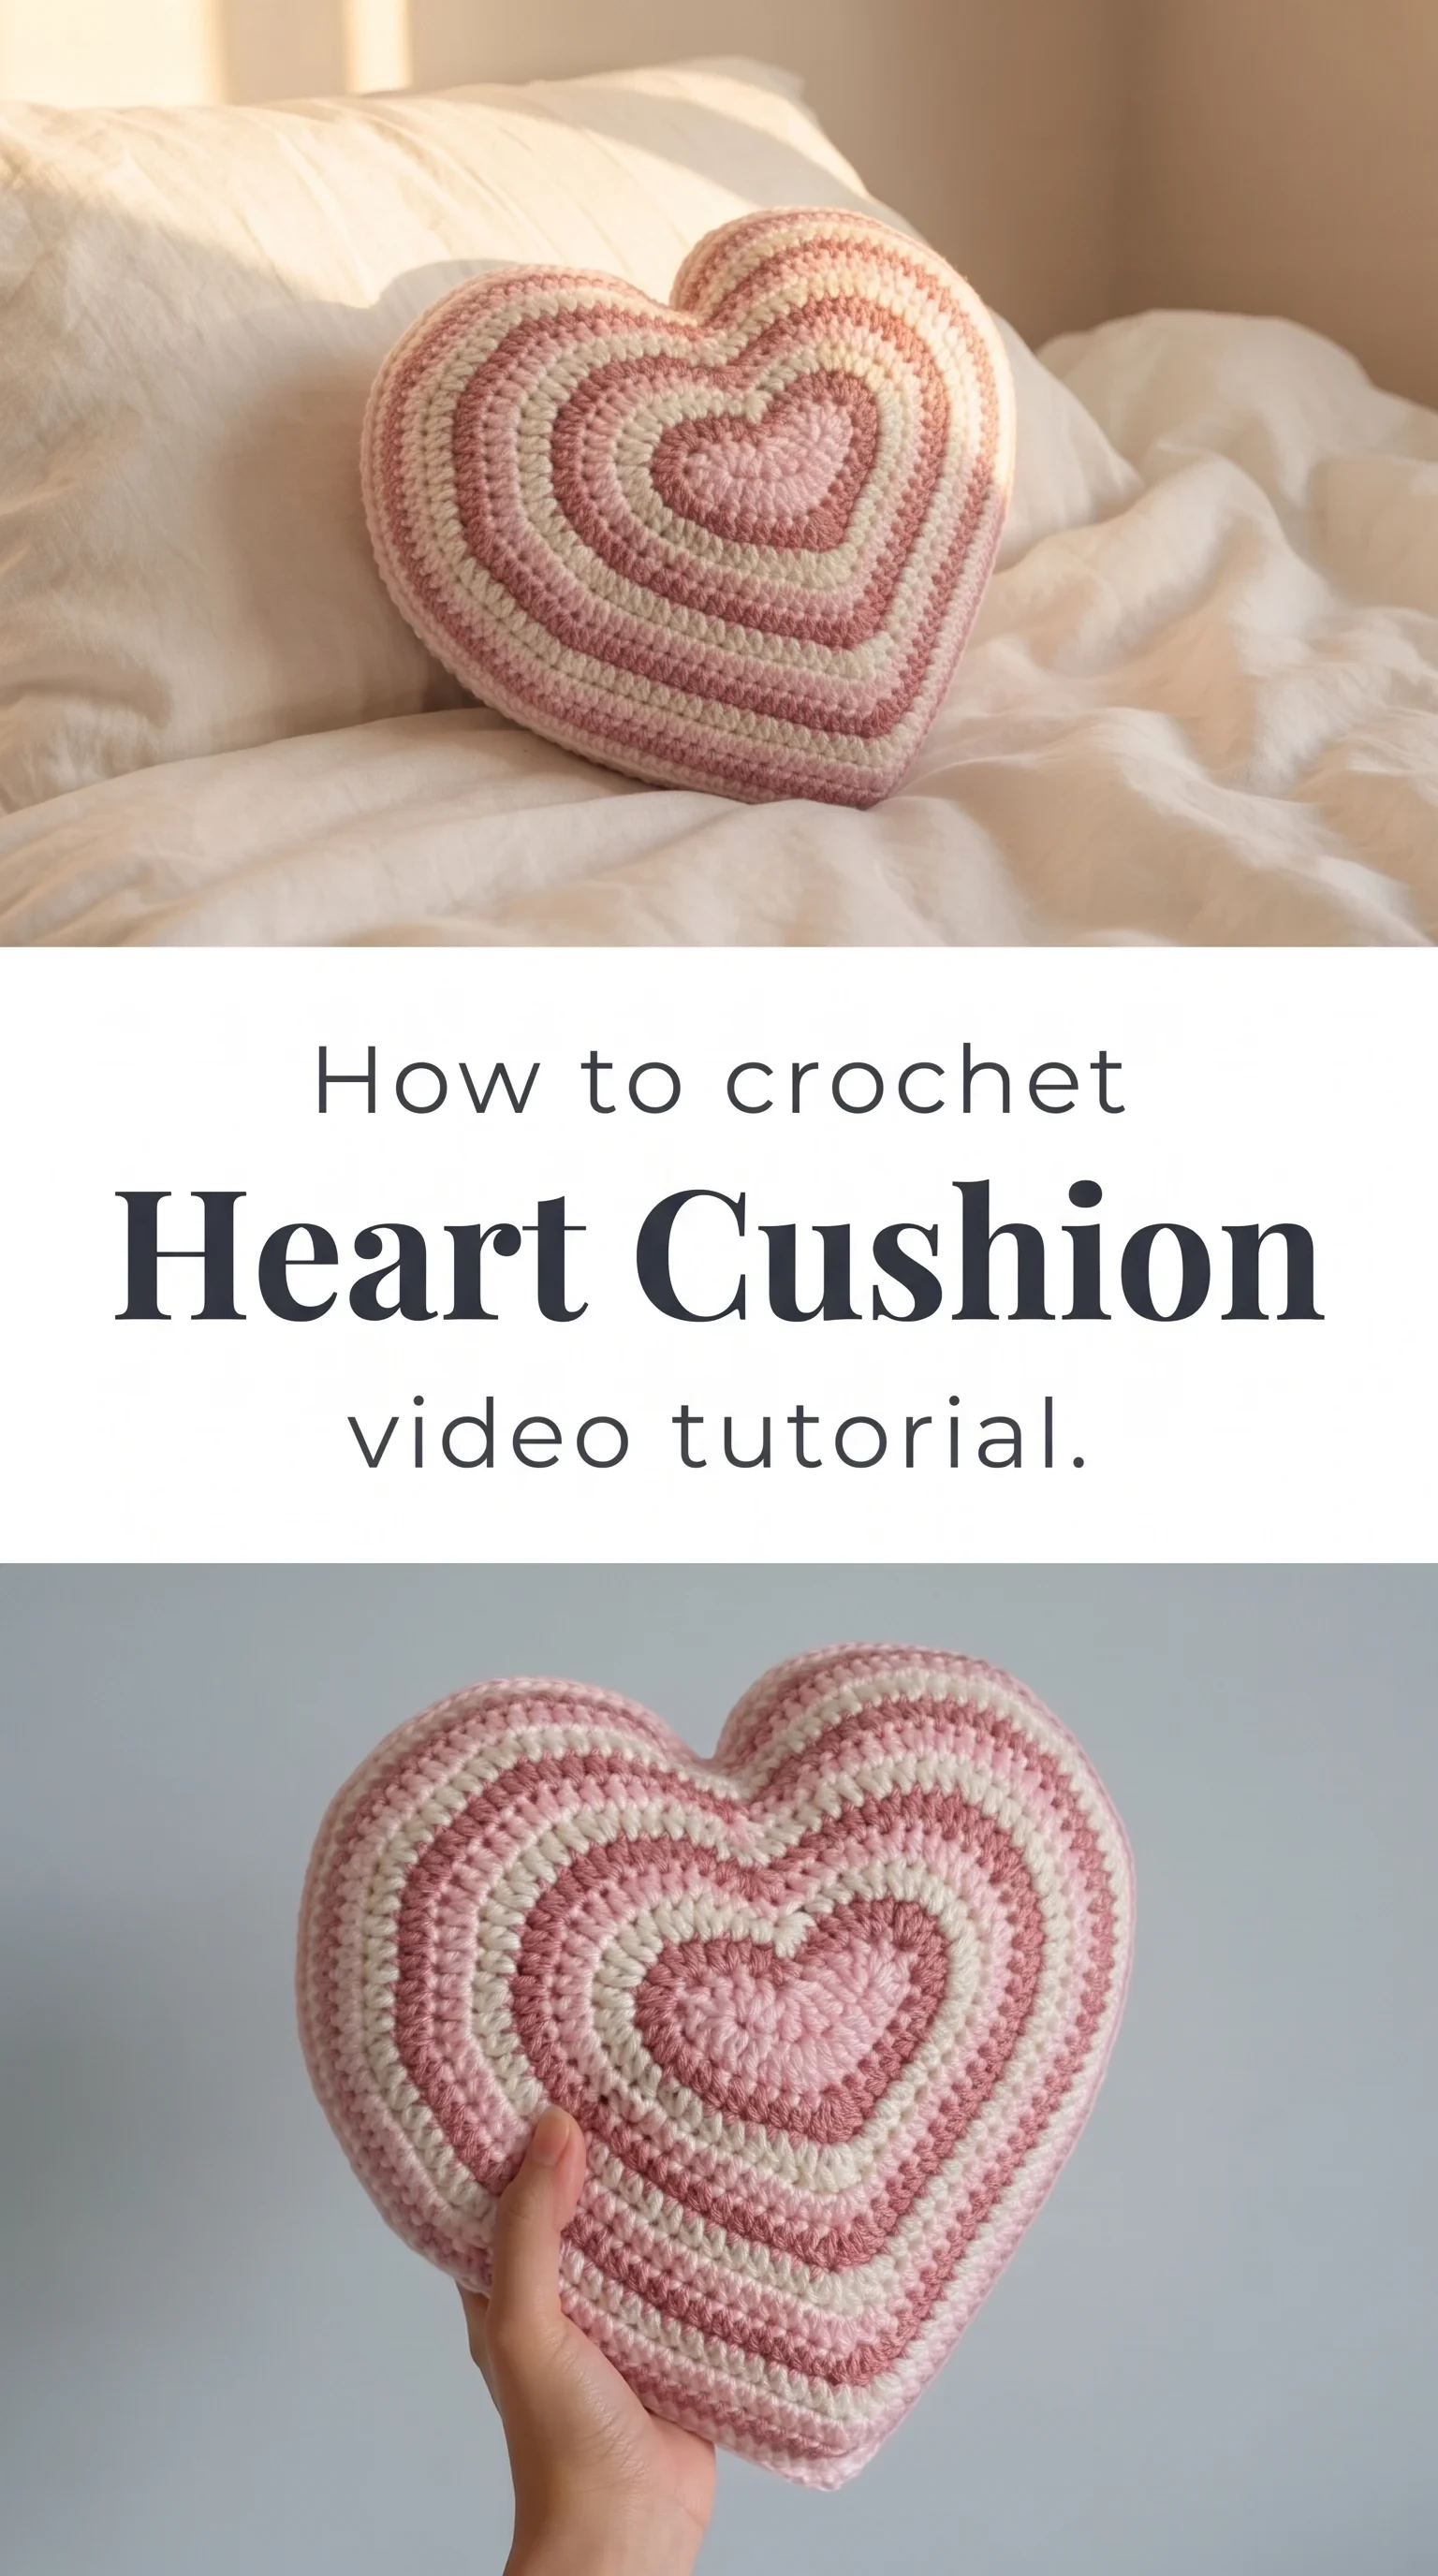
The Heart Cushion
This Crochet Heart Cushion carries the kind of quiet warmth that makes a room feel genuinely lived-in and loved. The concentric rings of color radiate outward from a dense, rounded center like the ripples of something soft dropped into still water, each row a little lighter, a little softer, edging toward cream. It is the sort of piece that people reach out to touch before they even think about it, drawn in by the texture and the shape working so perfectly together. Whether you are a beginner building confidence or an intermediate crocheter looking for a satisfying weekend project, this cushion meets you exactly where you are.
Heart Cushion Related Posts:
- Crochet Lace Doily: A Delicate Decorative Accent
- Crochet Lace Stitch: A Stunning Dimensional Pattern
- Crochet Pixel Grid Designs: A Creative and Versatile Collection
- Crochet Lace Doily: A Delicate Timeless Accent
The color palette shown in the tutorial leans into a dreamy dusty rose, blush, and cream combination that feels equally at home on a boho bedroom floor pillow or propped against a white sofa. You could push it warmer with terracotta and rust, cooler with lavender and sage, or lean into deep holiday red for a seasonal accent. The stripe structure means any three tones you love will work beautifully together without any complicated color planning.
Materials and Tools
For this Crochet Heart Cushion, you will want a worsted weight yarn, which gives the fabric the body and structure it needs to hold its heart shape once stuffed. The tutorial uses a soft acrylic or acrylic-blend in three coordinating shades, and if you want a slightly more luxurious drape, a cotton-acrylic blend in worsted weight will give you that same crispness with a little more breathability. A 4mm or 4.5mm crochet hook is the sweet spot here, producing a fabric that is tight enough to contain the polyfill stuffing without gaps but loose enough to crochet comfortably for hours. Keep a yarn needle close by from the very start, as you will use it frequently to weave in the color-change ends as you go rather than facing a pile of loose tails at the finish.
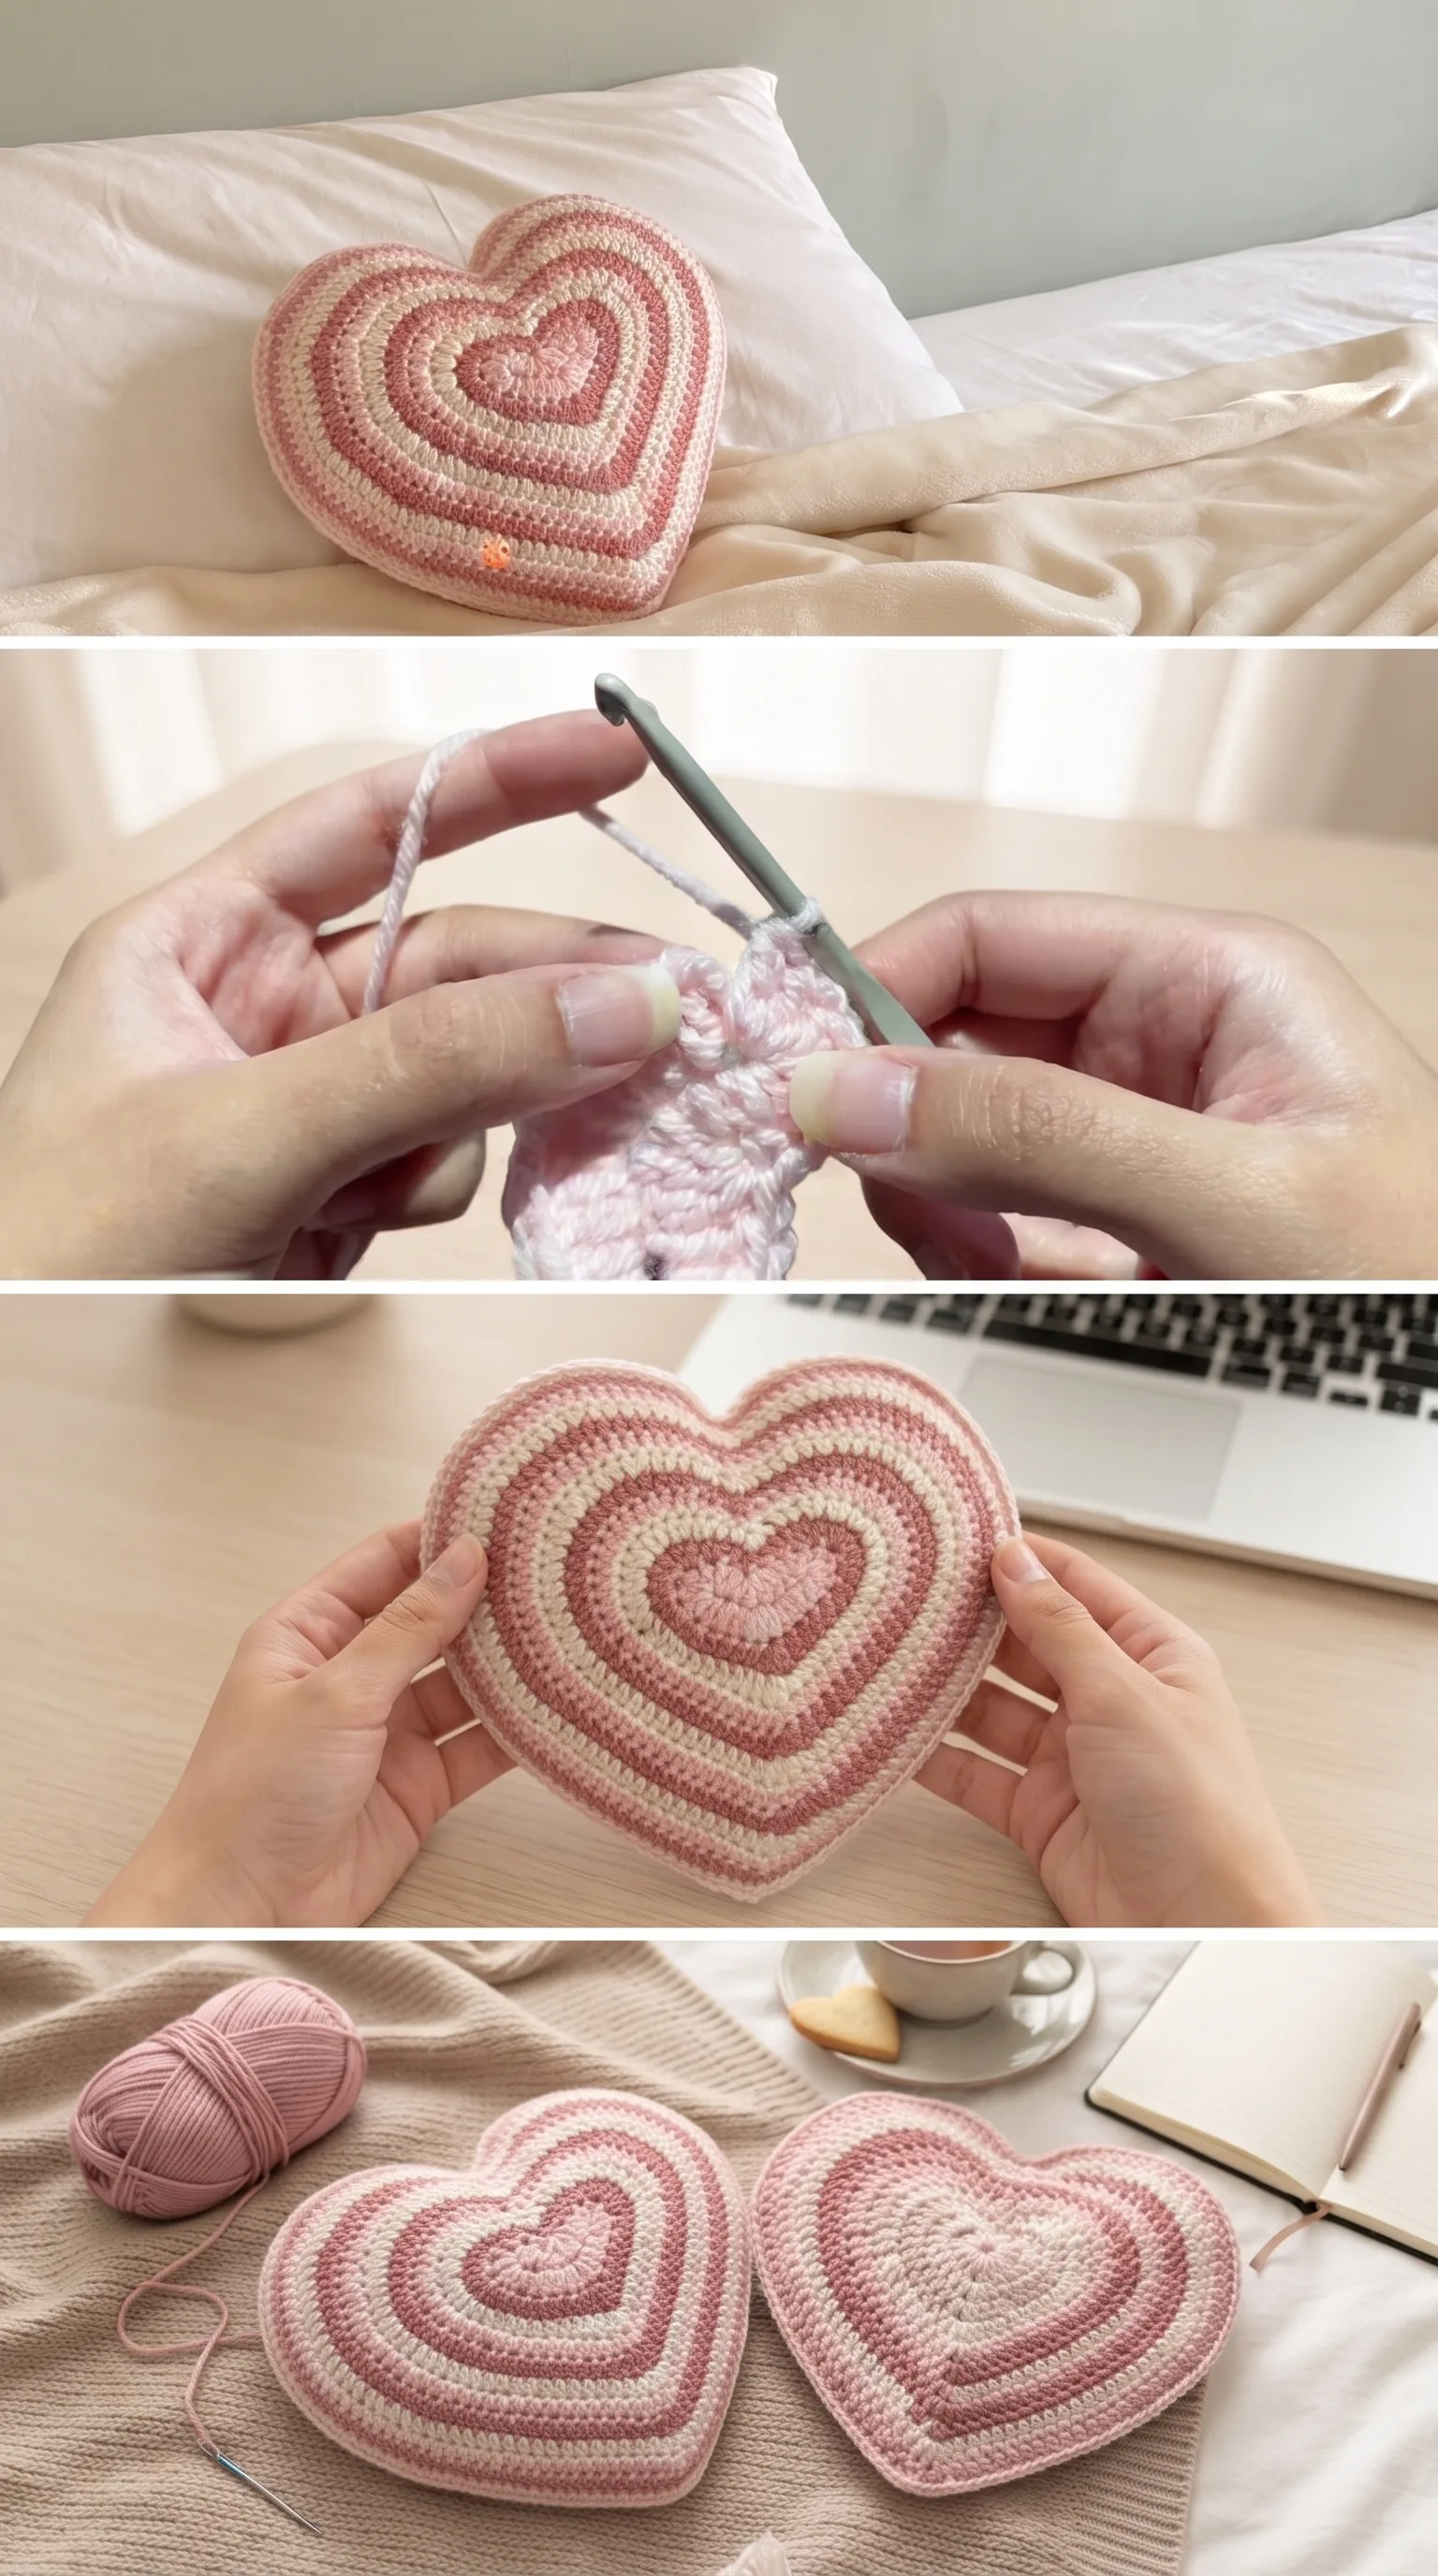
Stitch by Stitch
The Crochet Heart Cushion relies on a small, familiar family of stitches that build quickly and create a beautifully even, textured surface.
BULLET:SC (single crochet) The foundational stitch of this project, used to establish the tight, dense fabric of the heart panel with a satisfying, compact texture.
BULLET:DC (double crochet) Worked in later rounds to build height more quickly and create the slightly raised, rounded quality visible in the outer rings.
BULLET:SC2tog (single crochet two together) A gentle decrease stitch used to shape the curves and the central dip of the heart without disrupting the rhythm of the round.
BULLET:SL ST (slip stitch) Used at the end of each round to close the ring neatly, keeping the edge clean and the color transitions invisible.
Working round after round on a piece like this falls into a meditative rhythm almost immediately, the shape growing beneath your hands in the most satisfying way, one stripe at a time.
Construction
Each Crochet Heart Cushion begins at the center and works outward in continuous rounds, with the two lobes of the heart formed simultaneously from a single starting point that splits and rejoins as the shape grows. You make two identical panels this way, one for the front and one for the back, and the full video tutorial walks you through exactly how that split-and-rejoin technique works, which is the most clever part of the whole construction. Once both panels are finished, they are joined together around the outer edge with a neat row of SC, leaving a gap to stuff generously with polyfill before the final seam is closed. If you want a smaller decorative version rather than a full pillow, simply scale down to a lighter yarn weight and a 3.5mm hook for a palm-sized heart that makes an irresistible gift tag or ornament.
Wearing Your Heart Cushion
Prop your finished Crochet Heart Cushion at the center of a bed layered with linen throws and it becomes the quiet focal point the whole room arranges itself around. Nestle it on a reading chair beside a trailing plant and a stack of worn paperbacks, and it transforms the corner into the coziest spot in the house. Give one as a housewarming gift wrapped in tissue paper and it will be the piece the recipient keeps on display for years without ever putting it away.
Keeping Your Heart Cushion Soft and Shape-True
Acrylic and acrylic-blend yarns are wonderfully forgiving and can be hand-washed in cool water with a gentle detergent, then pressed carefully between two towels to remove excess water without wringing. Lay the cushion flat on a dry towel to air-dry, reshaping the heart gently by hand while it is still slightly damp so the lobes dry symmetrically. If you have used a natural fiber like cotton, a light blocking with cold water before the first use will set the shape beautifully and keep those concentric rings looking crisp and even. Store your cushion somewhere it can breathe rather than compressed inside a bag, so the stuffing keeps its loft and the cushion holds its full, rounded silhouette.
Every Crochet Heart Cushion you finish is a small, real, handmade thing that will outlast a hundred fast-fashion purchases and grow more beloved with every year it sits in your home. The full video tutorial is linked and waiting for you whenever you are ready to cast on, and when you finish yours, share a photo on Pinterest so other makers can find the pattern and fall in love with it too.
Follow us on Pinterest and subscribe to the Newsletter so you don’t miss a thing!
Tutorial and photos of this heart cushion by: mahum 🎀.