
I am genuinely obsessed with this two-color Crochet Granny Square and I cannot wait to share it with you. The way the teal and yellow interlock in that swirling, geometric rhythm creates something that feels almost architectural, like a little woven window you made with your own hands.

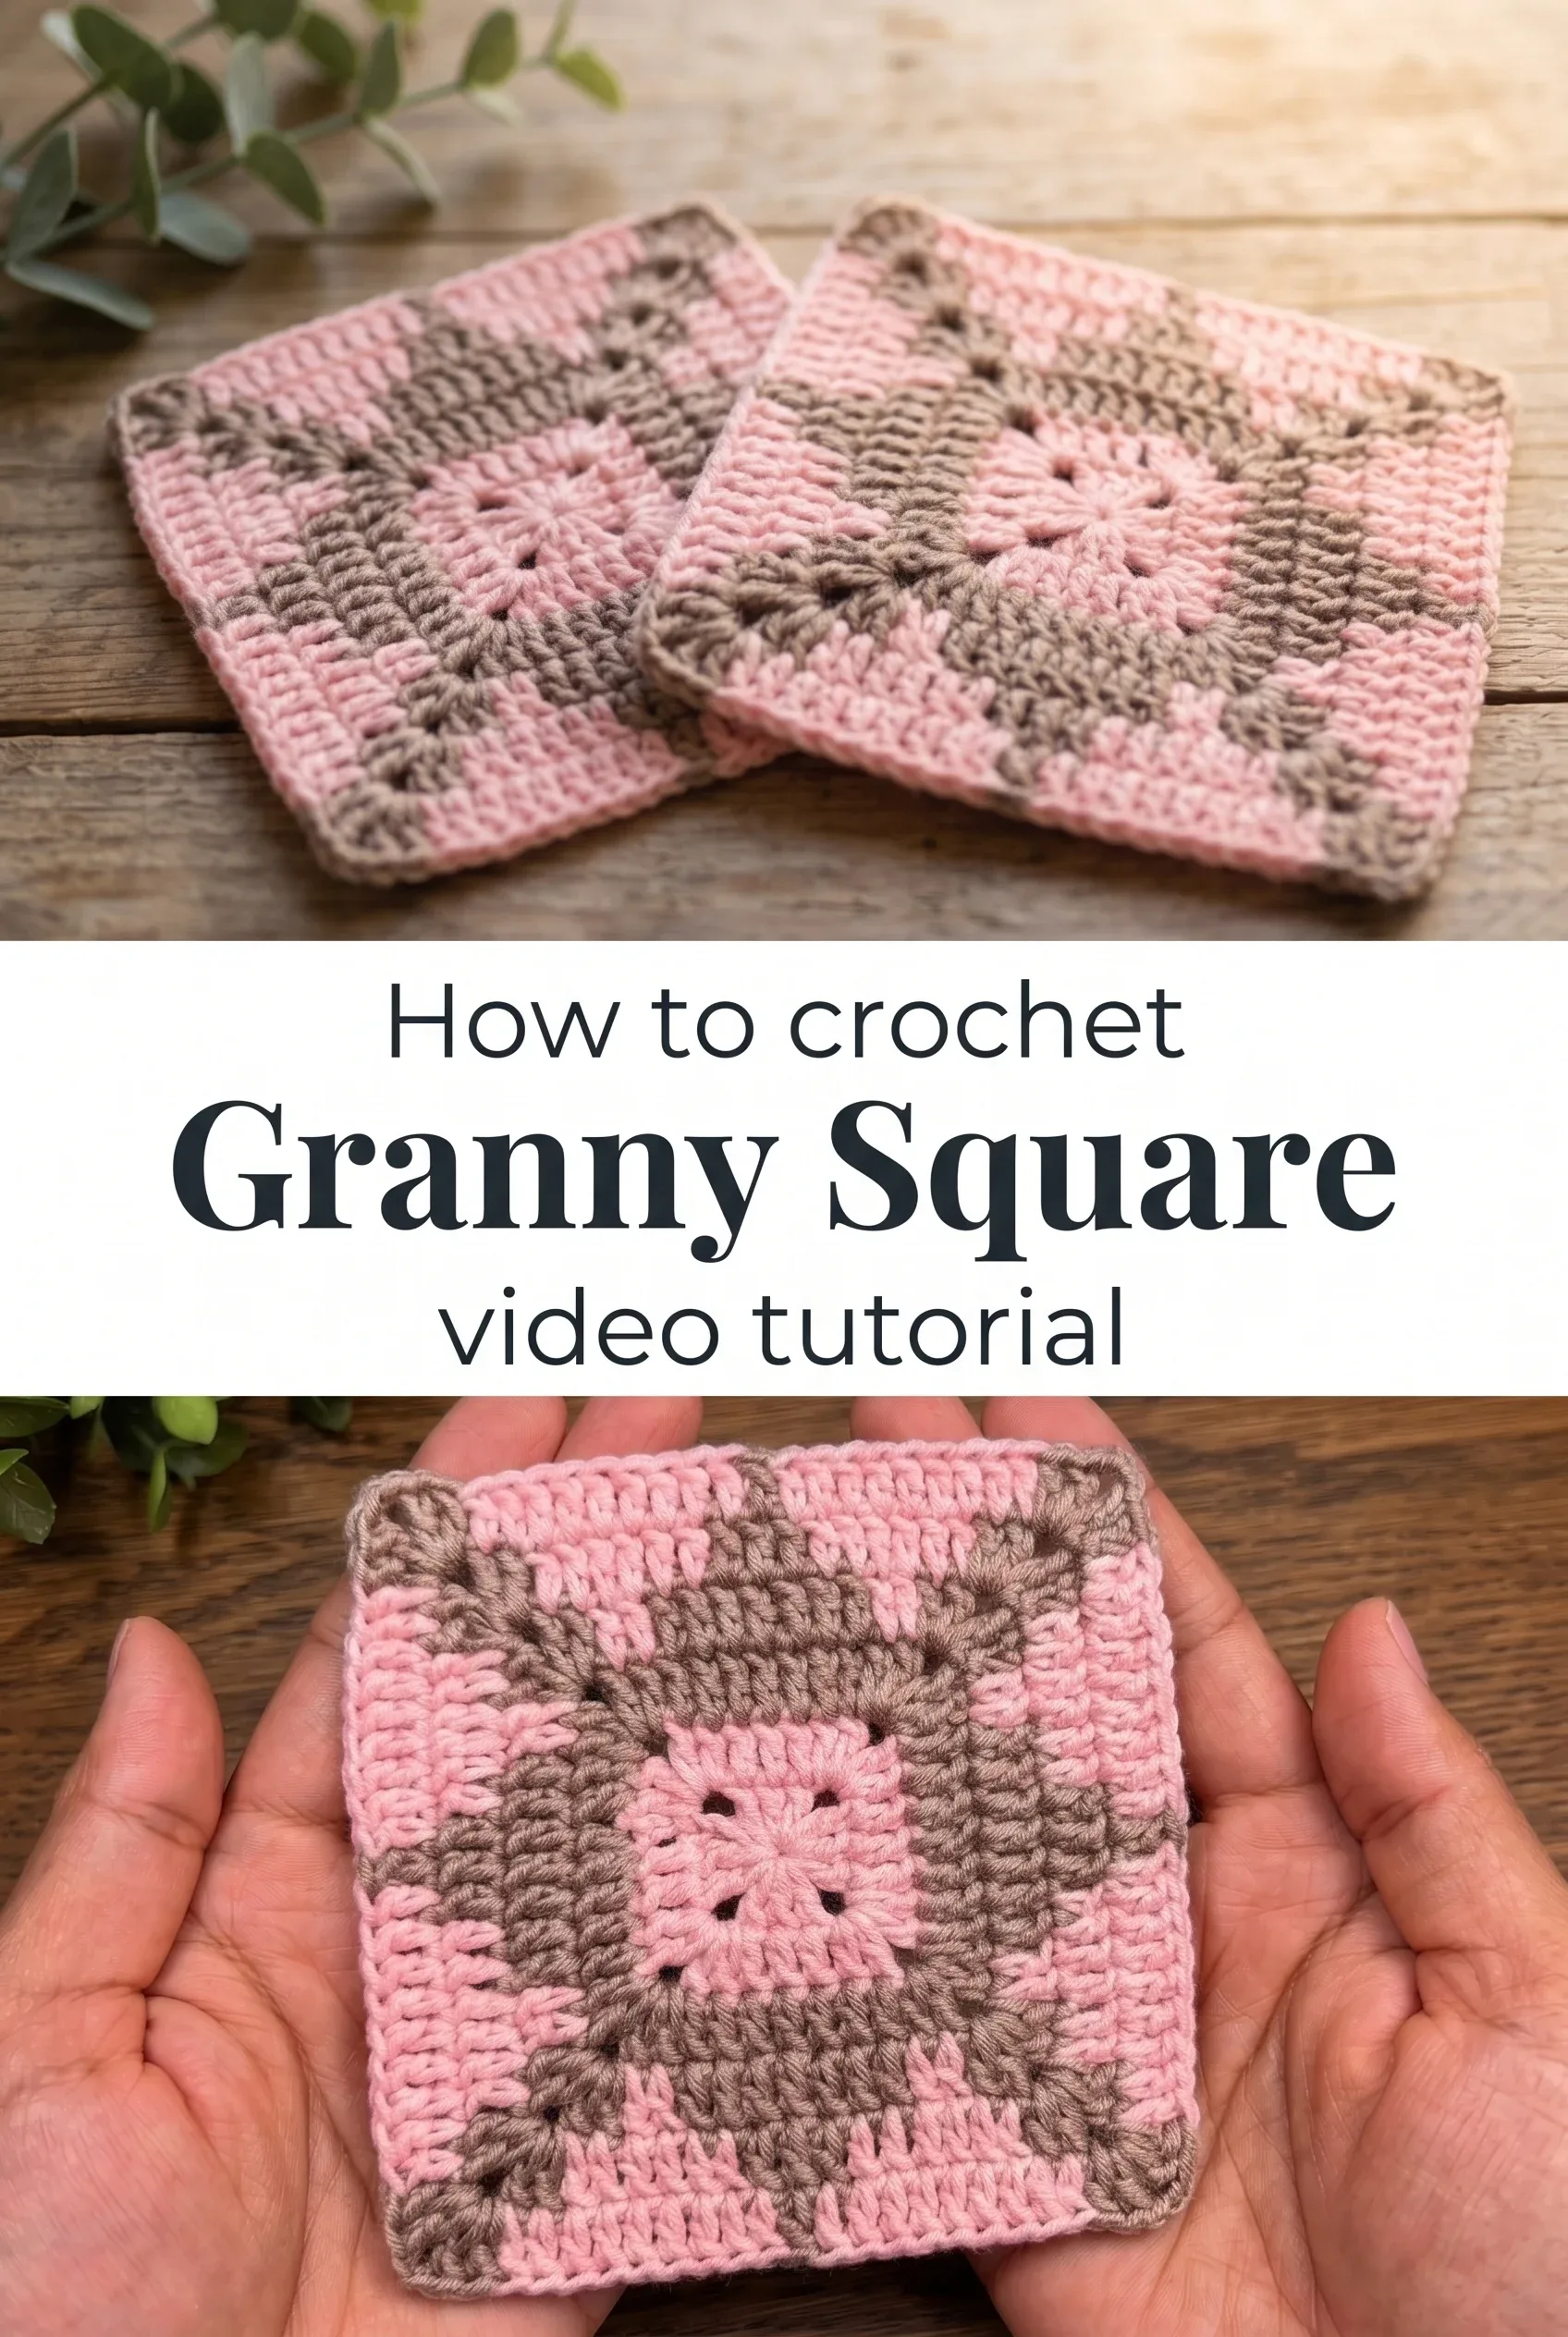
The Granny Square
The Crochet Granny Square is one of those pieces that carries weight far beyond its modest size. At roughly four to five inches across, this particular version blooms from the center outward in alternating rounds of teal and golden yellow, building a pattern that feels airy yet structured, soft yet graphic. It is the kind of square that catches the eye from across a room, and yet when you hold it, it settles into your palm with the warmth of something deeply handmade. Whether you are a beginner finding your confidence or an intermediate crafter looking for a satisfying weekend project, this square welcomes you without condition.
Granny Square Related Posts:
- Crochet Table Runner and Bedspread Motif: A Timeless Classic
- Crochet Puff Stitch Scrubby: A Charming Kitchen Essential
- Crochet Solomon’s Knot Stitch: A Delicate Lacy Essential
- Crochet Lace Doily: An Intricate Vintage Treasure
The teal and yellow combination shown in the reference images has a vintage quality that feels both retro and refreshingly current, like something you might find draped over a sunlit reading chair. But this Crochet Granny Square is endlessly adaptable: try dusty rose and cream for a softer, more romantic feel, or charcoal and burnt orange for a moody autumnal mood. Joining multiples together, as the layout image shows so beautifully, produces an interlocking geometric effect where the negative space between squares forms its own secondary pattern.
Materials and Tools
For this Crochet Granny Square, you will want to work with a smooth worsted weight yarn that has enough body to hold the stitch definition clearly through all those DC clusters and neat SC borders. The reference images suggest a mercerized cotton or a cotton-acrylic blend, which gives that clean, slightly crisp finish with excellent color contrast and minimal pilling over time. A 4mm crochet hook is the sweet spot here, offering tight enough tension to keep the square flat and even without making the work feel stiff or labored. Keep a stitch marker nearby to track your round starts, and a yarn needle for weaving ends will save you considerable time when you begin joining squares together.
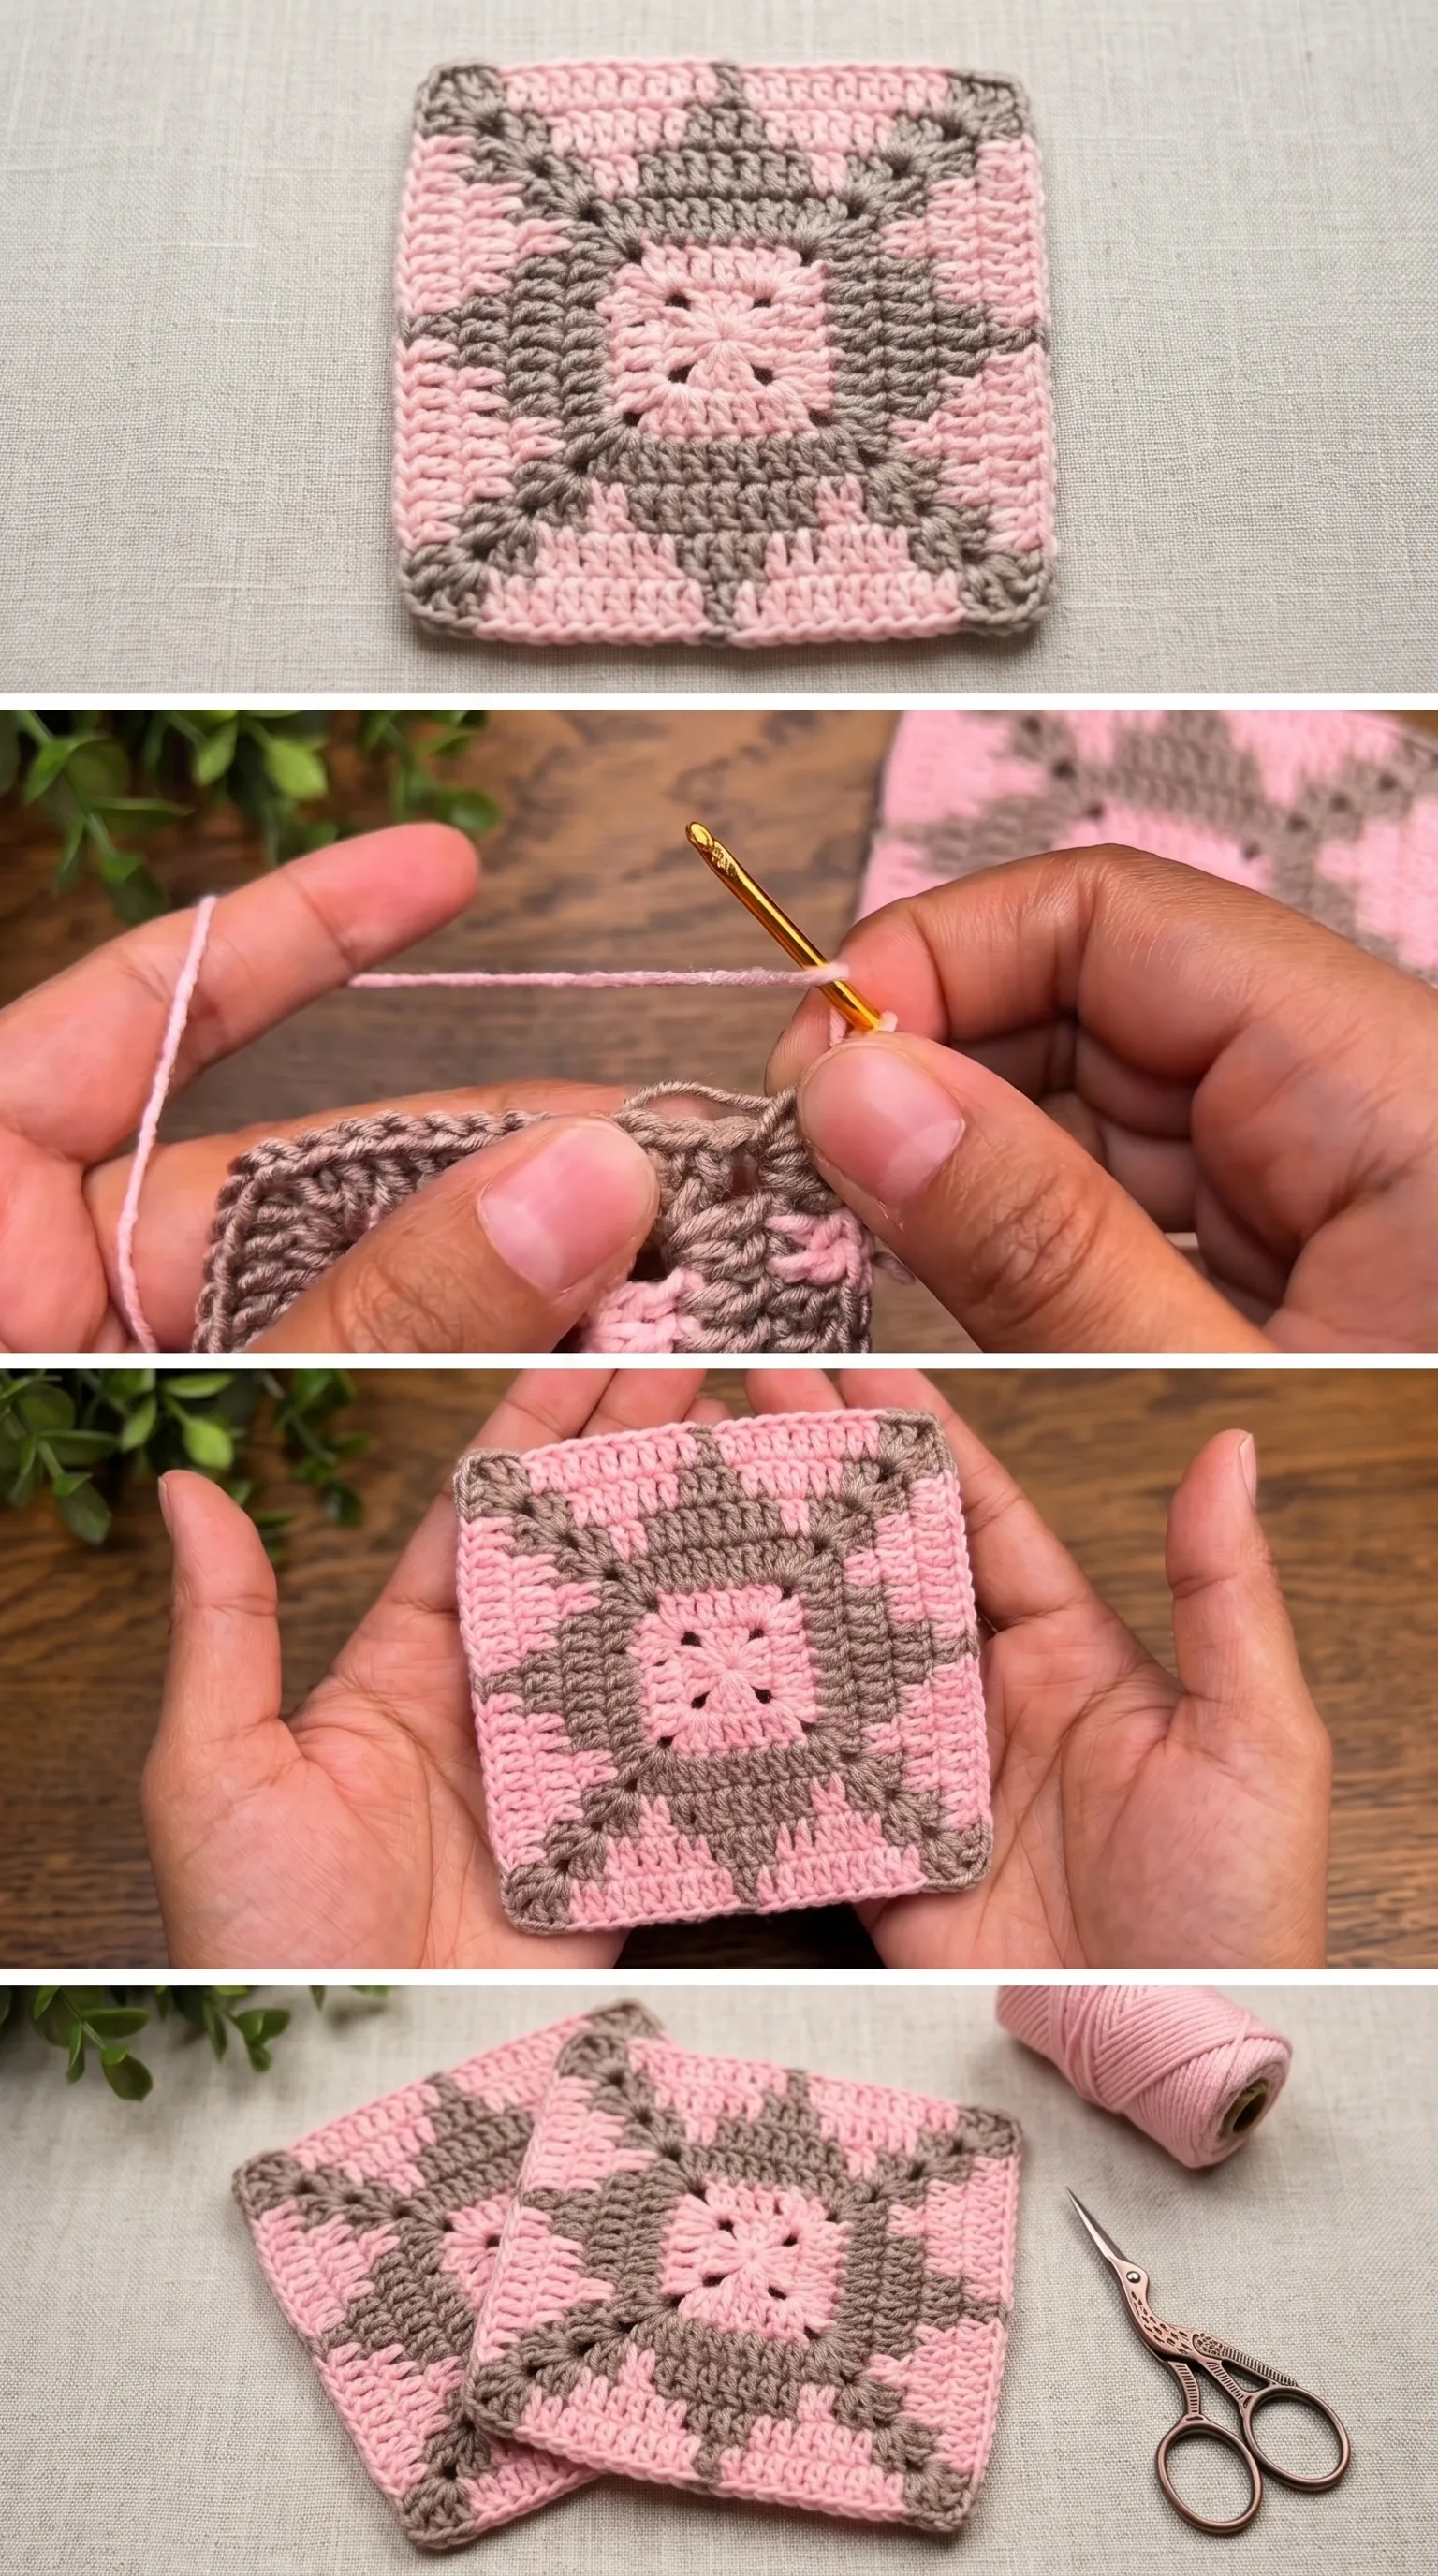
Stitch by Stitch
This pattern draws on a small, satisfying collection of foundational crochet stitches that build beautifully together.
BULLET:CH (Chain) The foundation of every round, used to create corner spaces and to carry the work between stitch clusters.
BULLET:SC (Single Crochet) Used along the outer border rounds to create that clean, firm edge that keeps each square perfectly squared.
BULLET:DC (Double Crochet) The workhorse of this design, worked in clusters to form the rounded, petal-like sections that radiate from the center.
BULLET:SL ST (Slip Stitch) Used to join rounds seamlessly and to travel across stitches without adding height when changing color positions.
There is a meditative rhythm to working round after round in DC clusters, especially once your hands learn the sequence and your eyes start reading the work rather than counting every stitch. It becomes less like following instructions and more like listening to something quiet and steady.
Construction
The Crochet Granny Square is worked entirely in the round, beginning with a magic ring at the center and expanding outward through a series of DC cluster rounds separated by CH-2 corner spaces. Each round introduces the color change that creates that bold two-tone spiral effect, and the full step-by-step technique is shown clearly in the video tutorial linked with this post, which I strongly encourage you to watch before beginning. The construction is beginner-friendly in the sense that each round is self-contained and short enough to recover from any small errors before moving on. As a customisation option, you can work additional border rounds in either color to increase the finished size, making it suitable for everything from a single coaster to a full blanket panel.
Wearing Your Granny Square
A finished Crochet Granny Square is far more than a decorative object waiting to be joined into a blanket. Frame a single square in an embroidery hoop and hang it as fiber wall art, or sew several together into a cushion cover that brings handmade texture to a sofa or reading nook. Join a grid of twelve or sixteen squares and you have a lap blanket that feels personal, considered, and genuinely beautiful to live with every day.
Keeping Your Granny Squares Flat and Fresh
Blocking is one of the most transformative steps you can give a finished Crochet Granny Square, particularly when working with cotton or cotton-blend yarns. Wet blocking, where you gently soak the square, press out excess water in a towel, and then pin it to shape on a foam mat, encourages each corner to sit flat and each DC cluster to open up to its full, intended form. For ongoing care, hand washing in cool water with a gentle detergent is recommended, and laying the square flat to dry will preserve both shape and color over time. Store finished squares or completed joined projects folded loosely in a breathable cotton bag, away from direct light, to prevent any fading of those vivid colors.
Every Crochet Granny Square you finish is a small act of making something beautiful and lasting with nothing more than yarn, a hook, and your own hands. That is worth celebrating, and worth sharing. Save this post to your crochet Pinterest board so you can find the tutorial again whenever inspiration strikes.
Follow us on Pinterest and subscribe to the Newsletter so you don’t miss a thing!
Tutorial and photos of this granny square by: Knitting time🧶by Dina.