
Learn to make a Crochet Floral Headband that wraps your hair in softness and handmade charm. Wear it to a morning market, tuck it into a gift box for a new baby, or let it become your signature piece for a garden afternoon.

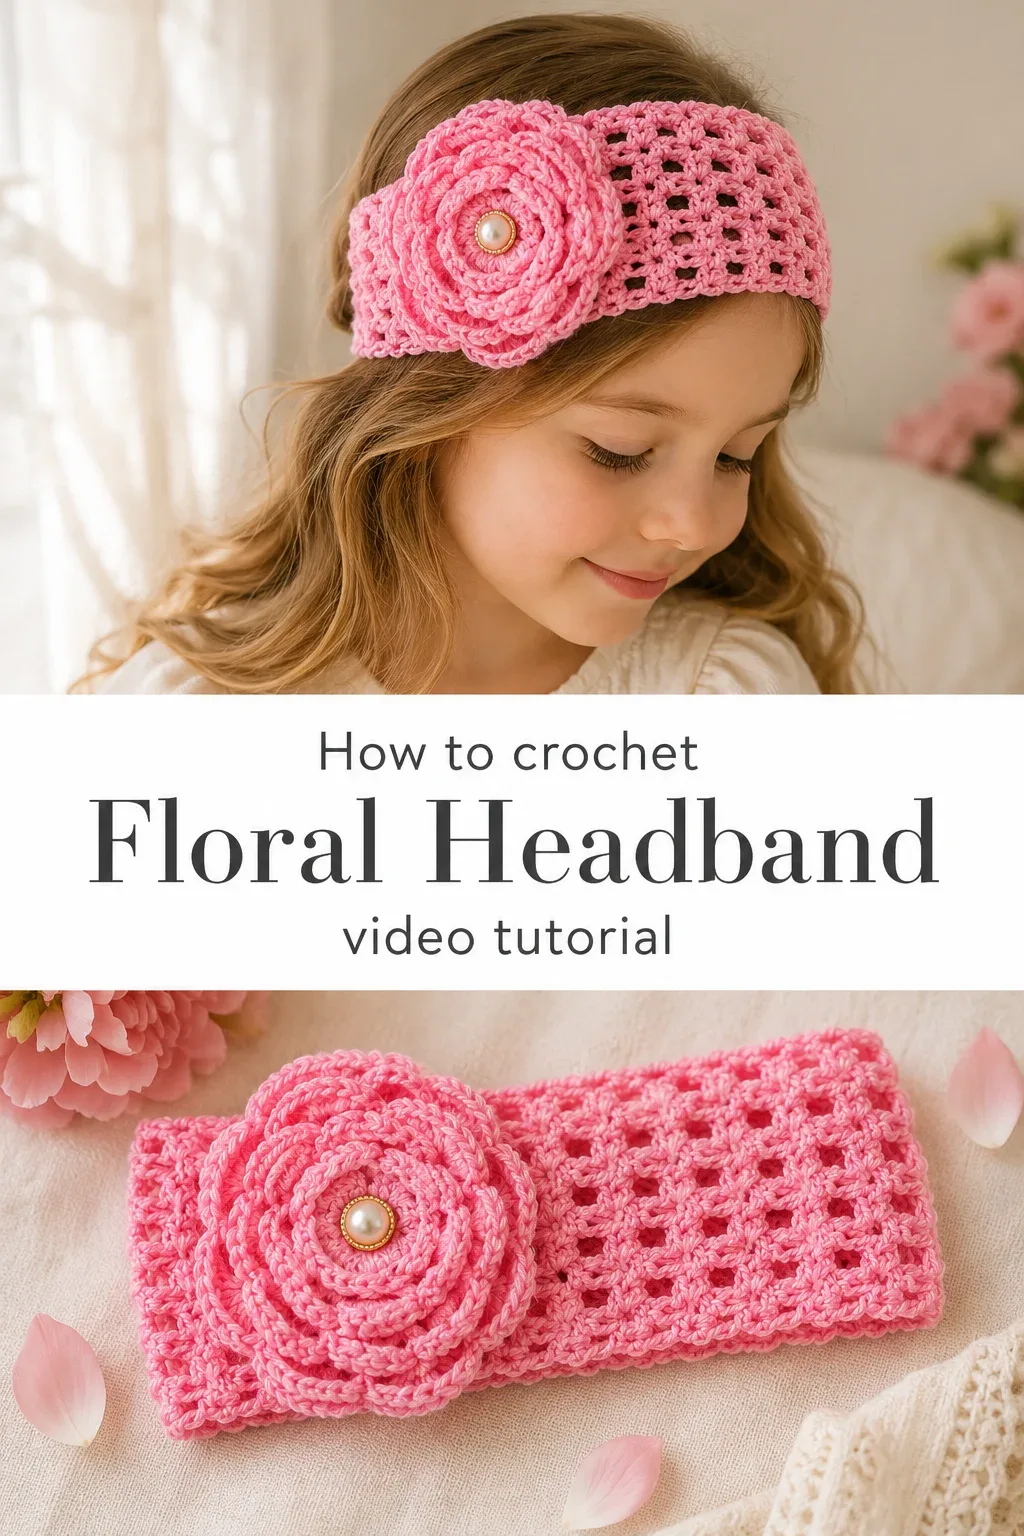
The Floral Headband
This Crochet Floral Headband is the kind of piece that makes people pause and ask where you got it, and there is something deeply satisfying about saying you made it yourself. The lacy, open-weave band has an airy yet structured quality that sits comfortably against the head without pulling or pinching, while the rolled crochet rose at the side adds a layer of soft romanticism that feels both vintage and fresh. A small pearl button nestled at the heart of the flower gives the whole piece a finishing detail so thoughtful it looks like it came from a boutique rather than a skein of yarn. Whether you are a confident beginner or someone who crochets on quiet Sunday mornings, this project will feel rewarding at every step.
Floral Headband Related Posts:
- Crochet Fur Trim Bag: A Luxurious Textured Accessory
- Crochet Chain Strap Bag: A Chic and Timeless Accessory
- Crochet Ribbed Tote: A Chic Everyday Accessory
- Crochet Sunflower Granny Square Bag: A Cheerful Summer Accessory
In pink, this headband sings, but it is equally lovely worked in ivory, dusty lavender, sage green, or a warm peachy coral. The neutral tones lean more editorial while the brighter shades keep it playful and sweet, making it easy to match to a child’s dress or your own warm-weather wardrobe. Because the band and the flower are made separately and then joined, you can even work them in complementary colors for a two-tone effect that feels intentional and creative.
Materials and Tools
For this Crochet Floral Headband, you will want to reach for a DK weight yarn in a smooth, slightly mercerized cotton or a cotton-acrylic blend, as both fibers hold the lace pattern beautifully without drooping or stretching out of shape. A 3.5mm crochet hook is the sweet spot here, giving you a fabric that is close enough to be sturdy but open enough to let the stitch pattern breathe and show its texture. If you are making this for a baby or toddler, a soft mercerized cotton is especially kind against delicate skin. You will also need a yarn needle for weaving in ends, a small pearl or decorative button for the flower center, and a few pins for blocking if you like a particularly crisp finish.
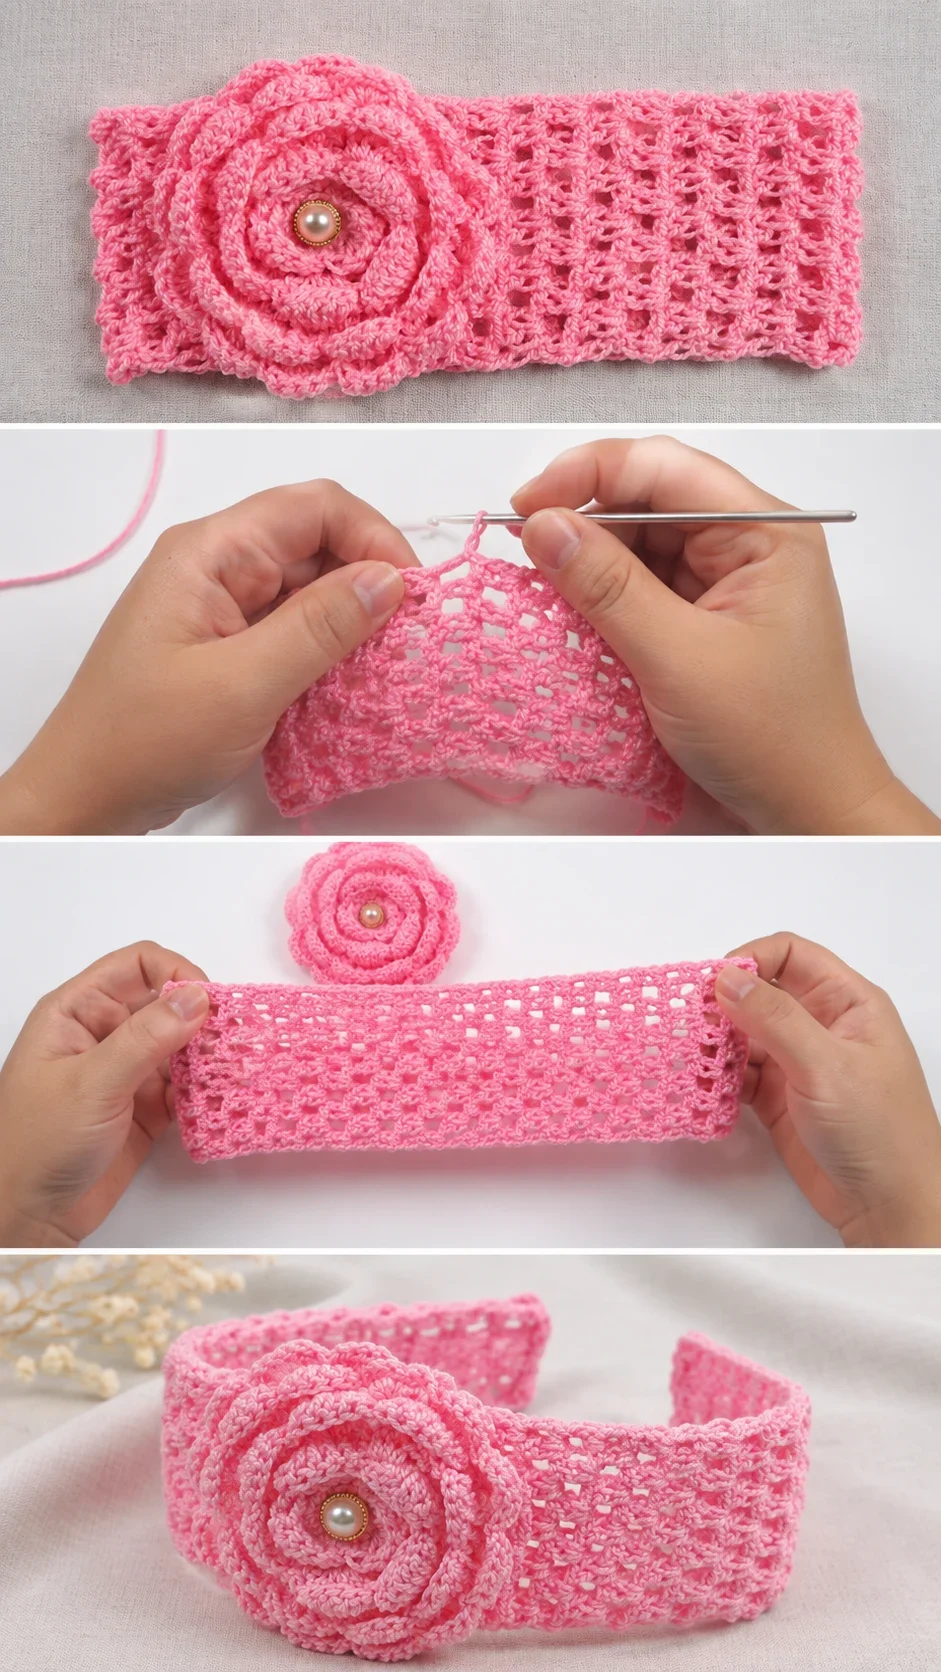
Stitch by Stitch
This pattern draws from a small and approachable collection of stitches that combine to create something far more intricate-looking than the technique actually demands.
BULLET:CH (Chain) The foundation of both the band and the flower, worked loosely so the piece has natural elasticity and flexibility.
BULLET:SC (Single Crochet) Used at the edges of the band to create a clean, firm border that keeps the headband from curling or flaring.
BULLET:DC (Double Crochet) The primary stitch of the lacy body, creating the open, grid-like texture that gives the band its airy feel.
BULLET:SL ST (Slip Stitch) Used to join rounds and to shape the spiral of the rose, guiding each petal into its soft, layered curl.
Once you fall into the meditative rhythm of the DC repeats across each row, the band seems to grow almost on its own, and the process feels less like work and more like a quiet ritual you return to willingly.
Construction
The Crochet Floral Headband is constructed in two separate parts that come together at the very end, which makes the whole project feel manageable and clear. The band itself is worked flat in rows, creating a long rectangle of lace that is then joined at its short ends to form a loop, so it fits snugly and comfortably around the head. The flower is crocheted in a continuous spiral, with each round of petals building outward in height to create that full, rose-like bloom you can see in the finished piece. For a beginner-friendly adjustment, you can make the band shorter or longer simply by adding or removing chain stitches at the foundation, tailoring the fit for a newborn, toddler, or adult with very little math required. The full video tutorial from Realza Crochet walks you through every step of both construction phases in detail, so you will always know exactly where you are in the process.
Wearing Your Floral Headband
Slide this Crochet Floral Headband over a loose braid for a cottage-core morning look, or pair it with a simple white blouse and linen trousers for something effortlessly warm-weather chic. It also makes the most charming accessory for a baby’s first photoshoot or a toddler’s birthday outfit, adding a handmade sweetness that no store-bought headband can replicate. Once you finish your first one, you will almost certainly want to make another in a different color because the gratification of wearing something you built with your own hands is genuinely hard to resist.
Keeping Your Floral Headband Fresh and Beautiful
Because this Crochet Floral Headband is likely worked in cotton or a cotton blend, it responds well to a gentle hand wash in cool water with a mild soap, which keeps the fibers from felting or distorting. After washing, reshape the band gently with your fingers, and if you want the lace pattern to look its crispest, pin it flat on a blocking mat and allow it to air dry completely before wearing. The rose can be lightly steamed on the reverse side to coax the petals back into shape if they flatten over time. Store the headband flat or loosely rolled rather than folded to help the flower hold its form between wears.
Every stitch you place in this headband is a small act of care, both for the craft and for whoever will eventually wear it, and that intention shows in the finished piece in ways that are difficult to explain but very easy to feel. Save this to your Pinterest boards and share your finished Crochet Floral Headband so other makers can find the inspiration to start their own.
Follow us on Pinterest and subscribe to the Newsletter so you don’t miss a thing!
Tutorial and photos of this floral headband by: Realza Crochet.