
I am absolutely in love with this Crochet Floral Doily tutorial and could not wait to share it with you! What makes this piece so remarkable is the way the pink lace center radiates outward like a blooming flower, held in place by a lush green scalloped border that feels almost alive.

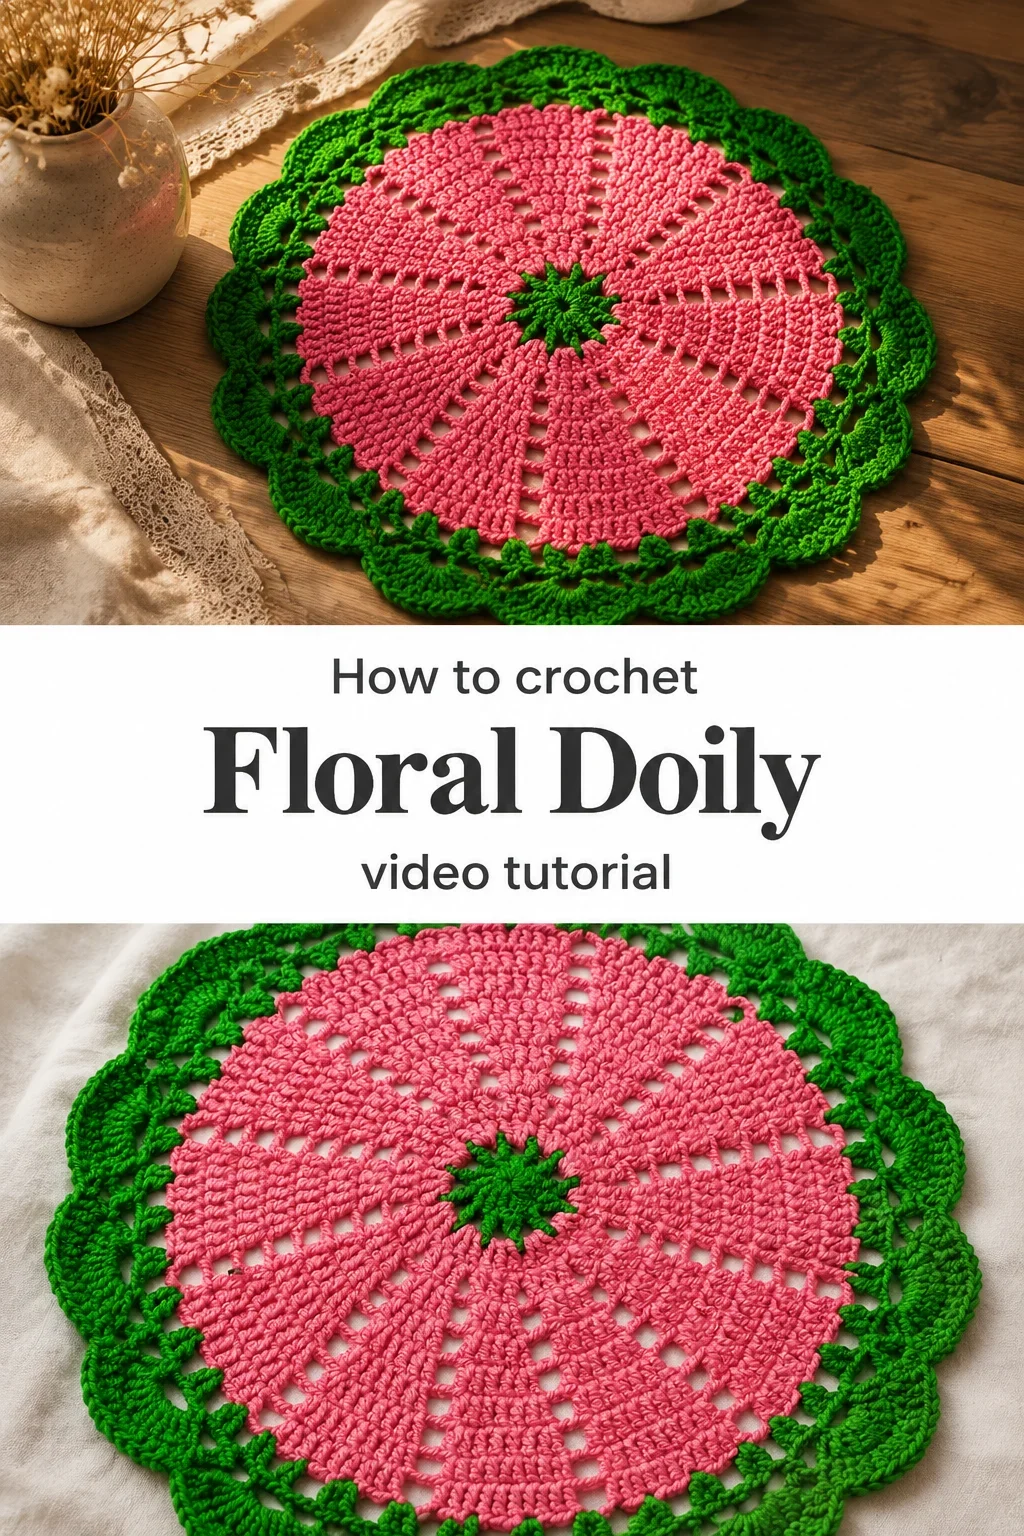
The Floral Doily
A Crochet Floral Doily carries the kind of quiet beauty that makes a room feel more intentional, more loved. This one, worked in a warm blush pink with a vivid emerald border, feels airy yet structured, the kind of piece that looks as though it grew naturally into its shape rather than being made by hand. It is for the crafter who finds satisfaction in circular rhythm, who loves watching something small and central expand round by round into something genuinely breathtaking. Whether you are new to lace-style work or returning to it after years away, this doily will feel like coming home.
Floral Doily Related Posts:
- Crochet Flower Doily: A Delicate Handmade Accent
- Crochet Heart Square Motif: A Charming Romantic Touch
- Crochet Lace Table Runner: An Elegant Home Accent
- Crochet Floral Motif Runner: A Delicate Versatile Design
The pink and green color pairing shown in the reference images has an almost botanical quality, like a flower seen from above in a garden. You could equally make this in cream and dusty sage for a vintage linen aesthetic, or in white and gold for a festive table setting. The contrast border is what gives this Crochet Floral Doily its personality, so have fun choosing two colors that genuinely excite you side by side.
Materials and Tools
For a doily with this level of stitch definition and drape, a sport weight or DK weight cotton yarn is your best friend. Cotton holds its shape beautifully after blocking and gives the lace openwork that crisp, clean look you see in the reference images, where every gap and cluster sits exactly where it should. A 3.5mm crochet hook works wonderfully with DK cotton, giving you a fabric that is firm enough to show the pattern without being stiff or dense. Keep a locking stitch marker nearby as you work, because tracking your round beginnings will save you from a great deal of confusion as the round count climbs.
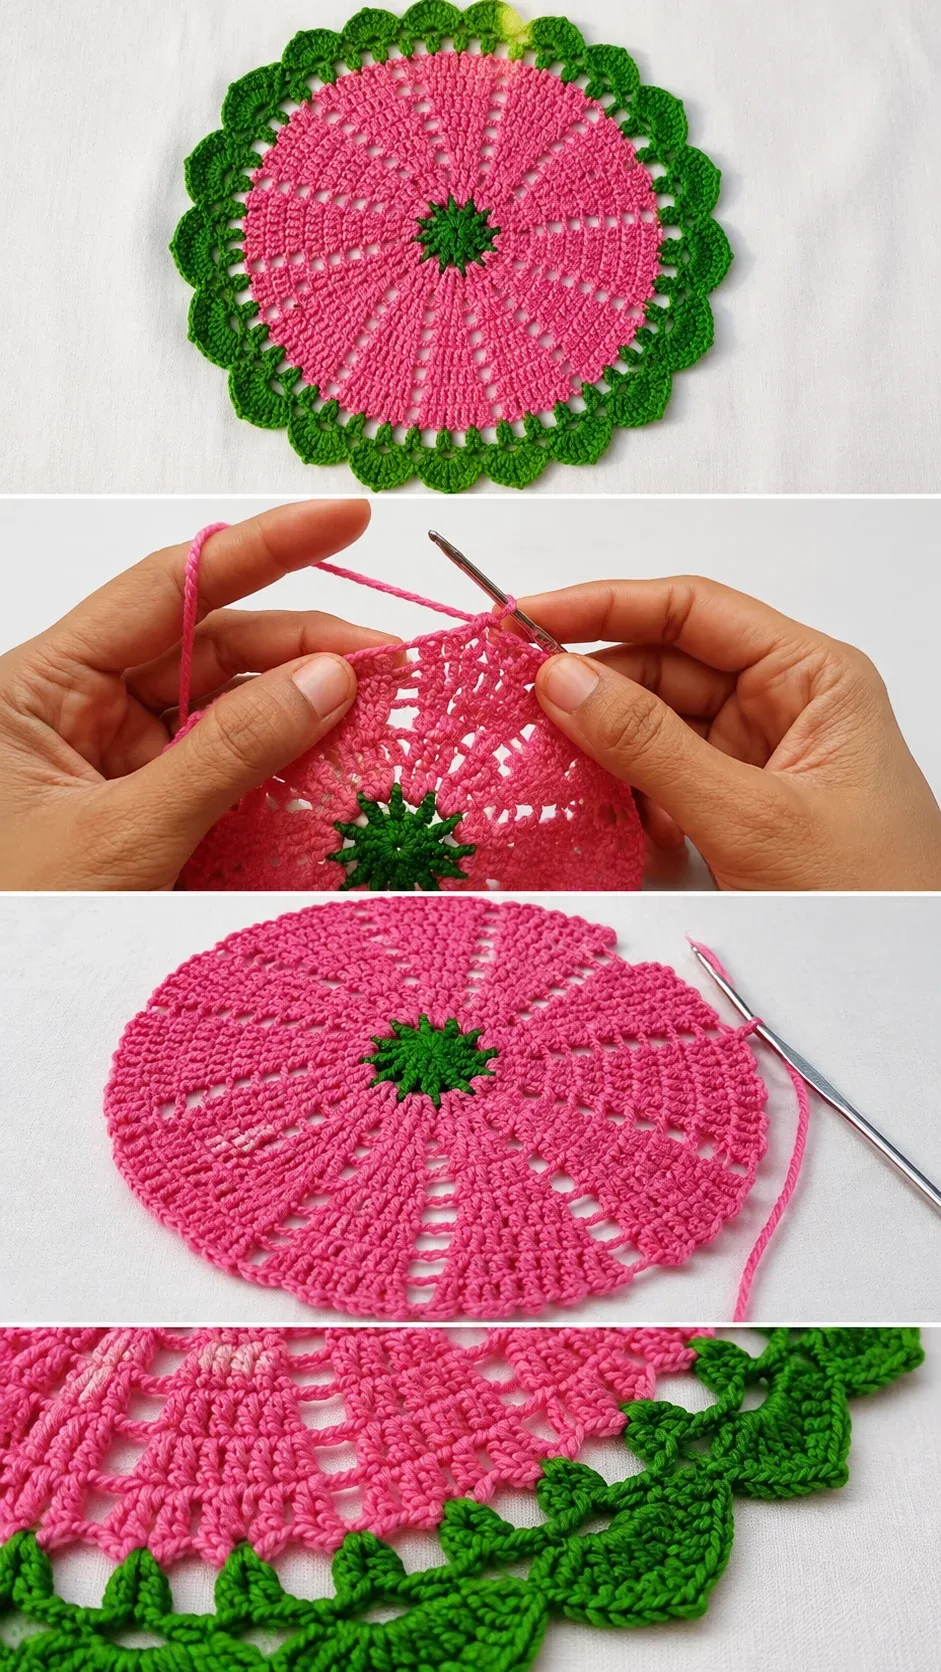
Stitch by Stitch
This Crochet Floral Doily draws on a small but satisfying vocabulary of stitches that build on each other naturally as you move outward from the center.
BULLET:SC (Single Crochet) The tight, grounding stitch used at the very center of the doily to anchor the green floral motif and begin building outward.
BULLET:DC (Double Crochet) The workhorse of this pattern, forming the radiating spokes and clustered sections of the pink main body with lovely height and openness.
BULLET:CH (Chain) Used strategically between DC groups to create the lace-like holes and spacing that give the doily its delicate, breathable quality.
BULLET:SC into BLO (Back Loop Only Single Crochet) Worked selectively in the green border rounds to create the raised, textured leaf and scallop shapes that frame the finished piece.
There is a meditative rhythm to working a doily like this in the round, where each completed circuit of stitches brings the full design one ring closer to its final form, and your hands begin to know the pattern before your eyes do.
Construction
This Crochet Floral Doily is worked entirely in the round from a central ring outward, which means there are no seams, no assembly, and no finishing joins to worry about at the end. The green center motif is established first with SC stitches radiating from a magic ring, and then the pink body takes over, building round after round of DC clusters and CH spaces that fan outward in a gentle spiral. When the pink body reaches its full diameter, you switch back to green yarn to work the decorative scalloped border, which gives the edge its distinctive leafy, organic silhouette. If you want a larger doily, simply continue adding pink rounds before beginning the border, keeping the pattern repeat consistent as you grow.
Wearing Your Floral Doily
A Crochet Floral Doily like this one belongs anywhere it can be admired up close. Lay it beneath a potted plant on a windowsill where the light can filter through the lace openwork, or center it on a dining table beneath a candle holder for an evening gathering that feels warm and handmade. It also makes a deeply personal gift, framed simply in an embroidery hoop and hung on a wall as textile art.
Keeping Your Doily Crisp and Beautiful
Cotton doilies respond beautifully to wet blocking, which is what will truly open up the lace and set the shape you worked so hard to create. Soak the finished piece in cool water, gently squeeze out the excess without wringing, and then pin it to a foam blocking board in its circular shape, easing each scallop of the green border into its proper curve. Once dry, the doily will hold that shape through gentle hand washing in cool water with a mild soap. Store it flat or loosely rolled in a breathable cotton bag, away from direct sunlight, to keep the colors as vivid as the day you finished it.
Every stitch in this doily is a small act of making something beautiful with your own hands, and that is never a small thing. Follow along with the full video tutorial to get the complete pattern guidance and watch this flower come to life round by round. If you make one, share it on Pinterest and tag it so other makers can find it and be inspired to start their own.
Follow us on Pinterest and subscribe to the Newsletter so you don’t miss a thing!
Tutorial and photos of this floral doily by: Jagruti Art Work.