
Today’s guide walks you through the making of a Crochet Crossbody Bag with a beautifully textured, structured body that feels substantial in your hands yet light enough to wear all day long. Pull up a comfortable chair, choose your favorite cream cotton, and let’s make something worth carrying everywhere.

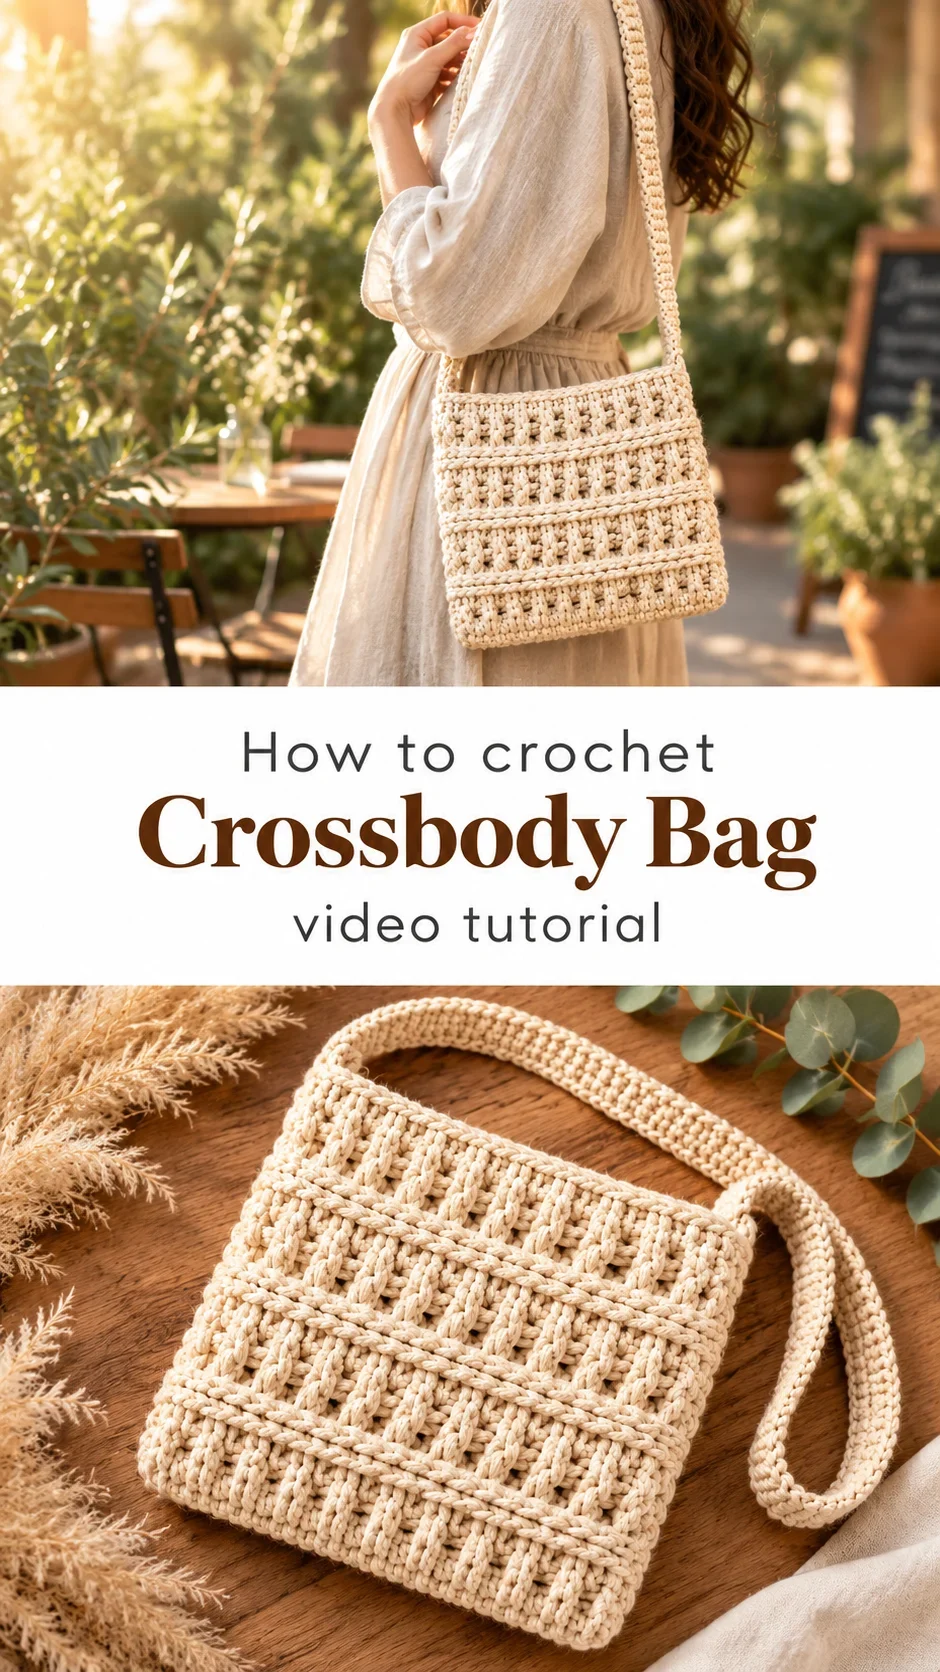
The Crossbody Bag
This Crochet Crossbody Bag is the kind of accessory that earns compliments at the farmer’s market and the art gallery in equal measure. It sits flat and neat against the body, with a ribbed waffle-like texture that feels airy yet structured, almost architectural in the way the rows stack and breathe against each other. The wooden “Hecho a mano” label tucked at the front corner whispers slow-fashion intention, a quiet signal that this bag was made with real hands and real care. It is sized generously enough for your phone, a small wallet, and a tube of lip balm, making it the ideal companion for anyone who wants to travel light without sacrificing beauty.
Crossbody Bag Related Posts:
- Crochet Ribbed Collar Warmer: A Chic Winter Essential
- Crochet Heart Handbag: A Vibrant Handcrafted Treasure
- Crochet Hooded Scarf: A Cozy Fall Essential
- Crochet Shoulder Bag: A Chic and Versatile Everyday Essential
The natural cream tone shown in the tutorial has a timeless quality, the kind that pairs effortlessly with linen trousers in summer or a chunky knit cardigan in autumn. For something with a little more personality, consider a warm terracotta, a dusty sage, or even a deep charcoal to match a more urban wardrobe. Because the stitch pattern itself is the star, a solid yarn colour always lets the texture speak loudest.
Materials and Tools
To recreate this Crochet Crossbody Bag, you will want to reach for a chunky or bulky weight cotton cord, the kind used for macramé or sturdy bag construction, typically a 3mm to 5mm single-strand cotton rope that gives the bag its satisfying body and structure. The tutorial uses a natural cotton that holds its shape beautifully without being stiff, which means the finished bag drapes slightly at the sides while maintaining a clean rectangular silhouette. A 5mm or 5.5mm crochet hook is the sweet spot here, giving enough tension to keep the fabric firm without making your hands work too hard. You will also want a large blunt tapestry needle for weaving in ends and a wooden or leather bag label if you would like to add that handmade finishing detail.
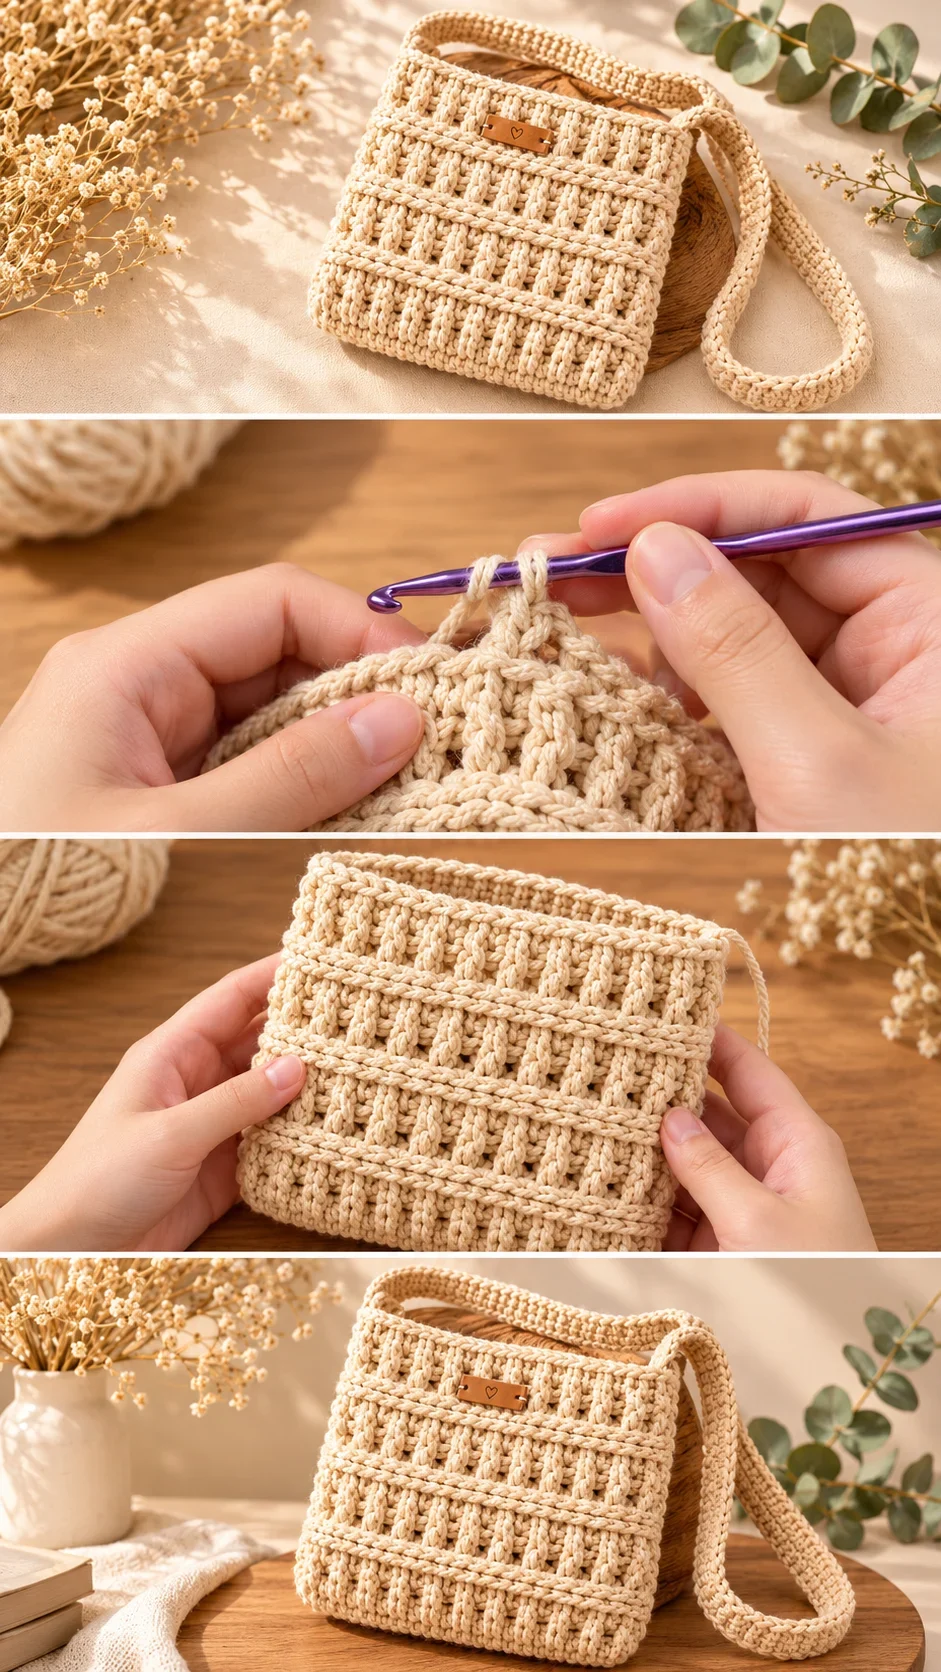
Stitch by Stitch
This Crochet Crossbody Bag draws on a small, satisfying vocabulary of stitches that build its signature texture row by row.
BULLET:SC (Single Crochet) The foundation of the border rows and strap, SC keeps the edges clean and tight against the bag’s body.
BULLET:DC (Double Crochet) Used across the main body panels, DC creates the open, slightly lacy sections that give the bag its breathable, woven quality.
BULLET:BLO (Back Loop Only) Working into the back loop only produces those raised horizontal ridges that visually separate each textured panel and add that ribbed, structural feeling.
BULLET:CH (Chain) Chains form the foundation row and the carry strap, and getting a smooth, even tension in your chain sets the whole bag up for success.
Once you fall into the meditative rhythm of alternating your DC rows with BLO ridges, the pattern becomes almost intuitive, the kind of making that lets your mind soften while your hands stay quietly busy.
Construction
The bag is worked flat in two rectangular panels using the same stitch pattern, then seamed along the sides and base to form the body, which means even a beginner can approach it with confidence since there is no complex shaping or increasing involved. The strap is crocheted separately as a long, narrow strip using SC rows, then attached firmly at both upper corners to create that comfortable crossbody length. If you would like a longer strap for a messenger-style carry or a shorter one for a more snug hip bag feel, simply adjust the number of chains in your foundation before you begin the strap. The full row-by-row pattern and all stitch counts are available in the video tutorial by Realza Crochet, which walks through every section with close-up clarity.
Wearing Your Crossbody Bag
Sling your finished Crochet Crossbody Bag across a white cotton dress for a weekend market morning, or layer it over a linen blazer for that effortless crafted-not-costume look. It works equally well as a travel bag tucked under a coat on a city day or as a beach bag alternative on slower, sunnier afternoons. Every time you reach for it, you will feel that particular satisfaction of wearing something you built stitch by stitch with your own hands.
Keeping Your Crochet Crossbody Bag in Beautiful Shape
Because this bag is made from cotton, it responds well to a gentle hand wash in cool water with a mild soap, then reshaped carefully by hand while still damp and laid flat to dry away from direct sunlight. Blocking is not strictly necessary for a bag of this structure, but if your panels dried slightly uneven, a light steam with an iron held just above the surface will encourage the stitches back into alignment. Store your bag stuffed loosely with a small cloth or tissue paper to help it hold its rectangular shape between uses. Avoid overloading it with heavy items over time, as cotton will stretch with sustained weight, and preserving that neat silhouette is what keeps it looking freshly made for years.
Every Crochet Crossbody Bag you finish is a small act of choosing slowness, craft, and intention over the ordinary. If you make one, share it on Pinterest or tag your finished bag on Instagram so the handmade community can celebrate it with you.
Follow us on Pinterest and subscribe to the Newsletter so you don’t miss a thing!
Tutorial and photos of this crossbody bag by: Realza Crochet.