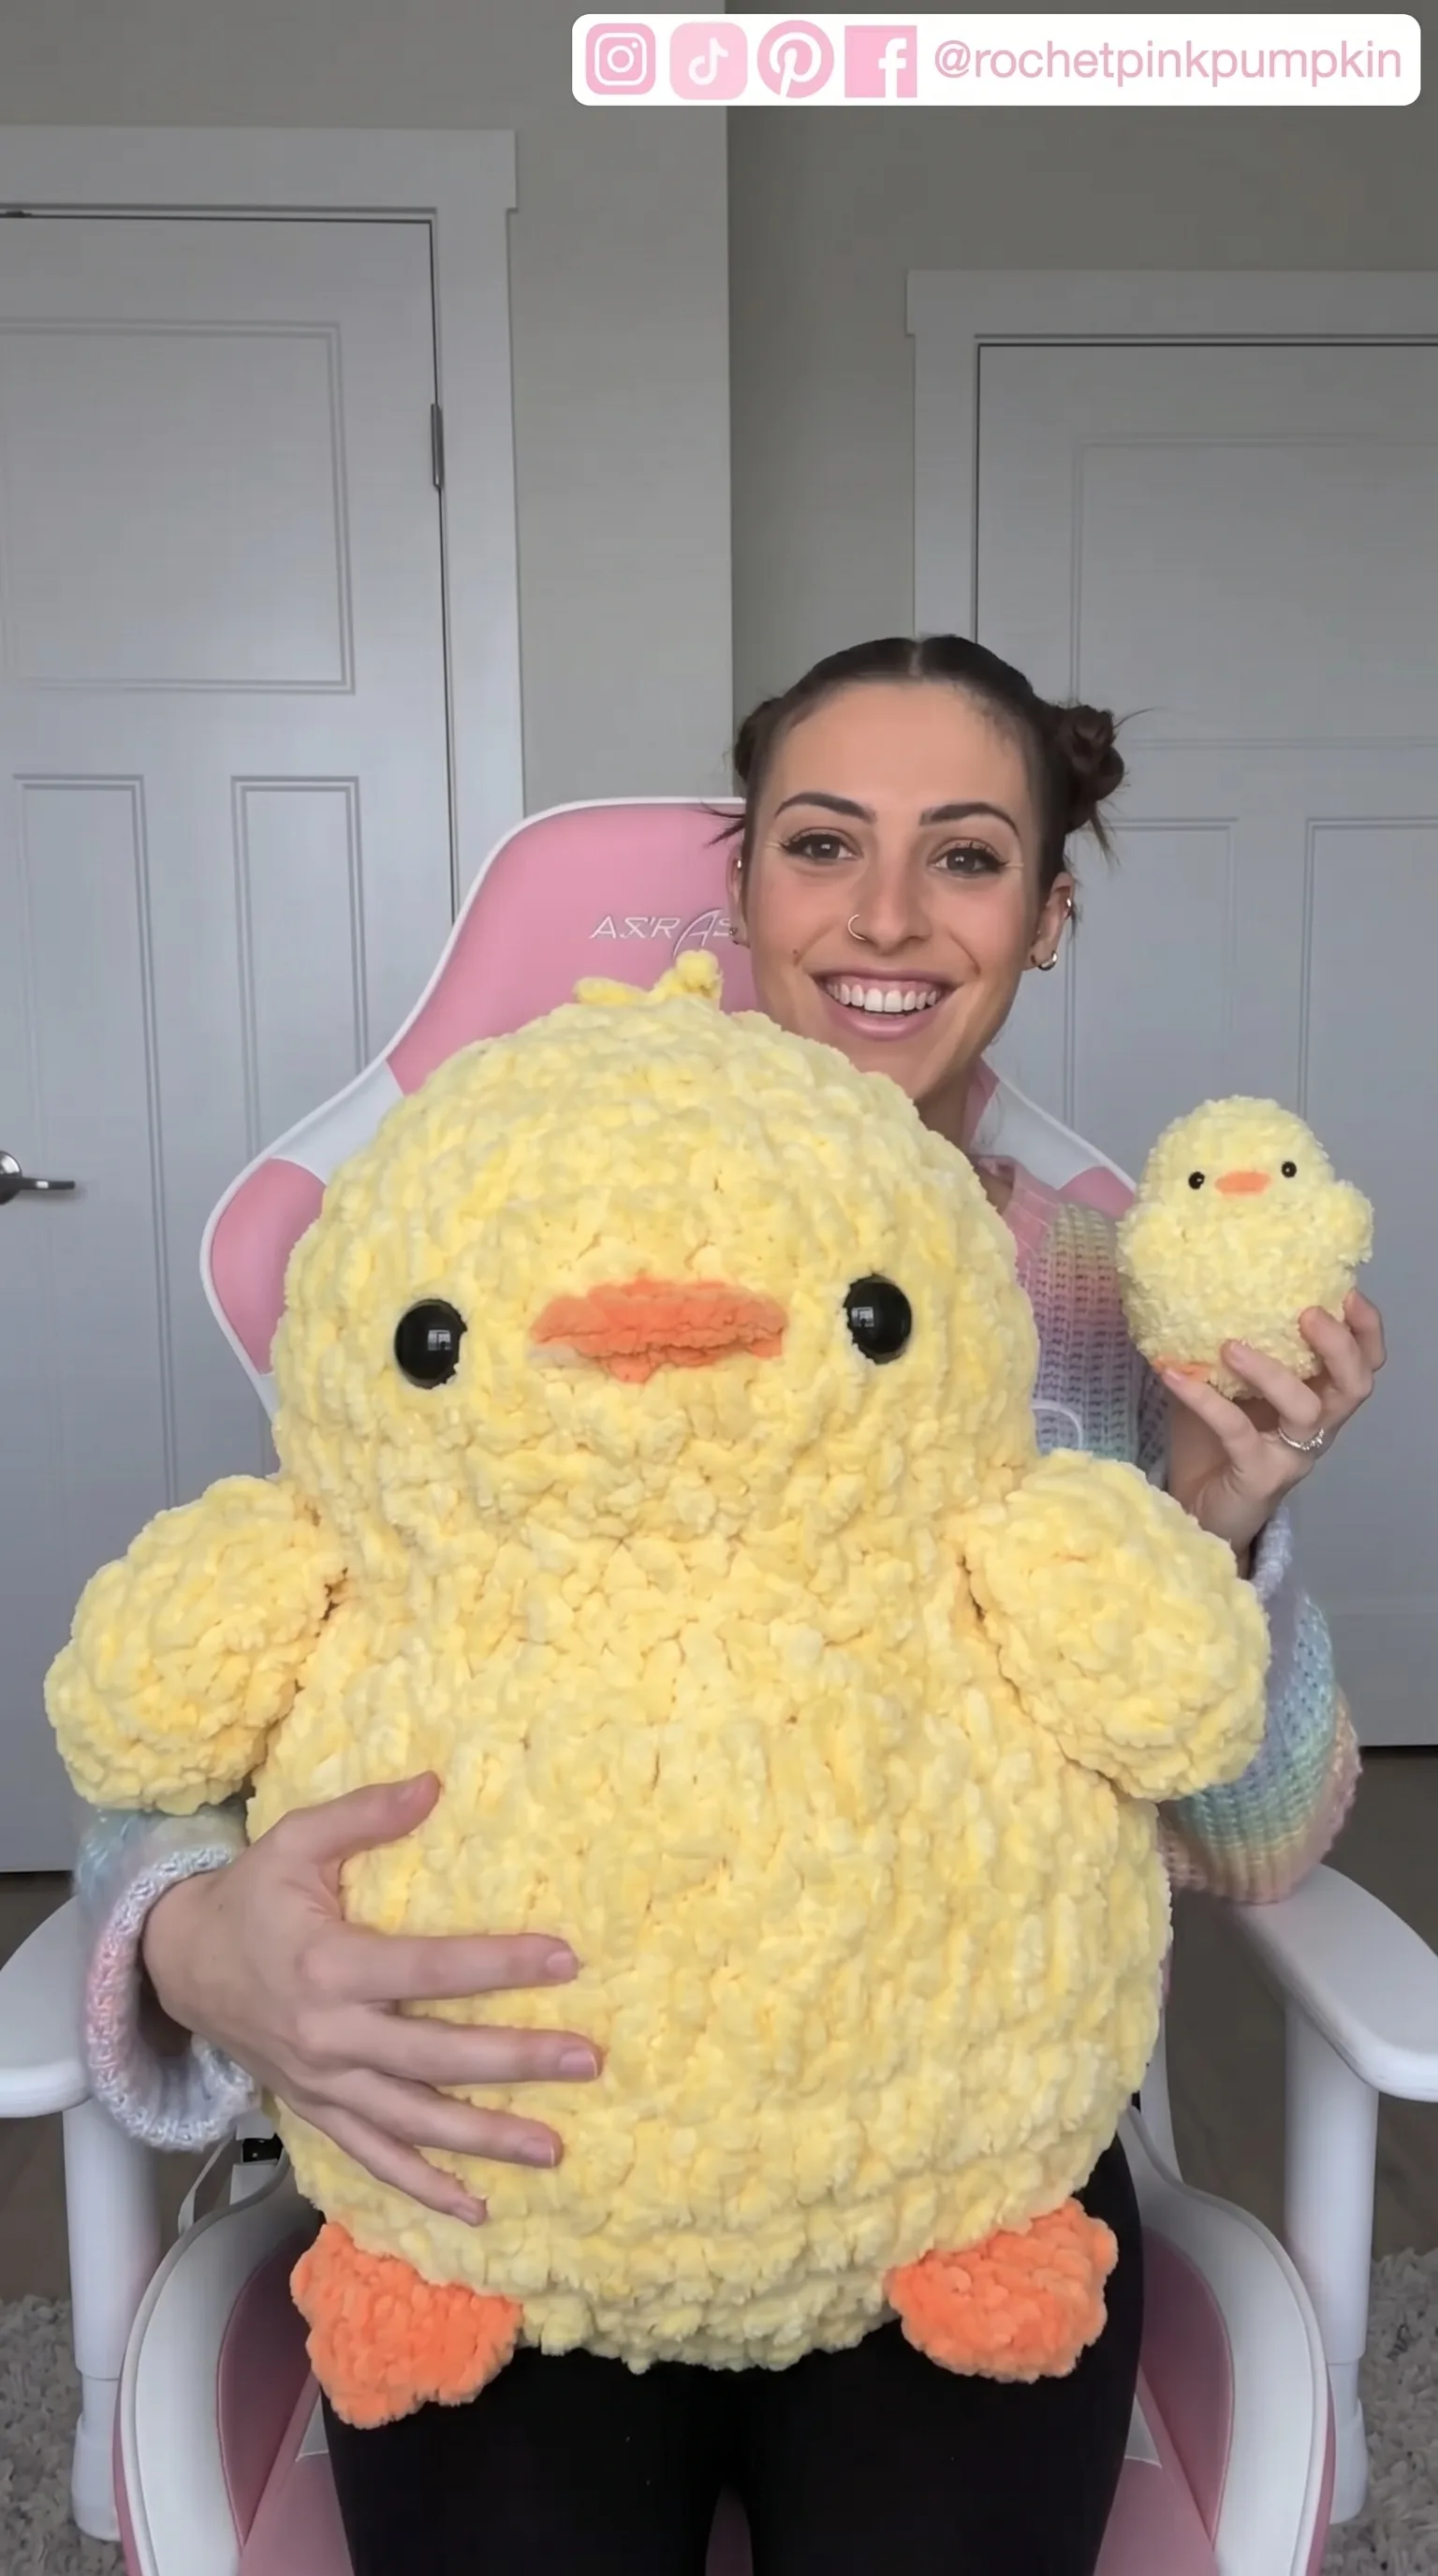
A free video tutorial from @crochetpinkpumpkin makes the Crochet Chubby Chick completely accessible, even if you’ve never worked amigurumi before, and the way this little round body comes to life in the round is genuinely thrilling!
The Chubby Chick
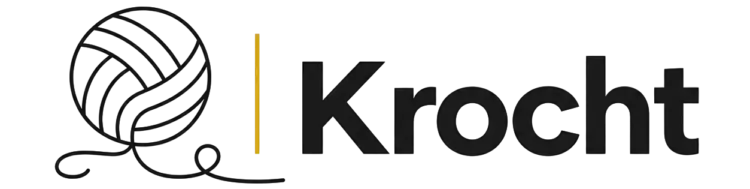
The Crochet Chubby Chick is everything a handmade Easter piece should be: round and roly-poly, bursting with that particular golden-yellow warmth that feels like sunshine held in your palms. Its plump body sits low and wide, with tiny wings tucked close and a bright orange beak that gives it a permanently cheerful expression. This is the kind of project made for slow Sunday afternoons, for a basket filled with handmade gifts, or for anyone who wants to bring a little softness into the season. Beginners will find it approachable, and more experienced crocheters will love how quickly the satisfying shape emerges.
Chubby Chick Related Posts:
- Crochet Pumpkin Basket: A Festive Halloween Essential
- Crochet Christmas Tree Ornaments: A Festive Holiday Treasure
- Crochet Heart Box: A Sweet Valentine Keepsake
- Crochet Easter Bunny Egg: A Festive Spring Treasure
The classic colorway is a soft buttery yellow with a pop of tangerine orange for the beak and feet, but this little chick takes color beautifully in any direction. Imagine a pale lavender chick for a dreamy Easter display, or a soft mint green one nestled in a spring wreath. The small size means you can make several in an afternoon and mix your palette freely without committing to a large yarn investment.
Materials and Tools
The Crochet Chubby Chick works best in a bulky or super bulky weight yarn, which is what gives it that satisfyingly dense, huggable body with a texture that is airy yet structured at once. The video tutorial uses a chenille-style or velvet yarn in yellow, which creates the fluffy, dimensional surface you see on the finished chick, and a small amount of orange yarn for the beak and feet. A 5mm or 5.5mm crochet hook works beautifully with these yarn weights, giving you a tight enough tension to hold the stuffing inside without gaps. You will also want a pair of 9mm or 10mm safety eyes, polyester fiberfill stuffing, and a blunt tapestry needle for weaving in ends and sewing on the small pieces.
Stitch by Stitch
The Crochet Chubby Chick relies on a small, clean set of stitches that any beginner can build confidence with quickly.
BULLET:MR (Magic Ring) The foundation of the body and head, pulling closed tightly to avoid any gap at the very top of your work.
BULLET:SC (Single Crochet) The primary stitch throughout the entire body, creating that tight and even fabric that holds the shape of the chick so well.
BULLET:INC (Increase) Two single crochets worked into the same stitch, used to expand the body outward into its signature chubby, rounded form.
BULLET:DEC (Decrease) An invisible decrease that pulls two stitches together, used to shape the neck and close the body neatly as you finish each section.
Working continuous rounds of SC with increases and decreases has a genuinely meditative rhythm to it, and you will find yourself falling into an easy, almost hypnotic pace that makes this small project feel deeply restful to work.
Construction
The Crochet Chubby Chick is worked entirely in the round, beginning with a magic ring and expanding outward through increase rounds before the decreases pull the shape back in to form the body. The head is crocheted separately using the same technique, then stuffed and sewn onto the body once both pieces are complete. The wings, beak, and feet are each small individual pieces that are whipstitched into place using your tapestry needle, making assembly feel like a satisfying puzzle rather than a chore. If you want to customise your chick, try using a looped or bouclé yarn for an extra fluffy texture, or embroider tiny rosy cheeks with a scrap of pink yarn for added personality.
Wearing Your Chubby Chick
The finished Crochet Chubby Chick is a wonderfully versatile little object that sits far beyond the category of simple toy. Tuck one into an Easter basket surrounded by chocolate eggs, perch a trio along a mantelpiece with spring greenery, or tie a ribbon around its neck and use it as a gift topper that the recipient will keep long after the wrapping is gone. The moment you finish the last stitch, you will already be thinking about who deserves to receive one.
Keeping Your Chubby Chick Soft and Fresh
Because the Crochet Chubby Chick is often made in chenille or velvet yarn, it responds best to very gentle hand washing in cool water with a mild soap, then pressed lightly between two towels rather than wrung or twisted. Lay it flat to dry away from direct sunlight, which can fade that beautiful golden-yellow yarn over time. If the chenille fibers look a little flat after drying, a quick and gentle steam from a distance can restore that soft, velvety surface without damaging the safety eyes or the stuffing inside. Store your chick in a breathable cotton bag between seasons to keep it looking and feeling its best year after year.
Every Crochet Chubby Chick you finish is a small, handmade thing filled with intention and care, and that matters more than any stitch count ever could. Save this article to your Easter crochet board on Pinterest and share your finished chick with the hashtag crochetpinkpumpkin so the whole community can celebrate it with you.
Follow us on Pinterest and subscribe to the Newsletter so you don’t miss a thing!
Tutorial and photos of this chubby chick by: Crochet Pink Pumpkin.