
This free video tutorial will walk you through a beautiful crochet card holder that fits right in your pocket or dangles from your wrist. This single crochet stitch project has the most satisfying rhythm of any beginner-friendly accessory I have encountered!

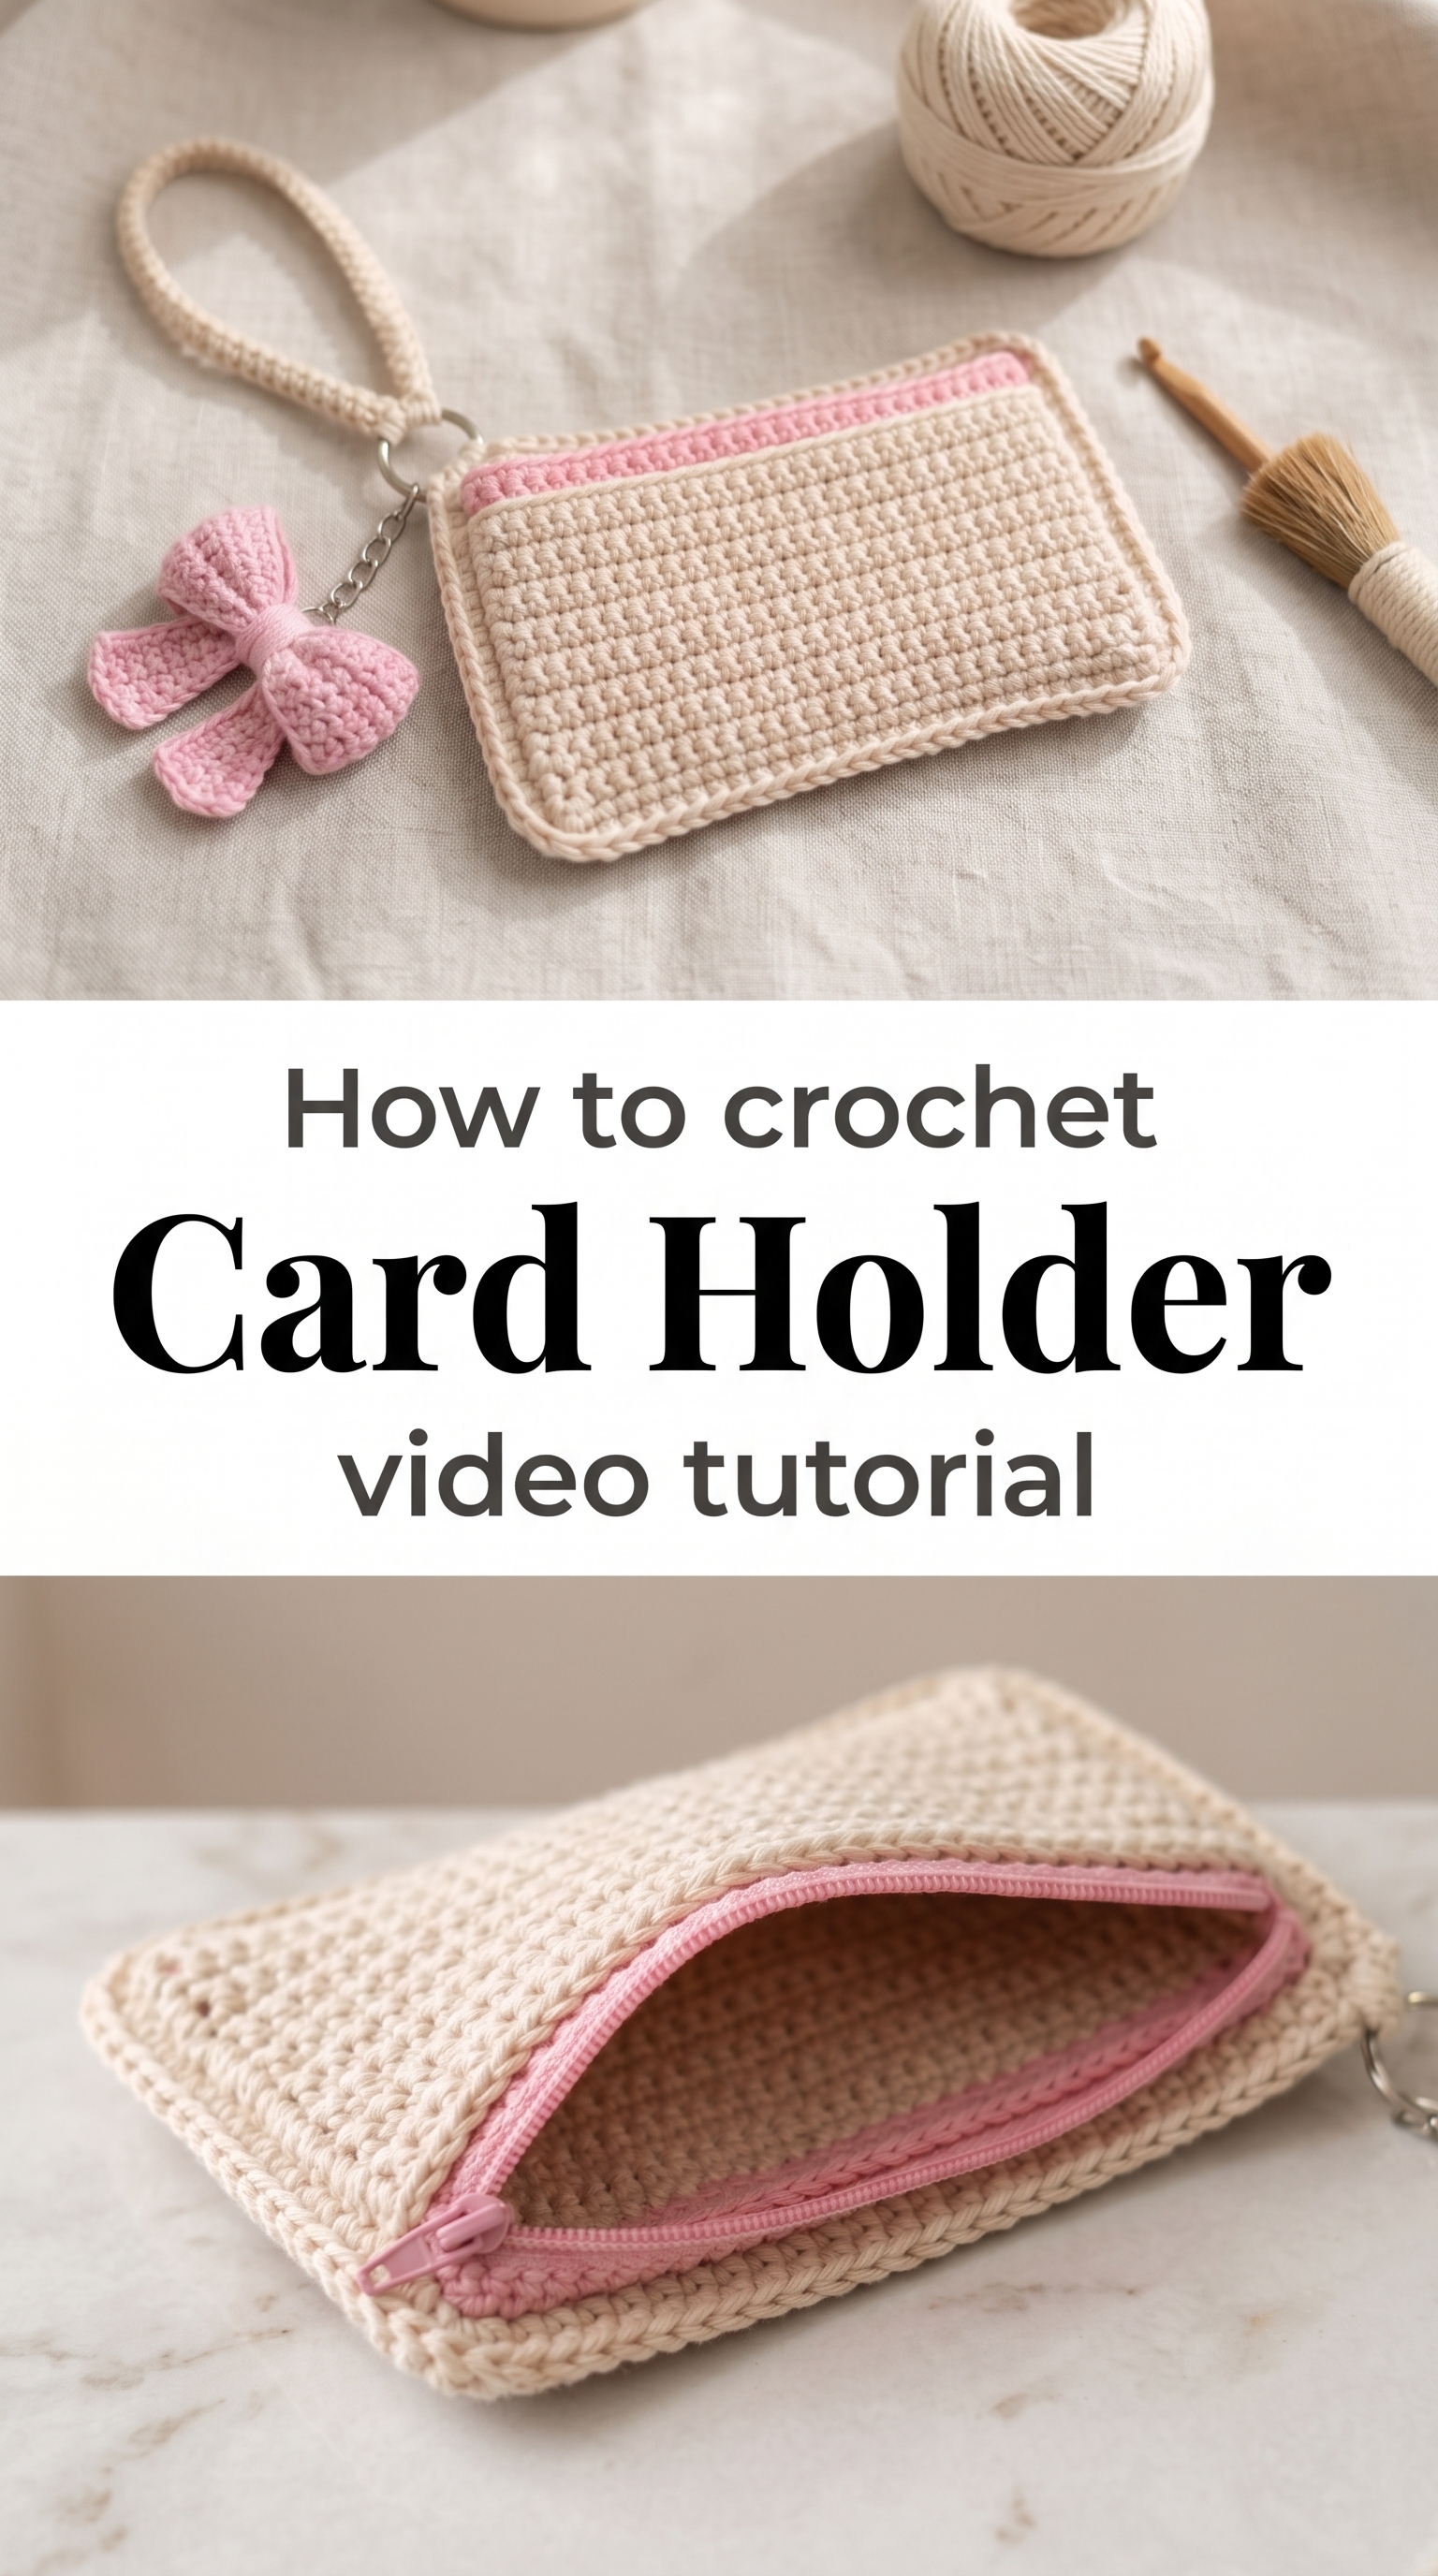
The Card Holder
A crochet card holder is the kind of small luxury that makes everyday errands feel a little more intentional. This rectangular pouch holds credit cards, gift cards, or a transit pass with a soft yet structured body that protects what matters. The simple silhouette is framed with a contrast color zipper opening, and the optional wrist strap turns it into a hands-free essential for coffee runs or farmer’s market strolls.
Neutral tones like oatmeal, sand, and dusty rose feel timeless and work with everything in your closet. You could also lean into a moody palette with chocolate brown, rust, and cream for an autumn-ready look. Play with the zipper color to add a pop of contrast, or keep it tonal for quiet elegance.
Materials and Tools
This pattern works beautifully with DK weight cotton or a cotton blend yarn that holds its shape without feeling stiff. You will need a 3.5mm or 4mm crochet hook depending on your tension and how firm you want the fabric. Cotton gives the card holder structure and a matte finish that ages gracefully with use. A yarn needle for weaving in ends and a small zipper for the opening complete your materials list.
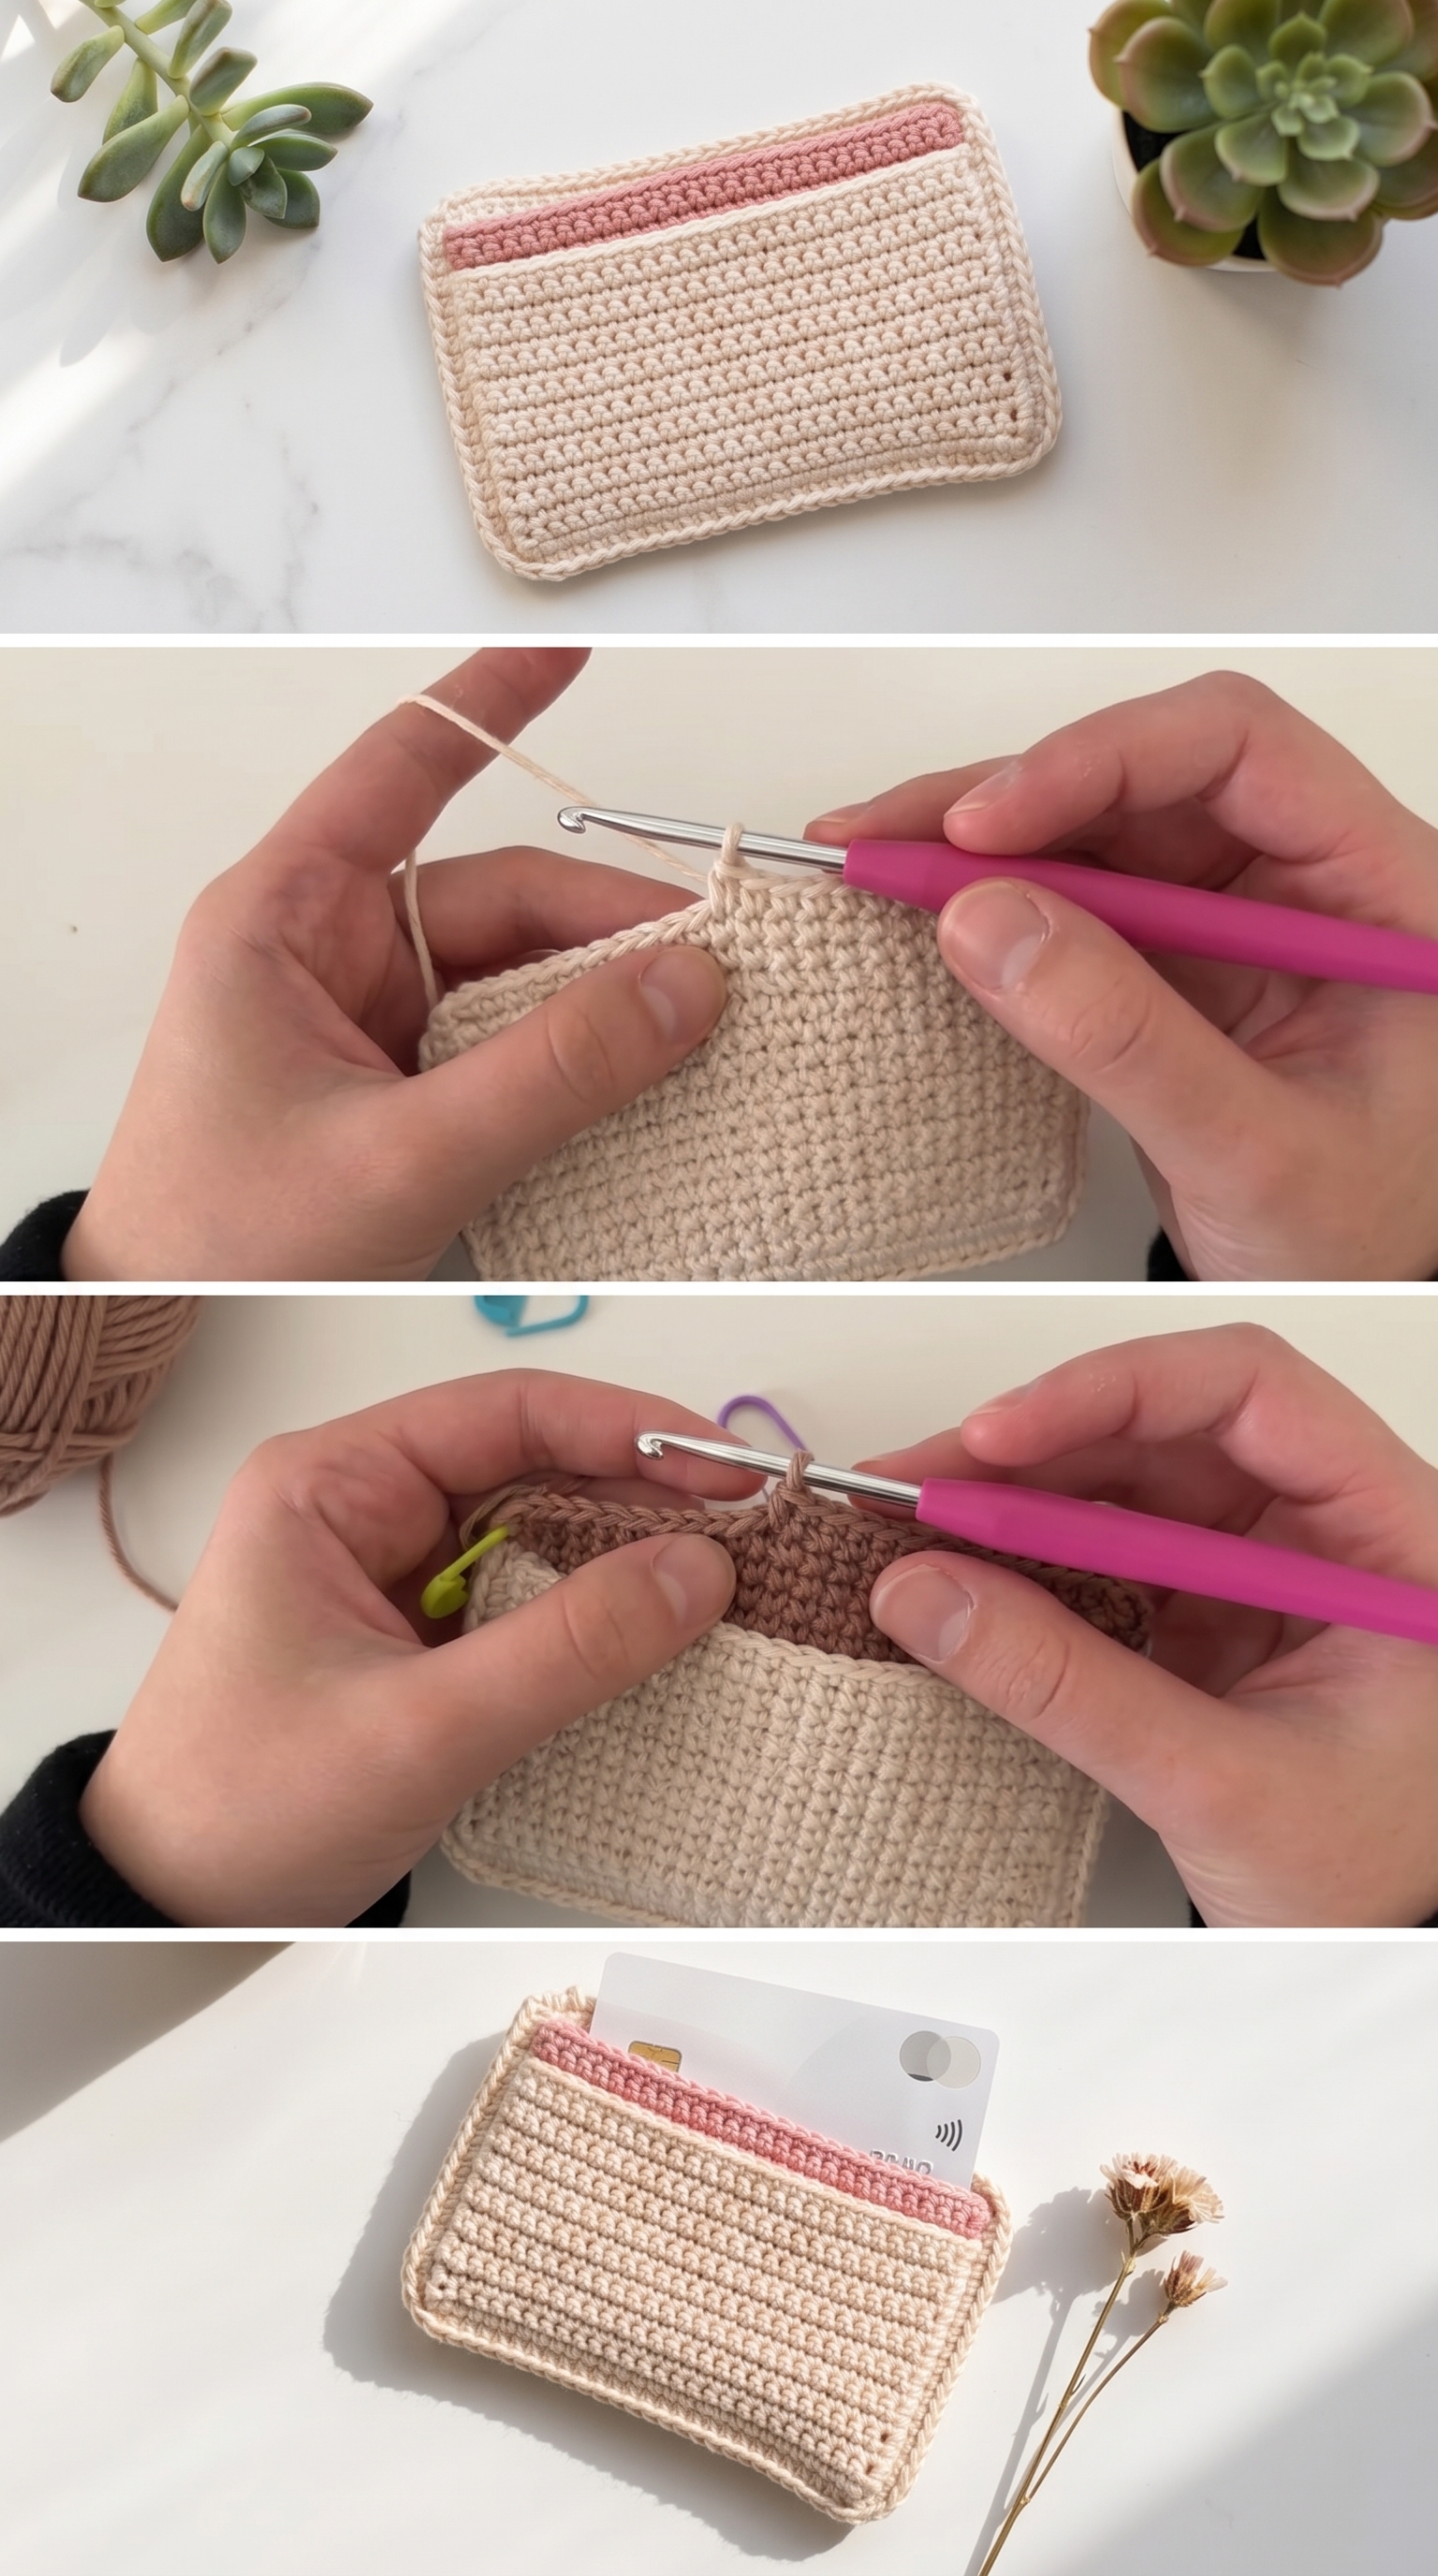
Stitch by Stitch
The video tutorial focuses on foundational stitches that build confidence and consistency.
BULLET:SC (single crochet) This tight, flat stitch creates a dense fabric that protects your cards and holds the shape of the holder beautifully.
BULLET:CH (chain) Used to begin your foundation and turn your rows, the chain stitch keeps your edges straight and your tension even.
BULLET:SL ST (slip stitch) Perfect for joining rounds or finishing edges with an invisible seam that looks polished and professional.
BULLET:BLO (back loop only) Working through just the back loop adds subtle texture and a horizontal ridge that gives the card holder a woven appearance.
The steady back-and-forth of single crochet rows becomes almost meditative, and you will find yourself reaching the end of the project before you are ready to stop.
Construction
The crochet card holder is worked flat in rows to create a rectangular panel. You will crochet the main body first, then fold and seam the sides to form the pocket. The zipper is sewn along the top opening, and if you choose to add a wrist strap, it attaches with a small ring or clasp at the corner. Beginners will appreciate how forgiving this construction is, and you can easily adjust the width by adding or removing foundation chains.
Wearing Your Card Holder
Slip it into your coat pocket on a walk through the neighborhood, or attach the wrist strap and let it swing from your hand at a concert or gallery opening. Tuck it into a larger tote as an organizer for loose cards and receipts, or gift it to someone who loves handmade details that simplify their daily carry.
Keeping Your Card Holder Looking Fresh
Cotton yarn can be hand washed in cool water with a gentle soap and laid flat to dry without losing its shape. If your card holder gets dusty or lint-covered, a quick wipe with a damp cloth usually does the trick. Store it in a drawer or hang it on a hook near your entryway so it is always ready when you need it. Avoid overstuffing the pocket to keep the sides crisp and the zipper closing smoothly.
Your crochet card holder is a quiet celebration of the small things we carry and the care we put into making them beautiful. Pin this tutorial and tag your finished piece so others can see how handmade accessories bring warmth to the everyday.
Follow us on Pinterest and subscribe to the Newsletter so you don’t miss a thing!
Tutorial and photos of this card holder by: crochet daniela .