
Learn to make a Crochet Balloon Sleeve Sweater that wraps you in warmth without sacrificing an ounce of style. Wear it tucked into wide-leg trousers for a polished afternoon, thrown over a slip dress for something softer, or belted at the waist for a sculptural silhouette that feels entirely your own.

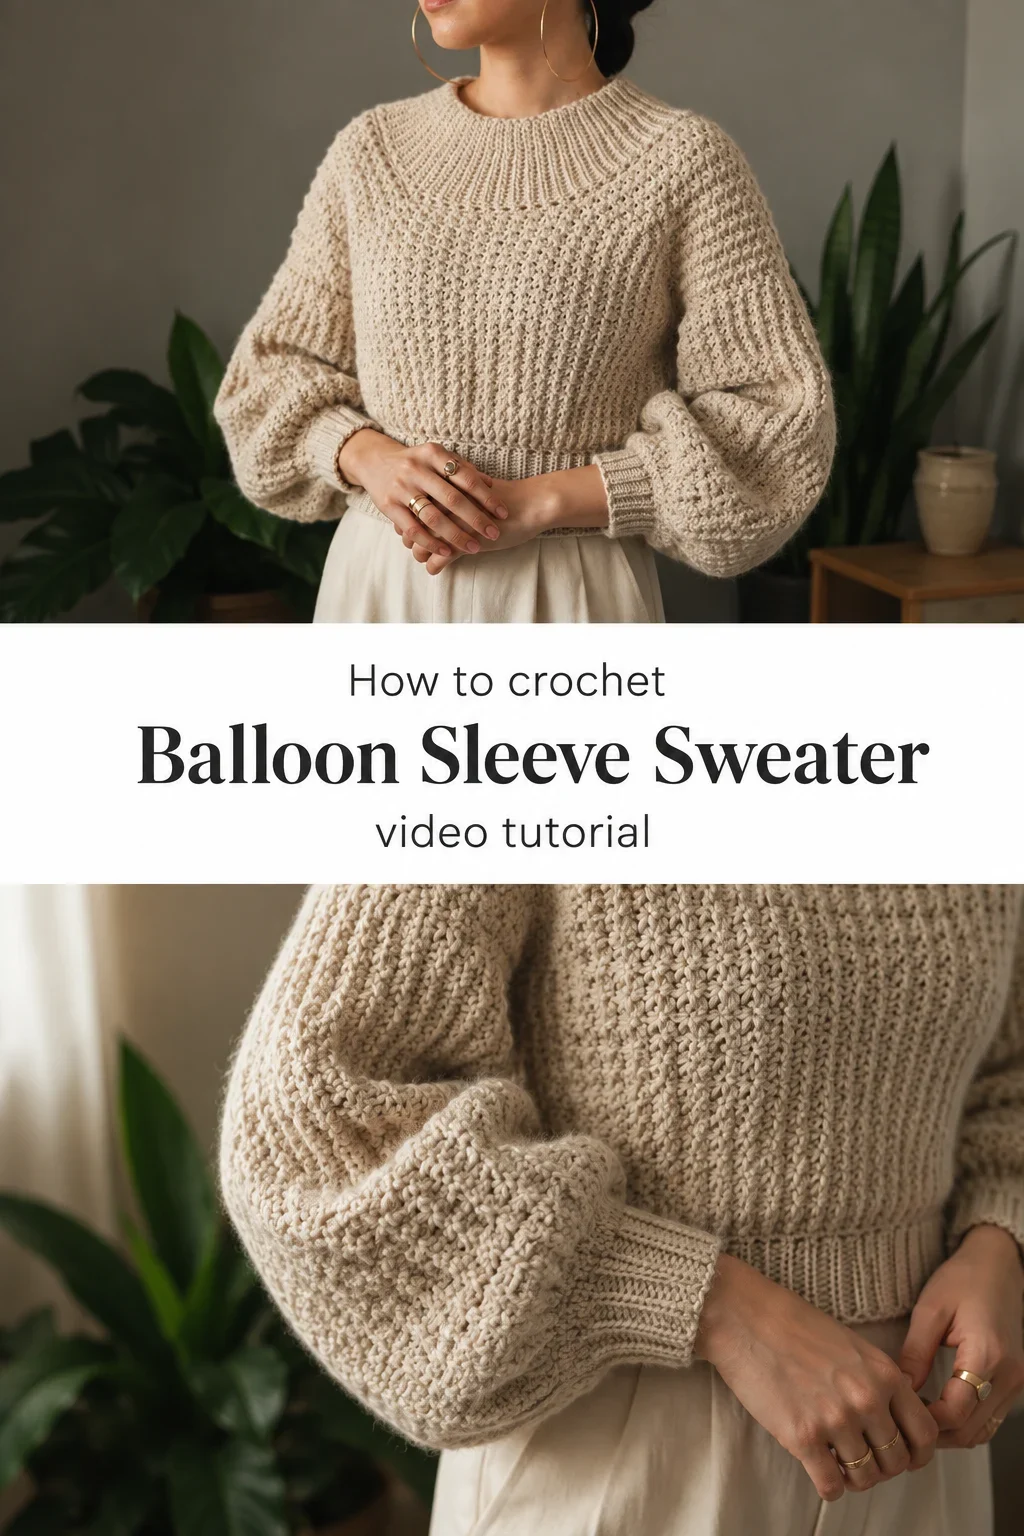
The Balloon Sleeve Sweater
This Crochet Balloon Sleeve Sweater is the kind of piece that makes people stop and ask where you bought it, and the answer, made by hand, feels even better than the compliment. The body sits with an airy yet structured ease, while the sleeves gather and billow before tapering into neat ribbed cuffs that anchor the whole look. It is romantic without being fussy, cosy without being shapeless, and the neutral oat tone seen here gives it that quiet, considered quality that belongs equally to a Saturday market and a candlelit dinner. This is a garment for someone who wants their wardrobe to feel intentional.
Sleeve Sweater Related Posts:
- Crochet Festival Bralette: A Vibrant Summer Essential
- Crochet Halter Top: A Chic Summer Essential
- Crochet Ribbed Beanie: A Sleek Winter Essential
- Crochet Scrub Cap: A Practical Medical Essential
The palette in these reference images leans into a warm, biscuit-cream that photographs beautifully and pairs with almost everything in a natural wardrobe. But picture this same silhouette in a deep terracotta, a dusty sage, or even a rich espresso brown, and you will see how completely the shape transforms the mood. The Crochet Balloon Sleeve Sweater in a heathered grey becomes a city staple; in a creamy white it reads almost bridal. Work with what calls to you.
Materials and Tools
For a sweater with this kind of drape and definition, a worsted weight yarn is the most satisfying choice, giving the star stitch enough body to read clearly while keeping the finished fabric soft against the skin. A natural fiber blend, such as a wool and cotton mix or a merino and alpaca blend, will reward you with warmth, breathability, and gorgeous stitch clarity. The full pattern from the video tutorial specifies hook and yarn details precisely, but a 5mm or 5.5mm crochet hook is a strong starting point for most worsted weights at a relaxed gauge. Keep a locking stitch marker nearby as your most reliable companion for tracking your raglan increase points and sleeve joins.
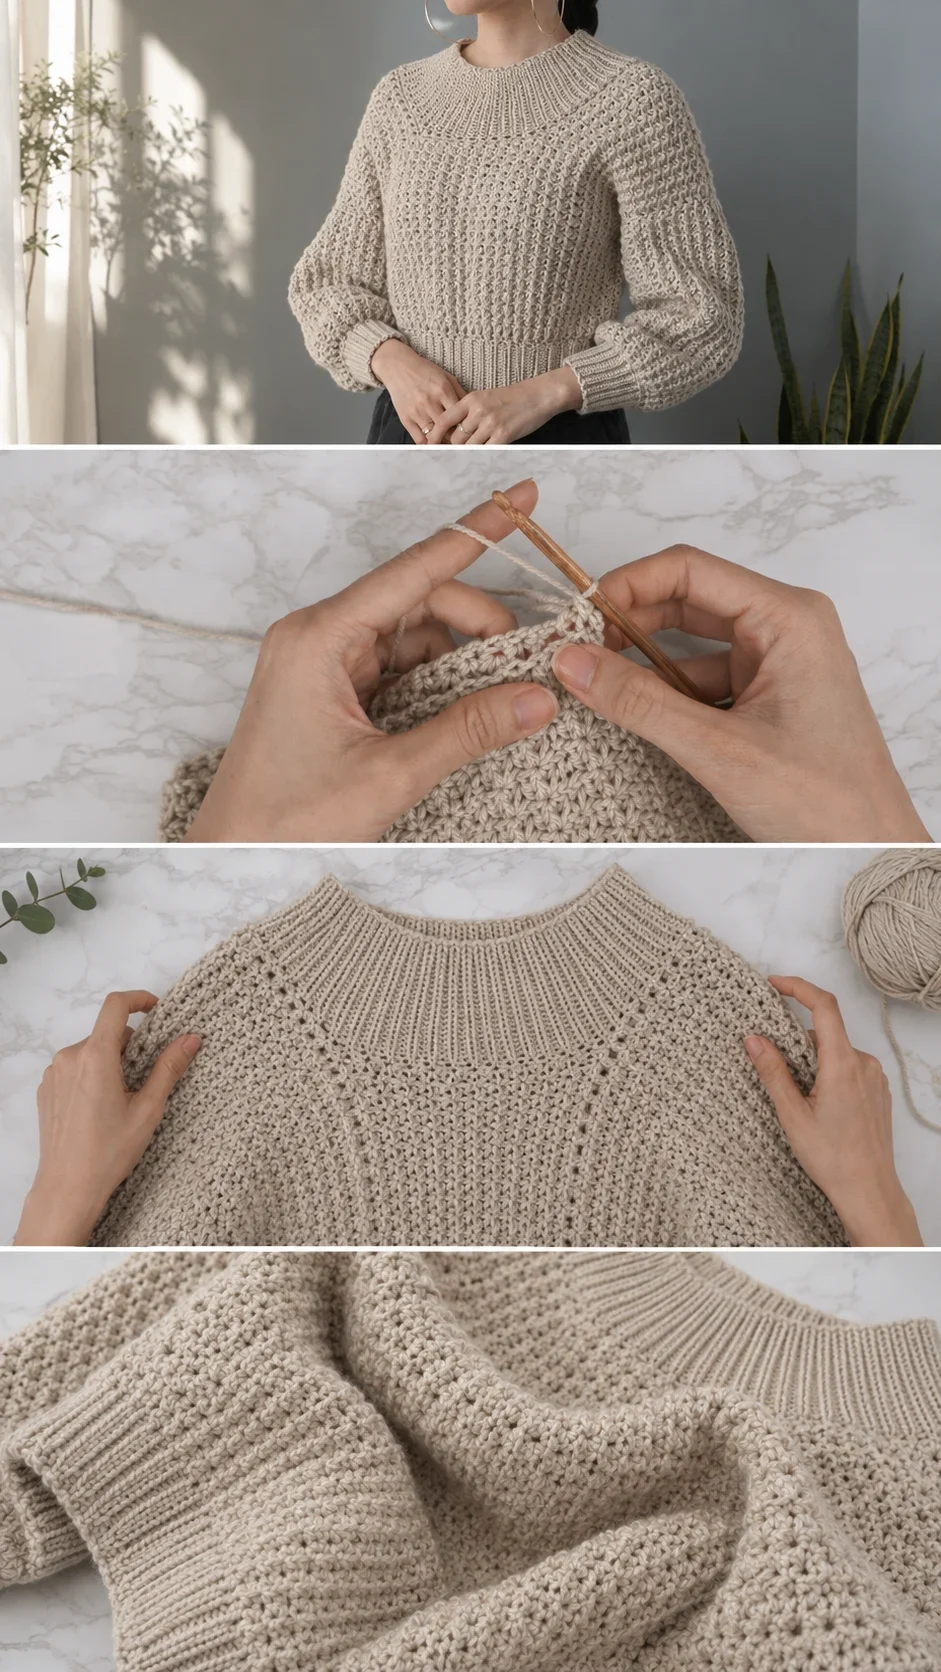
Stitch by Stitch
The Crochet Balloon Sleeve Sweater draws on a small, satisfying vocabulary of stitches that even a near-beginner can build confidence with quickly.
BULLET:SC (Single Crochet) The foundational stitch used throughout the ribbing sections at the collar, cuffs, and hem for a tight, elastic finish.
BULLET:DC (Double Crochet) Works into the body of the sweater to build height efficiently and contribute to that airy, open quality across the chest and sleeves.
BULLET:Star Stitch A five-spoke cluster stitch that creates the distinctive textured fabric visible across the torso, each one radiating outward like a pressed flower caught in the weave.
BULLET:CH (Chain) Used to create the foundation and to form the small spaces within the star stitch repeat that give the fabric its characteristic breathability.
Once you settle into the meditative rhythm of the star stitch repeat, your hands begin to move almost without thought, and that is where the real pleasure of this project lives.
Construction
The sweater is worked top-down and in the round, which means you can try it on as you go and adjust the length of the body or sleeves to suit your own proportions without unpicking a single row. The yoke begins at the collar with a band of ribbing, then opens into the raglan-style increase section that separates the sleeves from the body in one seamless motion. For beginners, the repetitive nature of the star stitch panel makes the body section feel approachable rather than overwhelming, and the full video tutorial from @TCDDIY walks through every transition with clarity. If you want a longer, more oversized silhouette, simply add extra rows to the body before beginning the hem ribbing.
Wearing Your Balloon Sleeve Sweater
Tuck the finished Crochet Balloon Sleeve Sweater into a pair of tailored wide-leg trousers and let the sleeves do all the talking, or layer it over a long linen shirt for that effortlessly relaxed look that feels more considered than casual. It works beautifully over a fitted turtleneck in the coldest months, adding volume at the shoulder without adding bulk at the hip. Every time you reach for it you will remember exactly how it felt to finish those last few rounds of ribbing and know it was made to last.
Washing and Storing Your Balloon Sleeve Sweater
Once your sweater is complete, wet blocking is the single most transformative thing you can do for it, especially if you have used a wool or wool-blend yarn. Soak it gently in cool water with a drop of wool wash, press out the excess without wringing, and lay it flat on a blocking mat shaped to your measurements until fully dry. For washing going forward, always hand wash in cool water or use a delicate machine cycle in a mesh laundry bag to protect the star stitch fabric from distortion. Store it folded rather than hung so the balloon sleeves keep their shape and the shoulder seams do not stretch over time.
Every stitch in this sweater is a small act of care, and wearing something you made with your own hands carries a quiet pride that no store-bought garment can replicate. If you make your own Crochet Balloon Sleeve Sweater, share a photo and tag @TCDDIY so your work can inspire the next maker who needs a reason to pick up their hook.
Follow us on Pinterest and subscribe to the Newsletter so you don’t miss a thing!
Tutorial and photos of this balloon sleeve sweater by: TCDDIY.