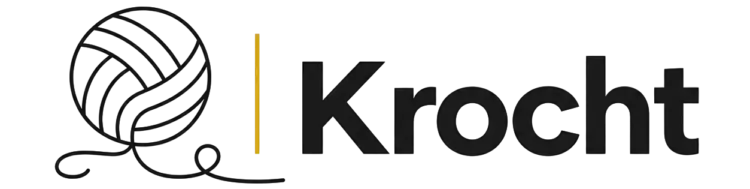
Today’s guide walks you through the wonderfully tactile world of the Crochet Balloon Dog, a project that captures that rubbery, round-bodied playfulness of twisted balloons translated into something soft, weighty, and endlessly charming in your hands. Pull out your hook and your darkest skein, because this one is worth starting right now.
The Balloon Dog
The Crochet Balloon Dog carries the kind of nostalgic warmth that takes you straight back to carnival afternoons and the squeak of latex being twisted into impossible shapes, except this version lives on a shelf forever. Each rounded segment is firm and satisfying to hold, airy in spirit yet structured in form, and the finished piece has a sculptural quality that feels more art object than toy. It is the perfect make for anyone who loves amigurumi with a graphic, modern edge, whether you are crafting for a child, a creative friend, or your own windowsill.
Balloon Dog Related Posts:
- Crochet Zodiac Mouse: A Charming Year of the Rat Keepsake
- Crochet Pig & Boar: A Charming Zodiac Pair
- Crochet Minion Plush: A Playful Cuddly Companion
- Crochet Daruma Doll: A Traditional Japanese Treasure
Working the Crochet Balloon Dog in a deep, inky black gives it that sleek balloon-animal silhouette that photographs so beautifully against pale walls and linen backdrops. But do not stop there because a creamy off-white, a bold cobalt, or a warm terracotta would each give this piece an entirely different personality. Scrappy makers can even use up leftover worsted weight yarn, mixing and matching segments for a confetti effect that feels genuinely joyful.
Materials and Tools
For the Crochet Balloon Dog you will want a smooth worsted weight yarn, ideally a cotton and acrylic blend that holds its round shape firmly once stuffed and gives those balloon-like segments a clean, defined edge. The project shown in the video tutorial uses a dark, matte black yarn that reads almost velvety in texture, and a similar smooth DK to light worsted weight yarn in your chosen color will produce that same satisfying density. A 2.5mm to 3mm crochet hook is ideal here, worked tightly so the polyfill stuffing does not peek through the stitches. You will also want safety eyes in a small size, a blunt tapestry needle for sewing segments together, and plenty of polyester fiberfill to give each balloon section that plump, pressurized feel.
Stitch by Stitch
The Crochet Balloon Dog relies on a small, focused vocabulary of stitches that makes it wonderfully approachable even for makers who are still building their amigurumi confidence.
BULLET:MR (Magic Ring) This is your starting foundation for every rounded segment, allowing you to pull the centre completely closed so no hole remains at the tip of each balloon shape.
BULLET:SC (Single Crochet) The primary stitch throughout the entire project, worked in continuous rounds to build each firm, even segment.
BULLET:INC (Increase) Two single crochets worked into the same stitch, used to widen each segment at its roundest, most balloon-like point.
BULLET:SC2TOG (Single Crochet Two Together) A decrease stitch that draws two stitches into one, used to taper each segment back down before closing and stuffing.
Working round after round of SC in the amigurumi style settles into a meditative rhythm very quickly, and the repetition of building each small balloon segment from open ring to stuffed sphere feels genuinely rewarding at every stage.
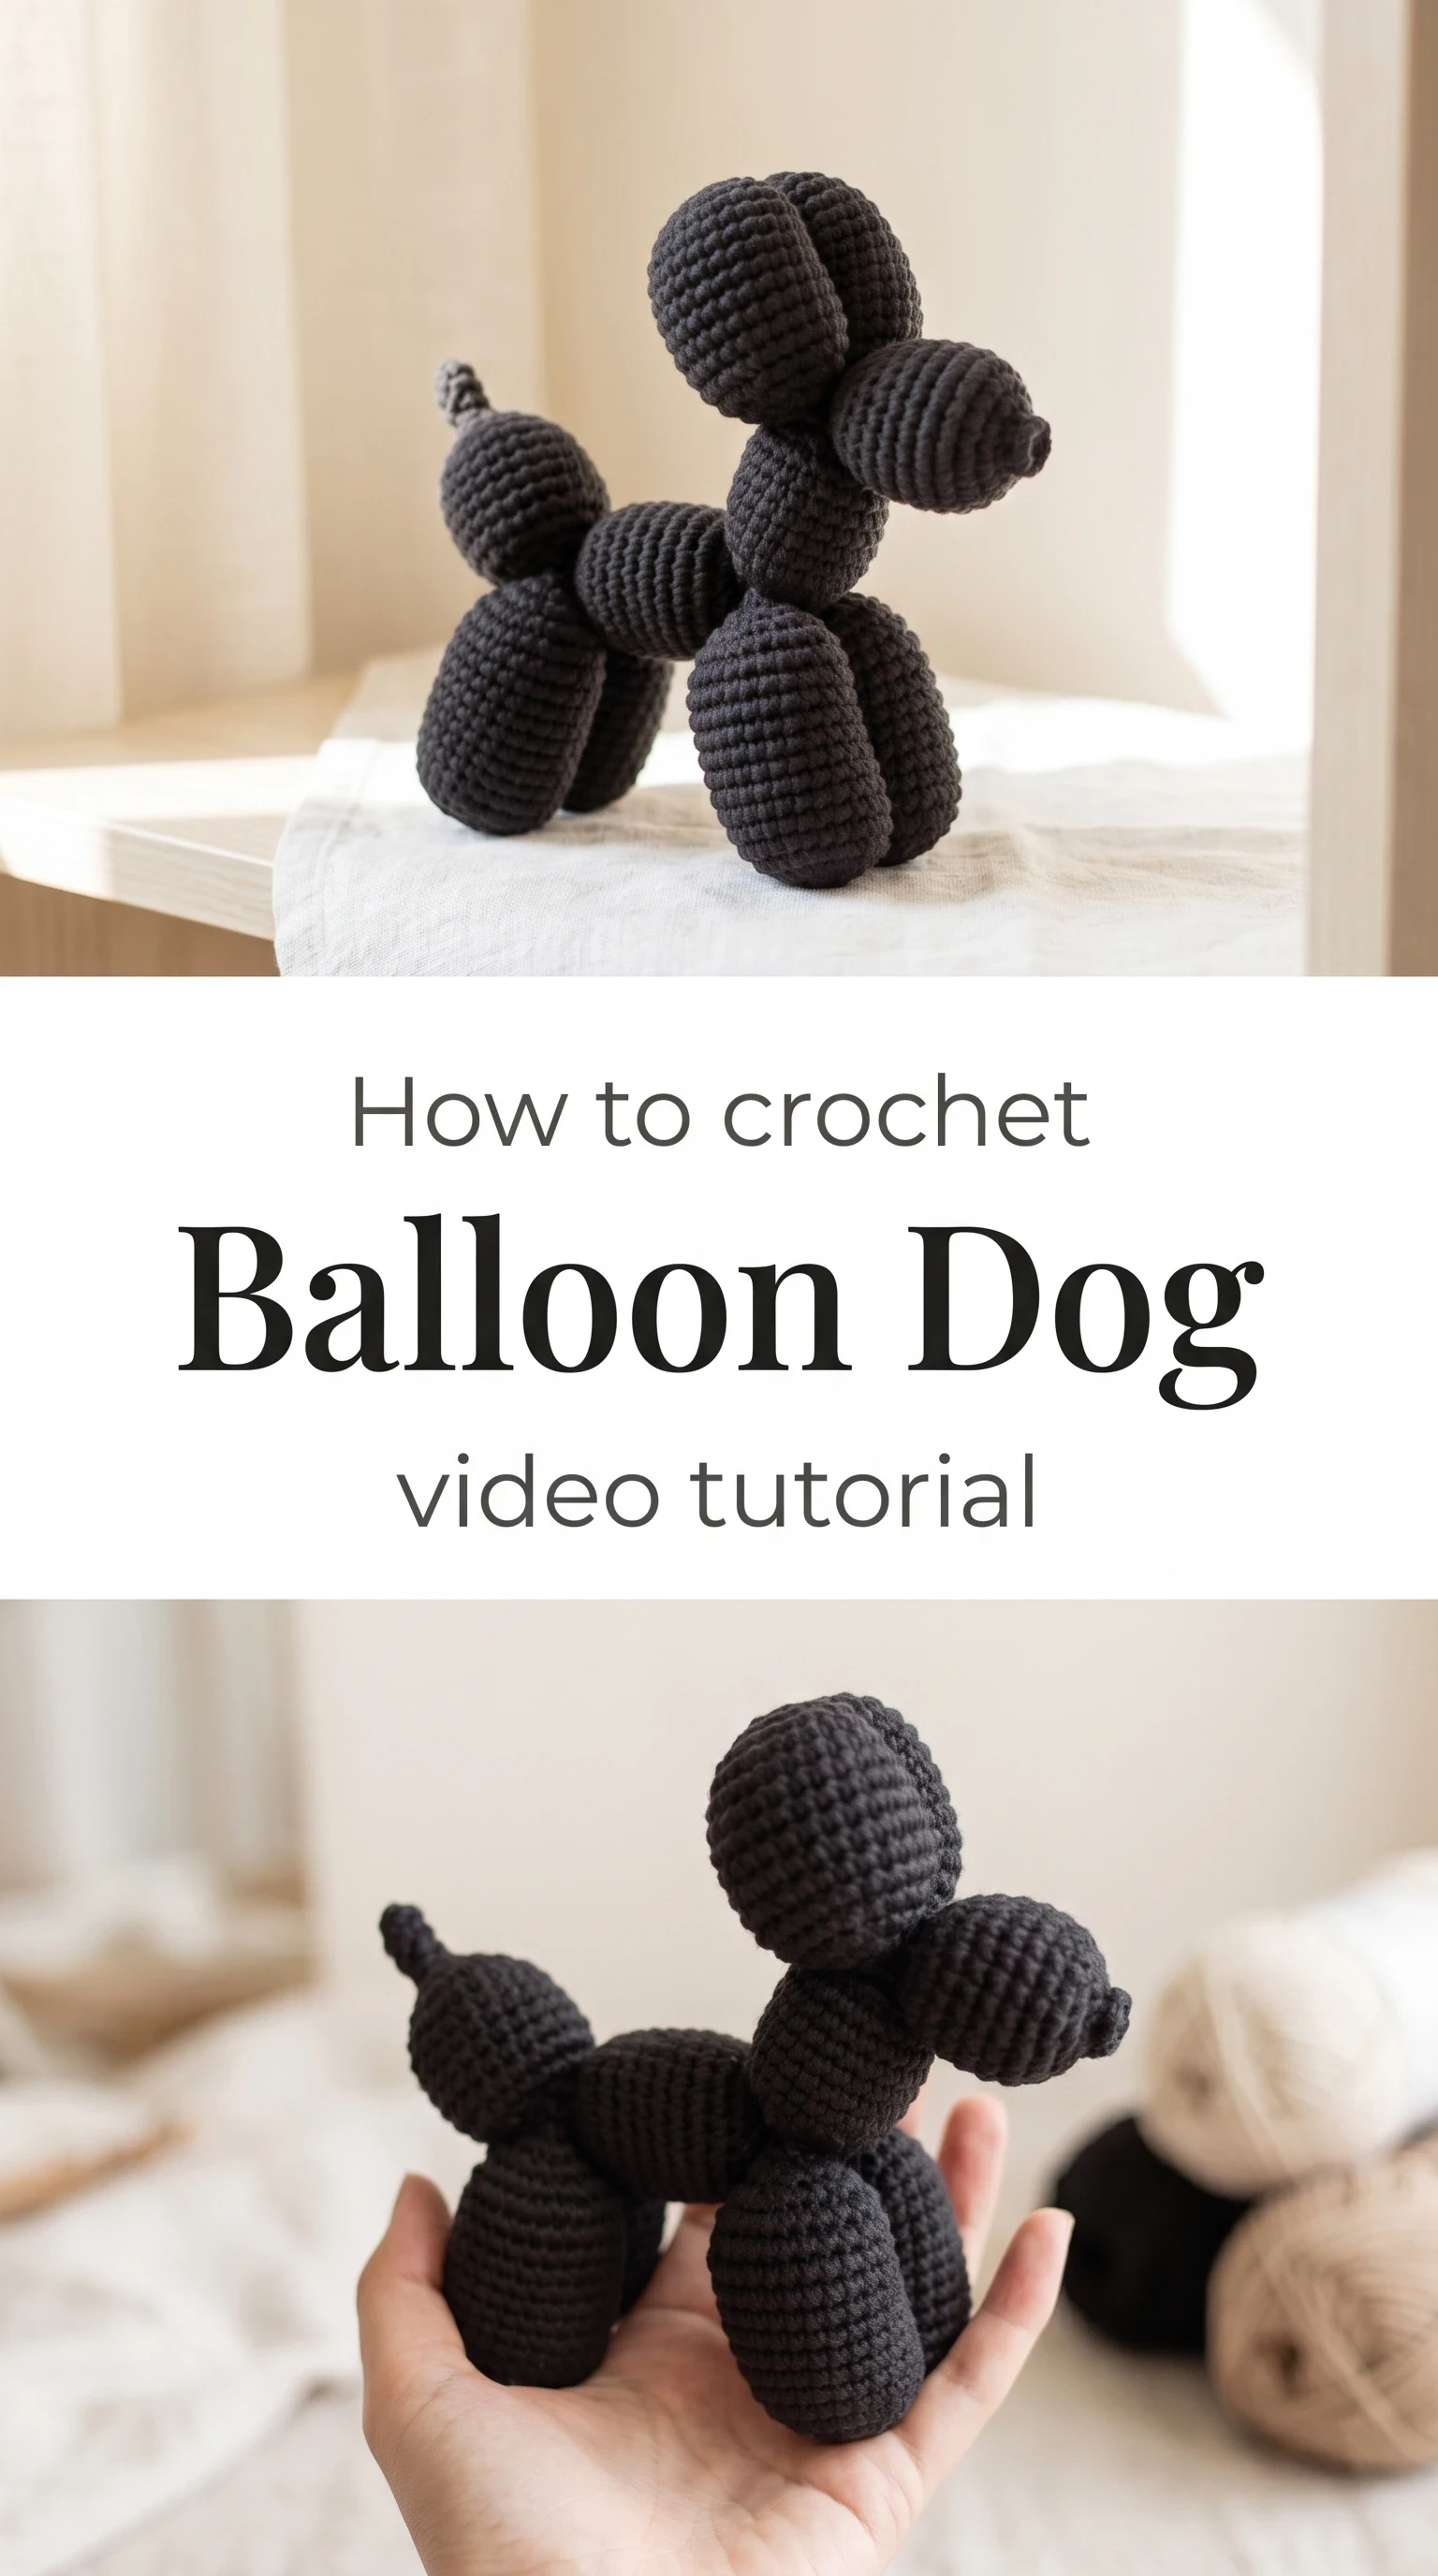
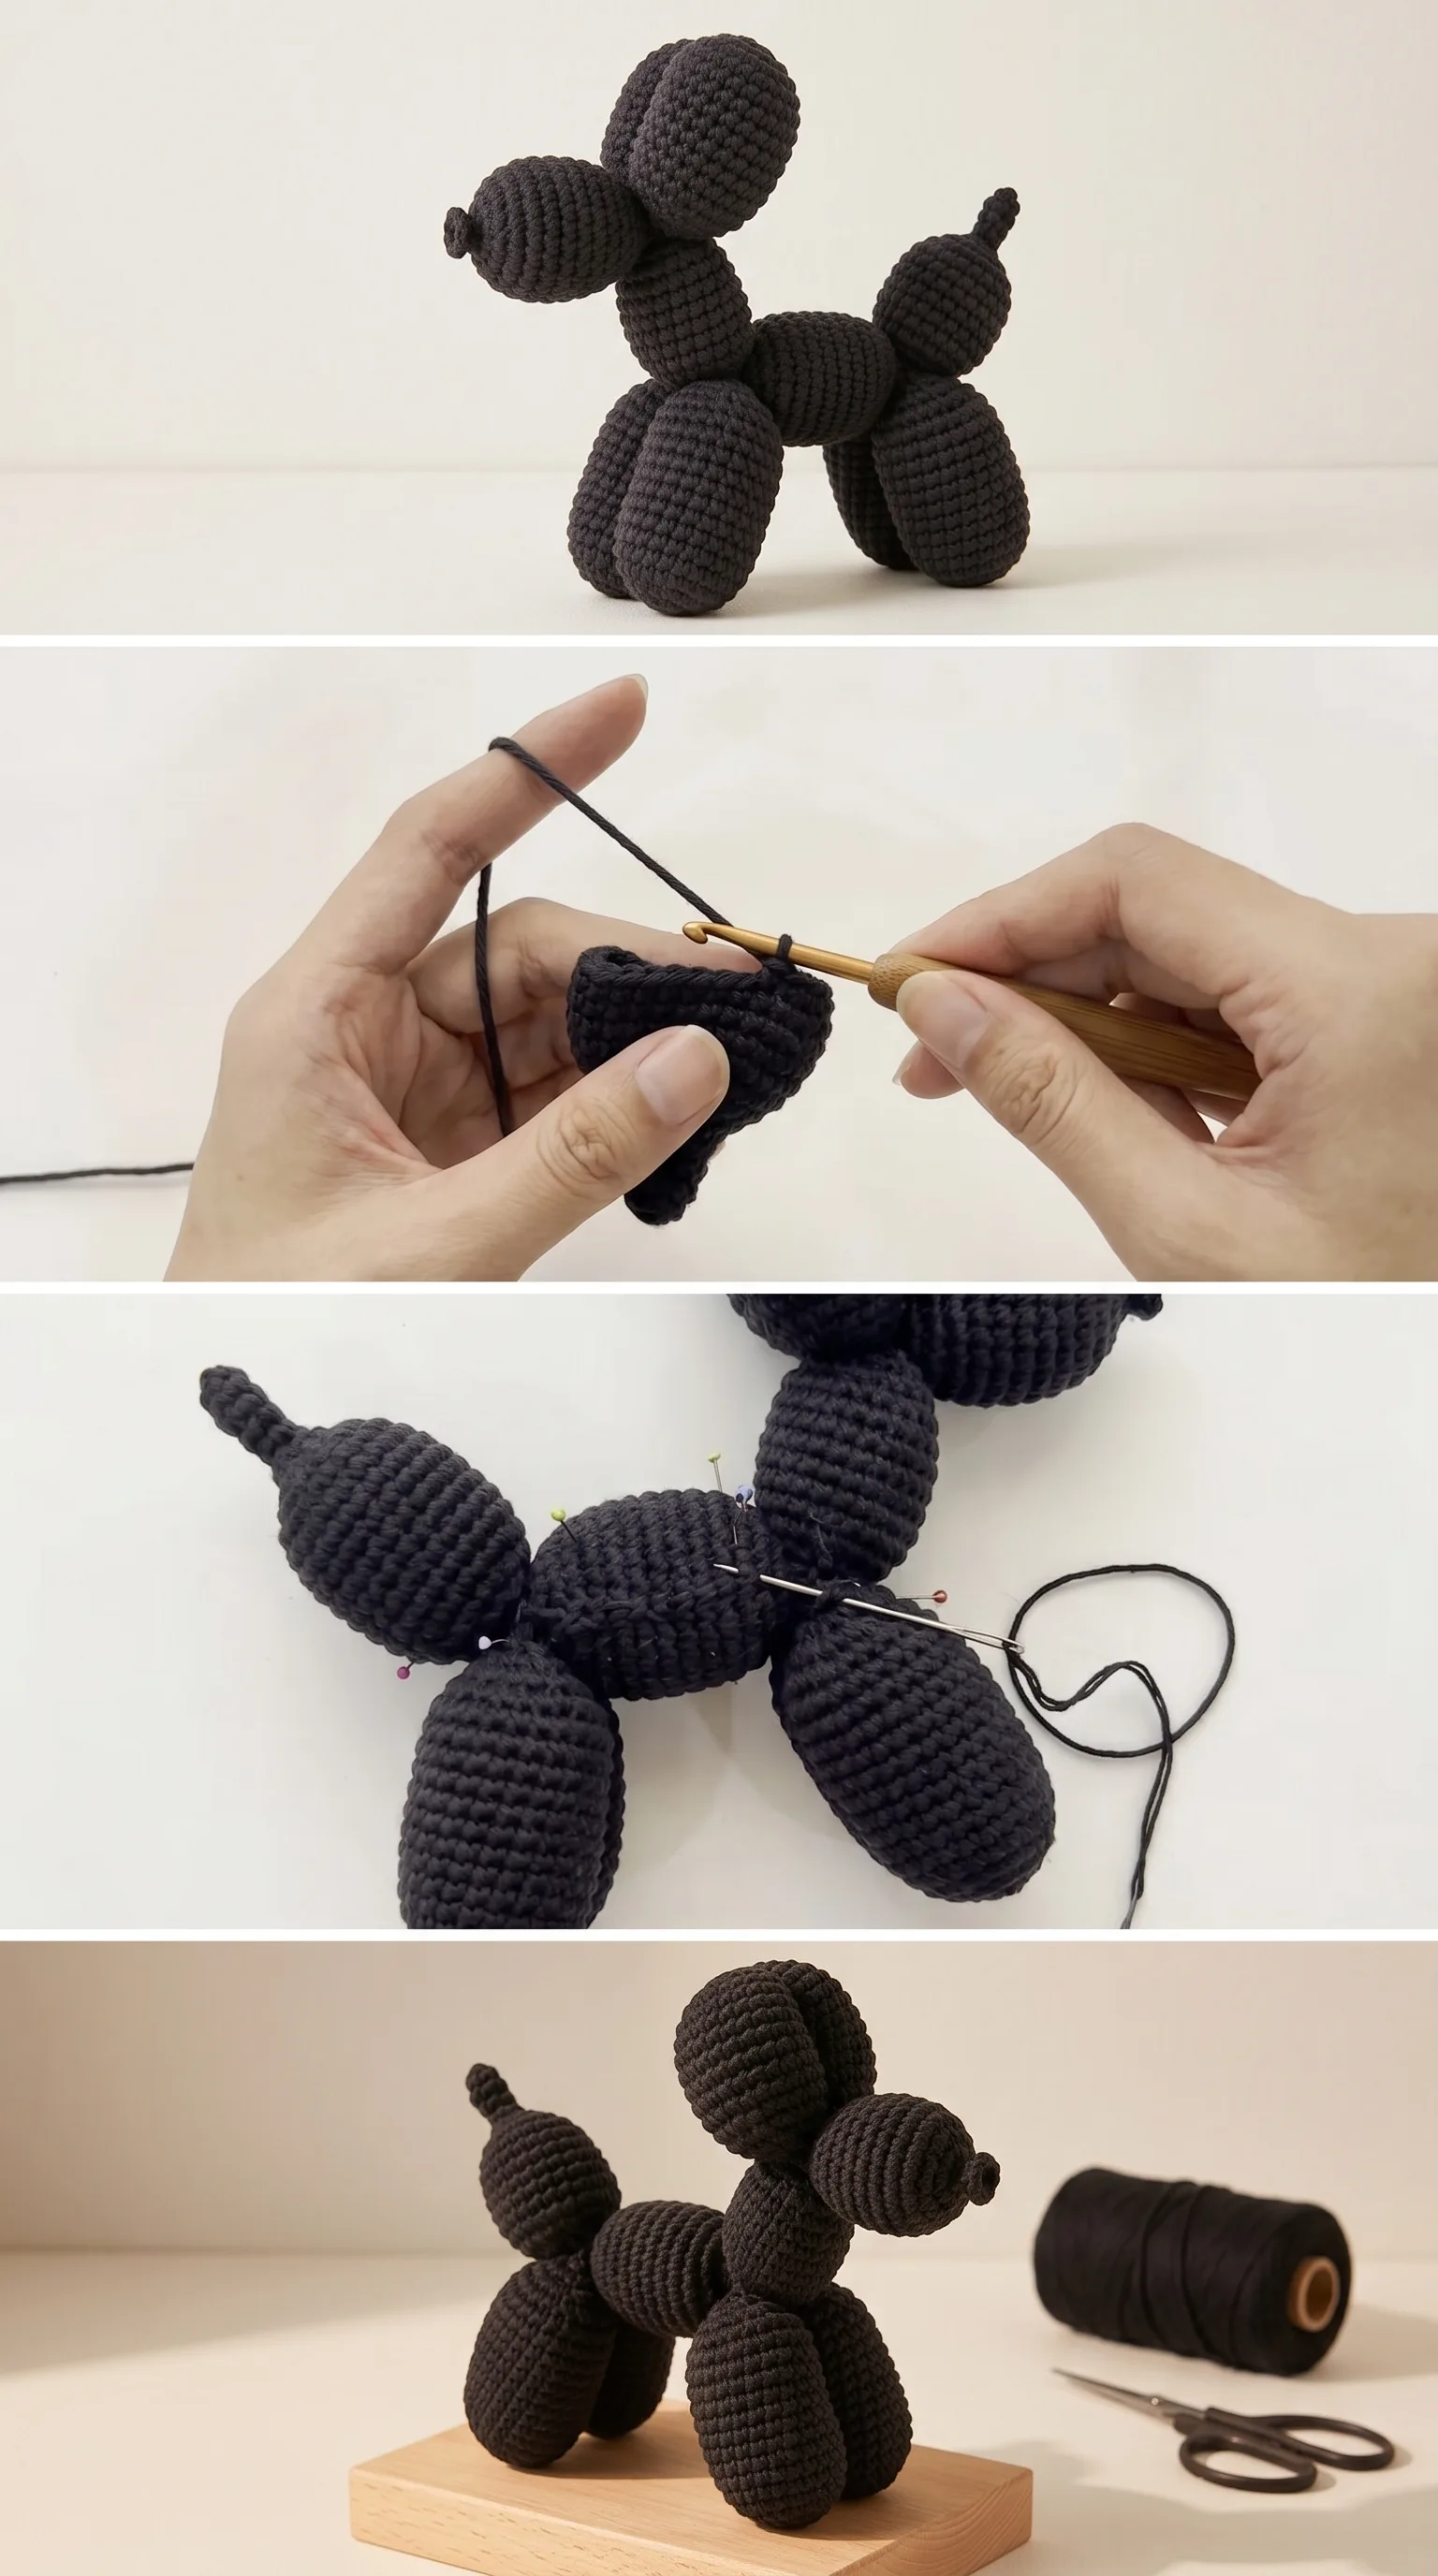
Construction
Each part of the Crochet Balloon Dog is worked separately in continuous rounds, beginning with a magic ring and increasing outward before decreasing back in to form a self-contained oval balloon shape. The segments are then stuffed firmly with polyfill and sewn together using a tapestry needle and your yarn tail, following the assembly sequence shown in the full video tutorial where the body, legs, neck, head, snout, and tail are each positioned with care. The connecting points are what give the piece its recognisable silhouette, so take your time when sewing and use pins to hold the pieces in place before committing to each seam. As a customisation tip, you can adjust the size of any individual segment by adding or removing increase rounds to create a puppy with slightly longer legs or a rounder, more compact head.
Wearing Your Balloon Dog
While the Crochet Balloon Dog is not something you wear, it absolutely belongs in the life of every room it enters, sitting confidently on a bookshelf between your favourite novels, perched on a desk as a handmade sculpture that starts conversations, or wrapped in tissue paper as a gift that lands somewhere between art and affection. Finishing this piece gives you something to display with genuine pride, and once you have made one you will immediately want to begin another in a new color.
Keeping Your Balloon Dog Looking Its Best
Because the Crochet Balloon Dog is a stuffed sculptural piece rather than a wearable or functional item, it does not need frequent washing, but when the time comes a gentle hand wash in cool water with a small amount of mild soap will refresh the yarn without distorting the shape. Press out the excess water carefully with a towel rather than wringing or twisting the segments, then allow the piece to air dry flat in a well-ventilated spot away from direct sunlight, which can fade deep colors like black or navy over time. If the segments lose a little of their firmness after washing, a gentle reshape while the piece is still slightly damp will help each balloon section hold its round, plump form. Store your finished balloon dog away from dust and direct heat to keep the fibers looking smooth and the color rich for years to come.
Making a Crochet Balloon Dog by hand is one of those projects that reminds you why slow, intentional craft is so worth protecting in a fast world, and every stuffed segment you sew into place is proof of something genuinely made with care. Save this article to your crochet Pinterest board and share your finished balloon dog with the tag so the whole community can see your beautiful work.
Follow us on Pinterest and subscribe to the Newsletter so you don’t miss a thing!
Tutorial and photos of this balloon dog by: PinDIY.