
I am absolutely obsessed with this Crochet Angel Dream Catcher tutorial and I could not wait to share it with you. What makes it so remarkable is the way it layers open lacework with soft petal clusters to create something that looks almost too ethereal to have come from your own hands.

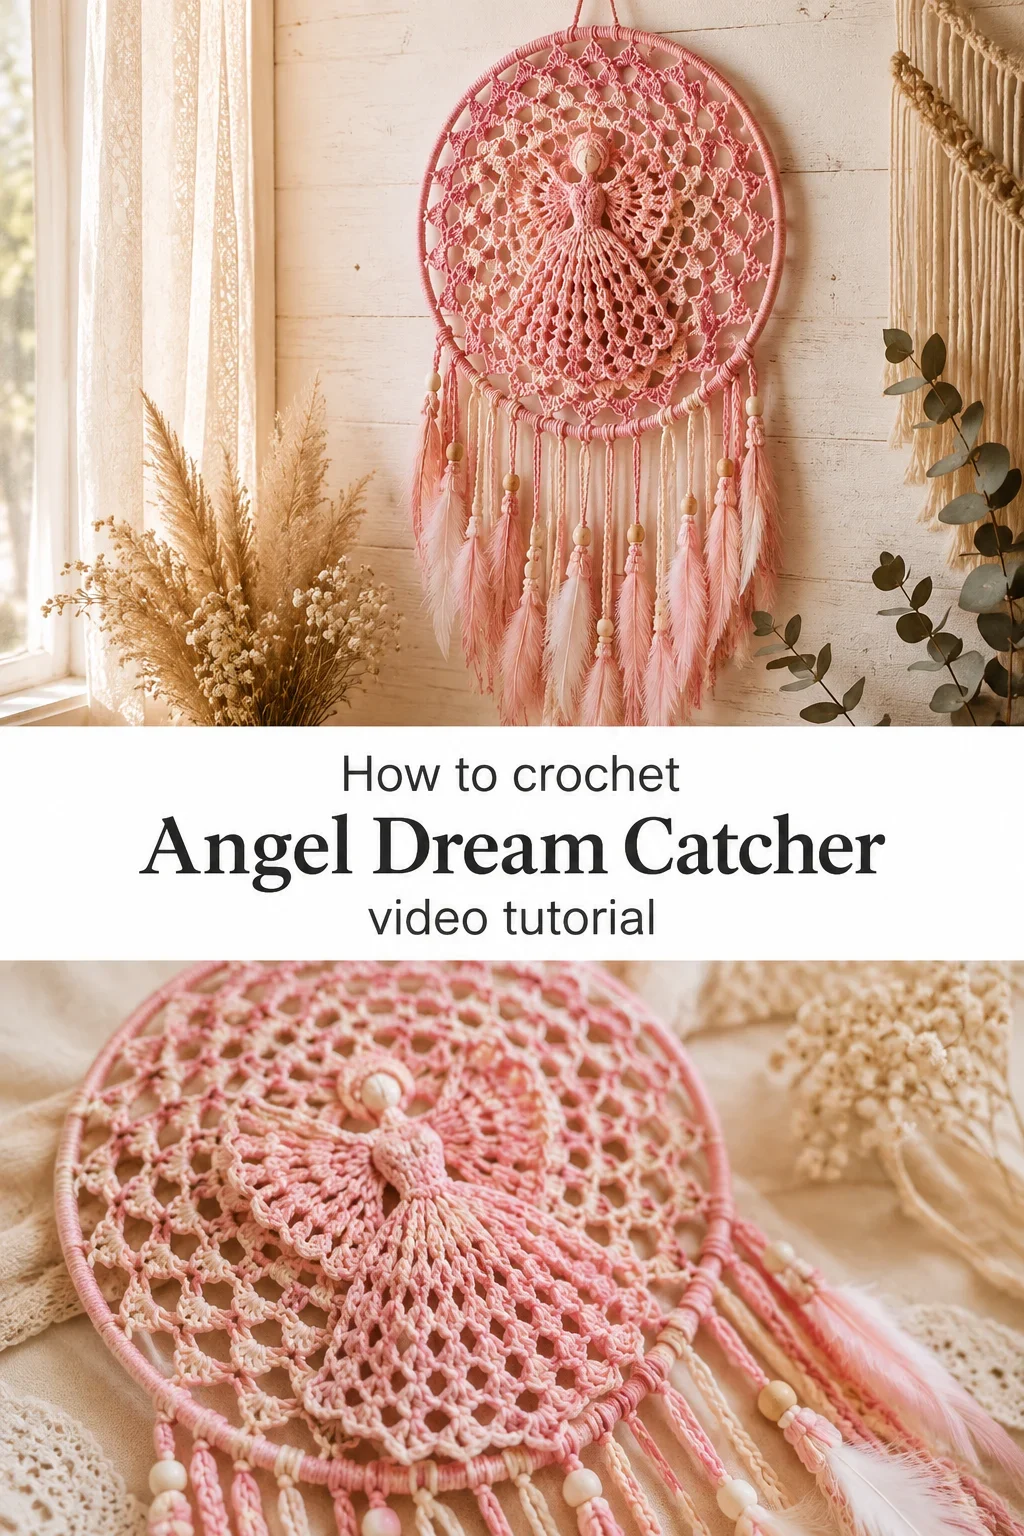
The Angel Dream Catcher
This Crochet Angel Dream Catcher is the kind of piece that makes visitors stop mid-sentence and reach out to touch it. It has the quality of something found in a sun-warmed antique shop, airy yet structured, with petal rounds that fan outward like the folds of a celestial gown. The open lacework at the top catches light the way a real dream catcher does, holding it gently before letting it fall through. It is made for the person who wants their home to feel like a soft place to land.
Dream Catcher Related Posts:
- Crochet Lace Doily: An Elegant Table Centerpiece
- Crochet Thaposh Doily: A Delicate Handcrafted Treasure
- Crochet Lace Motif: A Timeless Decorative Design
- Crochet Puff Stitch Basket: A Charming Storage Essential
In blush pink it reads romantic and cottagecore, but swap to dusty sage or cream and it becomes something more sculptural and gallery-worthy. You could also work it in a gradient yarn and let the color shift do the storytelling for you across each round. This piece moves beautifully with a bedroom, a nursery, or a boho reading nook without asking the room to change around it.
Materials and Tools
For this Crochet Angel Dream Catcher, a DK weight cotton or cotton-blend yarn gives you the perfect balance of drape and stitch definition, keeping the petal clusters crisp without feeling stiff. The sample shown uses a soft pink that photographs beautifully, and a DK cotton holds its shape round after round without sagging. A 4mm crochet hook is the ideal size here, giving you firm enough tension to maintain the structure of the lace rounds while keeping the fabric breathable and light. You will also want a blunt-tip yarn needle for weaving in ends, and a small hoop or wire ring to anchor the top of the dream catcher once it is complete.
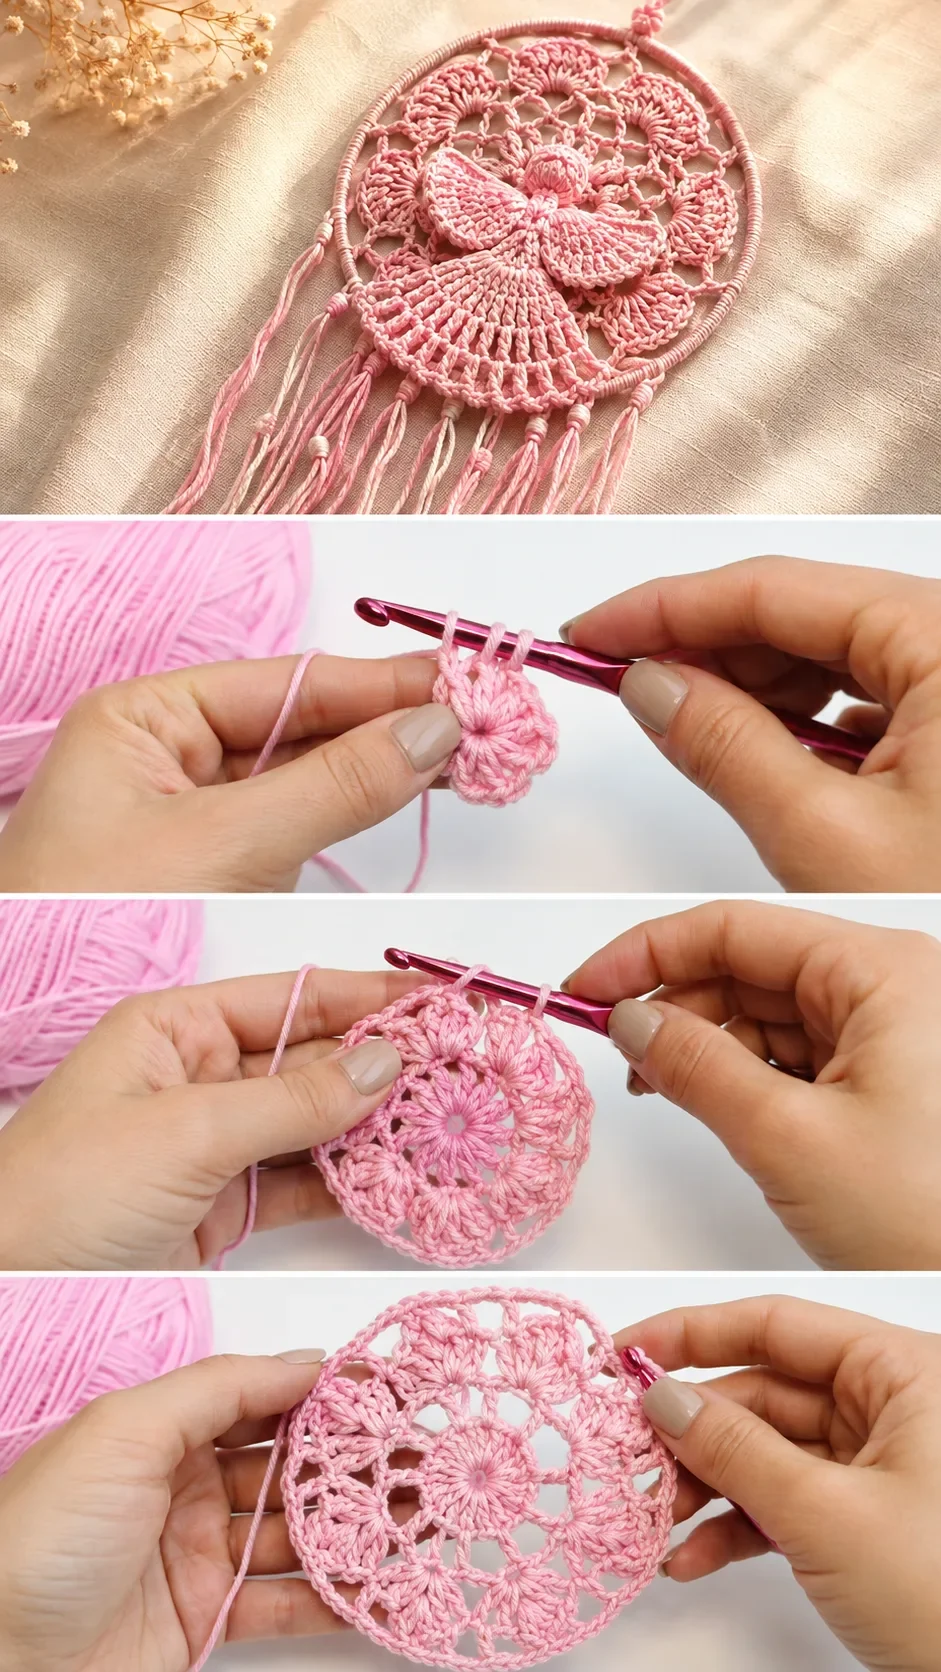
Stitch by Stitch
The Crochet Angel Dream Catcher calls on a small but expressive vocabulary of stitches that build beautifully on each other.
BULLET:SC (Single Crochet) The foundational stitch that creates the tight, grounded center ring from which all other rounds grow.
BULLET:DC (Double Crochet) The workhorse of the petal rounds, worked in clusters to create those soft, voluminous fan shapes.
BULLET:CH (Chain) Used to create the open arch bridges between petal clusters, giving the piece its signature lacy, floating quality.
BULLET:YO (Yarn Over) The repeated motion that builds each DC and shapes every petal, done so often it becomes instinctive within the first round.
Once your hands find the rhythm of chain, YO, DC cluster, chain again, the whole piece becomes genuinely meditative, the kind of making that quiets the noise of a busy day.
Construction
The Crochet Angel Dream Catcher is worked in the round from the center outward, beginning with a magic ring and expanding through increasingly open and decorative rounds. The early rounds are dense and grounding, and then the petal fans begin to emerge in the middle section, giving the piece its characteristic floral silhouette. It is genuinely beginner-friendly in its logic because each round follows a clear visual pattern that you can see forming in front of you as you work. If you want to customise the finished size, simply work one or two additional DC fan rounds before moving into the final lace arch row.
Wearing Your Angel Dream Catcher
Hang your finished Crochet Angel Dream Catcher above a bed headboard where morning light can filter through the lace arches, or layer it with macrame and dried flowers for a full boho wall gallery. It also makes a deeply personal gift, framed in an embroidery hoop with a ribbon hanger, for a new baby’s nursery or a housewarming. The moment you hang it, the room shifts in that way only handmade things can achieve.
Keeping Your Dream Catcher Looking Its Best
Because this piece is likely worked in cotton, it responds well to a gentle hand wash in cool water with a mild soap, then laid flat or pinned to shape on a foam blocking mat to dry. Blocking is genuinely worth the extra hour, because it opens the lace arches and evens the petal clusters in a way that transforms the piece from lovely to precise. Once dry, store it flat or loosely rolled in a breathable cotton bag if you are gifting it, rather than folding it sharply which can crease the lace. Avoid hanging it in direct harsh sunlight long-term, as sustained UV exposure will slowly fade even the most vibrant pink cotton over time.
You made something that holds light and intention in equal measure, and that is no small thing. If you are following along with the full video tutorial to make your own Crochet Angel Dream Catcher, save this post to your Pinterest boards so you can find it again when you are ready to start your next round.
Follow us on Pinterest and subscribe to the Newsletter so you don’t miss a thing!
Tutorial and photos of this angel dream catcher by: cc crochet.