
When the urge to create something that sparks pure joy strikes without warning, the Crochet Yoshi Plushie is exactly the answer your hands have been waiting for. In this article, you will discover the materials, stitches, construction approach, and care tips to bring this beloved green character to life in soft, huggable form.

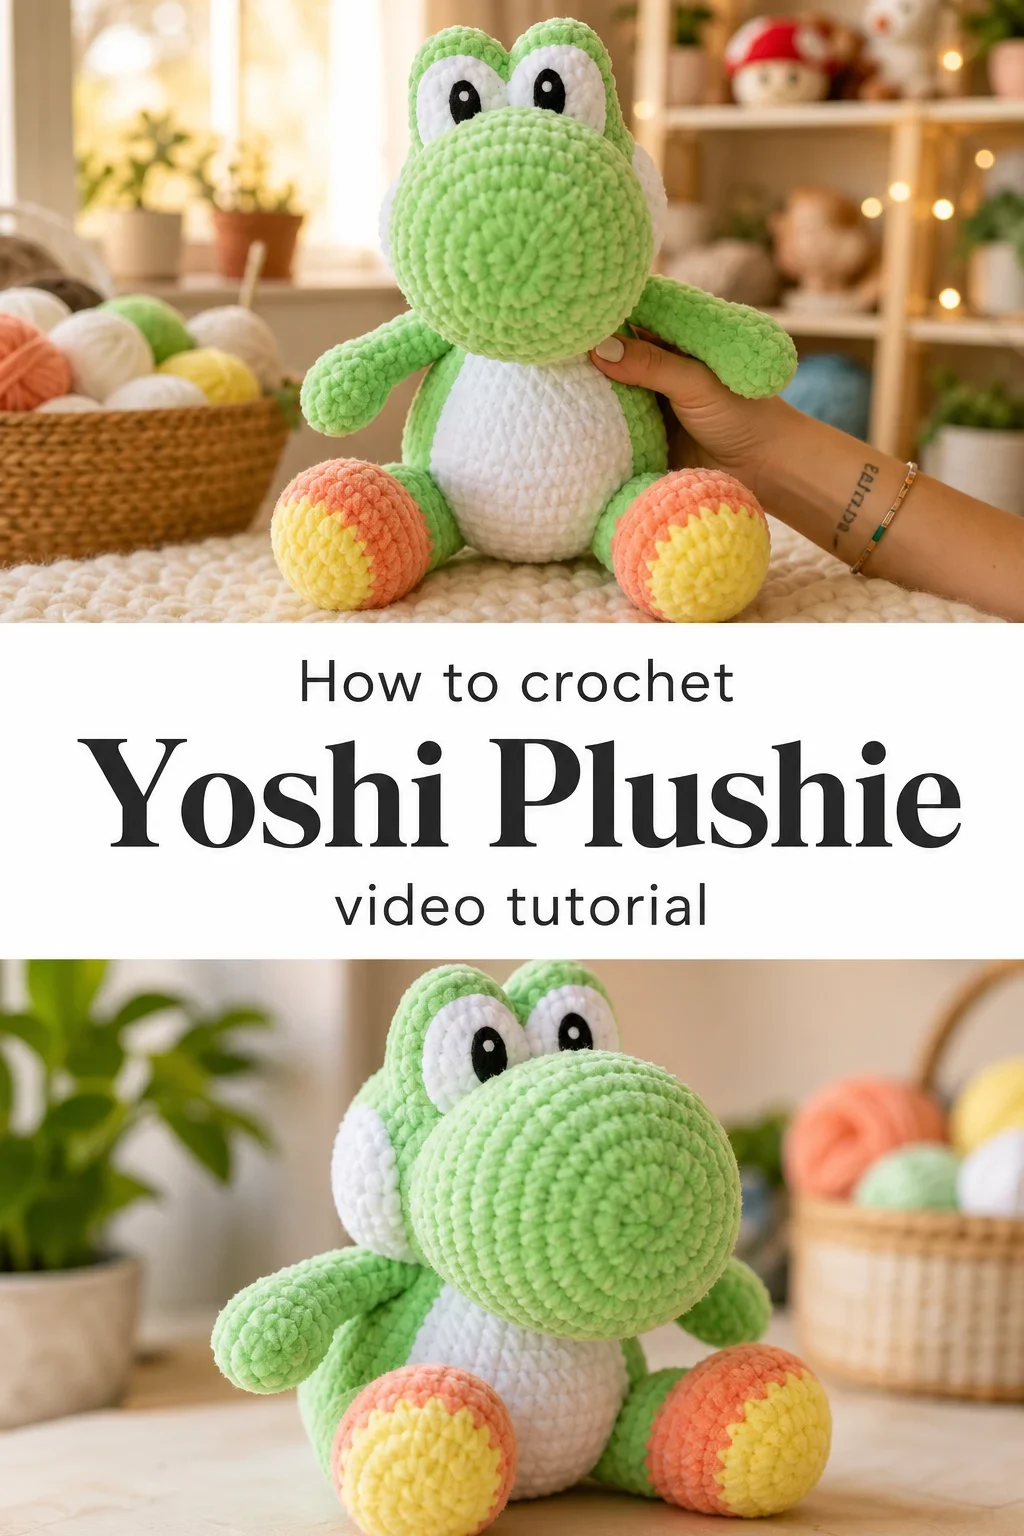
The Yoshi Plushie
The Crochet Yoshi Plushie is one of those creations that makes everyone in the room stop and smile the moment they see it. Recognizable in his round belly, wide expressive eyes, and those cheerful orange-tipped feet, this plushie carries the warmth of childhood nostalgia stitched into every round. It is a gift for the Nintendo lover, the plushie collector, the child who sleeps with their favorite character tucked under one arm, and the crafter who wants to make something genuinely meaningful. Soft to the touch and satisfying to hold, this piece feels like comfort made tangible.
Yoshi Plushie Related Posts:
- Crochet Apple Amigurumi: A Charming Handmade Delight
- Crochet Bunny Plush: A Charming Handmade Companion
- Crochet Mario and Luigi Dolls: An Iconic Gaming Treasure
- Crochet Minion Plush: A Playful Cuddly Companion
Classic green with a white belly and those signature coral-to-yellow gradient feet is the traditional palette, and it is genuinely hard to resist. That said, this pattern is wonderfully open to color play, and you could just as easily make a pink Yoshi, a blue one, or even a golden version for something truly unexpected. The color changes are straightforward and part of what makes each finished plushie feel personal.
Materials and Tools
To make a Crochet Yoshi Plushie with that irresistibly plush and textured finish seen in the tutorial, you will want to reach for a chunky or bulky weight chenille yarn, the kind that feels like velvet between your fingers and creates that cloud-like, bumpy surface that makes the character look almost identical to a store-bought stuffed toy. A 5mm or 5.5mm crochet hook works beautifully with this yarn weight, giving your stitches enough structure to hold shape without pulling too tight. For the belly and eyes, you will use white yarn in the same weight, and safety eyes in black add that final expressive detail that brings Yoshi’s face to life. Do not forget a tapestry needle for seamless assembly and plenty of polyfill stuffing, which is what gives the belly and head that satisfying round fullness.
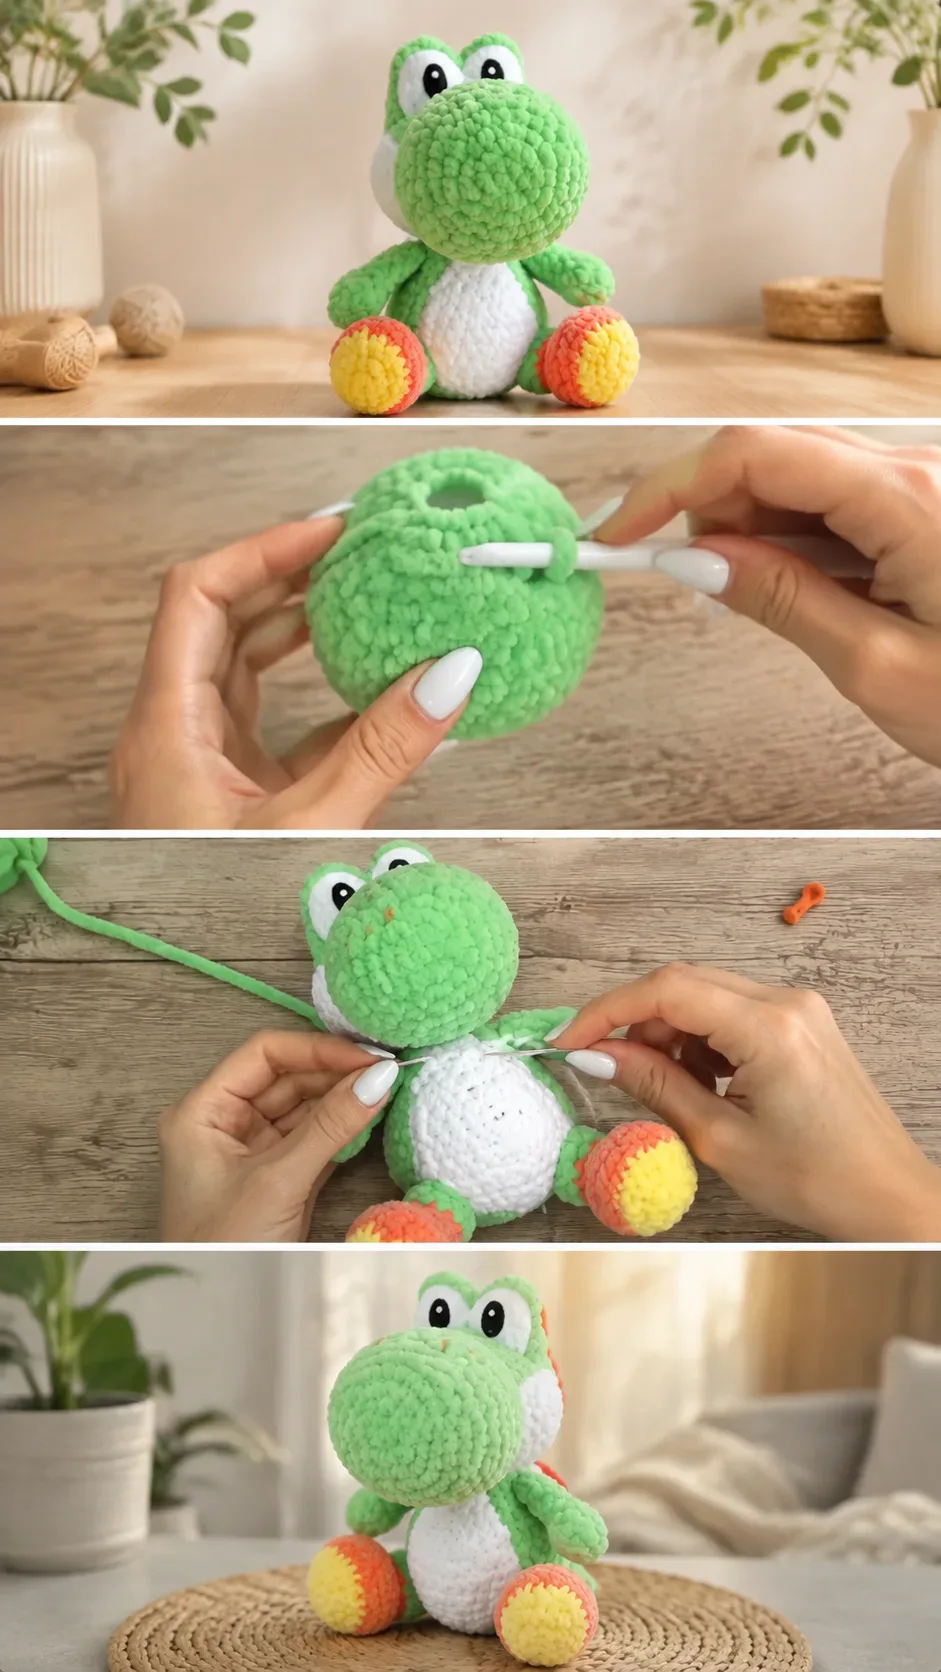
Stitch by Stitch
This pattern works with a small, approachable selection of stitches that even a beginner can pick up quickly.
BULLET:SC (Single Crochet) The foundational stitch of the entire plushie, used throughout the body, head, and limbs to create a tight, even fabric that holds stuffing beautifully.
BULLET:MR (Magic Ring) The very first move of each new piece, the magic ring closes tightly so no hole is left at the center of your rounds, which is essential for clean amigurumi construction.
BULLET:Inc (Increase) Working two SC into one stitch, this is how each piece grows outward from the magic ring into its rounded, dimensional shape.
BULLET:Dec (Invisible Decrease) Worked by inserting the hook through the front loops of two stitches at once, this decrease keeps edges neat and gap-free as you close each section.
Working in continuous rounds with these stitches creates a meditative, almost hypnotic rhythm, and before long your hands find their own pace and the pieces seem to grow effortlessly.
Construction
Each part of the Crochet Yoshi Plushie is worked separately in the round, beginning with a magic ring and expanding outward, so you will build the head, body, arms, legs, tail, nose, and shell piece by piece before sewing everything together. The full step-by-step video tutorial by Crochet Pink Pumpkin walks you through every single round with clear guidance, making the process feel far less overwhelming than it might look at first glance. Assembly is done with a tapestry needle and matching yarn, and pinning pieces in place before sewing helps ensure Yoshi’s features land exactly where they should. If you want to give your plushie a unique personality, experimenting with safety eye placement, just slightly wider or closer together, can completely change the character’s expression.
Wearing Your Yoshi Plushie
Once complete, your Crochet Yoshi Plushie becomes far more than a craft project sitting on a shelf. Display it on a bookcase, prop it on a gaming desk as the most charming companion your keyboard has ever had, or gift it wrapped in tissue paper to someone who grew up racing across Rainbow Road. There is something quietly powerful about handing someone a handmade version of a character they love.
Keeping Your Yoshi Plushie Soft and Fresh
Chenille yarn plushies are best cared for gently, and hand washing in cool water with a mild detergent is the safest approach to keep that velvety texture from matting or losing its loft. Lay your Crochet Yoshi Plushie flat on a clean towel to dry rather than hanging it, which can distort the stuffed shape over time. If any section loses a little of its roundness after washing, simply fluff and reshape it while the yarn is still slightly damp. Store your plushie away from direct sunlight to preserve those beautiful green and white colors for years to come.
Every stitch you place into this project is a small act of care, creativity, and craft, and the finished Crochet Yoshi Plushie is proof that handmade things carry something no mass-produced toy ever could. Pin this article to your Amigurumi board and share your finished Yoshi with the crochet community using the tag @crochetpinkpumpkin so others can find the love too.
Follow us on Pinterest and subscribe to the Newsletter so you don’t miss a thing!
Tutorial and photos of this yoshi plushie by: Crochet Pink Pumpkin.