Today’s guide is all about crafting a Crochet Snowflake, a lacy, intricate little wonder built from airy chain spaces, sculptural bobbles, and fine cotton thread that catches light the way frost catches a winter morning. Pull up a warm drink, settle into your favorite chair, and let’s make something quietly beautiful together.

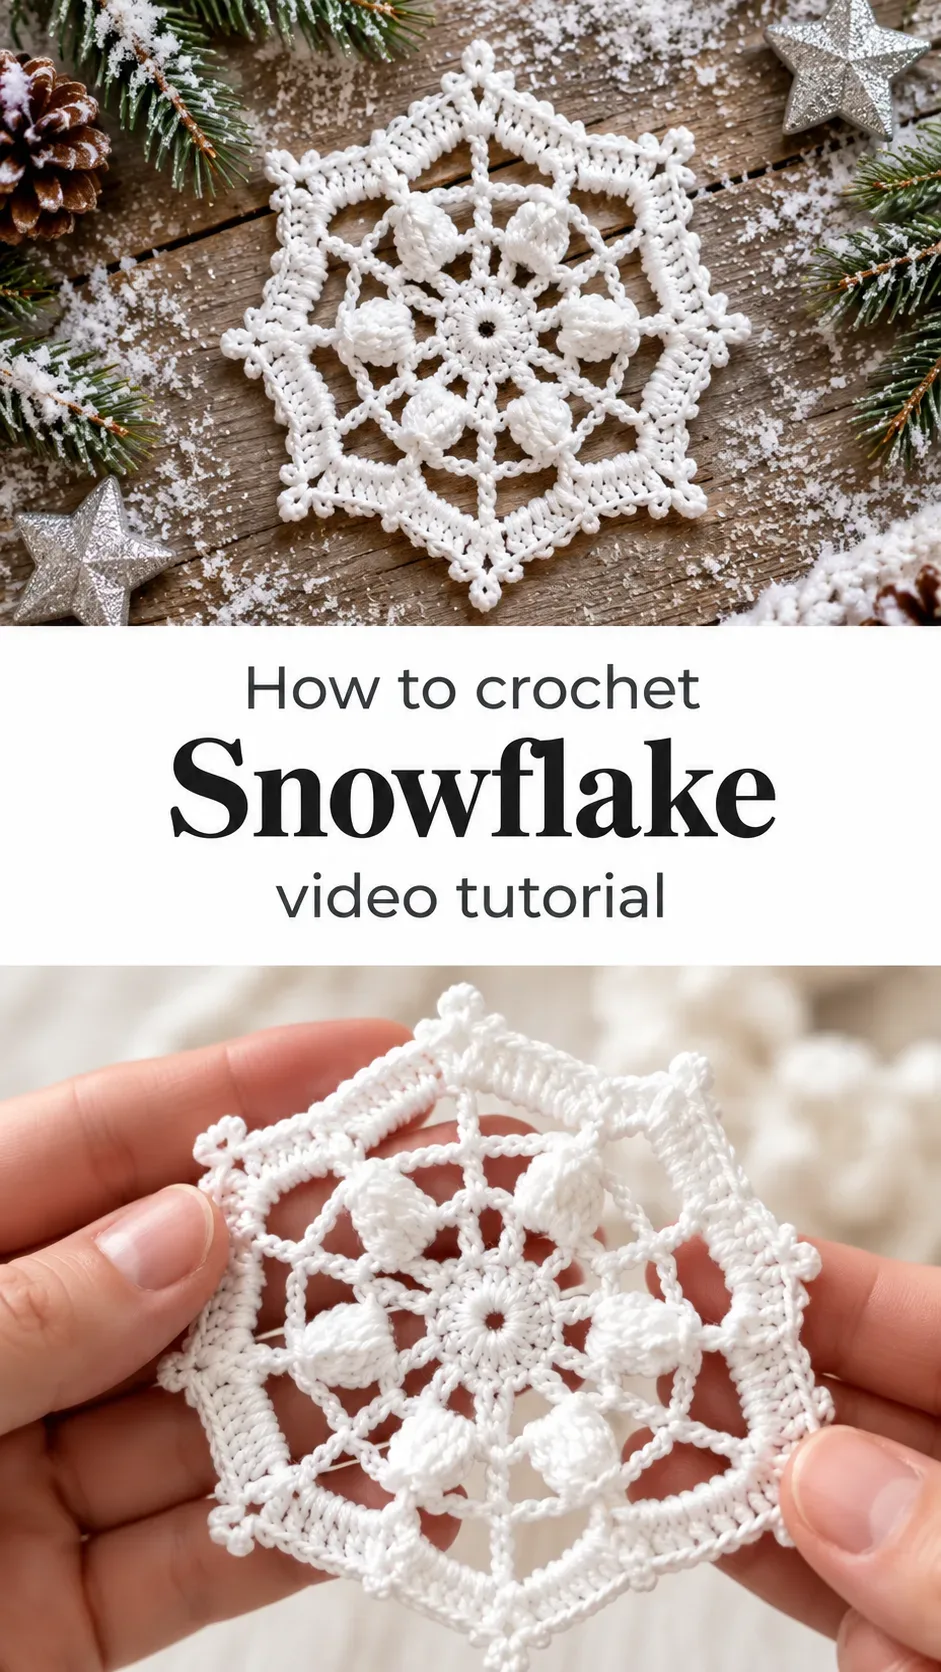
The Snowflake
A Crochet Snowflake carries that particular kind of beauty that feels both fragile and precise, like something nature herself drafted and you simply chose to recreate in thread. Each one is circular at its heart, radiating outward in symmetrical spokes that bloom into pointed tips and delicate picot edging. It is the kind of piece that makes people stop and lean in closer, because it is hard to believe something so intricate came from a single strand of thread and one small hook. Whether you are brand new to lace crochet or simply looking for a project that rewards slow, focused making, this pattern is genuinely for you.
Crochet Snowflake Related Posts:
- Crochet Beaded Door Toran: A Vibrant Festive Accent
- Crochet Santa Claus: A Festive Holiday Amigurumi
- Crochet Christmas Tree Ornaments: A Festive Holiday Treasure
- Crochet Mrs Claus Doll: A Festive Holiday Treasure
White is the obvious and eternally correct choice here, that crisp, clean white cotton that practically glows against a dark windowpane or a kraft paper gift tag. But do not overlook the quiet romance of silver-grey, pale blue, or even the softest blush pink for a snowflake that feels less winter and more eternal. A single Crochet Snowflake worked in ecru thread has the warmth of something vintage, like a keepsake found pressed between the pages of an old book.
Materials and Tools
For this project, you will want to reach for a fingering weight or thread weight cotton yarn, something with a tight, smooth twist that holds stitch definition beautifully and gives the finished snowflake its characteristic crispness. A size 1.5mm to 2mm steel crochet hook is ideal for thread weight cotton, though if you prefer a slightly more relaxed drape and are using a fine fingering weight, a 2.5mm hook works beautifully. Cotton is strongly recommended over acrylic here because it blocks so willingly, and blocking is what transforms a slightly ruffled little circle into a perfect, flat, geometric snowflake. Keep a small pair of embroidery scissors and a blunt tapestry needle nearby for weaving in your ends with care.
Stitch by Stitch
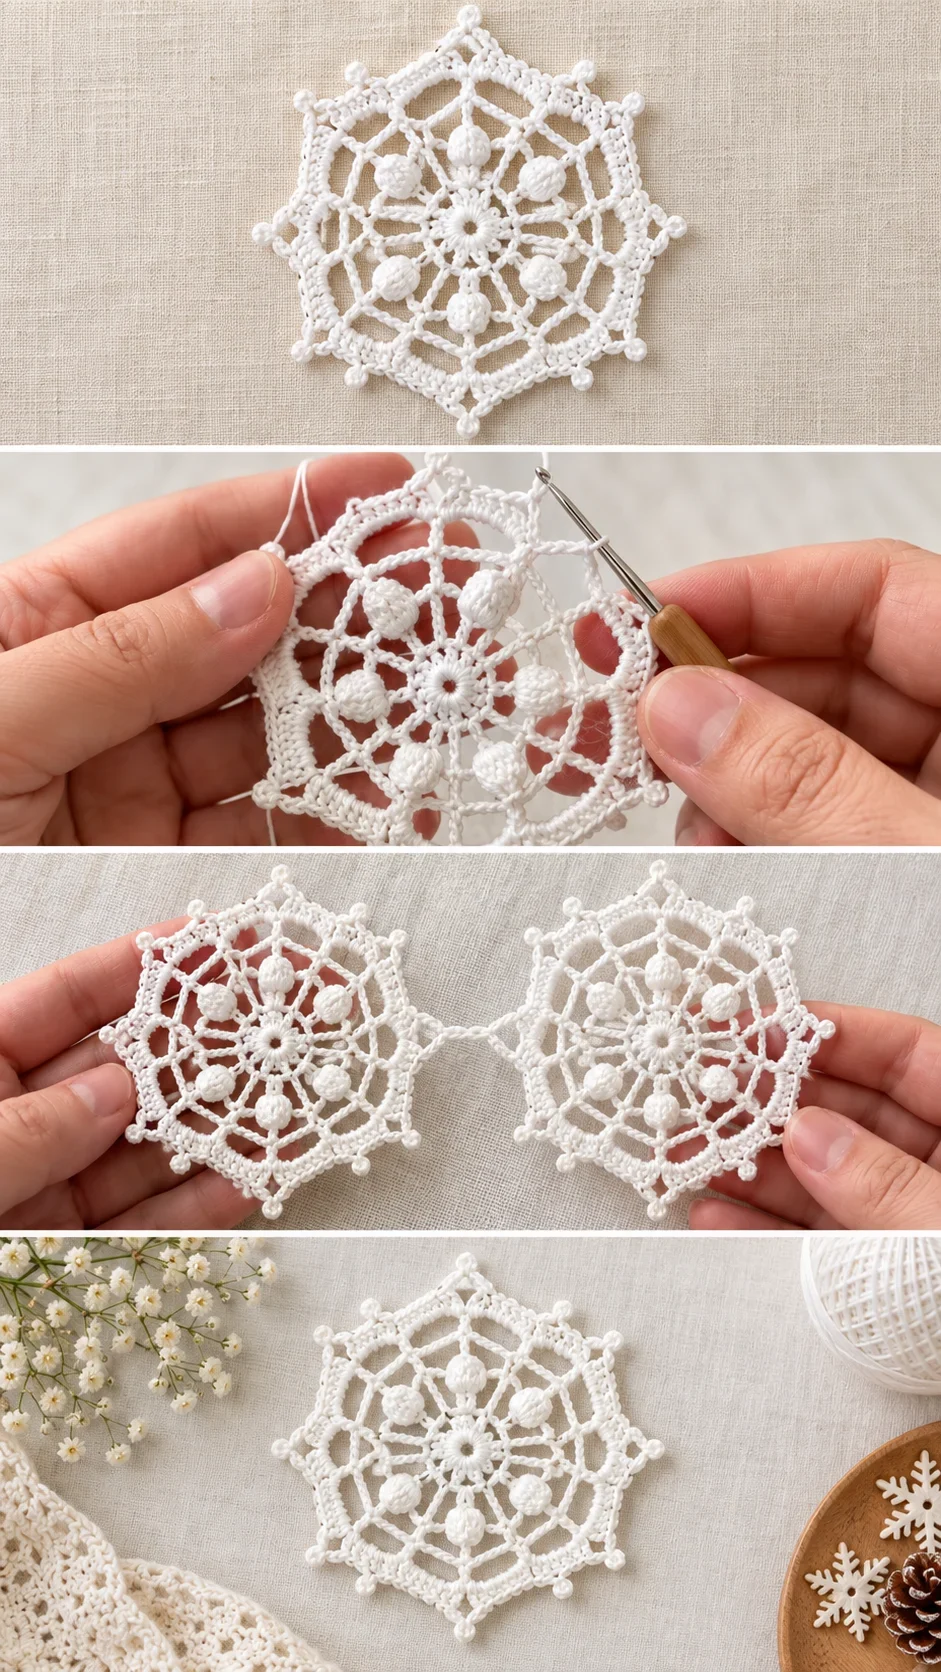
The Crochet Snowflake draws on a small but satisfying collection of stitches, each one contributing a different texture and structure to the finished piece.
BULLET:CH (Chain) The foundational stitch that creates the open mesh spaces and spoke-like lines radiating from the center outward.
BULLET:SC (Single Crochet) Used to anchor chain spaces and join sections cleanly, keeping the structure tight and controlled at key points.
BULLET:DC (Double Crochet) The workhorse of the snowflake’s mid-section, building height and creating the open, airy rings that frame the center motif.
BULLET:Bobble Stitch A cluster of partially worked DC stitches drawn together at the top, creating those raised, three-dimensional petal or bead shapes that give the snowflake its sculptural quality.
BULLET:Picot A tiny decorative loop formed from chain stitches joined back on themselves, adding the fine, pointed edging that finishes each snowflake tip.
There is something genuinely meditative about working lace in the round, because each round builds so naturally on the last that your hands begin to anticipate what comes next before your eyes have even read ahead.
Construction
The Crochet Snowflake is worked entirely in the round, beginning with a small magic ring or a tight chain loop at the center and expanding outward round by round in an organic, radial structure. The early rounds establish the core wheel shape using DC clusters and chain spaces, while the later rounds introduce the bobble details and the pointed spoke extensions that give each snowflake its distinctive silhouette. Because you are always working outward from a central point, there are no seams to sew and no pieces to assemble, which makes this a wonderfully self-contained and satisfying project. If you want to personalise your snowflake, try adding an extra round of picots along the outer edge or working a slightly longer chain between the spoke tips for a lacier, more elongated finish.
Wearing Your Snowflake
A finished Crochet Snowflake is almost too versatile, because it works equally well stitched onto a winter coat lapel as a delicate brooch, tied onto a gift as a reusable ribbon alternative, or hung from a satin ribbon as a tree ornament that will outlast any tinsel. String several together with a length of fine ribbon or yarn and you have a garland that transforms a mantelpiece or window frame with almost no effort. The moment you finish and block your first one, you will already be planning the next.
Blocking and Storing Your Crochet Snowflake
Blocking is not optional with a lace Crochet Snowflake, it is the step that makes everything click into place. Wet your finished snowflake thoroughly in cool water, gently squeeze out the excess without wringing, and then pin it out to its full dimensions on a foam blocking mat, stretching each point carefully and pinning the picots into their delicate positions. Allow it to dry completely, which may take a full day depending on the thickness of your thread, and resist the urge to rush this part because the result is worth every hour of waiting. Once dry, store your snowflakes flat between sheets of tissue paper in a box away from direct sunlight to preserve both their shape and the brilliance of the white cotton.
Every Crochet Snowflake you make is a small act of patience and intention, a quiet thing that carries the particular satisfaction of slow, deliberate handcraft. If you make yours, please share a photo on Pinterest or Instagram and tag it so the whole community can celebrate what your hands have made.
Follow us on Pinterest and subscribe to the Newsletter so you don’t miss a thing!
Tutorial and photos of this snowflake by: Crochet Knitting Therapy .