
A free video tutorial is available for this Crochet Ribbed Hat, and the way the ribbing creates that deeply sculpted, almost architectural texture is genuinely breathtaking!

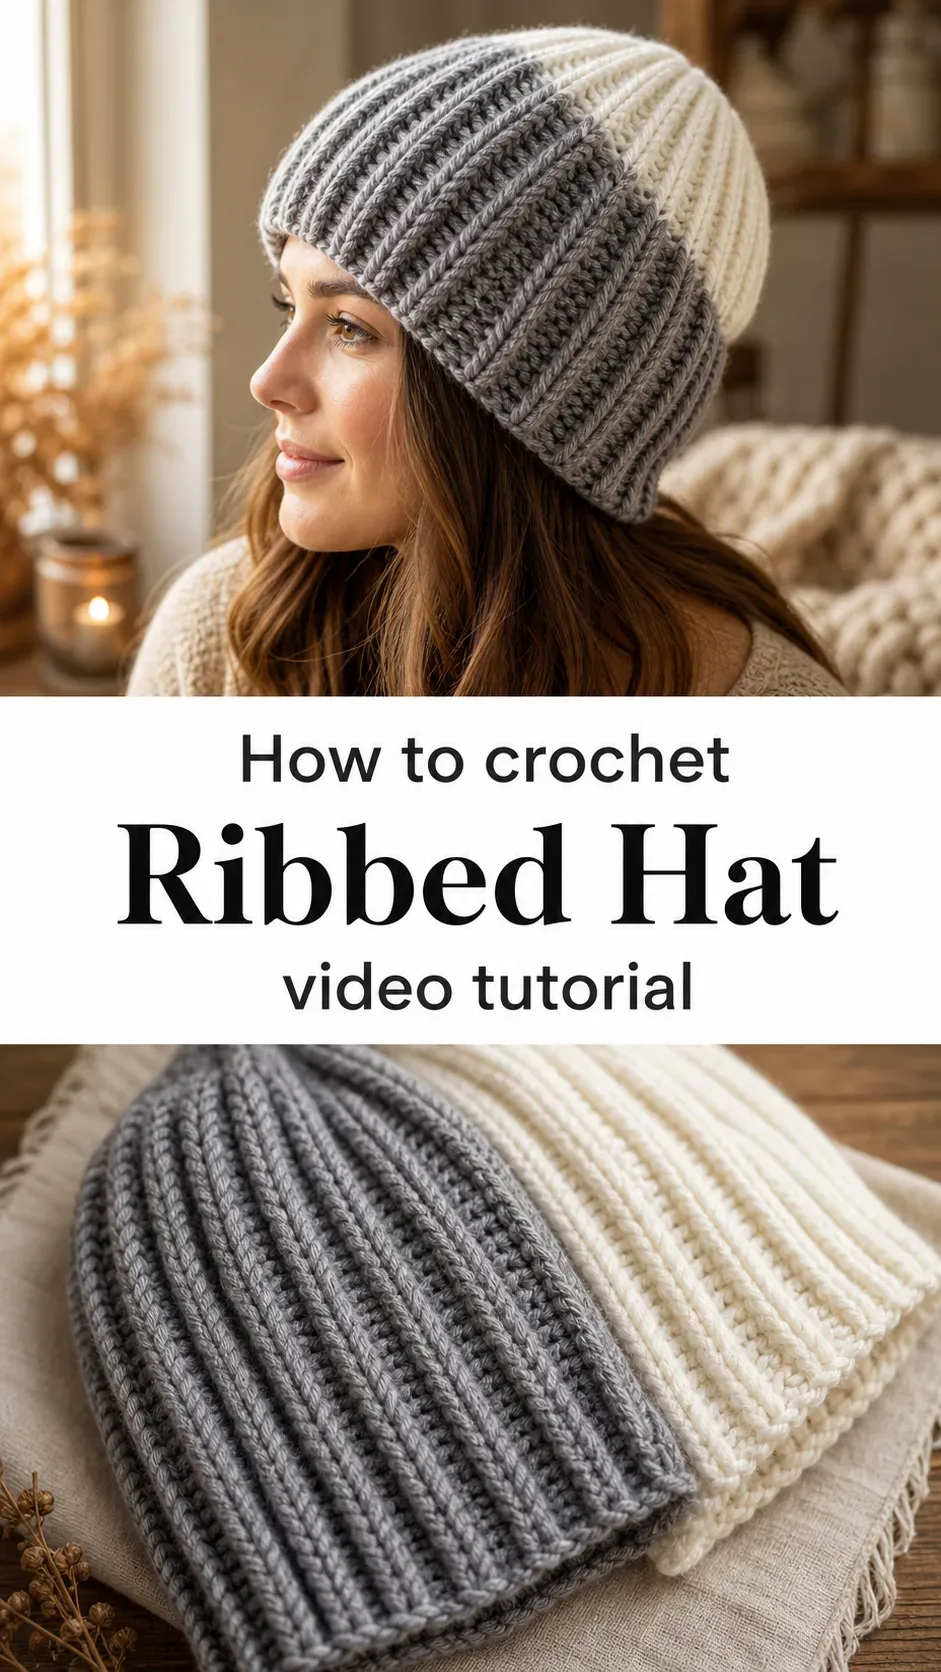
The Ribbed Hat
A Crochet Ribbed Hat carries something quietly powerful in its structure, those neat vertical columns of stitches pulling inward and outward like slow, even breathing. It is the kind of accessory that looks considered without being fussy, warm without being bulky, airy yet structured in a way that makes even the simplest outfit feel intentional. This hat suits the person who reaches for handmade things not out of necessity but out of love, the crafter who wants their work to be worn, not just admired. Whether you are a beginner finding your rhythm or an intermediate maker looking for a satisfying weekend project, this one will meet you exactly where you are.
Ribbed Hat Related Posts:
- Crochet Twisted Headband: A Quick and Stylish Accessory
- Crochet Textured Scarf: A Beautiful Winter Essential
- Crochet Hooded Scarf: A Warm and Versatile Accessory
- Crochet Floral Headband: A Sweet and Charming Accent
In grey and cream, as shown in the reference images, the Crochet Ribbed Hat feels like a cold morning and a warm drink at the same time. The two-tone palette is timeless, but imagine this same silhouette in deep forest green, dusty mauve, or a rich oatmeal flecked with natural fibers. It pairs effortlessly with an oversized coat, a chunky knit scarf, or even a casual denim jacket on those in-between autumn days.
Materials and Tools
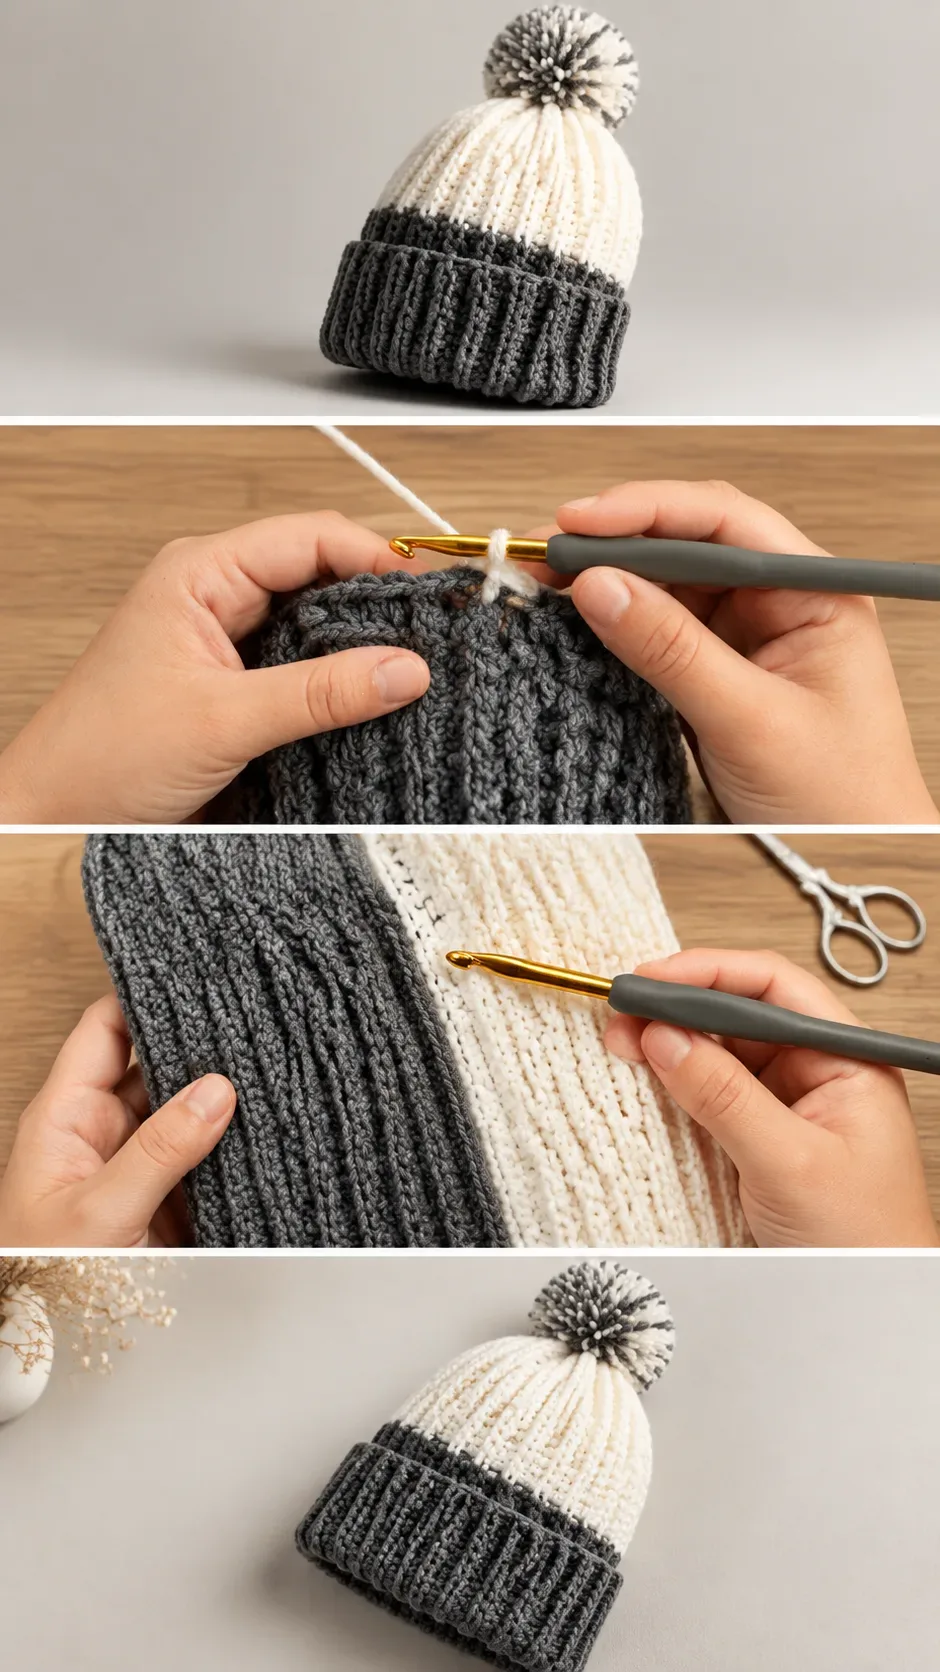
For this Crochet Ribbed Hat, you will want to reach for a bulky weight yarn, something with a soft merino or wool blend that has enough memory to hold those crisp ribs beautifully. A 6.00mm crochet hook, as marked on the hook visible in the tutorial, is the size used here and gives the fabric that dense yet flexible feel. If you want something even cozier against the skin, look for a yarn with at least 20% merino or alpaca content, which will bloom gently after blocking and soften the ribbed texture further. A pair of small scissors and a yarn needle for weaving in ends are all the additional tools you need to complete this project cleanly.
Stitch by Stitch
The Crochet Ribbed Hat relies on a small, elegant vocabulary of stitches that work together to build that unmistakable ridged fabric.
BULLET:SC (Single Crochet) The foundational stitch used to establish structure and maintain tight, clean edges throughout the hat.
BULLET:BLO (Back Loop Only) Working into the back loop only is what creates the raised ribbing effect, giving the hat its characteristic ridged surface.
BULLET:DC (Double Crochet) Used in the body of the hat to add height and a slightly more open, textured quality to the fabric.
BULLET:SL ST (Slip Stitch) The joining stitch that connects rounds seamlessly and helps the hat maintain its circular, even shape.
There is a meditative rhythm to working ribbed rows, each stitch a small, satisfying click into place, and after just a few rounds you will find yourself moving through the pattern almost without thinking, the hook and yarn finding their own quiet agreement.
Construction
The hat is worked in the round from the brim upward, which means the ribbed band is established first before the body grows naturally above it. This construction method keeps the shaping intuitive and the transitions between colors clean and deliberate, as you can see in the two-tone finish of the finished hat. The pom-pom at the crown is optional but adds a playful, handcrafted touch that makes the finished piece feel generous and full. If you want to adjust the fit, simply add or subtract a few stitches in your starting chain to customize the circumference for different head sizes.
Wearing Your Ribbed Hat
Pull this hat down low over your ears on a grey morning commute and tuck it over a loose braid for an effortlessly put-together look. It works equally well with a long camel coat and a tote bag as it does with a puffer jacket and trail boots, which is the quiet magic of a well-made ribbed hat. Finish your Crochet Ribbed Hat and you will find yourself reaching for it on repeat from the first cool September day straight through to March.
Washing and Storing Your Ribbed Hat
If your yarn is a wool or wool-blend, hand wash your Crochet Ribbed Hat in cool water with a gentle wool wash, pressing the water through without wringing or agitating the fabric. Lay it flat on a clean towel and gently reshape the brim and body while it is still damp, which will help the ribs spring back to their full, defined depth. Once dry, store the hat loosely folded or placed over a rounded form to help it hold its shape between wears. Avoid hanging it, as the weight of a wet or even slightly damp hat can stretch the crown stitches over time.
Every hat you finish is a small act of care, for your hands, for your craft, and for whoever is lucky enough to wear it. Save this to your Pinterest boards and share your finished Crochet Ribbed Hat using the hashtag so the whole community can see your beautiful work.
Follow us on Pinterest and subscribe to the Newsletter so you don’t miss a thing!
Tutorial and photos of this ribbed hat by: Realza Crochet.