
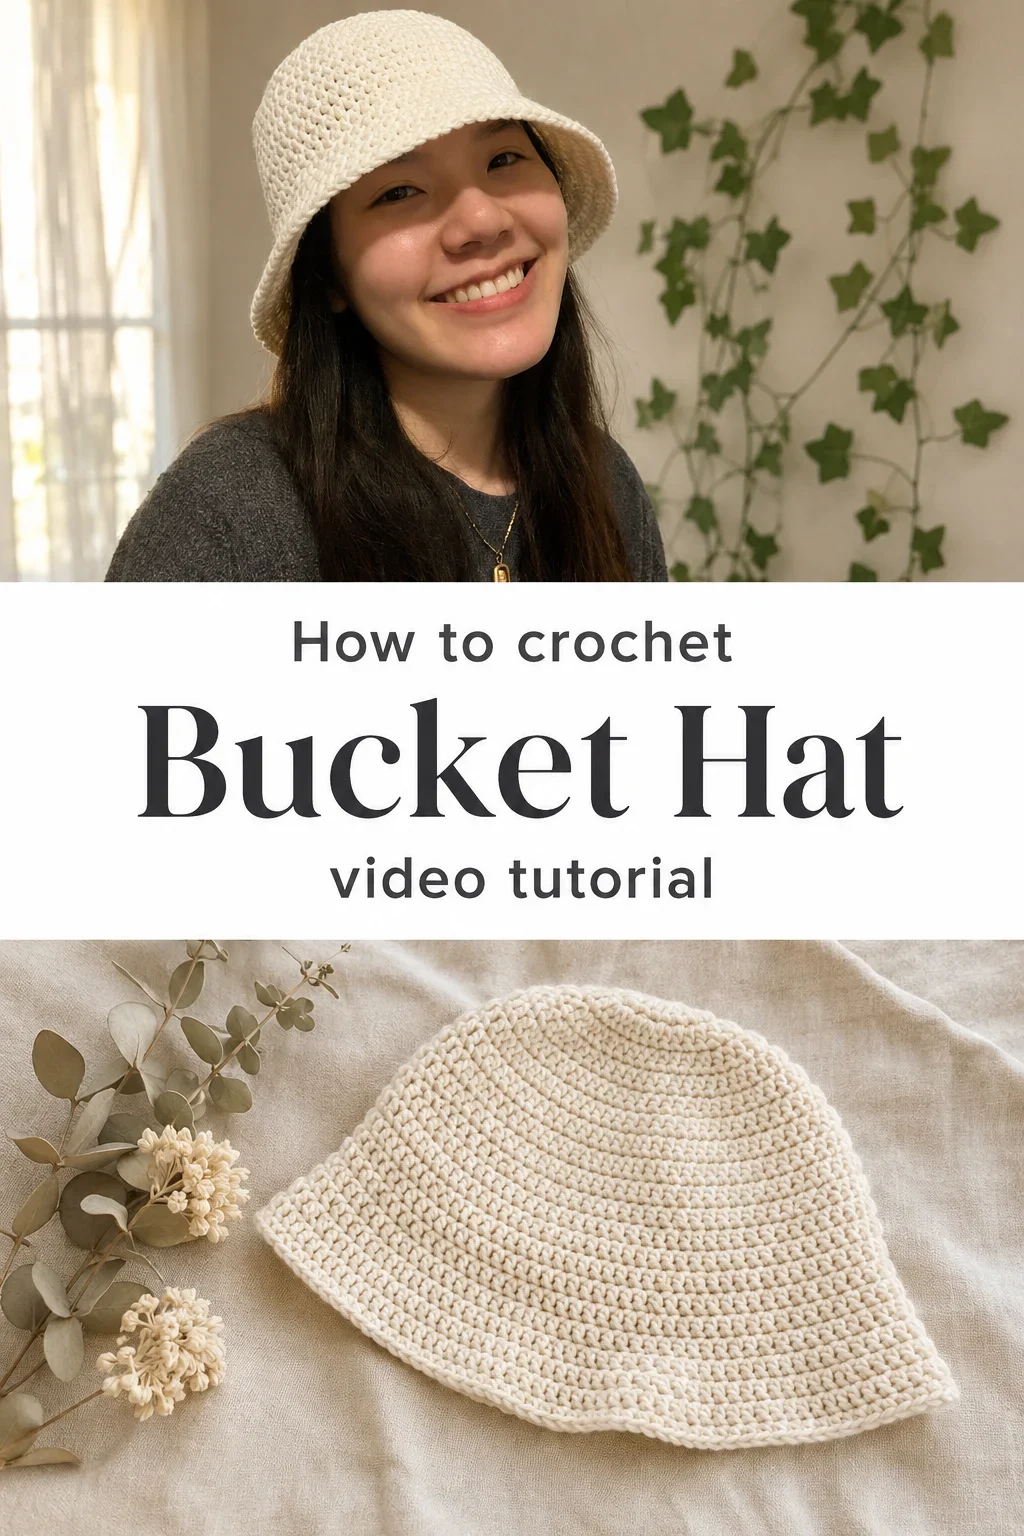
I am so excited to share this Crochet Bucket Hat tutorial with you, because it genuinely stopped me mid-scroll the moment I saw it. The way the single crochet stitches build into that firm, rounded crown with the soft, wide brim is somehow both structured and effortlessly wearable.

The Bucket Hat
The Crochet Bucket Hat carries that rare quality of feeling both nostalgic and completely current, like something you might find tucked in a vintage shop but worn with the confidence of today. It sits with an airy yet structured silhouette on the head, the brim curving out in a gentle sweep that catches light and frames the face softly. This is a piece for the crafter who wants their handmade work to be seen and worn, not folded away. It suits everyone from teenagers to adults, and that is part of its quiet, enduring charm.
Bucket Hat Related Posts:
- Crochet Luxury Flap Bag: A Chic Timeless Accessory
- Crochet Bear Beanie: A Playful and Adorable Accessory
- Crochet Phone Crossbody Bag: A Chic Modern Accessory
- Crochet Market Tote: A Chic and Timeless Carry-All
In creamy off-white cotton it reads as clean and effortless, but imagine it worked up in warm terracotta, sage green, or a deep dusty rose and it becomes something entirely personal. The Crochet Bucket Hat pairs beautifully with a linen dress in summer, a chunky knit in autumn, or simply your favourite oversized tee. It is the kind of accessory that makes an outfit feel considered without trying too hard.
Materials and Tools
For the best results, you will want to reach for a worsted weight cotton yarn, which gives the hat its satisfying body and helps the brim hold its shape without stiffening uncomfortably. The video tutorial uses a soft, smooth cotton in off-white, and that fiber choice is wise because cotton breathes beautifully and wears well across seasons. A 5mm crochet hook is the sweet spot for this weight, giving you a fabric that is firm enough to hold structure but not so dense that it loses its gentle drape. Keep a stitch marker nearby to track your rounds, and a tapestry needle to weave in your ends cleanly once you finish.
Stitch by Stitch
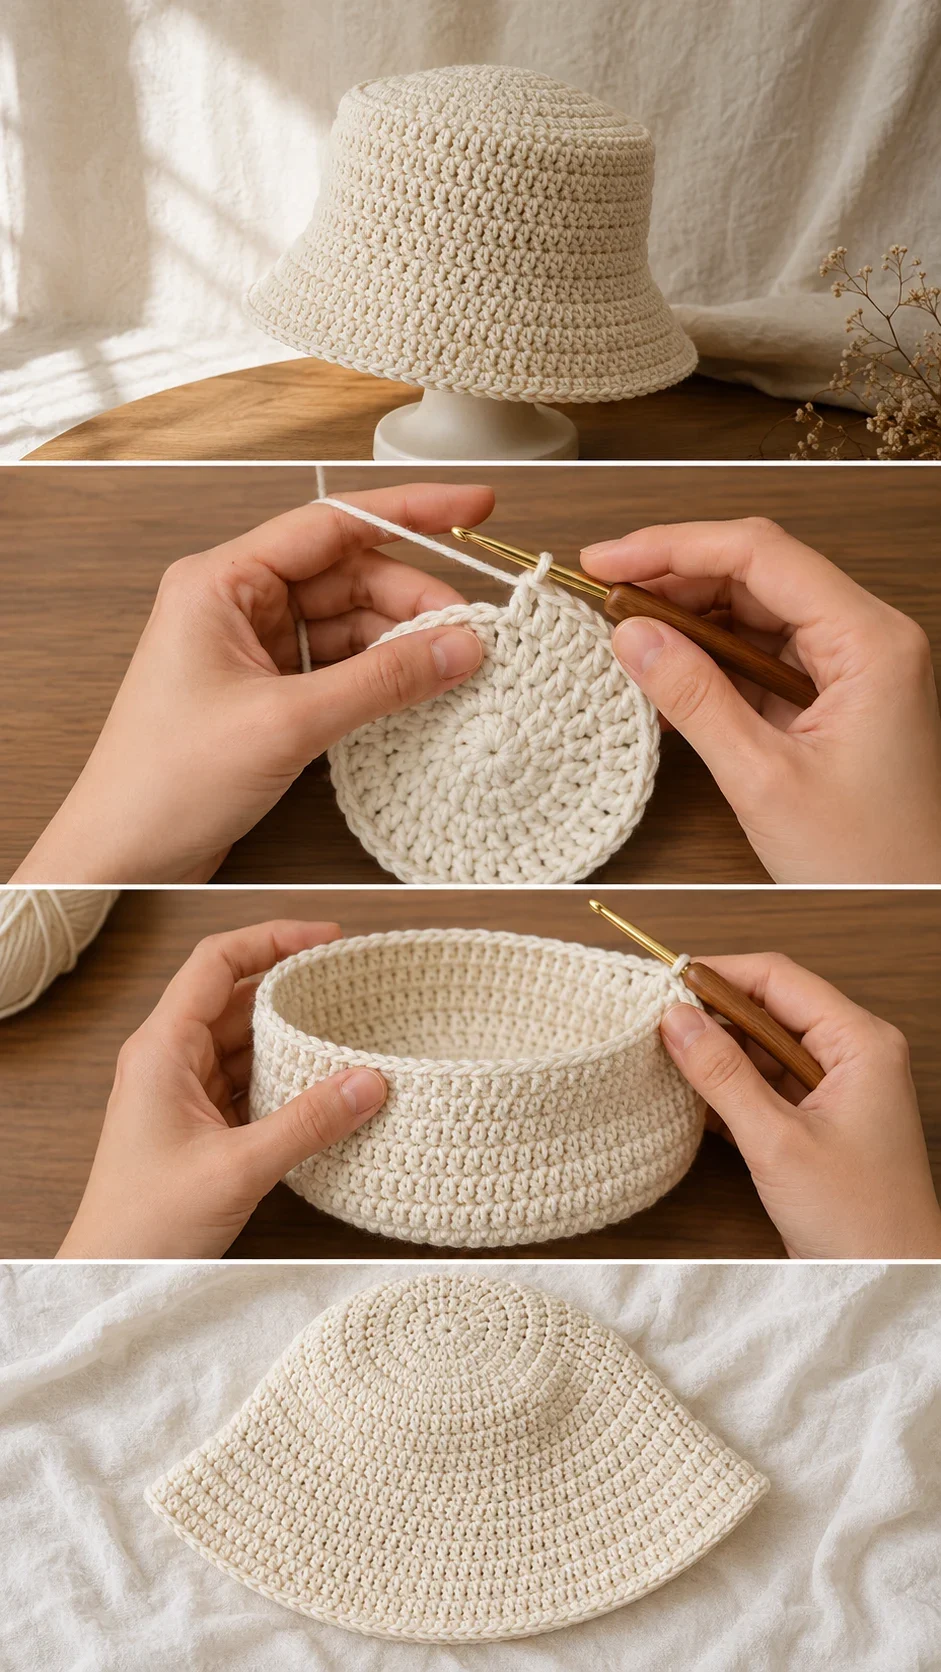
This Crochet Bucket Hat relies on a small and approachable collection of stitches that work together to build something beautifully cohesive.
BULLET:SC (Single Crochet) The workhorse of this pattern, used throughout the crown and body to create a tight, even, and durable fabric that holds its rounded shape naturally.
BULLET:DC (Double Crochet) Introduced in the brim section to open the fabric slightly and allow the hat’s edge to flare out with that characteristic soft, wide sweep.
BULLET:SC2tog (Single Crochet Two Together) A simple decrease stitch used to shape the crown, pulling two stitches together to bring the top of the hat into its smooth, domed finish.
BULLET:Slip Stitch Used at the end of certain rounds to join cleanly, keeping the transitions between sections nearly invisible in the finished piece.
Working in the round with SC has a meditative rhythm to it, the hook entering each stitch in a steady, unhurried loop that lets your hands find their pace while your mind settles. It is the kind of making that feels as good as the finished object looks.
Construction
The Crochet Bucket Hat is worked entirely in the round, beginning at the top of the crown with a magic ring and building outward and downward in continuous spirals. The crown is shaped through evenly spaced increases that expand the flat circle into a dome, and once the desired width is reached, the sides are worked straight downward to form the body of the hat. The brim is then added by increasing outward again with DC stitches, creating that signature wide, floppy edge. If you want a deeper crown or a wider brim, the video tutorial makes it simple to add or subtract rounds to customise the fit to your own head measurement.
Wearing Your Bucket Hat
Wear your finished Crochet Bucket Hat pulled low over loose waves at the beach, or tilted back slightly over a neat bun for an afternoon at a farmers market. It looks equally at home with a floral sundress and sandals as it does with denim shorts and a simple white tee. Finishing this project means you will have something handmade and truly yours to reach for every single morning.
Keeping Your Bucket Hat Looking Its Best
Cotton yarn responds beautifully to a gentle hand wash in cool water with a mild soap, and this is the kindest way to clean your Crochet Bucket Hat after wear. Once washed, reshape the brim while the hat is still damp by placing it over a bowl or balloon that approximates your head size, and allow it to air dry fully before wearing or storing. Blocking your hat this way after each wash will keep the brim lying flat and the crown holding its shape wash after wash. Store it away from direct sunlight to preserve the brightness of the yarn color over time.
Handmaking something you will actually wear is one of the most grounding and quietly radical things a person can do, and this Crochet Bucket Hat is proof that beautiful accessories do not need to come from a store shelf. Pin this article to your crochet accessories board and share your finished hat on Instagram so the community can celebrate what your hands made.
Follow us on Pinterest and subscribe to the Newsletter so you don’t miss a thing!
Tutorial and photos of this bucket hat by: VivCrochets.