
Crochet Giant 3D Roses are built from spiraling layers of petals that coil outward from a tight center, each row blooming fuller than the last, sitting against a bed of deeply ribbed green leaves. This pattern unlocks decorative wall pieces, heirloom cushion embellishments, wearable brooches, framed fiber art, gift toppers, and bold appliqués for bags or home textiles.

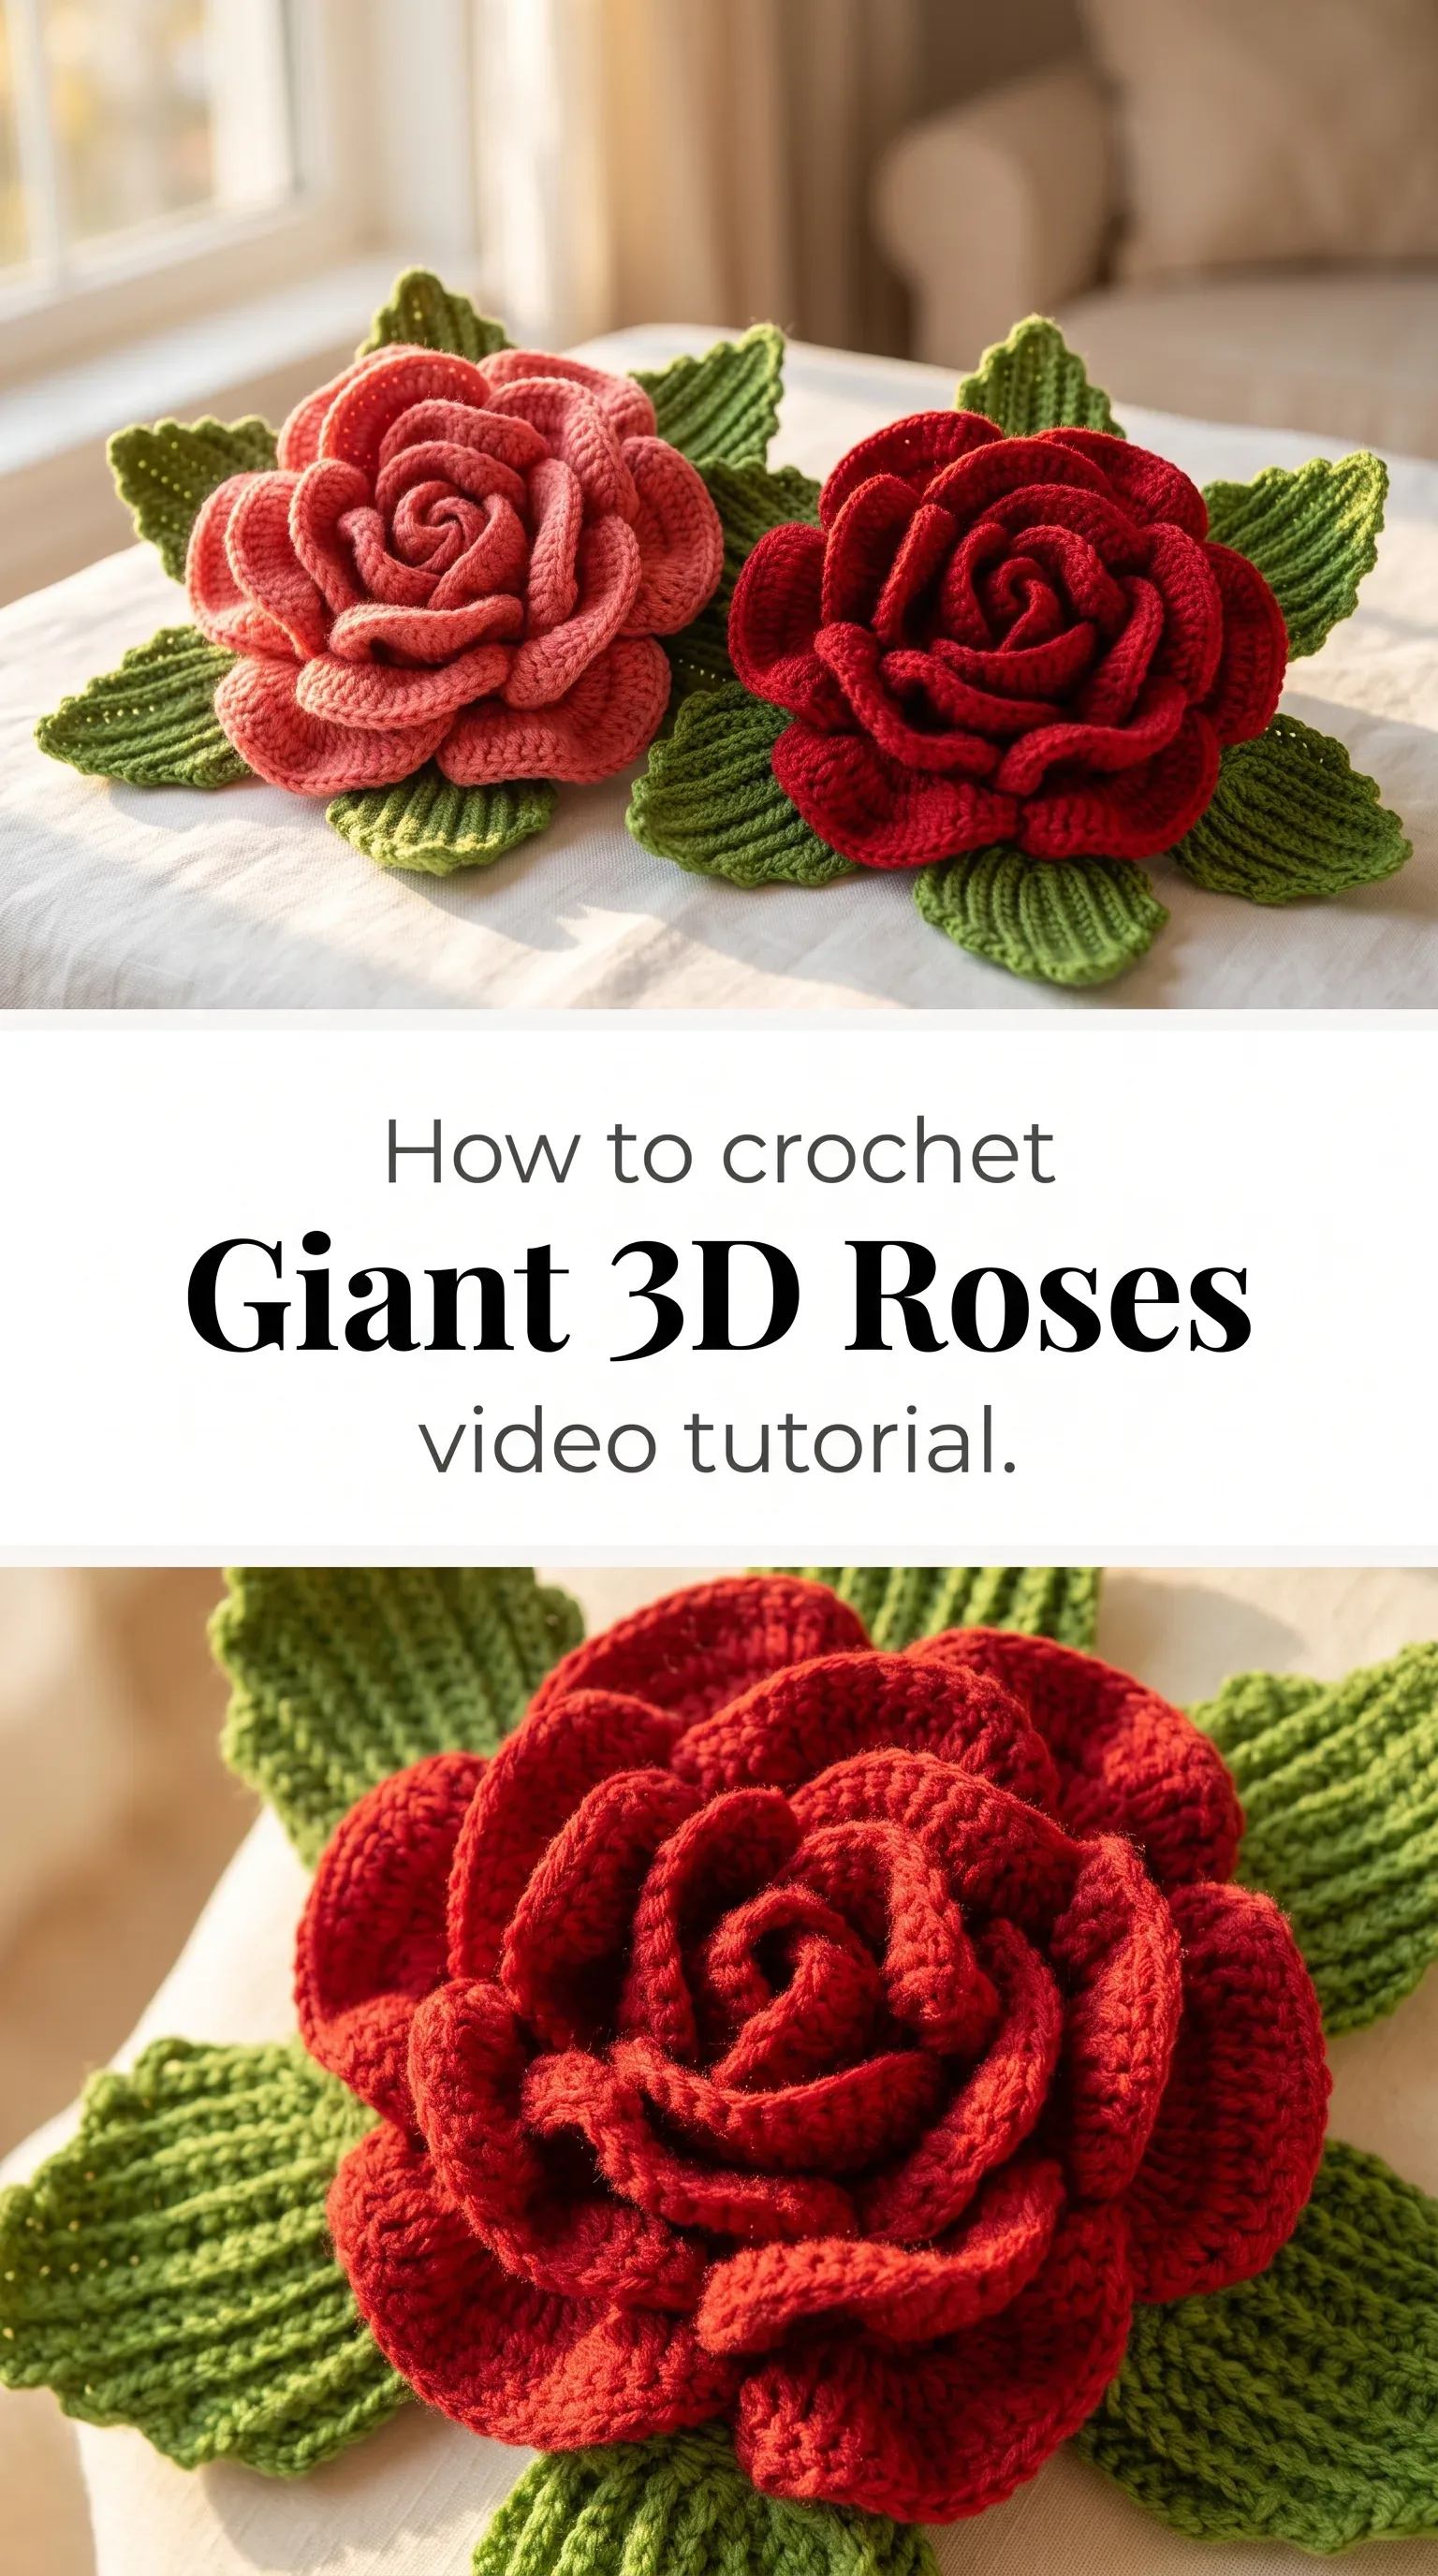
The Giant 3D Roses
Crochet Giant 3D Roses carry the kind of presence that makes people stop mid-conversation and reach out to touch them. Each rose is sculpted rather than flat, with petal layers that overlap and curve naturally, catching light the way a garden rose does just before it opens fully. They are made for the crafter who wants their handmade work to feel like an heirloom rather than a hobby. Whether you hang them on a wreath, attach them to a knitted bag, or frame them behind glass, they command the room quietly and completely.
3D Roses Related Posts:
- Crochet Flower Motif: A Delicate Lace Masterpiece
- Crochet Suzette Stitch: A Textured and Timeless Technique
- Crochet Granny Square: A Lovely Timeless Classic
- Crochet Lace Doily: A Timeless Table Accent
The two roses shown in this tutorial, one in a warm coral pink and one in a deep true red, demonstrate how dramatically color shifts the mood of the finished piece. A dusty rose or cream would lean vintage and soft, while burgundy or burnt orange would feel rich and autumnal. You could make a small collection in a single gradient colorway and arrange them together for a maximalist wall display that feels entirely cohesive.
Materials and Tools
To make Crochet Giant 3D Roses with this kind of sculptural body and clean petal definition, you will want to work with a worsted weight yarn, ideally a smooth cotton-acrylic blend or a tightly spun pure cotton that holds its shape without flattening under its own weight. A 4mm crochet hook gives the petals enough tension to curl and hold their three-dimensional form without becoming stiff or difficult to manipulate. For the leaves, the same worsted weight yarn in a medium green works beautifully, and the ribbed texture of the leaves is best achieved with a yarn that has minimal halo so the stitch definition reads clearly. Keep a tapestry needle nearby for weaving in ends and assembling the rose layers once each section is complete.
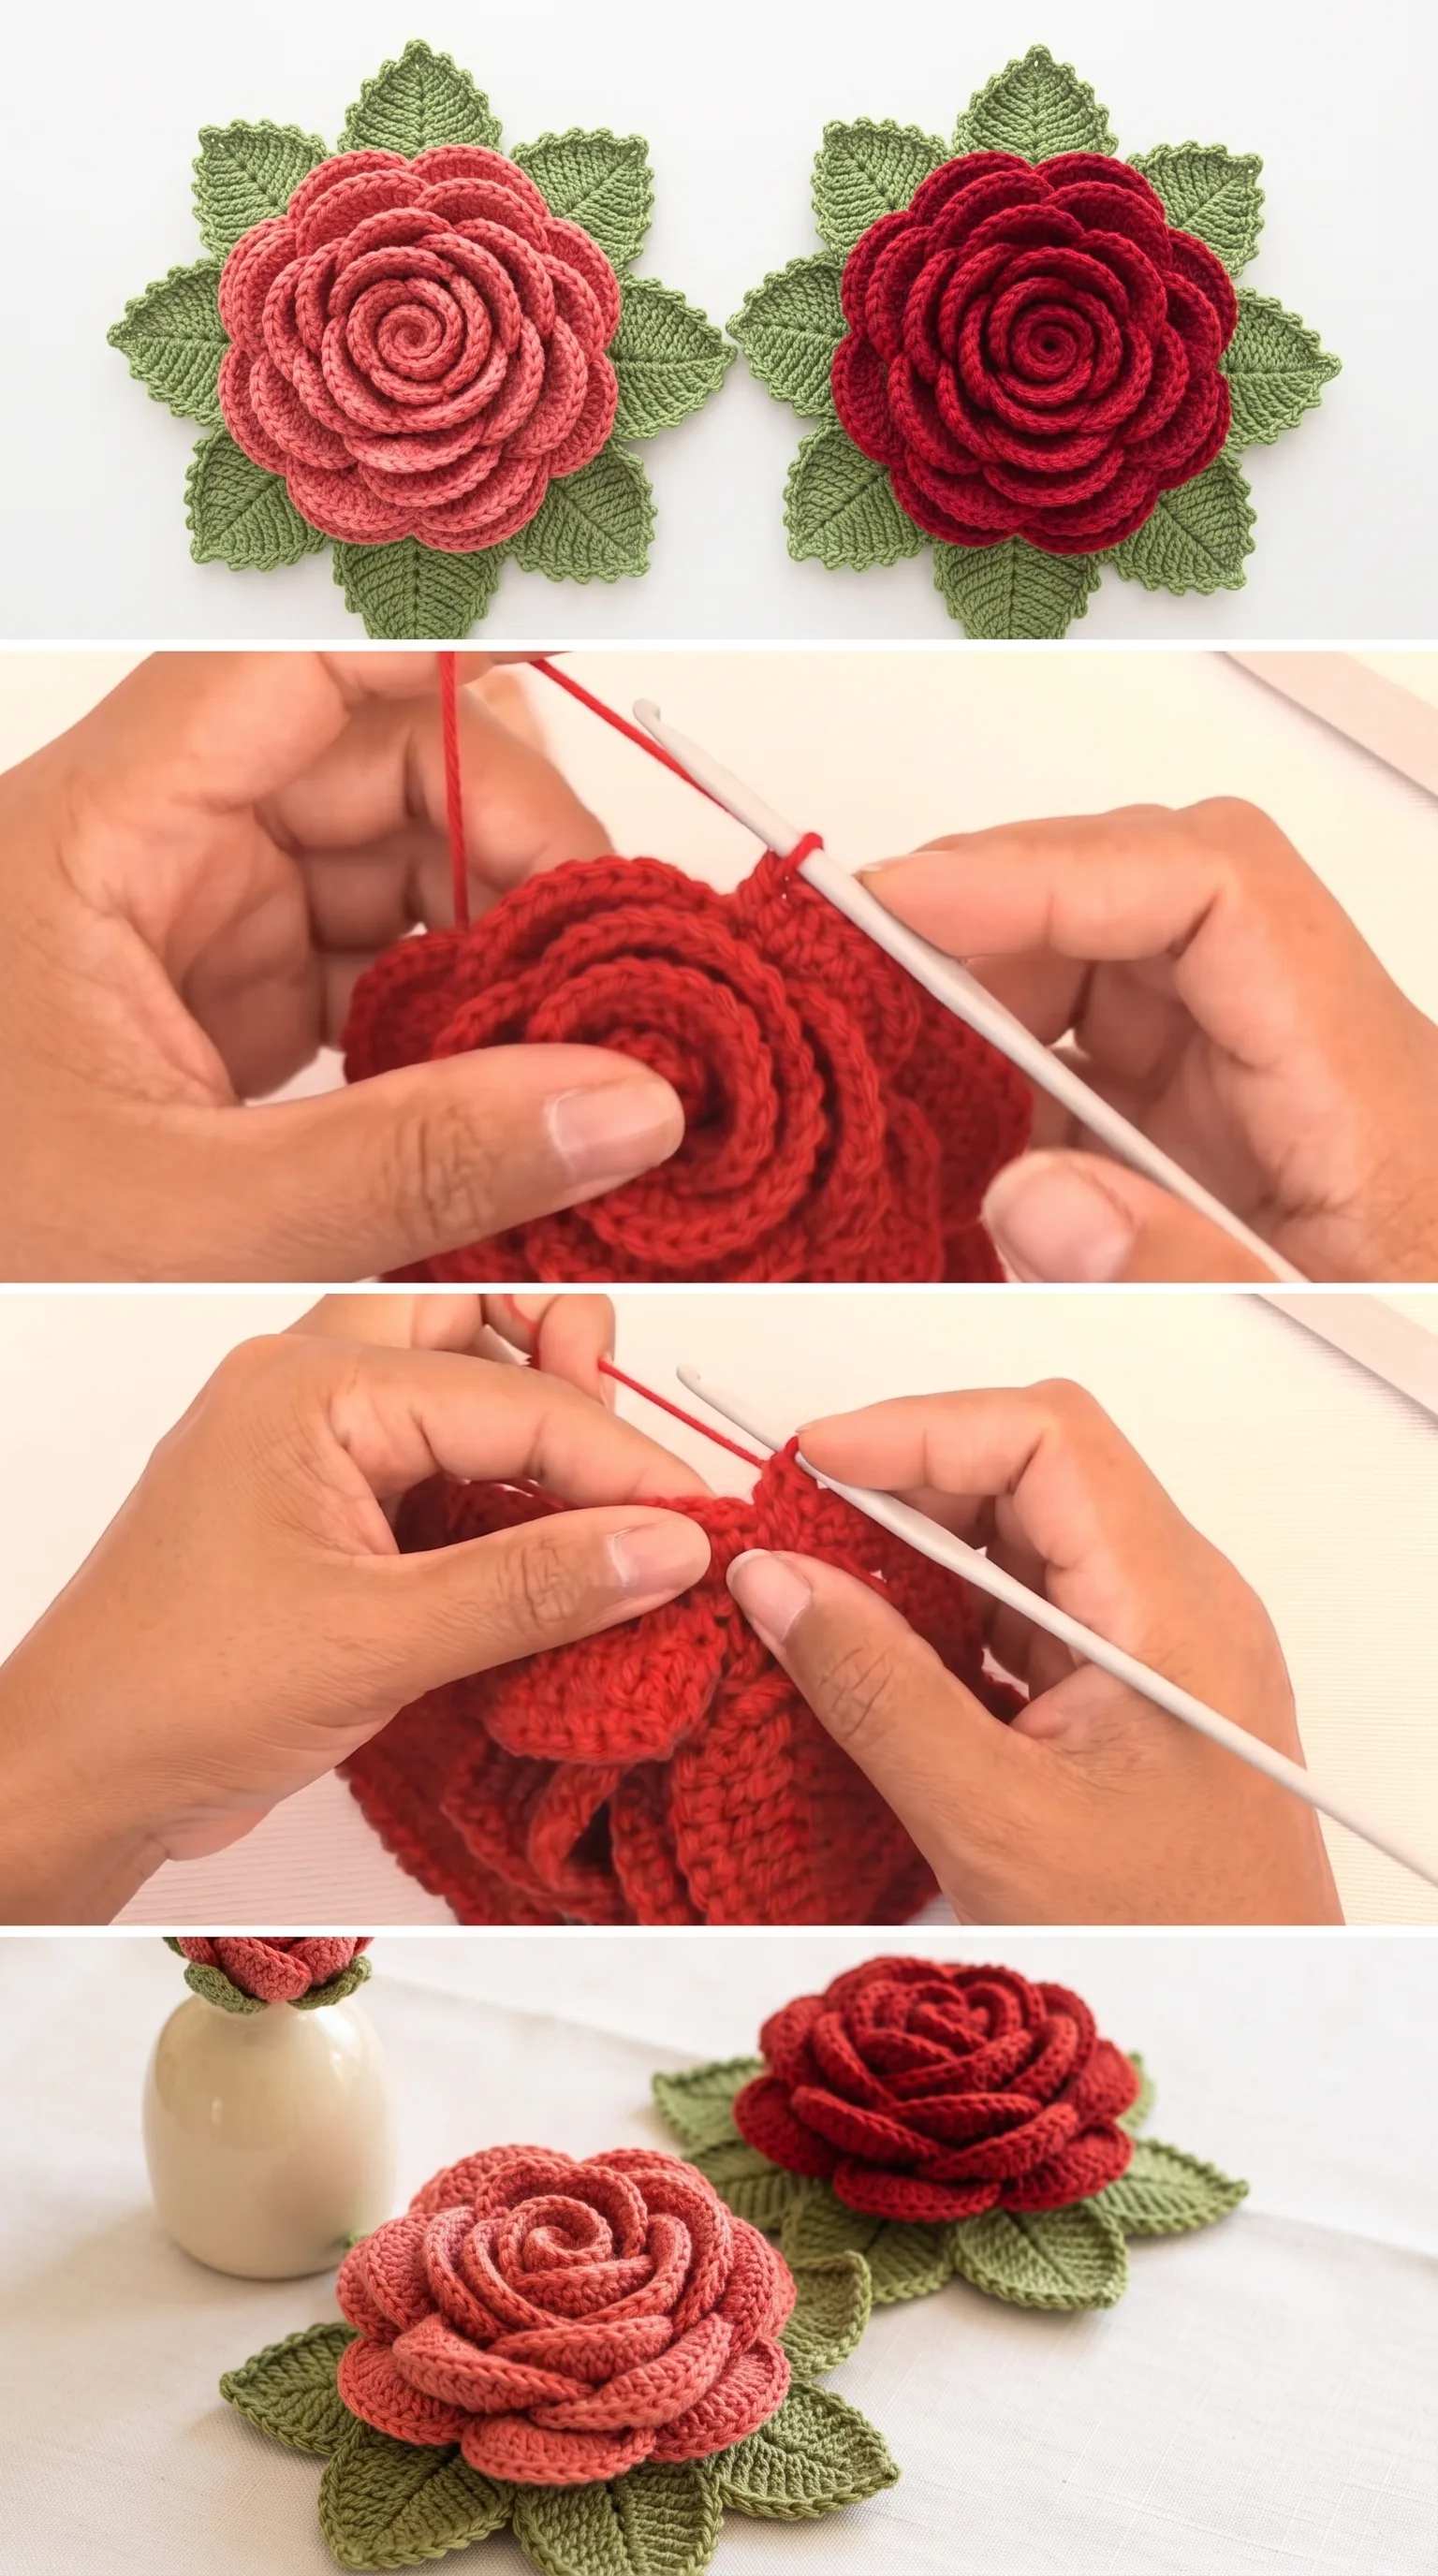
Stitch by Stitch
These roses draw on a focused set of crochet stitches that you will use with increasing confidence as the petals grow outward.
BULLET:SC (single crochet) The foundational stitch used to establish the center ring and early petal rows, creating a firm and tidy base.
BULLET:DC (double crochet) The primary stitch for building petal height and volume, worked in multiples to create the characteristic curved petal shape.
BULLET:YO (yarn over) Used throughout the double crochet construction to add loft and the slight forward lean that gives each petal its natural cupped appearance.
BULLET:SL ST (slip stitch) Used to join rounds cleanly and to anchor each petal layer to the foundation without adding unwanted bulk.
Working through these stitches in the round has a genuinely meditative rhythm to it, the hook moving in a steady arc, each petal forming like a small promise kept, round after round.
Construction
The rose is worked in separate spiral rounds, beginning from a magic ring at the center and expanding outward, with each successive round of petals worked into the foundation rows beneath rather than along the top edge, which is what creates that layered, three-dimensional effect. The leaves are crocheted independently using a ribbed technique that gives them their distinctive texture, and they are assembled beneath the finished rose as a base. For beginners, the video tutorial walks through each stage in real time so nothing is assumed, and the construction is more forgiving than it looks because small variations in tension simply add to the organic, handmade character of each bloom. If you want a larger rose, simply go up to a 5mm hook with a bulky weight yarn and the proportions will scale beautifully.
Wearing Your Giant 3D Roses
Pin a finished rose to a wide-brimmed straw hat for a summer market look that feels entirely your own, or attach one to the front of a solid-color tote bag for an accessory that outshines anything mass-produced. Crochet Giant 3D Roses also make deeply personal gifts when mounted on a small canvas and framed, the kind of thing that lives on a wall for decades. Finishing one will make you want to begin the next immediately.
Keeping Your Roses Looking Their Best
Because Crochet Giant 3D Roses are sculptural, they benefit from light blocking after completion to help the petals settle into their final curves. Hand wash gently in cool water with a small amount of wool wash or delicate detergent, then press lightly between two towels and reshape each petal by hand before laying flat to dry. Avoid hanging them while wet as the weight of the water can pull the center out of shape. Once dry, store them loosely in a breathable cotton bag rather than a sealed box so the fibers can rest without compression flattening the petal layers.
Every rose you make carries the particular quality of the hour you made it in, and that is something no machine can replicate. Follow the full video tutorial linked with this post, then share your finished Crochet Giant 3D Roses on Pinterest and tag your creation so the whole community can admire what your hands made.
Follow us on Pinterest and subscribe to the Newsletter so you don’t miss a thing!
Tutorial and photos of this giant 3d roses by: tallermanualperu.