
The Crochet Ribbed Beanie is your answer to cold mornings and the search for that one hat that goes with everything. This article walks you through materials, stitches, and the simple construction that makes this beanie so rewarding to create.
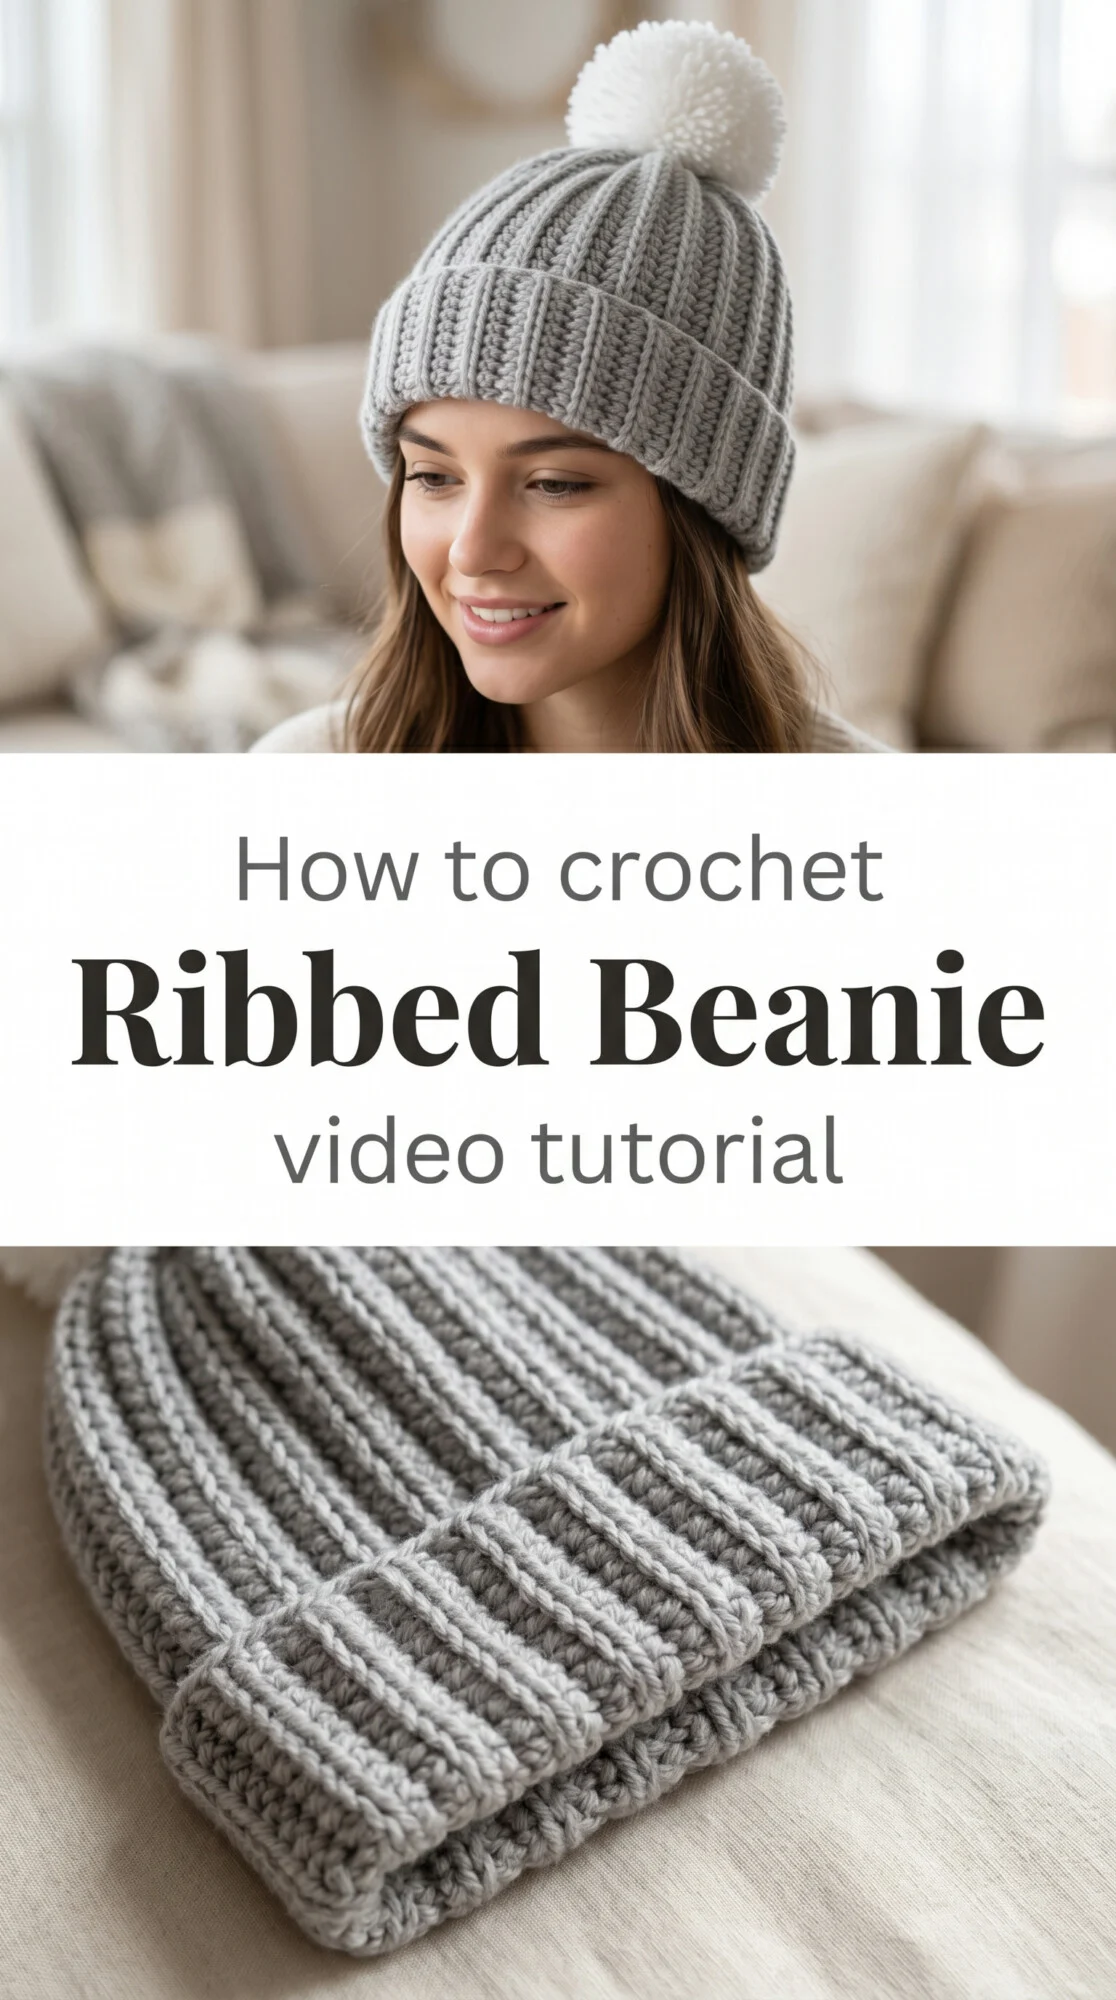
The Ribbed Beanie
The ribbed texture runs vertically around the crown, creating lines that flatter every face and fold neatly at the brim. This is the beanie for anyone who wants warmth without fuss, structure without stiffness. It sits close to the head, topped with a soft pompom that bounces as you move. The ribbing gives it a knit-like quality that feels both polished and cozy.
Ribbed Beanie Related Posts:
- Crochet Ribbed Beanie: A Timeless Winter Essential
- Crochet Tile Shawl: A Dazzling Versatile Masterpiece
- Crochet Festival Bralette: A Vibrant Summer Essential
- Crochet Ribbed Beanie: A Timeless Winter Essential
Dove gray and cream are timeless, but a burnt orange or forest green Crochet Ribbed Beanie becomes the anchor of your winter wardrobe. Neutral tones layer beautifully with scarves and coats, while jewel shades make a quiet statement. This is a hat that works with wool peacoats and puffer jackets alike.
Materials and Tools
You’ll want a worsted weight yarn with good stitch definition, something that holds its shape without being too stiff. A 5mm crochet hook gives you the right gauge for a snug but stretchy fit. Wool blends are ideal for warmth and elasticity, though acrylic works well if you prefer easy care. Keep a yarn needle handy for seaming and weaving in ends once your beanie takes shape.
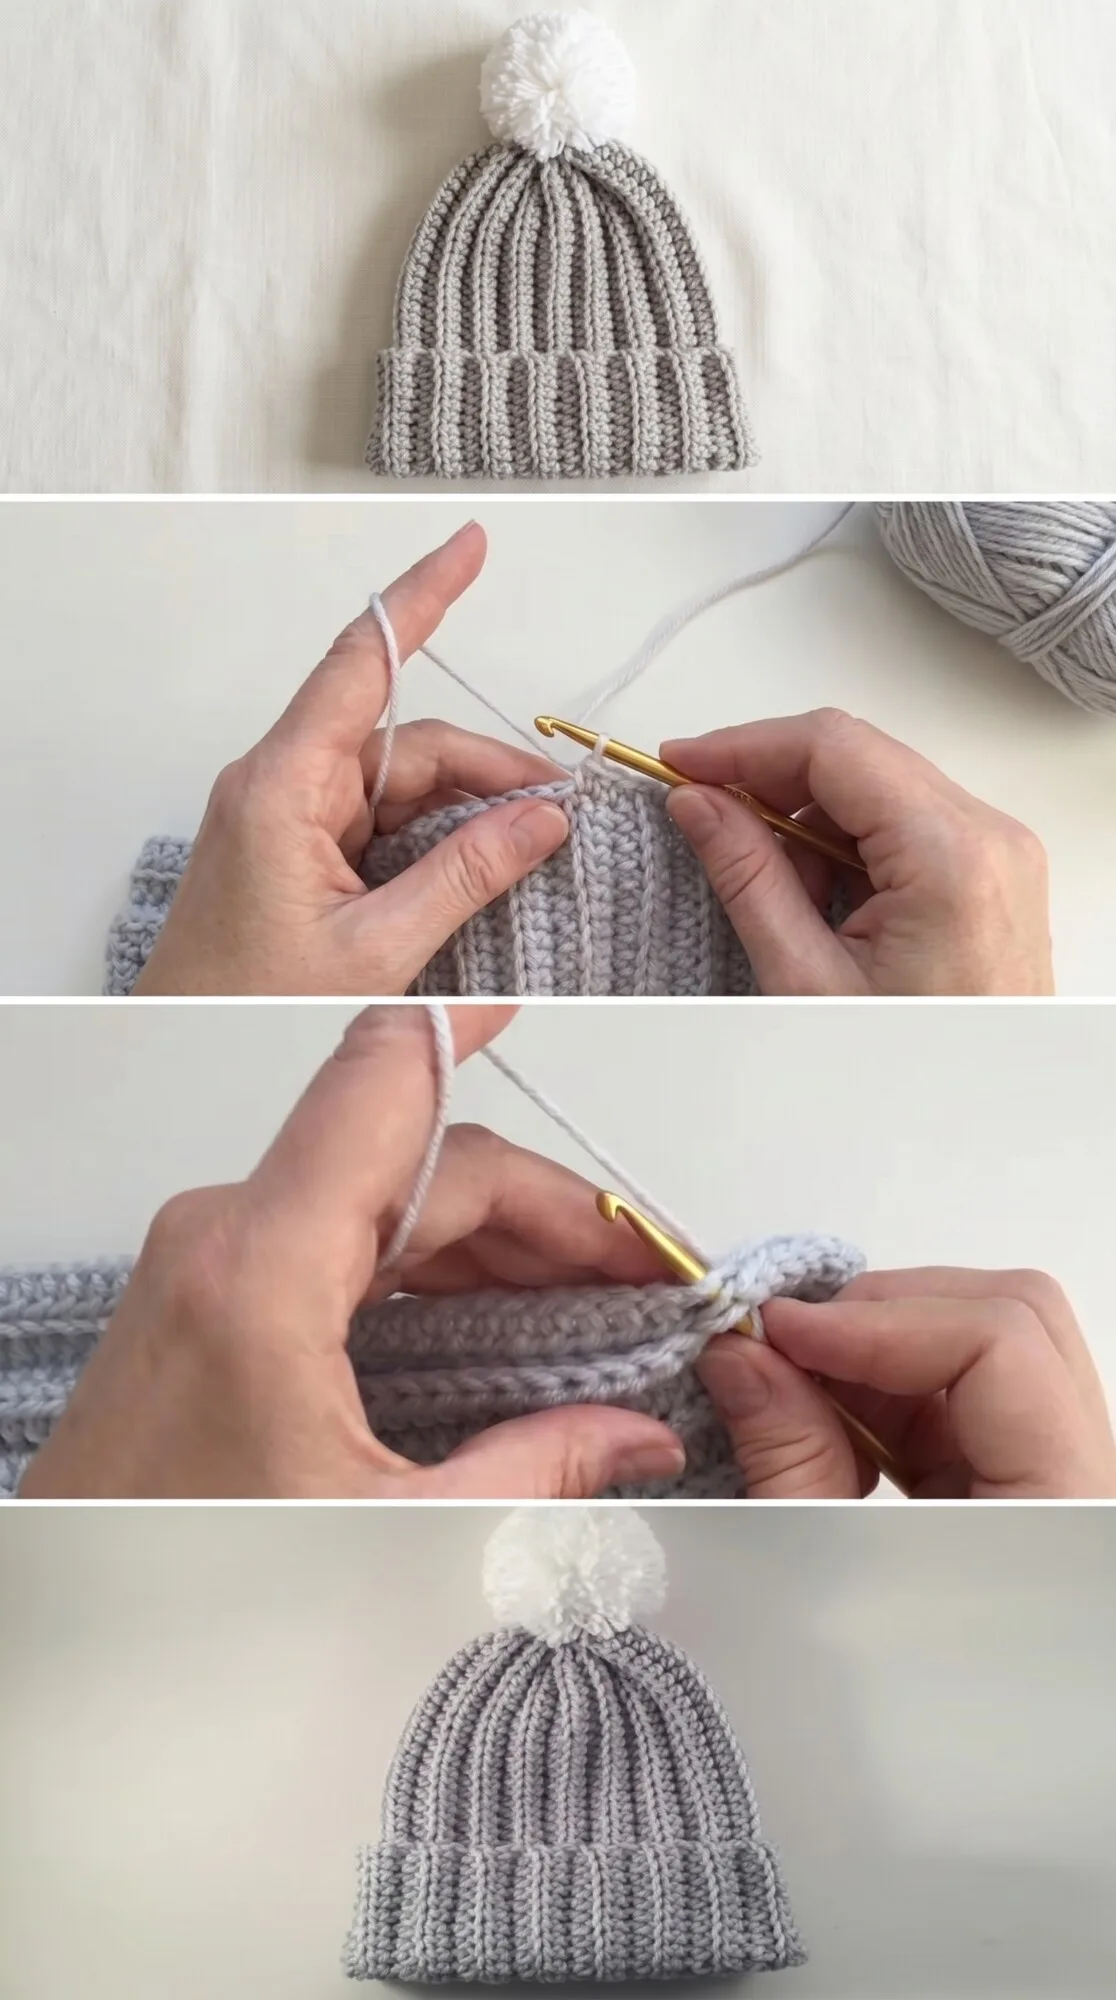
Stitch by Stitch
The video tutorial demonstrates a simple palette of foundational stitches that create the ribbed texture.
BULLET:Chain (CH): The base for your starting row and the foundation of your ribbed panel.
BULLET:Single Crochet (SC): Worked through the back loop only to form tight, stretchy ribs that mimic knit ribbing.
BULLET:Slip Stitch (SL ST): Used to join rounds and seam the beanie closed without bulk.
BULLET:Half Double Crochet (HDC): Optional for the body of the hat if you want a slightly looser, airier fabric.
The repetition of back loop single crochet becomes meditative, each row clicking into place like a satisfied exhale.
Construction
The Crochet Ribbed Beanie begins as a flat ribbed panel worked horizontally, then seamed along the short edges to form a tube. From there, you work in rounds upward to shape the crown, decreasing gradually until you can cinch the top closed. Beginners will appreciate how forgiving the ribbed texture is, hiding small inconsistencies in tension. If you want a slouch, simply work a few extra rounds before starting your decreases.
Wearing Your Ribbed Beanie
Picture it with a wool sweater and your favorite winter coat, the pompom catching snowflakes on a morning walk. Wear it cuffed for a snug fit or uncuffed for a relaxed slouch that shows off the ribbing. This is the beanie you’ll reach for on repeat, the one that earns its place on your coat rack all season long.
Keeping Your Beanie Fresh All Season
Hand wash your Crochet Ribbed Beanie in cool water with a gentle wool wash, then roll it in a towel to remove excess moisture. Lay it flat to dry, reshaping the ribbing and pompom as it dries to maintain that crisp vertical texture. Store it folded rather than hanging to prevent stretching at the brim. A little care keeps the beanie looking as sharp in March as it did in November.
You’ve made something that will carry you through countless cold days with warmth and style. The Crochet Ribbed Beanie is proof that classic never goes out of season. Pin this pattern and tag your finished beanie so others can see what mindful handwork looks like.
Follow us on Pinterest and subscribe to the Newsletter so you don’t miss a thing!
Tutorial and photos of this ribbed beanie by: Stephanie Zed.