
This guide will teach you how to crochet a rose with leaves that blooms forever in your hands. Pin it to a cardigan collar, tie it into a bouquet, or attach it to a ribbon headband for a touch of handmade romance.
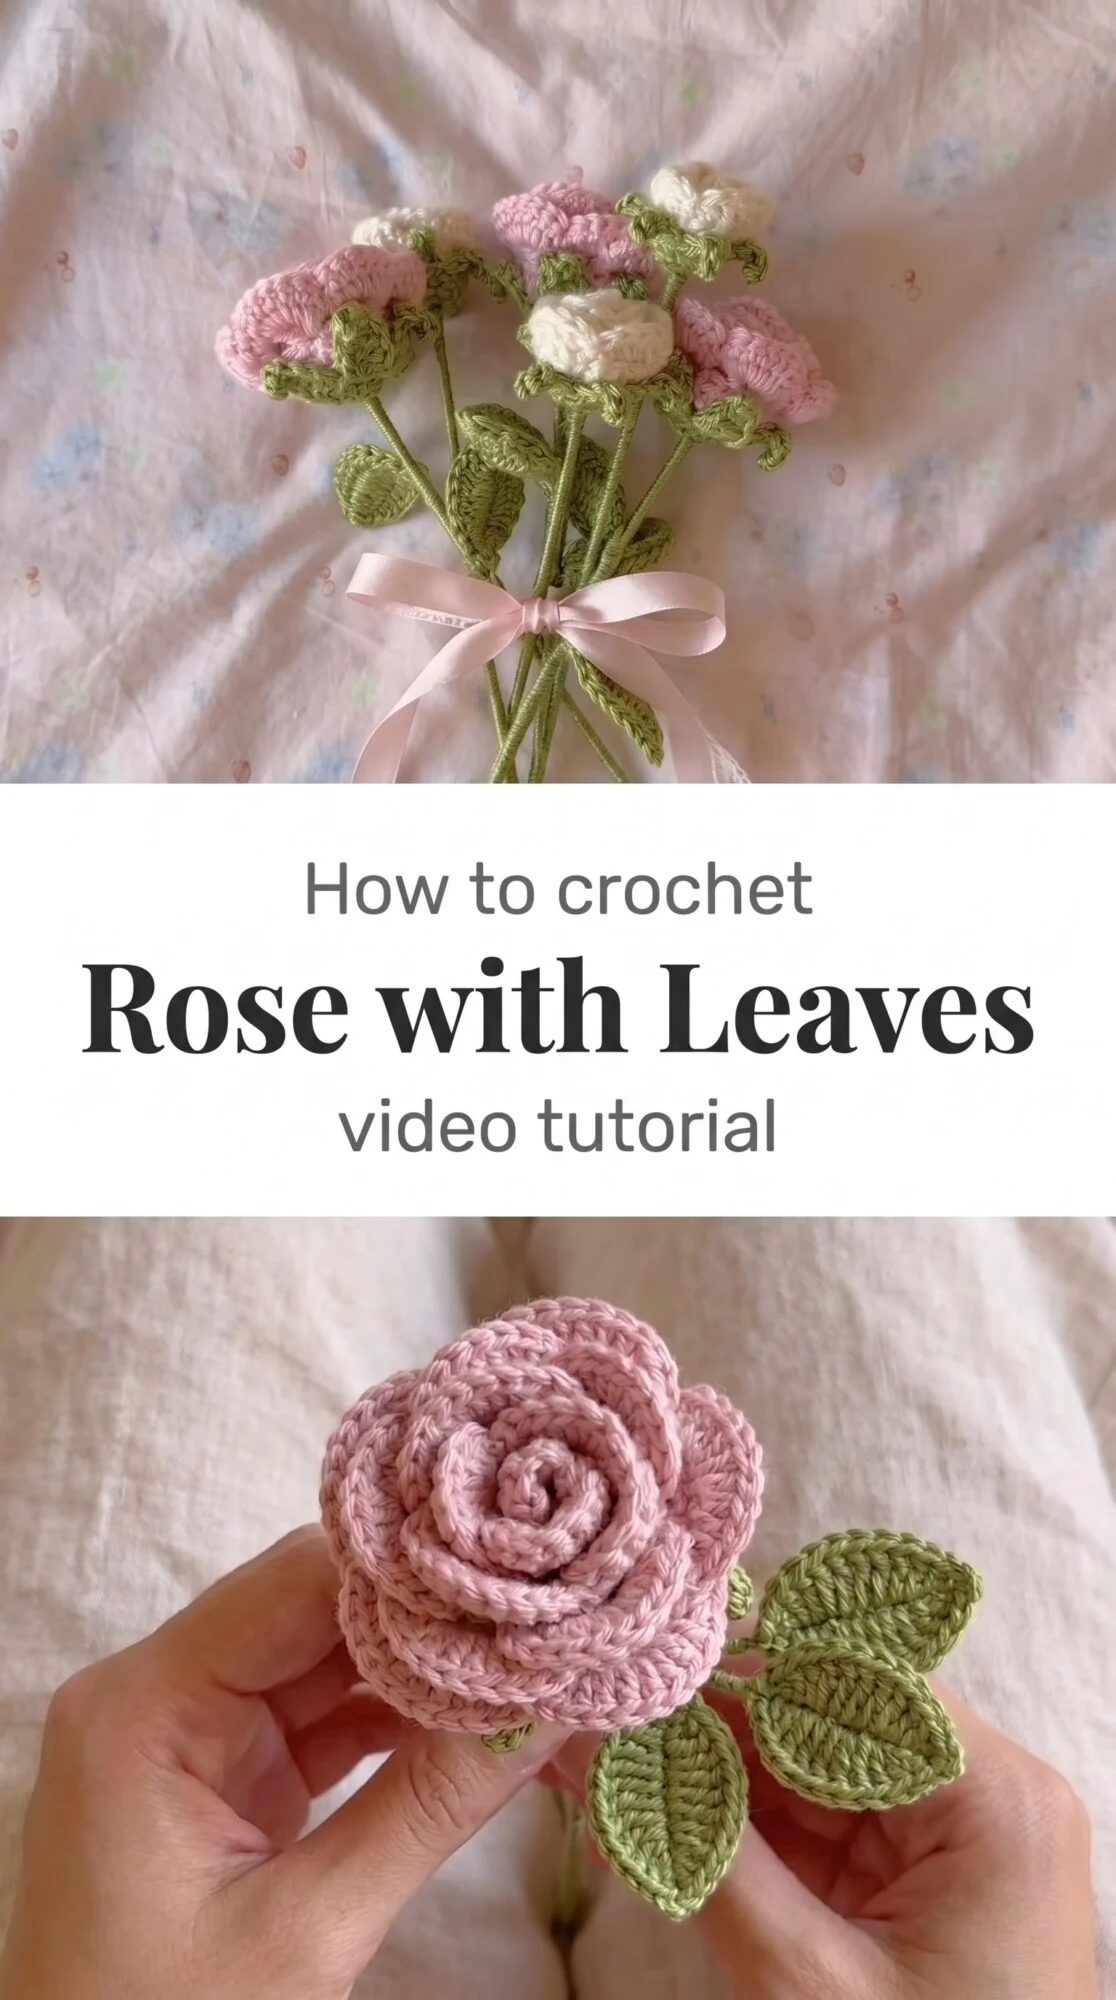
The Rose with Leaves
The Crochet Rose with Leaves is a dimensional floral motif worked in soft pinks, creams, and tender greens. Each petal curls gently outward, built from layered rounds that mimic the way real petals unfurl from the center. The leaves anchor the bloom with texture and structure, giving the whole piece a grounded, botanical feel that works as jewelry, a hair accessory, or a decorative flourish on fabric.
with Leaves Related Posts:
- Crochet Heart Applique: A Sweet Romantic Accent
- Crochet Rose Choker: A Romantic Summer Statement
- Crochet Lace Flower: A Delicate Handmade Beauty
- Crochet Mollie Flower: A Delicate Dimensional Bloom
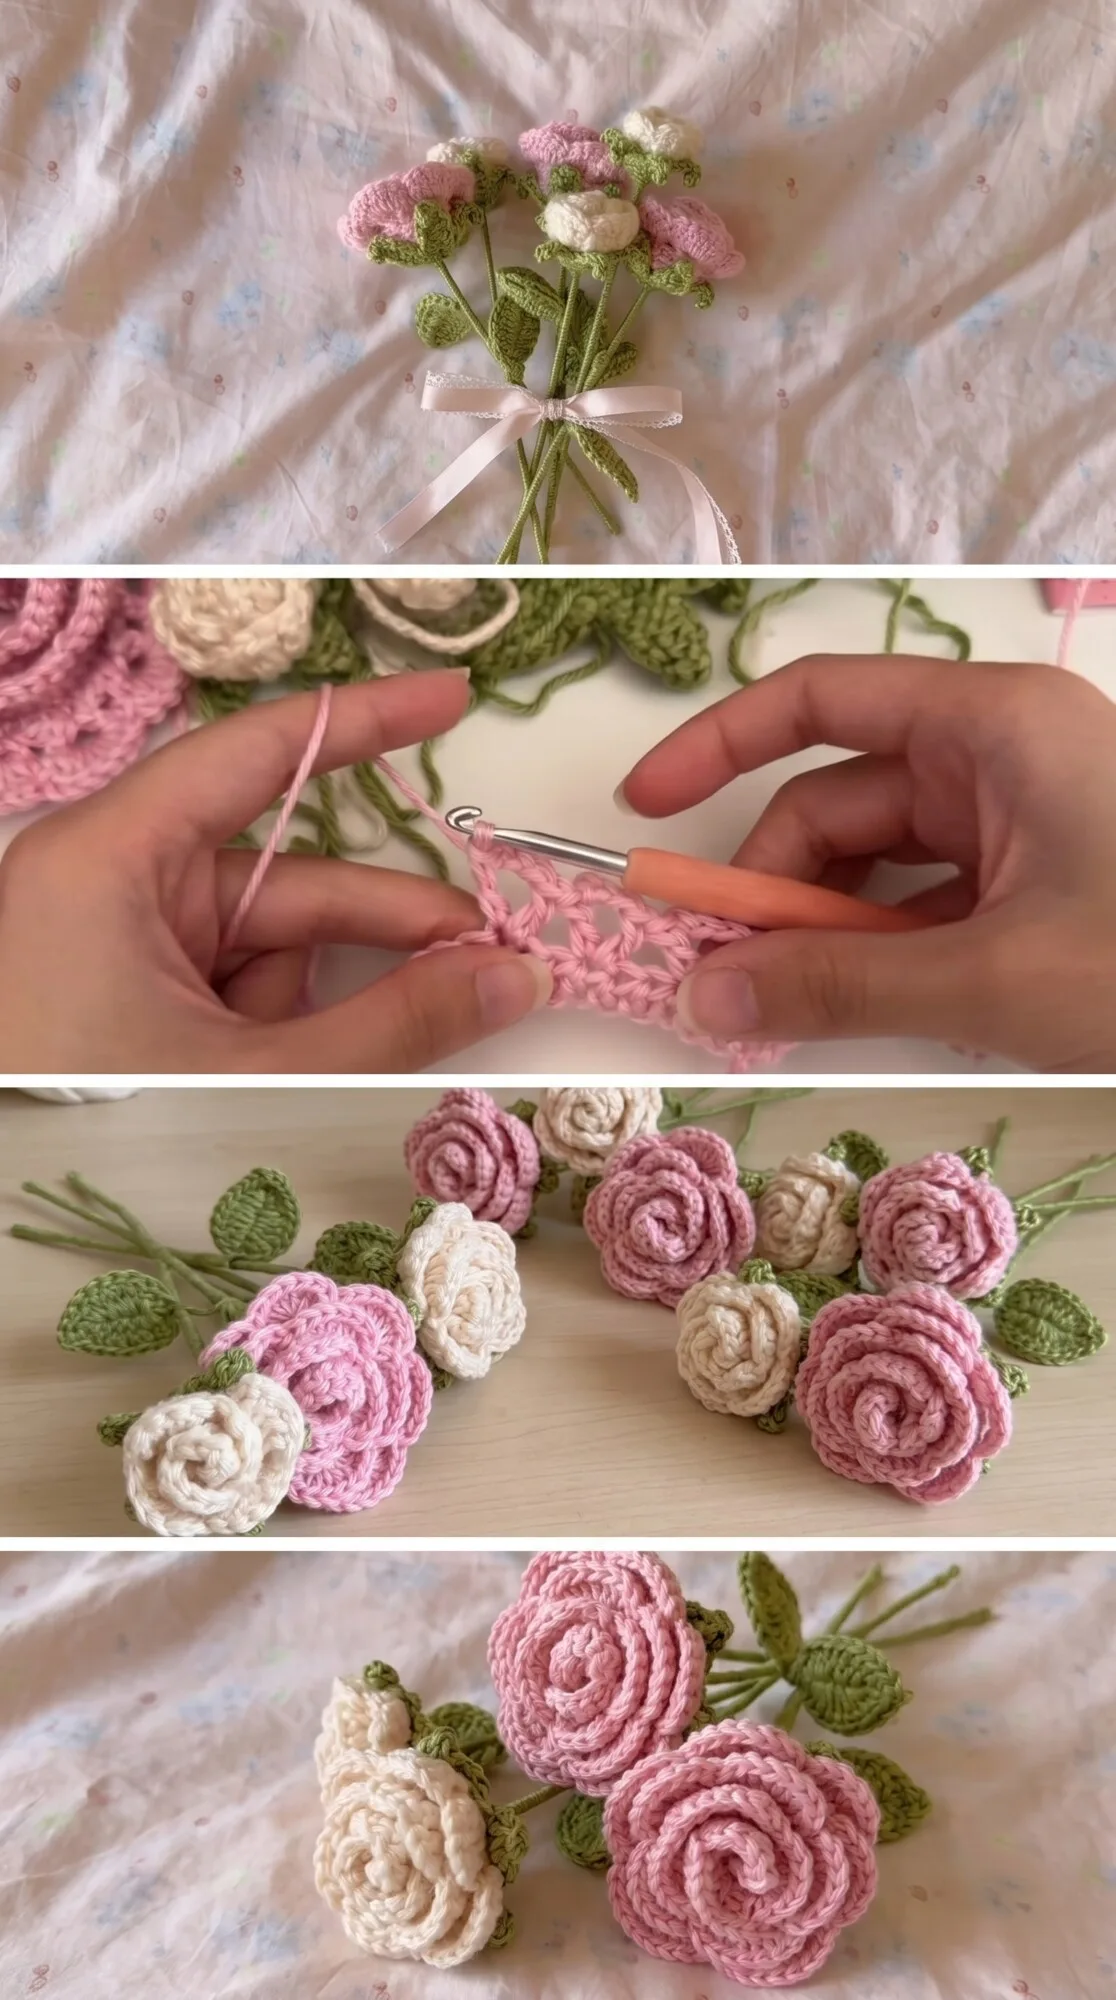
Classic cottage garden palettes suit this rose beautifully: blush pink with sage green, butter yellow with moss, or a moody burgundy paired with charcoal leaves. You can make a single statement rose or crochet a small cluster to tie with satin ribbon, the way you see in the tutorial images. The possibilities stretch from bridal accessories to gift toppers to sewn embellishments on tote bags and linen pillows.
Materials and Tools
You will need DK weight cotton yarn in at least three colors: one for the rose petals, one for the leaves, and optionally a second petal shade for depth. A 3.5mm crochet hook keeps the stitches tight enough to hold their shape without stiffening the fabric. Cotton gives structure and a matte finish that photographs like a dream, though mercerized cotton adds a subtle sheen if you want your rose to catch the light. Keep a yarn needle nearby for weaving in ends and a pair of small scissors for trimming tails cleanly between color changes.
Stitch by Stitch
This pattern relies on a handful of foundational stitches that layer and repeat to build dimension.
BULLET:Chain (ch). This forms the base ring and the airy spaces between petal clusters.
BULLET:Double crochet (dc). The height of this stitch creates the body and curve of each petal.
BULLET:Slip stitch (sl st). Used to join rounds and travel invisibly between sections without adding bulk.
BULLET:Single crochet (sc). Anchors the leaves and cinches the rose center into a tight, neat circle.
The rhythm of chaining, skipping, and clustering dc stitches into the same space becomes meditative once you settle into the first few petals. Each round grows outward like a real flower opening in time lapse.
Construction
The Crochet Rose with Leaves begins with a small magic ring that forms the bud at the center. You work outward in rounds, adding petals that increase in size with each layer, and finish by slip stitching into the base to secure the form. The leaves are crocheted separately, each one shaped with increases and decreases that taper to a point, then sewn or crocheted directly onto the stem of the rose. If you want a fuller bloom, add an extra petal round before fastening off, or make the leaves larger by repeating the final row.
Wearing Your Rose with Leaves
Pin your finished rose to the lapel of a linen blazer or the brim of a wide straw hat. Sew it onto a comb or barrette for an instant heirloom hair accessory, or attach it to a velvet ribbon choker for something quietly dramatic. You can also wire the stems and arrange a small bouquet in a vintage jar, a centerpiece that never wilts.
Caring for Your Crochet Blooms
Because these roses are small and sculptural, they benefit from light blocking with a steam iron held just above the surface to set the petal curves without flattening them. Store them in a small box lined with tissue paper to protect their shape between wears. If dust settles into the stitches over time, a soft brush or a gentle shake outdoors will refresh them. Cotton can be spot cleaned with a damp cloth if needed, though these blooms are hardy enough to last through seasons of pinning and repinning.
Your Crochet Rose with Leaves will carry a little bit of garden magic wherever you place it. Save this pattern to your boards and share the blooms you make so others can find a reason to pick up their hooks again.
Follow us on Pinterest and subscribe to the Newsletter so you don’t miss a thing!
Tutorial and photos of this rose with leaves by: mahum 🎀.