
A free video tutorial shows you exactly how to crochet this beautifully textured ribbed beanie with no bunching at the crown. The stitch pattern creates deep vertical columns that hug the head with a tailored finish you’ll want to wear every single day!

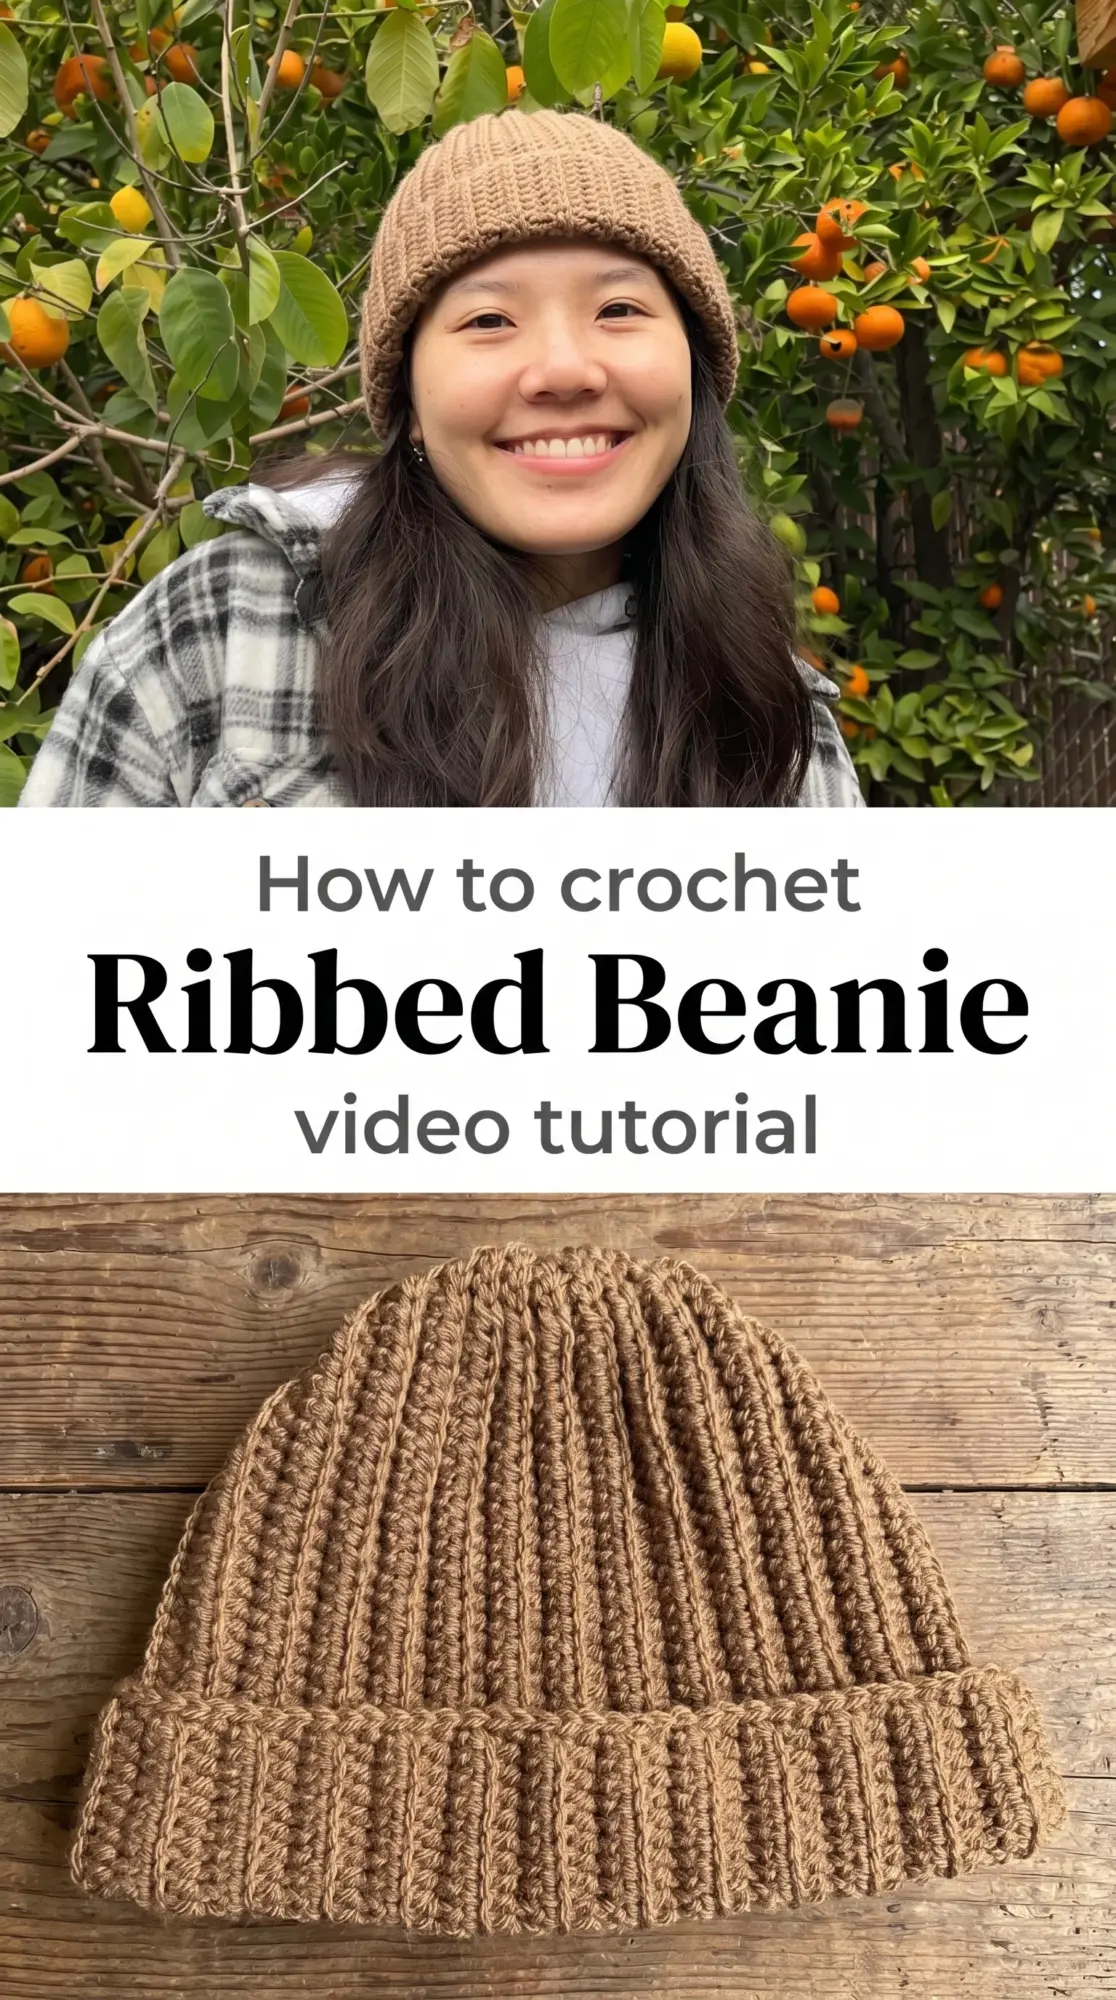
The Ribbed Beanie
This crochet ribbed beanie sits close to the head without feeling restrictive, its vertical ridges offering both structure and stretch. The clean, minimalist silhouette makes it the kind of accessory that works with everything in your winter wardrobe, from oversized flannels to tailored wool coats. It’s a favorite for makers who want a polished finish without complicated shaping or crown decreases that cause puckering. The fabric has weight and warmth, yet the ribbing keeps it flexible enough to fold up into your pocket or bag.
Ribbed Beanie Related Posts:
- Crochet Star Stitch Warmers: A Delicate Winter Essential
- Crochet Classic Bralette: A Timeless Wardrobe Essential
- Crochet Ribbed Beanie: A Sleek Winter Essential
- Crochet Ribbed Crop Top: A Timeless Wardrobe Essential
A warm camel or oatmeal tone gives the crochet ribbed beanie an earthy, vintage feel that suits any complexion and pairs beautifully with autumn leaves and winter light. Try it in charcoal, cream, or a soft rust if you want something equally versatile. The texture reads clearly in solid colors, so this is a wonderful project for showing off a beautiful single skein.
Materials and Tools
You’ll want a worsted weight yarn with good stitch definition for this crochet ribbed beanie, something smooth enough to let the ribbing shine without splitting as you work. A 5mm crochet hook creates the ideal fabric tension for a beanie that holds its shape but still has give. Cotton blends work well for three-season wear, while wool or alpaca adds the warmth you need for true winter days. Keep a tapestry needle handy for weaving in ends and seaming if your construction method calls for it.
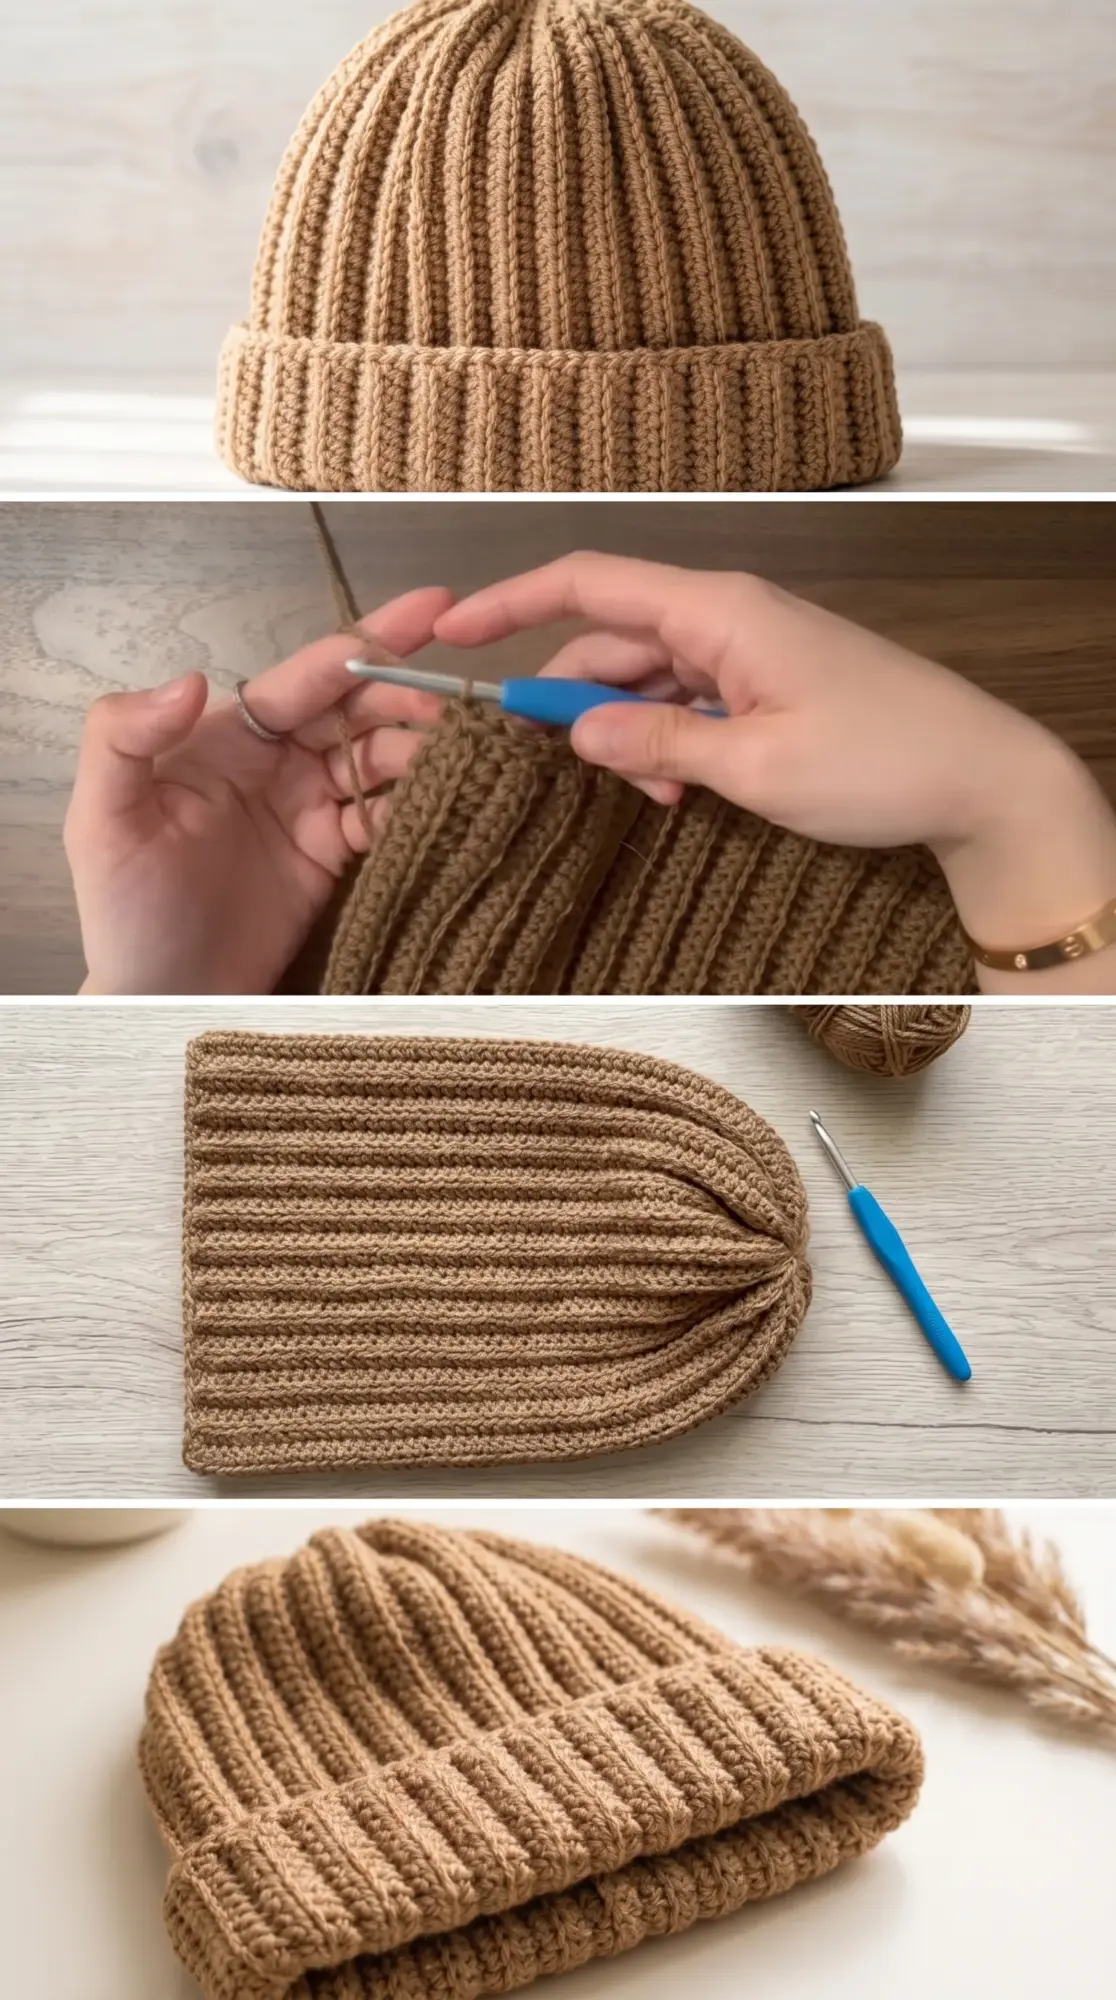
Stitch by Stitch
This beanie relies on a few foundational stitches worked in a way that mimics knitted ribbing.
BULLET:SC (single crochet) This stitch forms the tight, low-profile texture that gives the ribbing its structure and elasticity.
BULLET:BLO (back loop only) Working into the back loop creates horizontal ridges that turn into vertical ribs when the fabric is turned sideways.
BULLET:FLO (front loop only) Occasionally used for transitions or borders, this technique leaves one loop free and adds subtle texture.
BULLET:slip stitch Useful for joining rounds or finishing edges invisibly without adding bulk.
The repetitive rhythm of working into one loop at a time becomes almost hypnotic, and you’ll find yourself settling into a steady, calming pace as the ribbed fabric grows in your hands.
Construction
The crochet ribbed beanie is typically worked flat in rows, with the ribbing running vertically from brim to brim, then seamed along the back to form a tube. Some versions are worked in the round from the brim upward, with the ribbing created through stitch placement rather than turning. The beauty of this design is that it requires no complex crown shaping, just a simple cinch at the top with your yarn tail threaded through the final round. You can easily adjust the height by adding or removing a few rows before closing the crown.
Wearing Your Ribbed Beanie
Fold the brim up for a snug, classic fit, or leave it unfolded for a slightly slouchy look that frames your face. Pair it with a chunky scarf and your favorite denim jacket for weekend errands, or wear it with a long wool coat and leather gloves for a more refined cold-weather outfit. This is the beanie that goes everywhere.
Keeping Your Beanie Fresh and Cozy
Hand wash your crochet ribbed beanie in cool water with a gentle wool wash, then press out excess water with a towel rather than wringing. Lay it flat to dry on a clean surface, reshaping the ribbing gently with your fingers so it keeps its structure. Store it folded rather than hanging to prevent stretching, and tuck in a sachet of lavender if you want it to smell as lovely as it looks. A quick steam with a garment steamer can refresh the texture after a long season of wear.
You’ve made something that will carry you through countless winters with style and warmth. There’s a quiet confidence in wearing something made by your own hands, stitch by stitch, row by row. Pin this crochet ribbed beanie tutorial and share your finished makes so we can all celebrate together!
Follow us on Pinterest and subscribe to the Newsletter so you don’t miss a thing!
Tutorial and photos of this ribbed beanie by: VivCrochets.