
A Crochet Slipper Sole is more than the base of a shoe. It is the quiet architecture beneath every cozy step, the foundation that holds warmth and intention in every row.

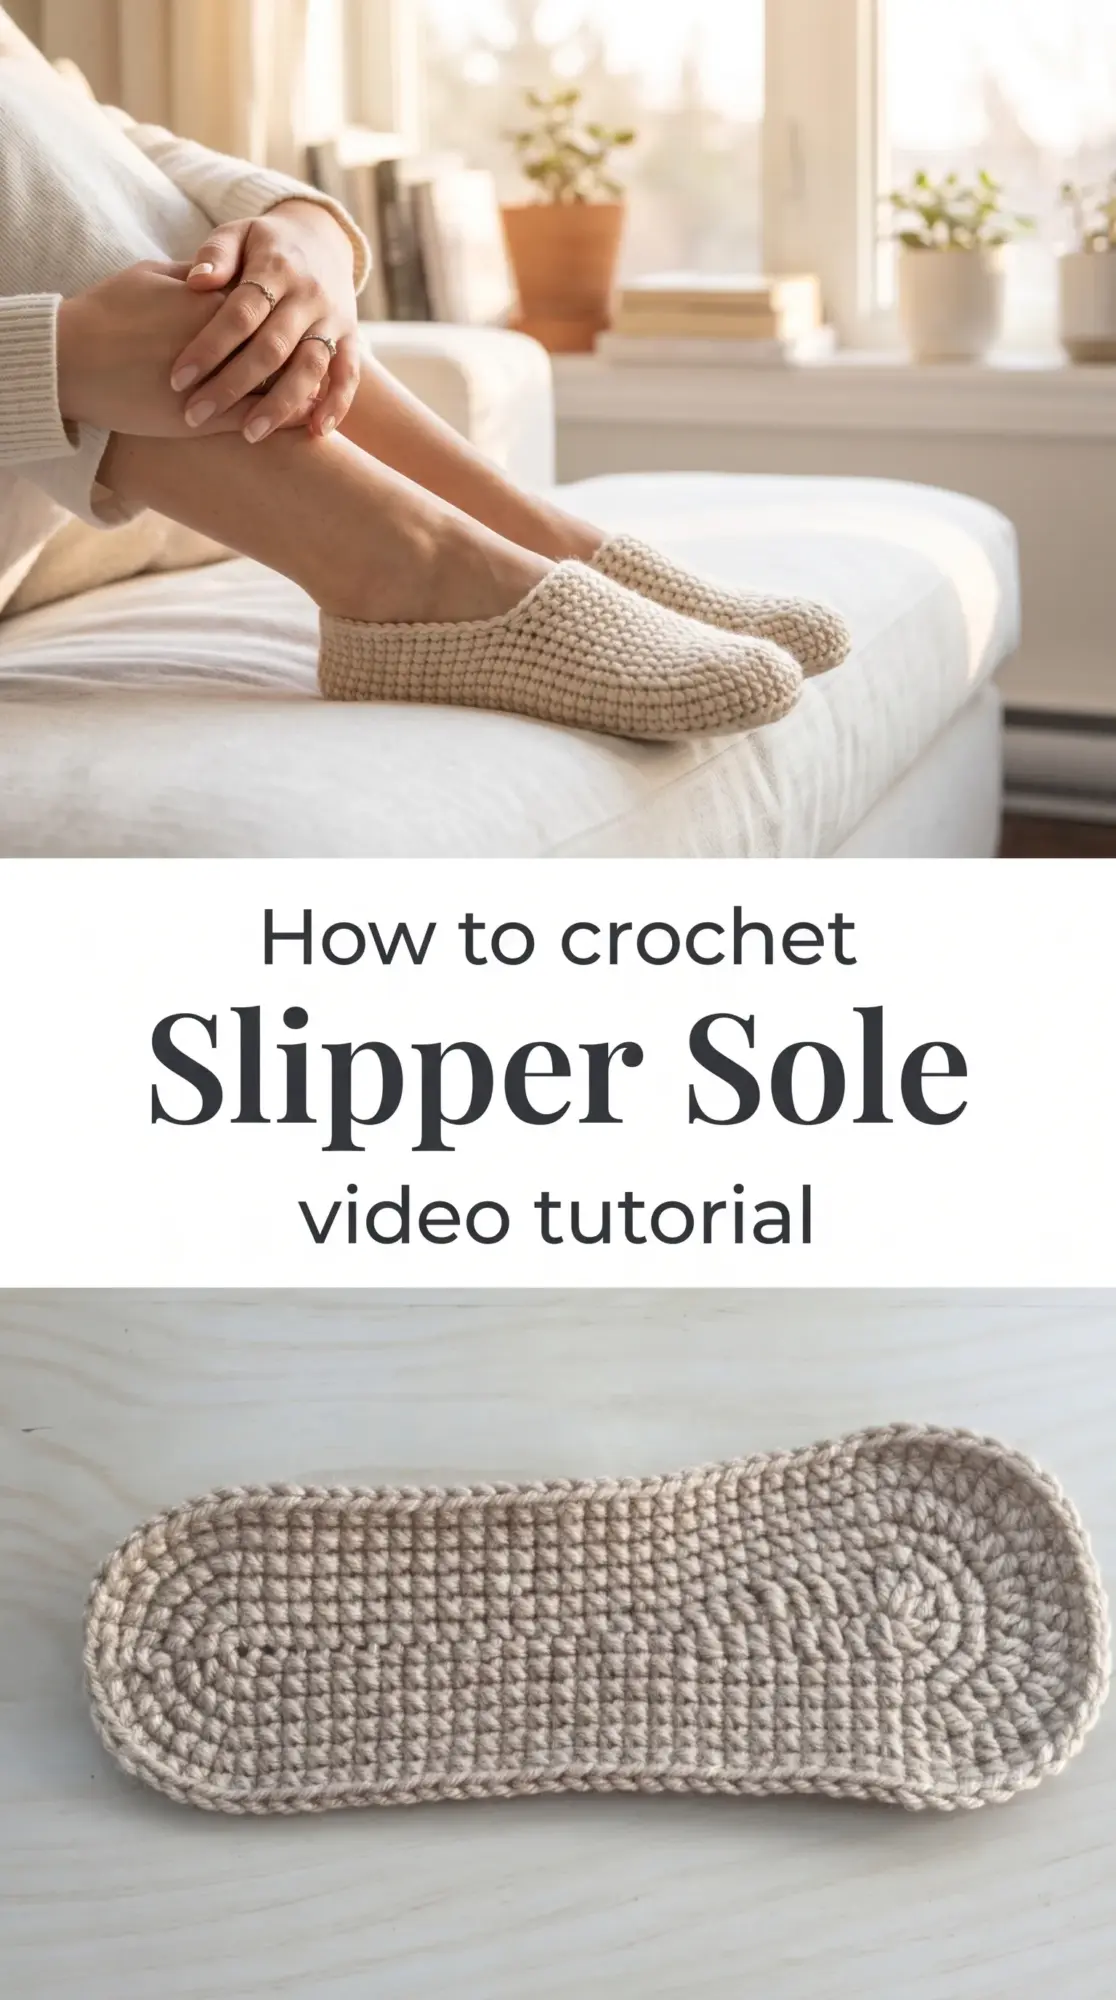
The Slipper Sole
This oval of crochet stitches is where every house shoe begins. Worked flat and shaped with gentle increases at each end, the Crochet Slipper Sole creates a sturdy yet flexible base that molds to your foot over time. The texture is dense enough to protect but soft enough to wear barefoot, a balance that comes from the rhythm of single crochet worked in tight, even rounds.
Slipper Sole Related Posts:
- Crochet Jasmine Stitch Slippers: A Cozy Homewear Essential
- Crochet Japanese Zori Slippers: A Refined Cultural Classic
- Crochet Comfort Slippers: A Warm and Cozy Essential
Choose a neutral beige or oatmeal for a timeless look that pairs with any slipper upper you attach later. Charcoal gray and cream also lend themselves beautifully to this foundational piece, offering versatility whether you plan to add colorful sides or keep the entire slipper tonal and understated.
Materials and Tools
For a durable Crochet Slipper Sole, reach for worsted weight cotton or a cotton-acrylic blend that holds its shape underfoot. A 5mm crochet hook offers the right tension to create a firm fabric without stiffness. Cotton provides breathability and structure, while a small percentage of acrylic adds softness and makes the sole easier to care for over time.
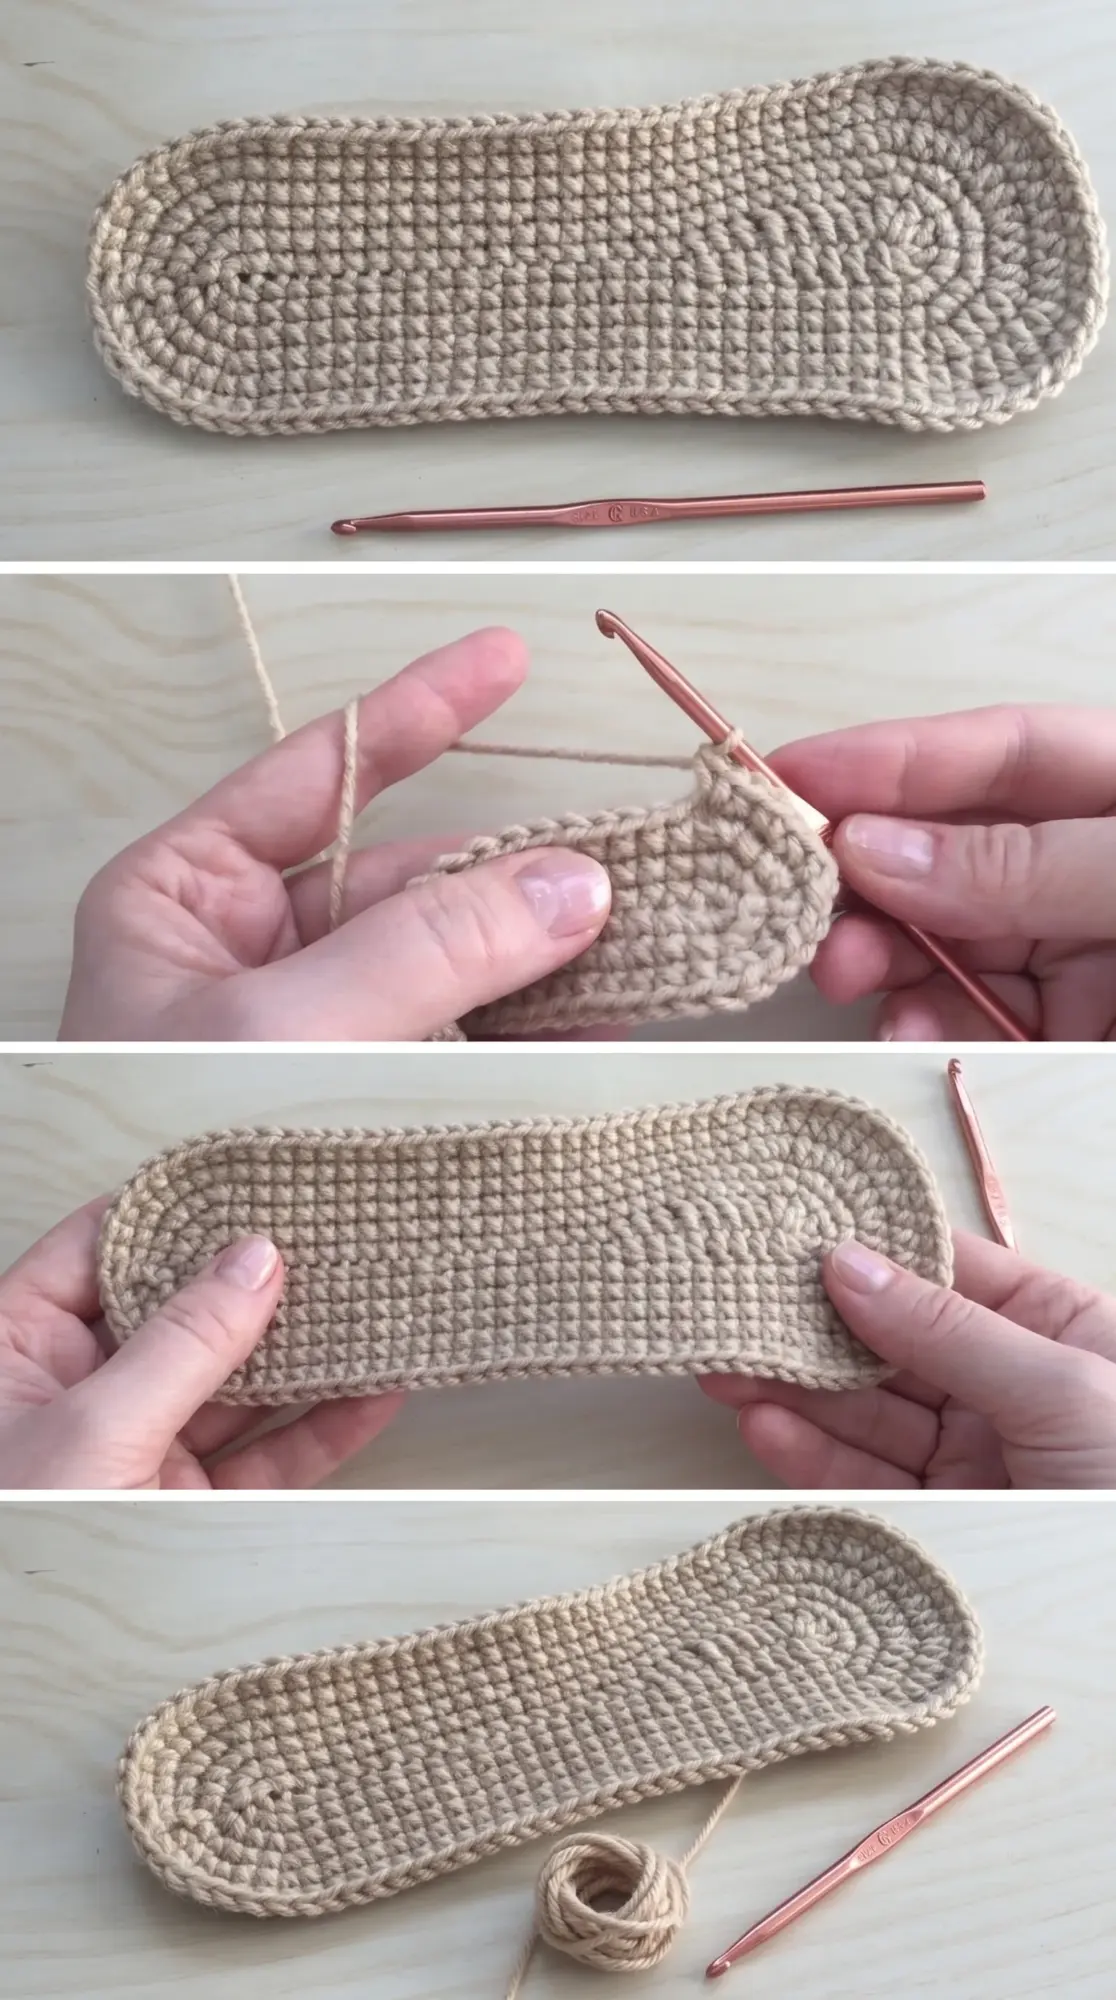
Stitch by Stitch
The construction relies on a few fundamental stitches that build a stable oval.
BULLET:SC (single crochet): The primary stitch throughout, creating a tight, durable fabric that resists wear.
BULLET:CH (chain): Forms the starting foundation and provides the length of the sole.
BULLET:INC (increase): Worked by placing two single crochets into one stitch, shaping the rounded ends of the oval.
BULLET:SL ST (slip stitch): Used to join rounds invisibly and maintain a clean finish.
The repetitive nature of single crochet becomes its own meditation, each stitch building on the last until the sole takes shape beneath your hands.
Construction
This Crochet Slipper Sole is worked in continuous rounds from a central chain, expanding outward with strategic increases at the toe and heel to create an oval footbed. The video tutorial guides you through the exact placement of each increase so the sole lies flat and true. Beginners will appreciate the straightforward stitch pattern, and you can easily adjust the length by starting with a longer or shorter foundation chain to fit any foot size.
Wearing Your Slipper Sole
Once complete, this sole becomes the base for slippers worked up the sides in your favorite stitch or color. Attach a simple ribbed cuff for slip-on house shoes, or build up a full bootie style for extra warmth on cold mornings. The possibilities expand from this one essential foundation.
Keeping Your Crochet Slipper Sole Fresh
Cotton soles can be hand washed in cool water with a gentle detergent and laid flat to dry, which helps them retain their shape. If your sole has been worked in acrylic blend, a low-temperature machine wash inside a mesh bag works well for regular cleaning. Store finished soles flat or rolled loosely if you are making several pairs at once, and avoid folding them in half to prevent creasing the dense fabric.
Every handmade slipper begins here, with the patient building of rows and the quiet satisfaction of creating something both beautiful and useful. Pin this Crochet Slipper Sole tutorial to your footwear board and start stitching the foundation for your next cozy project.
Follow us on Pinterest and subscribe to the Newsletter so you don’t miss a thing!
Tutorial and photos of this slipper sole by: Stephanie Zed.