
I am absolutely thrilled to share this video tutorial with you because mastering the Crochet Granny Square opens up an entire universe of project possibilities. The most remarkable quality is how this single, simple motif can be scaled and combined to create everything from delicate coasters to sweeping blankets.

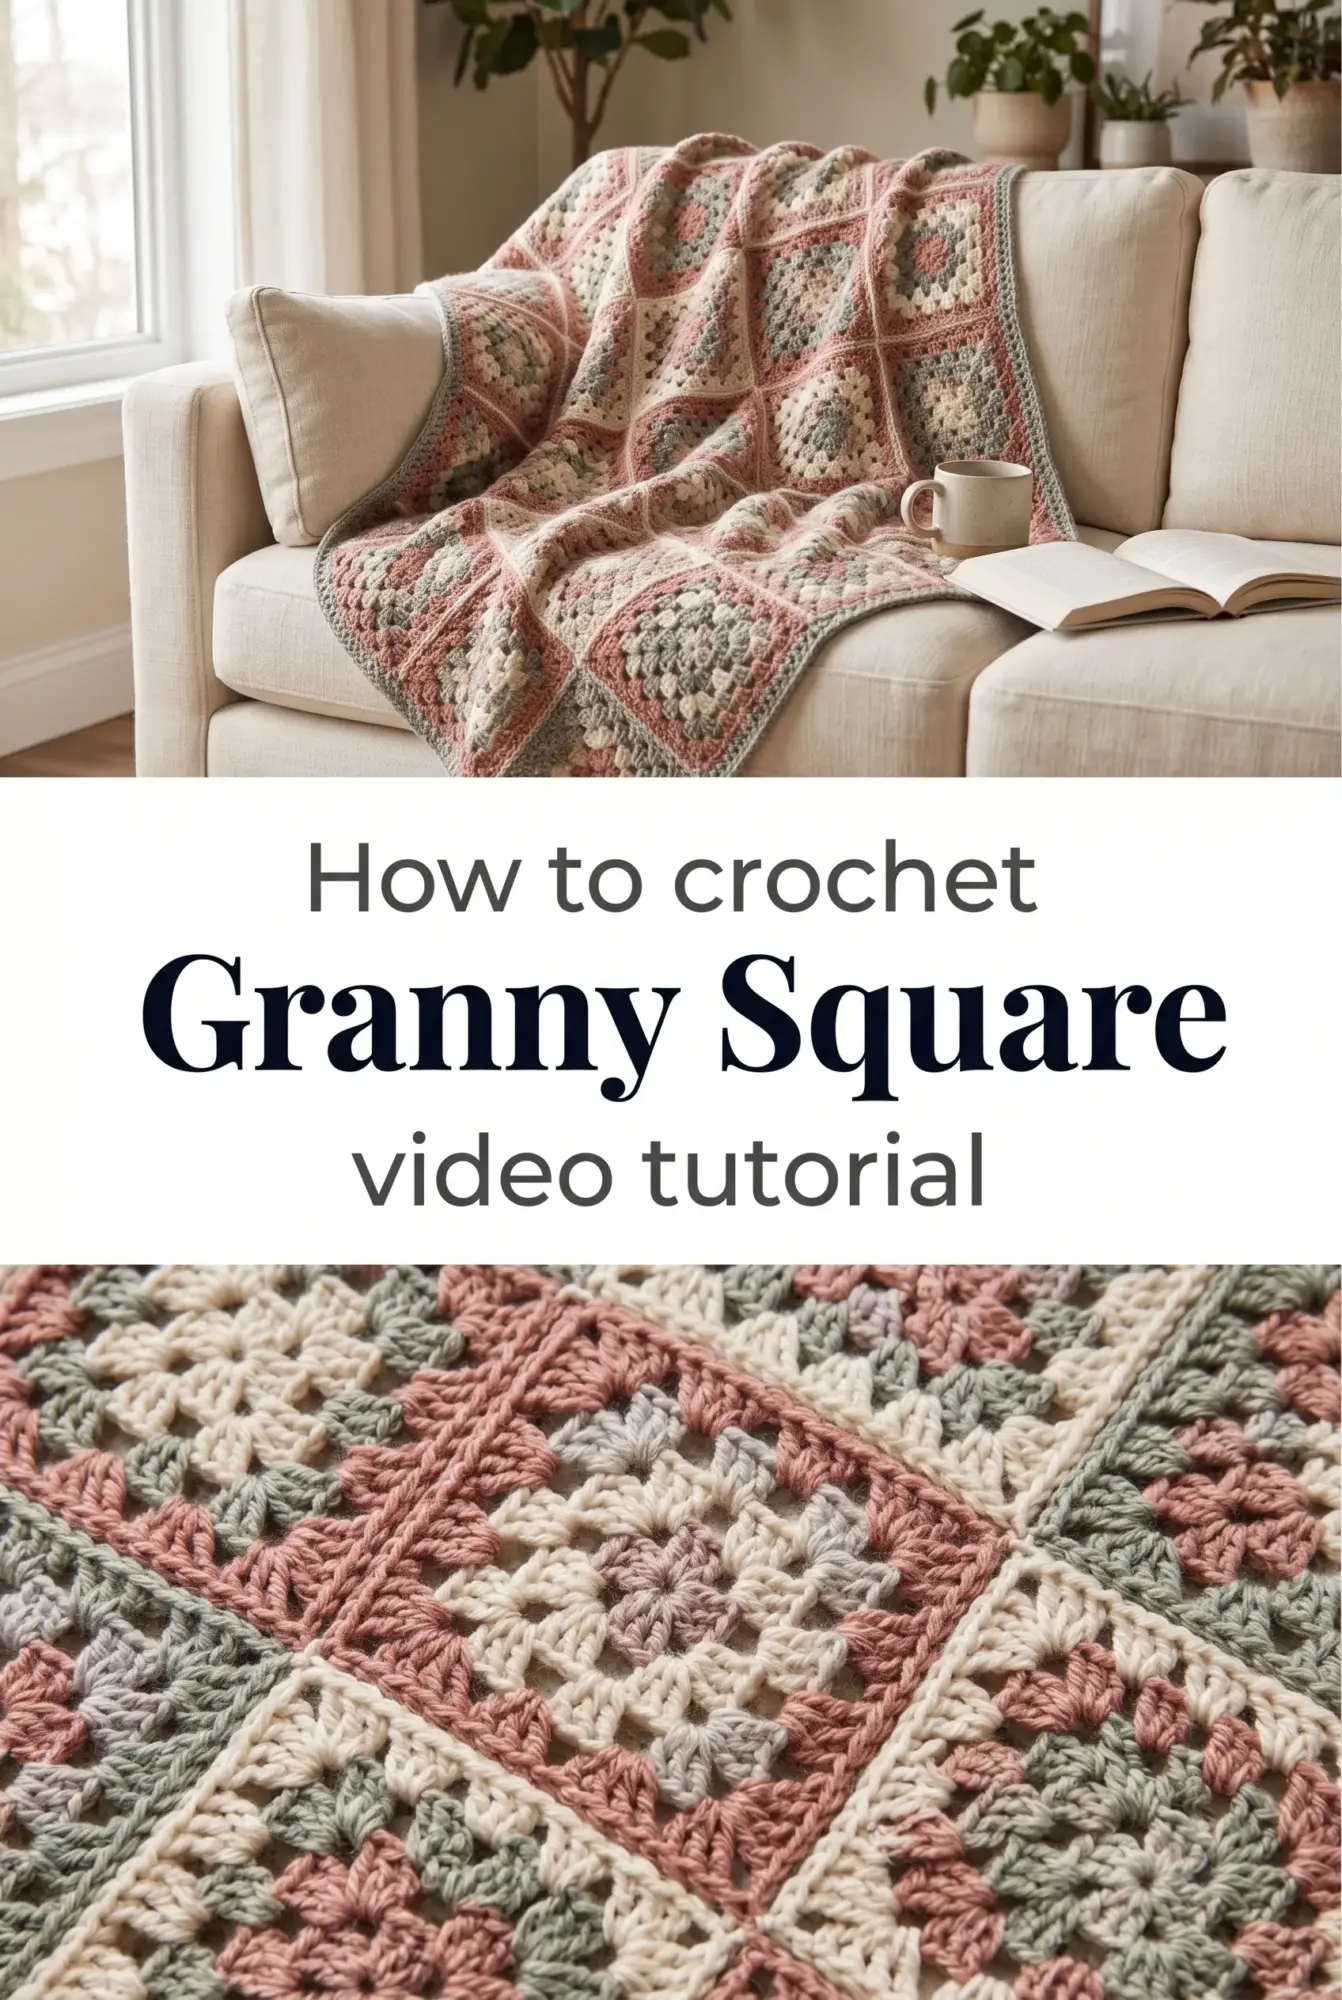
The Granny Square
The Crochet Granny Square is the heart of traditional crochet, a perfect little geometric bloom that fits in the palm of your hand. Each square holds its own small universe of texture, built from clusters of double crochet stitches that radiate from a central ring, separated by airy chain spaces that let light and breath move through the fabric. This pattern is ideal for absolute beginners seeking confidence and for experienced makers who want a meditative, portable project. The finished square sits flat with crisp corners and a rhythmic symmetry that soothes the eye.
Granny Square Related Posts:
- Crochet Paw Square Coaster: A Playful Home Accent
- Crochet Lace Doily: A Delicate Handcrafted Centerpiece
- Crochet Jasmine Stitch Basket: A Delicate Storage Solution
- Crochet Tuxedo Cat Coaster: A Charming Kitchen Accent
You can work this pattern in a single shade for modern minimalism or shift colors with each round to create vintage rainbow charm. The versatility is extraordinary: crochet squares in soft pastels for nursery blankets, rich jewel tones for bohemian cushions, or classic cream for timeless elegance. Dress them up, strip them down, the Crochet Granny Square adapts to your mood and home.
Materials and Tools
This pattern works beautifully in worsted weight yarn, which gives the square structure and clarity without being too bulky or too delicate. Pair your yarn with a 5mm crochet hook for ideal stitch definition and a fabric that holds its shape while remaining soft and drapey. Cotton blends are wonderful for home decor items like dishcloths and placemats, while acrylic or wool works perfectly for blankets and wearables. Keep a yarn needle nearby for weaving in ends and a pair of small scissors tucked into your project bag.
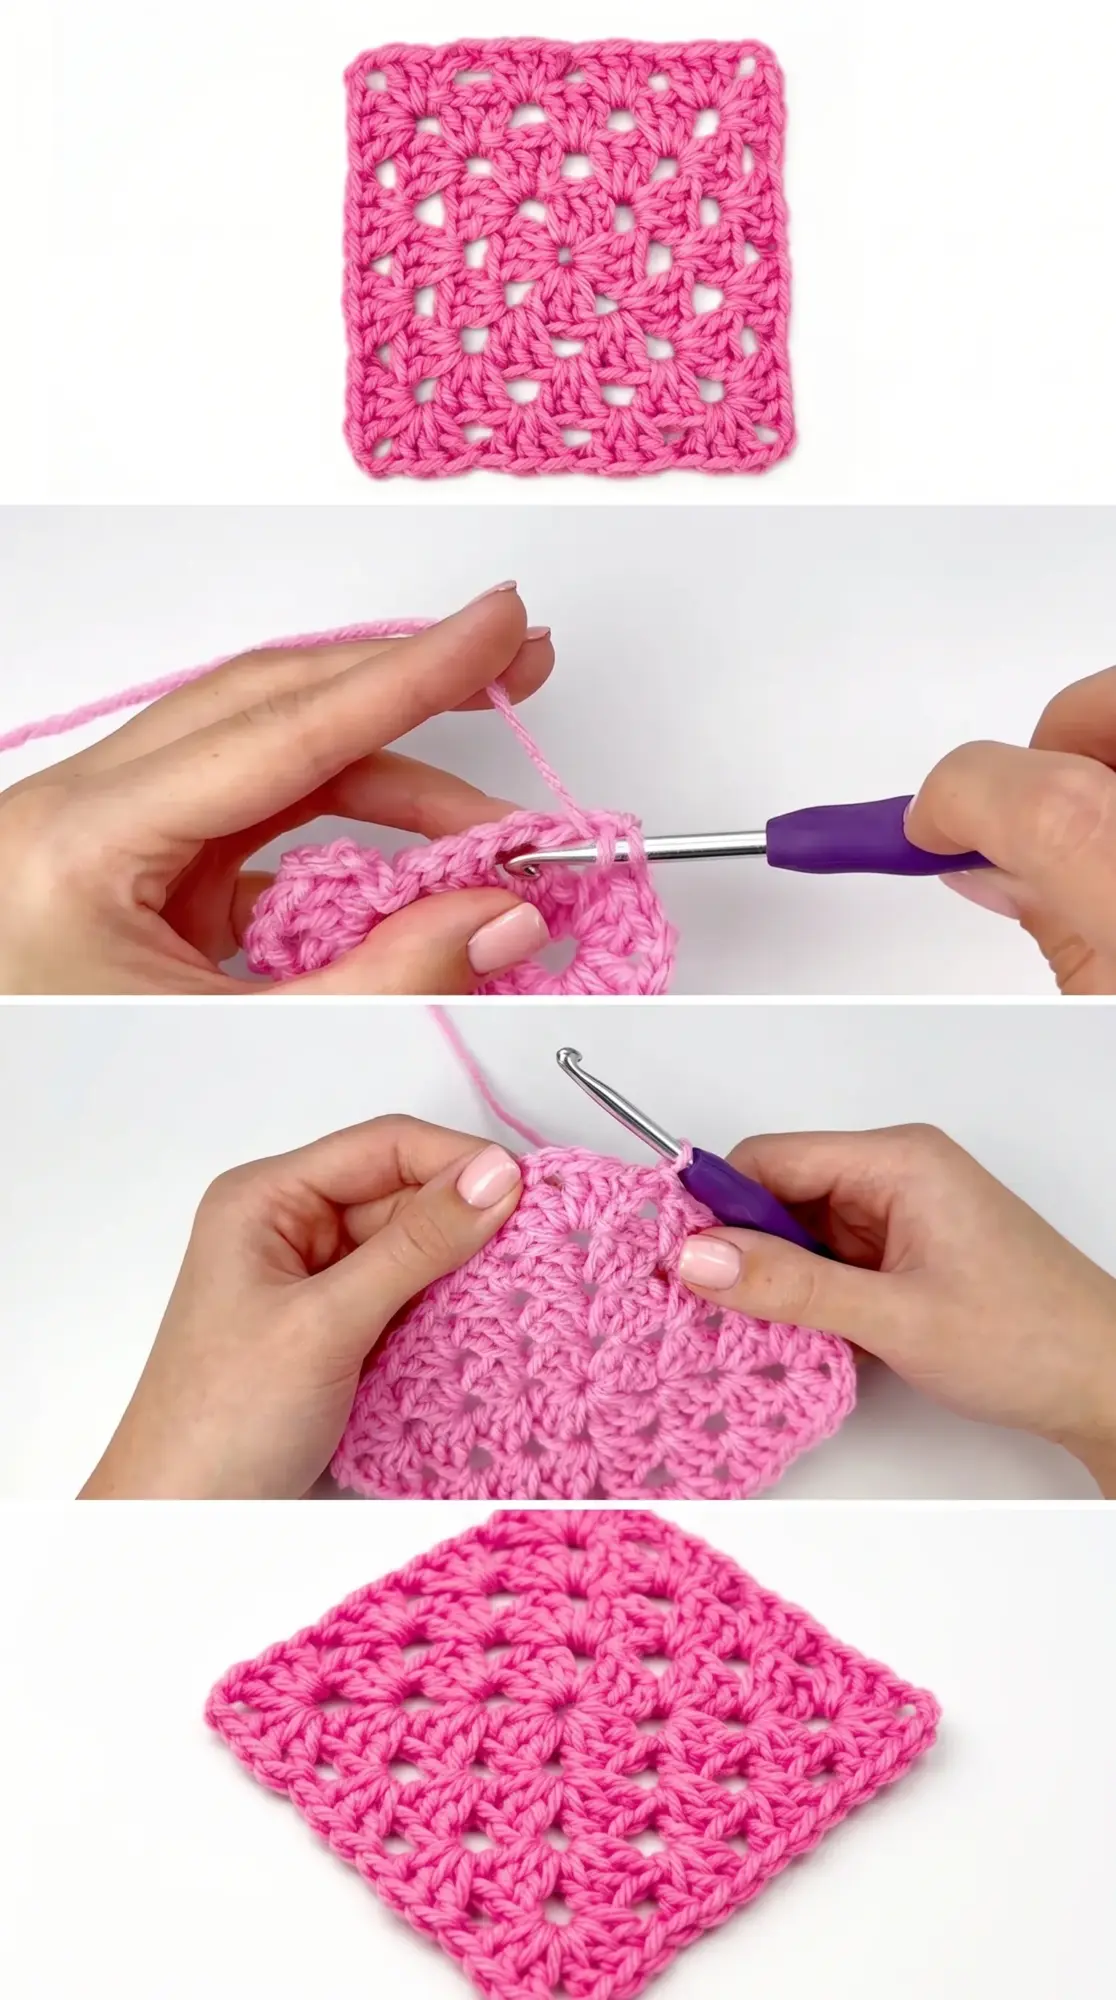
Stitch by Stitch
The beauty of the Crochet Granny Square lies in its simplicity and the handful of foundational stitches that build it.
BULLET:CH (chain) This stitch creates the starting ring and the open spaces between each cluster, forming the distinctive lattice structure.
BULLET:DC (double crochet) The workhorse of this pattern, double crochets are grouped in clusters of three to create the petals radiating from the center.
BULLET:SL ST (slip stitch) Used to join rounds invisibly and move your hook into position without adding height.
BULLET:SC (single crochet) Often appears in the final round to create a firm, finished edge that keeps the square from curling.
The rhythm becomes hypnotic once your hands learn the pattern: cluster, chain, cluster, chain. You will find yourself reaching for this square whenever you need to think through something quietly or simply rest your mind in repetition.
Construction
Each Crochet Granny Square is worked in the round from the center outward, starting with a chain ring and building layer by layer until you reach your desired size. The tutorial demonstrates how to join each round seamlessly and where to place your first stitch for clean corners that stay sharp and true. Beginners will appreciate that there is no shaping, no counting rows, just the same simple repeat growing wider with each revolution. You can stop after three rounds for a coaster or continue for eight or more rounds to make a cushion front or a sweater panel.
Wearing Your Granny Square
Join a dozen squares together to make a cheerful tote bag that pairs with summer linen dresses and denim cutoffs. Stitch a vest from larger motifs in earthy neutrals and layer it over turtlenecks in autumn, or line up a row of tiny squares as a headband that catches compliments. The Crochet Granny Square transforms from craft staple to wearable art the moment you step outside with it.
Caring for Your Granny Square Creations
Once your squares are complete, block them gently by pinning each corner to a foam mat and misting with water to set the stitches and open up the lacework. Wash finished items in cool water with a gentle wool wash, then lay flat to dry to preserve their shape and prevent stretching. Store blankets and cushions folded loosely in breathable cotton bags to protect them from dust while allowing air circulation. With a little care, your Crochet Granny Square pieces will remain crisp and vibrant for years, softening beautifully with each use.
You are about to create something that connects you to generations of makers who found joy in this same simple pattern. The Crochet Granny Square is both a beginning and a foundation, and it is yours to shape. Pin this tutorial and share your finished squares so we can all celebrate the beauty you bring into the world.
Follow us on Pinterest and subscribe to the Newsletter so you don’t miss a thing!
Tutorial and photos of this granny square by: ElyseCrochets 💌.