
Today’s guide brings you a soft, egg-shaped treasure that rests in the palm of your hand. The Crochet Easter Bunny Egg is a sweet spring companion, and you’re invited to make one in every pastel shade you adore.

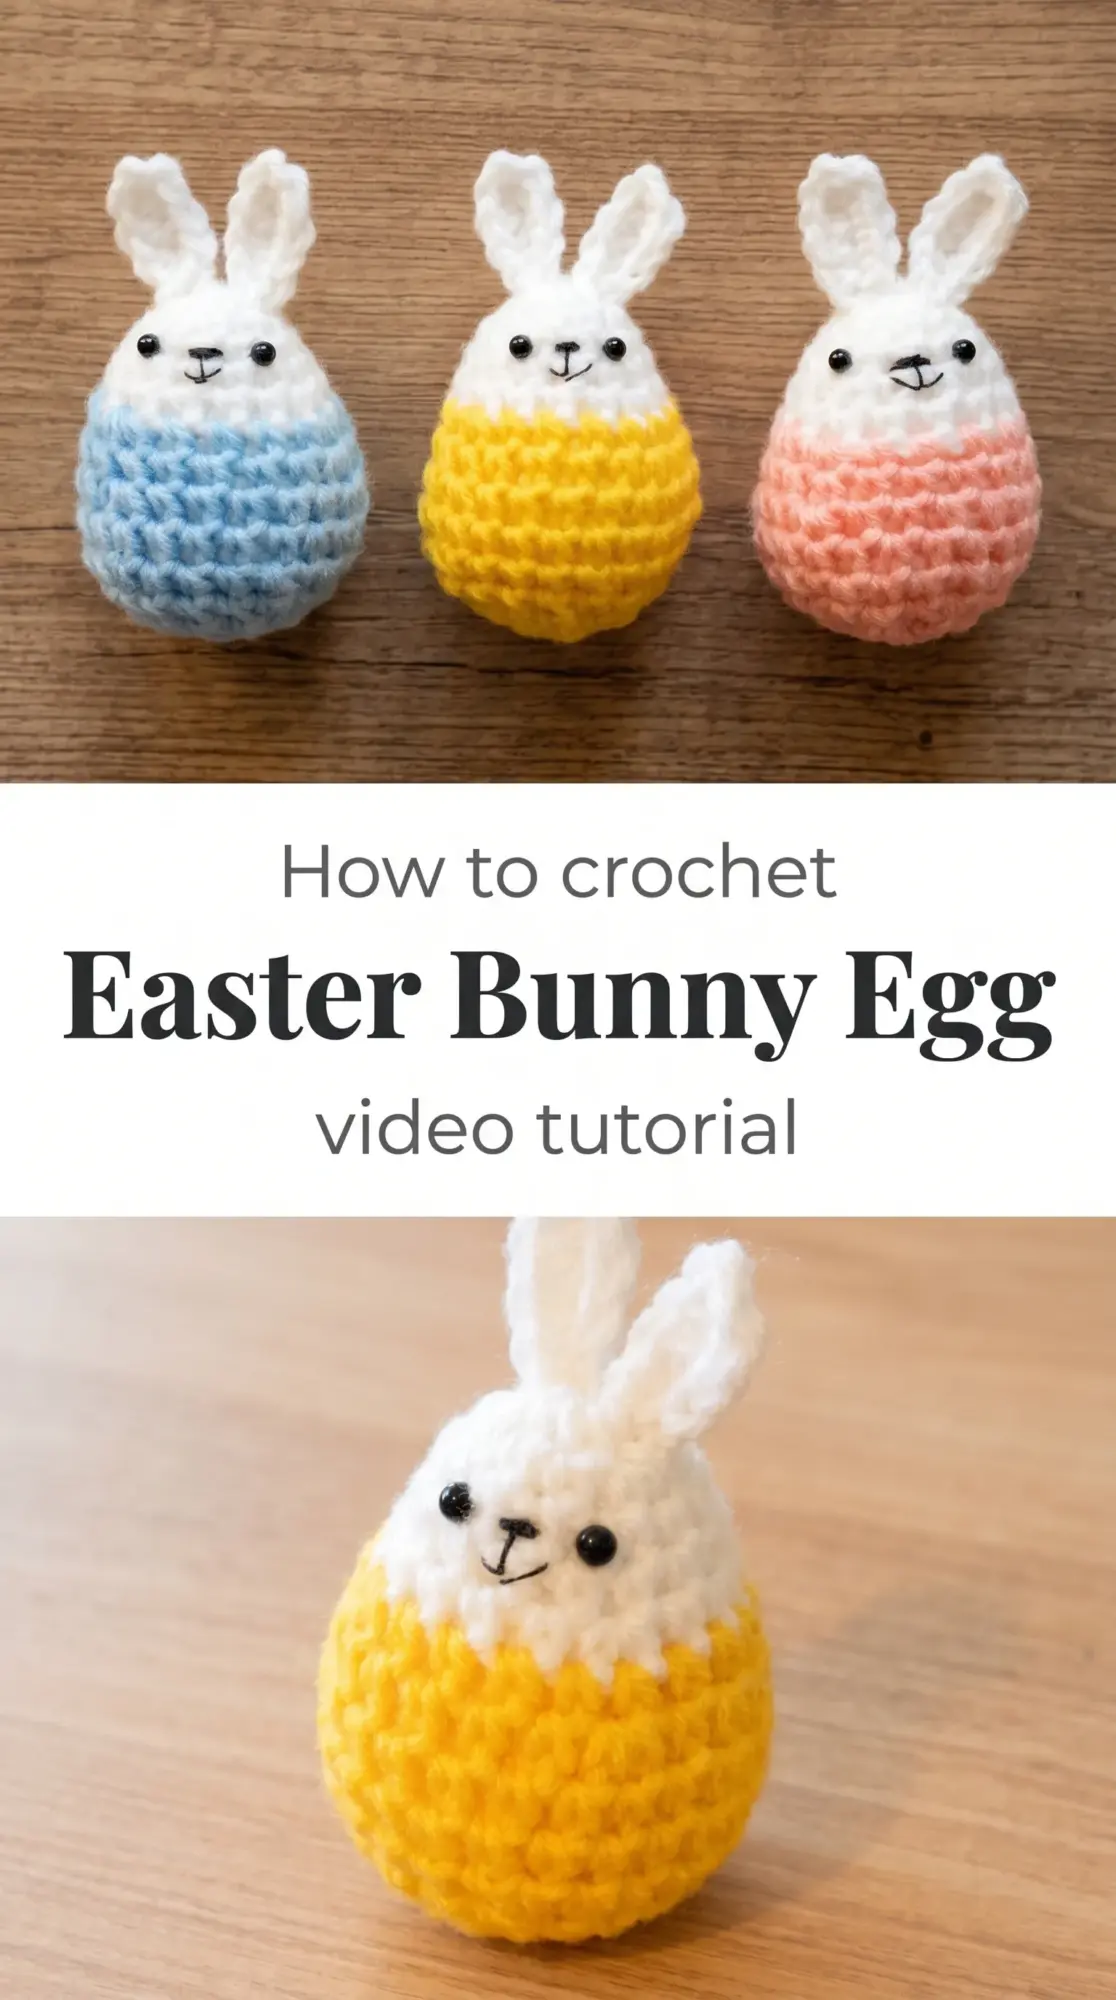
The Easter Bunny Egg
This Crochet Easter Bunny Egg sits plump and content, a little vessel of wool and whimsy. It’s made for anyone who craves handmade spring décor, for children who light up at the sight of soft creatures, and for makers who want a quick, joyful project between larger works. The egg-shaped body is crocheted in the round, capped with a white fuzzy face and upright bunny ears that frame tiny embroidered features. Each one feels precious in your hand, light yet full of intention.
The color palette here is pure spring: pastel pink, sky blue, buttercup yellow, all crowned with cream. You can follow this gentle gradient or go bold with sage, lavender, or even autumnal rust for a different mood. These little bunnies beg to be made in multiples, lined up on a shelf or tucked into Easter baskets with care.
Materials and Tools
You’ll want a soft DK weight yarn in your main color and white for the head and ears. A 3.5mm crochet hook keeps the stitches tight enough to hold stuffing without gaps showing through. Cotton blends work beautifully for structure, while acrylic gives you easy care and a slight sheen. A yarn needle will be essential for attaching the ears, embroidering the face, and weaving in ends with precision.
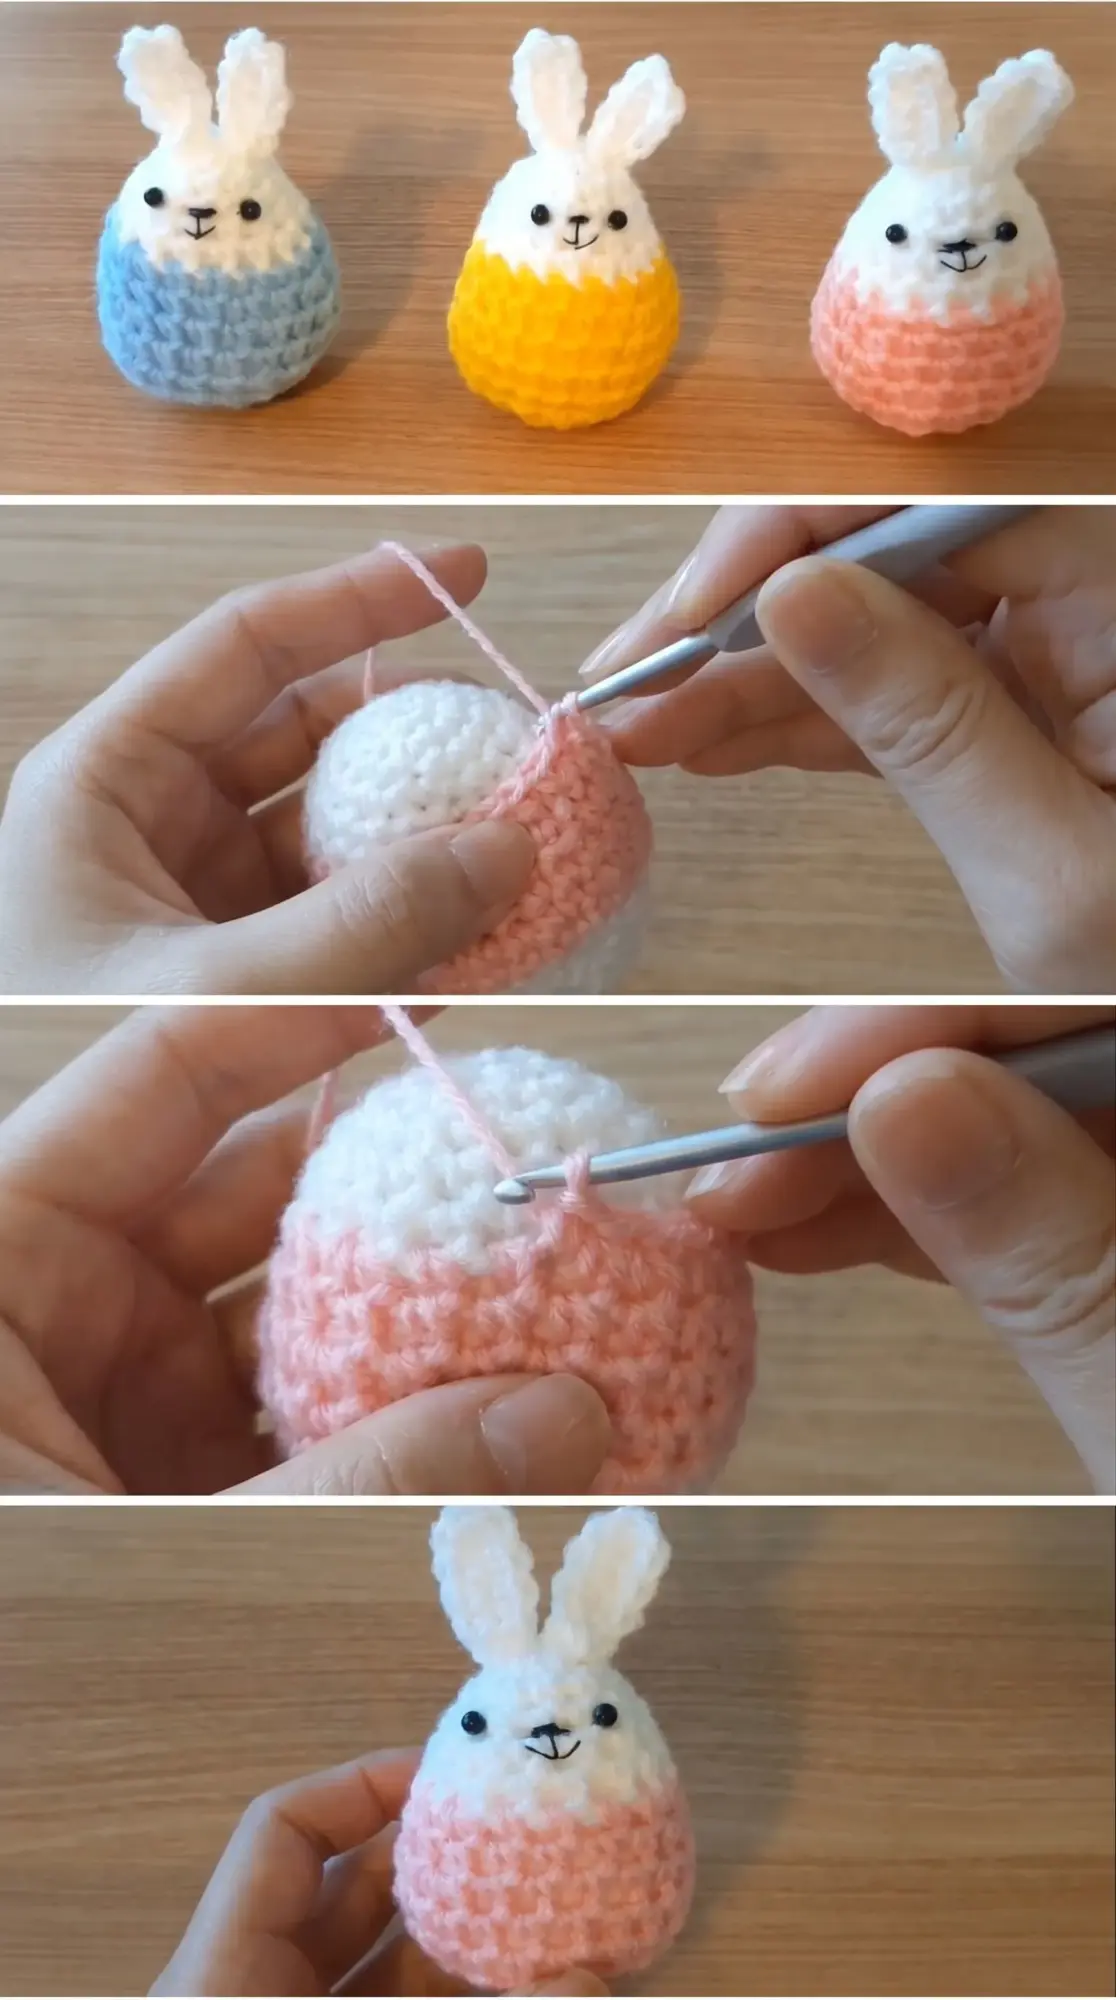
Stitch by Stitch
This pattern relies on foundational crochet techniques that build rhythm and confidence.
BULLET:SC (single crochet) This stitch forms the dense, rounded body of the egg, creating a fabric that holds its shape without slouching.
BULLET:Inc (increase) Worked by placing two SC into one stitch, increases shape the widening middle of the egg.
BULLET:Dec (decrease) Also called invisible decrease, this pulls two stitches together neatly to taper the top and bottom.
BULLET:Magic ring The starting point for working in the round, this adjustable loop closes tightly at the base of your egg.
The meditative rhythm of working in spirals, watching the egg swell and then taper, makes this a soothing project for evenings or quiet mornings.
Construction
The Crochet Easter Bunny Egg begins at the base with a magic ring and builds upward in continuous rounds of SC, with strategic increases to create the egg’s gentle curve. After reaching the widest point, you’ll begin decreasing to close the top, pausing to stuff the body with fiberfill before the opening becomes too small. The white fuzzy head section is worked separately or continued in a new color, then topped with two simple crocheted ears that are sewn upright. You can customize the size by changing yarn weight or hook size, making tiny versions for garlands or larger ones for centerpiece displays.
Wearing Your Easter Bunny Egg
Though you won’t wear this one, you’ll display it with pride. Tuck a cluster of Crochet Easter Bunny Eggs into a woven basket lined with straw, arrange them on a mantel beside forsythia branches, or give them as gifts to little ones who will cradle them like treasures. They make charming photo props, sweet additions to spring tablescapes, and keepsakes that return each April with the warmth of something made by hand.
Keeping Your Bunny Eggs Fresh Year After Year
Store your Crochet Easter Bunny Egg in a breathable fabric bag or a shallow box lined with tissue to protect the ears from bending. If dust settles over the off-season, a soft brush or a quick shake outdoors will refresh the fibers. Spot clean any marks with a damp cloth and mild soap, then let it air dry completely before tucking it away. With gentle handling, these little bunnies will greet you each spring looking just as soft and sweet as the day you finished them.
You’ve made something that will outlive the season and become part of your family’s spring ritual. Crochet with love, and let your hands slow down enough to enjoy each stitch. Pin this Crochet Easter Bunny Egg tutorial and share your finished bunnies so we can all celebrate the return of softness and color.
Follow us on Pinterest and subscribe to the Newsletter so you don’t miss a thing!
Tutorial and photos of this easter bunny egg by: AmiaMikancl Crochet.