
A Crochet Tissue Box Cover transforms a plastic necessity into a handmade accent that belongs in the room you love most. This tutorial shows you how to craft one that feels both rustic and refined.


The Tissue Box Cover
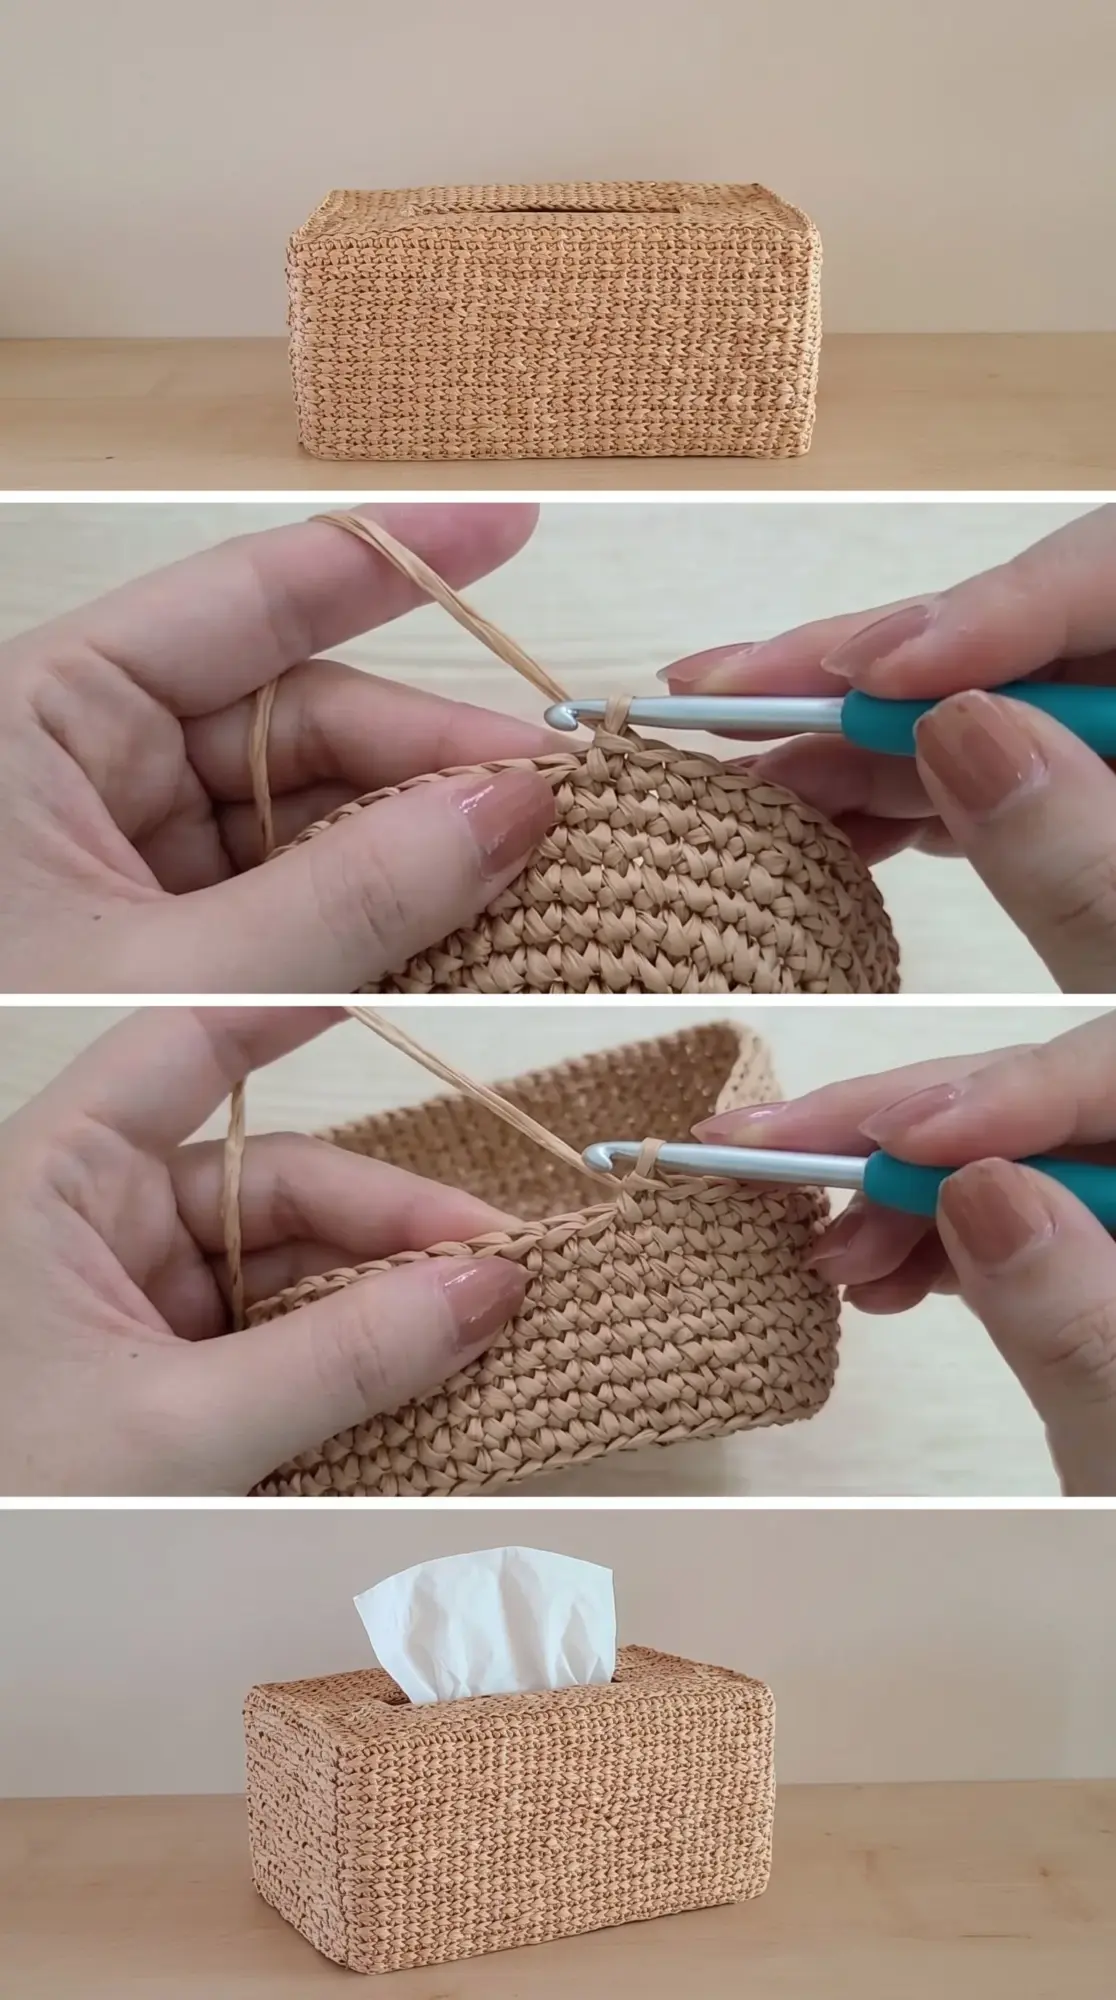
This is a crochet project for anyone who wants their home to feel intentional, not accidental. The textured stitches create a basket-like surface that reads organic and warm, as if it has always been there on the nightstand or bathroom counter. It softens the sharp edges of tissue boxes and brings fiber, color, and personality into spaces we tend to overlook.
Box Cover Related Posts:
Work it in natural jute or raffia for a coastal grandmother look, or choose soft cotton in blush, sage, or charcoal for something more modern and minimalist. This piece adapts to your palette and never competes with the rest of the room.
Materials and Tools
You will need a worsted weight yarn with good stitch definition. Cotton or cotton-blend yarns are ideal for structure, though raffia cord or paper yarn creates that woven basket effect shown in the reference photos. Use a 4mm or 4.5mm crochet hook depending on your tension and the firmness you want. A stitch marker helps track your rounds, and a yarn needle finishes the seams invisibly.
Stitch by Stitch
This pattern uses straightforward stitches layered into satisfying rhythm.
BULLET:SC (single crochet) This stitch builds the structure and keeps the fabric tight enough to hold its shape around the box.
BULLET:CH (chain) Used to start your foundation and create any openings for the tissue slot.
BULLET:SL ST (slip stitch) Joins rounds seamlessly and keeps edges clean and professional.
BULLET:SC1 (single crochet one in each stitch) This instruction appears often in round two and beyond, giving the project its steady, meditative build.
The repetition becomes soothing after a few rounds, and the fabric grows quickly in your hands.
Construction
The Crochet Tissue Box Cover is typically worked in the round or in flat panels that are seamed together at the corners. You begin with a rectangle for the top, leaving a center opening for the tissues to pull through, then work downward in continuous rounds or attach side panels as you go. Beginners will find this forgiving because the structure is simple and mistakes blend into the texture. You can adjust the height by adding or subtracting a few rounds to fit standard or tall tissue boxes.
Styling Your Tissue Box Cover
Place this on a bedside table next to a linen-covered lamp and a stack of poetry. Set it in the bathroom beside a candle and a small potted fern. It belongs wherever you want softness to meet function without fuss.
Caring for Your Tissue Box Cover
Spot clean your Crochet Tissue Box Cover with a damp cloth and mild soap if it picks up dust or spills. For deeper cleaning, hand wash in cool water and lay flat to dry, reshaping gently while damp. Store it folded in a drawer when not in use, or leave it on display year-round as it never goes out of season.
You made something small that matters in quiet, everyday ways. That is what good craft does. Pin this tutorial and share your finished cover so others can see how beautiful the details of home can be.
Follow us on Pinterest and subscribe to the Newsletter so you don’t miss a thing!
Tutorial and photos of this tissue box cover by: AmiaMikancl Crochet.