
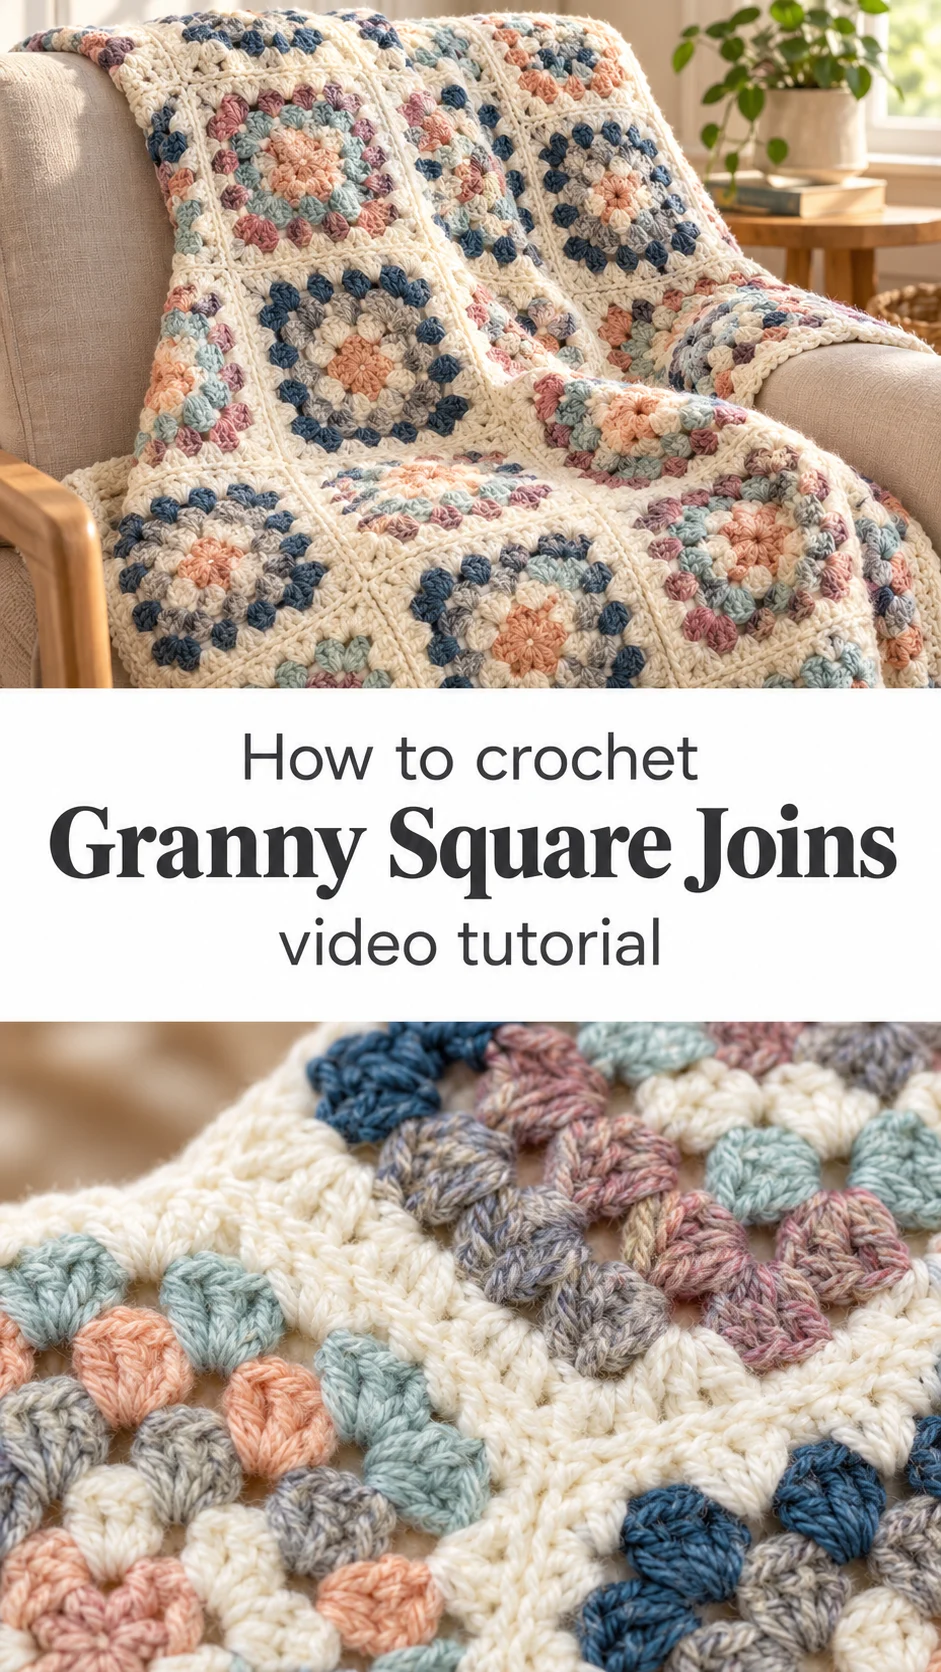
Crochet Granny Square Joins are the perfect solution for anyone who loves the colorful charm of a granny square blanket but dreads the bulky seams that so often come with assembling one. In this article you will discover how a completely flat join turns a pile of separate motifs into a single, smooth, beautifully finished piece.

The Granny Square Joins
Picture a blanket where every square flows into the next, with a ribbed ivory border running between them like a quiet line of stitched sunlight. This is the look of a well made flat join, soft and flat against the skin, with no ridge to catch on a sleeve or press into your cheek when you nap beneath it. It is a finish for the maker who wants her handwork to look as lovely on the back as it does on the front. If you have ever held a patchwork piece and wished the seams would simply disappear, these Crochet Granny Square Joins will feel like a small revelation.
The palette in the tutorial is a gentle one, with dusty blush, seafoam, mauve, slate grey and deep teal, all held together by creamy white borders. A soft ivory frame lets each little square glow, so you can play with muted pastels for a nursery or lean into richer jewel tones for a cozy living room throw. Scraps work beautifully here, since the white join unites even the most adventurous color combinations.
Square Joins Related Posts:
- Crochet Textured Blanket: A Timeless Handmade Classic
- Crochet Granny Square: A Timeless Handmade Classic
- Crochet Ridge Stitch Blanket: A Soft and Timeless Wrap
- Crochet Pinwheel Square: A Timeless Geometric Treasure
Materials and Tools
For a throw with a soft, drapey hand, choose a worsted weight yarn in a smooth wool blend or a cotton acrylic mix that keeps its stitch definition. A 5mm hook suits most worsted weight squares, though you can go up or down half a millimeter to match the tension of your motifs. Keep a contrast color for the join if you want the seams to show as a design feature, or use the same ivory as your borders for a seamless look. A pair of sharp scissors and a tapestry needle will handle the tidy finishing, and a few stitch markers help keep your squares lined up as you work.
Stitch by Stitch
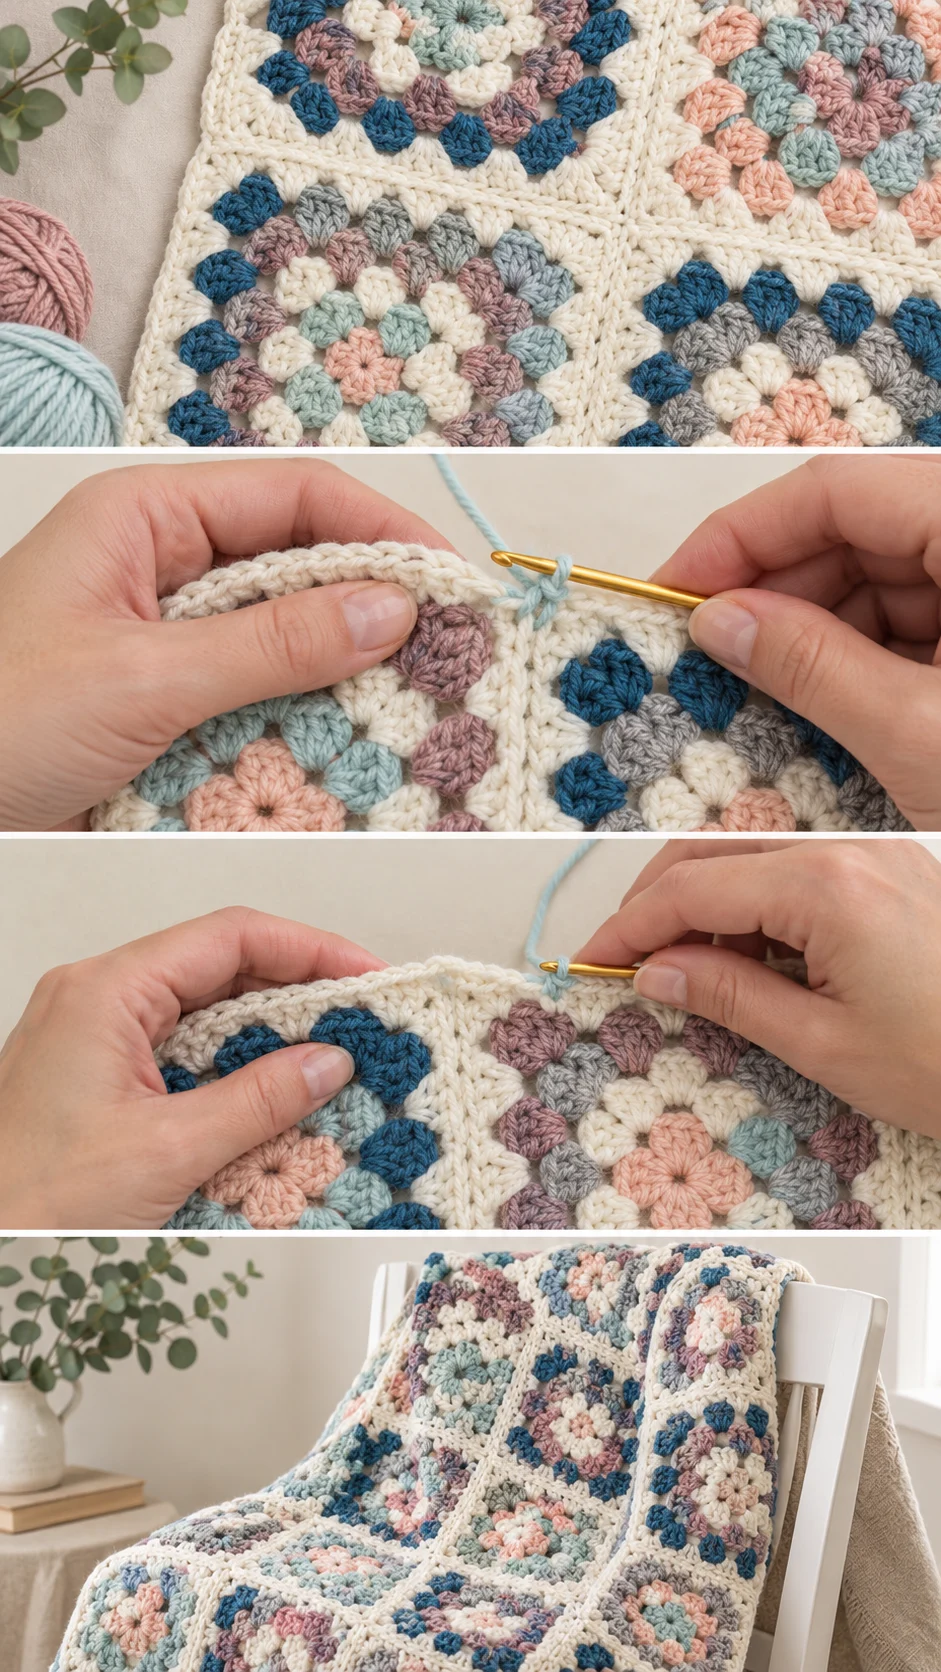
The join is built from only a few humble stitches, which makes Crochet Granny Square Joins friendly for beginners moving toward intermediate projects.
- SC (single crochet) The workhorse of the join, it builds the firm, flat ridge that connects one square to the next.
- DC (double crochet) The classic granny square stitch, grouped in clusters to form the airy shells of each motif.
- YO (yarn over) The simple wrap of yarn that begins each stitch and gives your clusters their gentle height.
- SL ST (slip stitch) A low profile stitch used to anchor the yarn and tie off neatly at the end of a seam.
There is a meditative rhythm to working along an edge, hook in, pull through, hook in, pull through, until the seam grows like a slow, steady heartbeat under your fingers.
Construction
Each square is crocheted separately, then laid side by side with the right sides facing up so you can see exactly how the pattern will fall. Rather than sewing or slip stitching on the wrong side, the flat join is worked along the edges of two squares together, creating a smooth, low ridge that lies as flat as the fabric itself. The full pattern and every hook placement are shown in the video tutorial, so you can follow along at your own pace and pause whenever you need. As a customization tip, try joining your squares in contrasting yarn for a graphic grid effect, or keep it tone on tone for a quiet, heirloom feel.
Wearing Your Granny Square Joins
Drape your finished throw over the arm of a reading chair, and it becomes the cozy anchor of the whole room. Fold it at the foot of a bed for a soft layer of color that invites afternoon naps, or tuck it into a basket by the door for chilly porch evenings. Smaller joined panels can even become market bags, cushion covers or baby blankets, so every scrap of yarn finds a purpose.
Keeping Your Joined Blanket Looking Its Best
Give your finished piece a gentle soak in cool water with a drop of wool wash, then press out the water in a towel without wringing. Lay it flat to dry, nudging the squares into shape so the joins stay crisp and even. Weave in all your ends securely before washing, since the seams will be handled and stretched a little with regular use. When it is not being snuggled under, fold it loosely and store it in a breathable cotton bag or on an open shelf to keep the yarn fresh.
You have just learned a finish that makes every granny square blanket look polished, professional and wonderfully handmade. Save this pin to your crochet board so your next blanket comes together seamlessly.
Follow us on Pinterest and subscribe to the Newsletter so you don’t miss a thing!
Tutorial and photos of this granny square joins by: B.Hooked Crochet.