
A free video tutorial is waiting for you, and it unlocks one of the most quietly beautiful textures in all of crochet, a ribbed fabric that looks almost woven yet works up with the simplest of moves!

The Basics
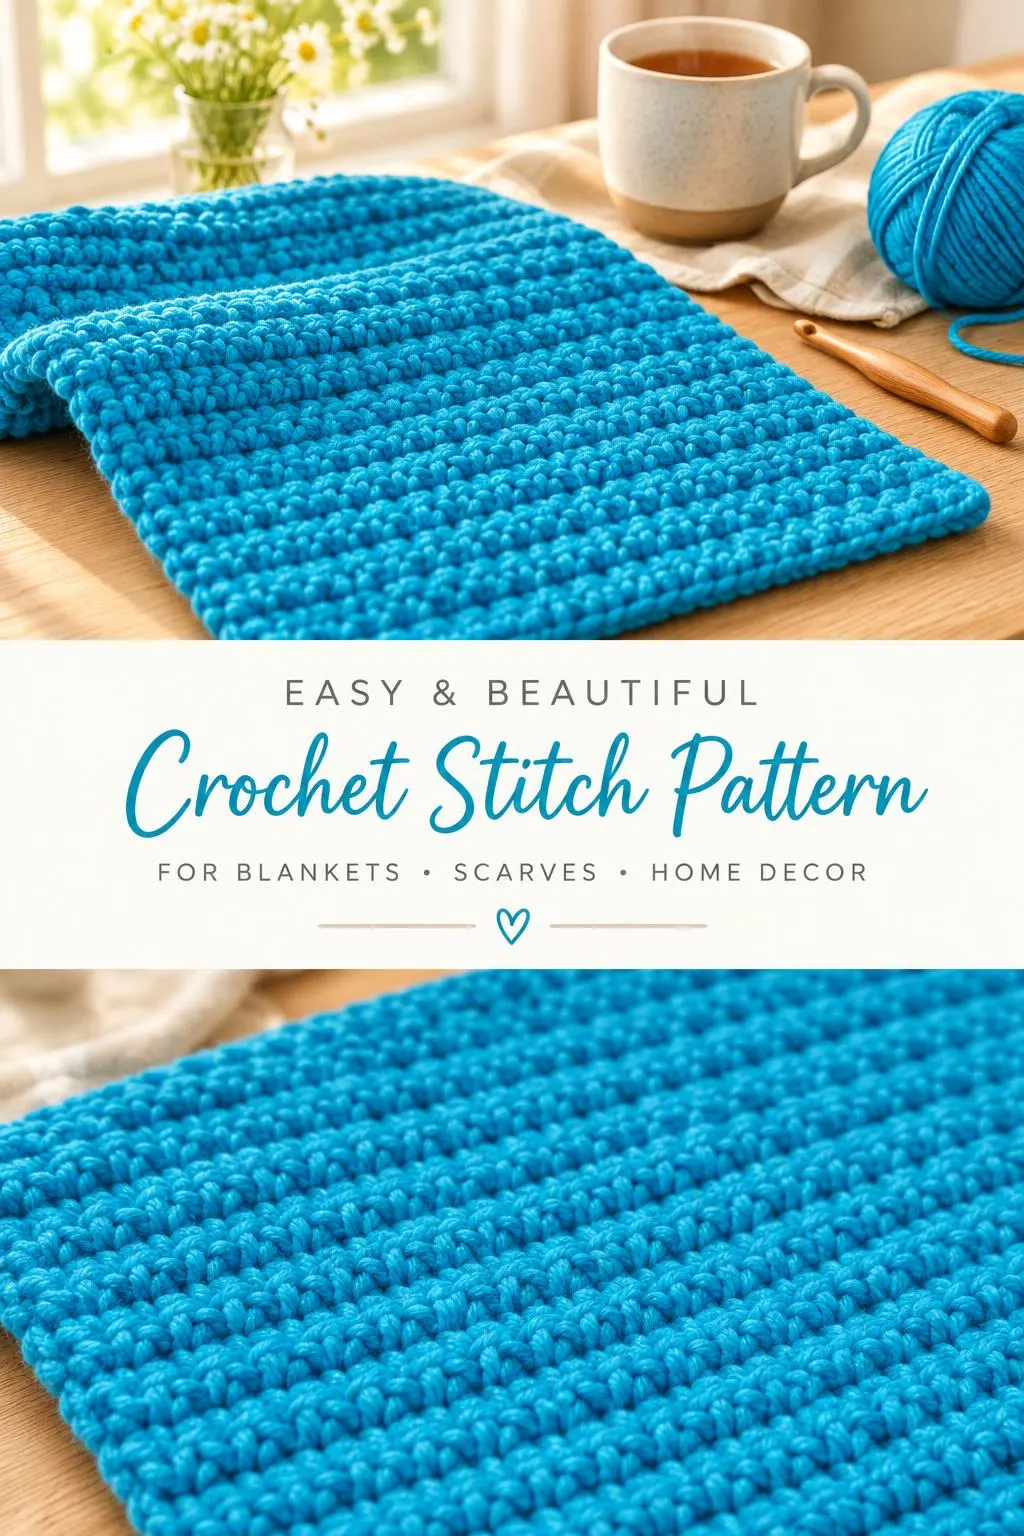
Crochet Basics begin with fabric like this: dense, softly ridged, and gently structured, with tiny slanted stitches that line up like rows of wheat in a field. It is made for the maker who wants a pattern that looks refined without demanding a single complicated move. Each horizontal ridge catches the light and casts a delicate shadow, giving the whole piece a handmade depth that smooth, flat stitches simply cannot match. Blankets and throws worked in this texture feel substantial in the lap and sit beautifully folded over the arm of a sofa.
The vivid turquoise shown here is pure sea glass and summer pool water, but this stitch is just as lovely in oatmeal, dusty sage, soft blush, or deep charcoal. Choose one calming shade for a minimalist heirloom look, or stripe two or three tones together to let the ridges do the talking. It suits a modern living room as easily as a cosy nursery.
Crochet Basics Related Posts:
- Crochet Pearl Stitch Blanket: A Soft and Timeless Treasure
- Crochet Lily Bouquet Blanket: A Blooming Floral Treasure
- Crochet Square Motif: A Timeless and Elegant Classic
- Crochet Heirloom Blanket: A Timeless Keepsake
Materials and Tools
For a throw with softness and drape, reach for a worsted weight yarn in a smooth acrylic, a cotton blend, or a gentle merino, since the stitch pattern shows off even, rounded plies beautifully. Pair it with a 5mm hook, ideally the warm, glossy aluminium kind shown in the tutorial, which glides through each stitch without snagging. A 5mm hook gives a fabric that is firm enough to hold its ridges yet still flexible enough to cuddle under. Keep a pair of sharp scissors and a blunt tapestry needle close at hand for the finishing touches.
Stitch by Stitch
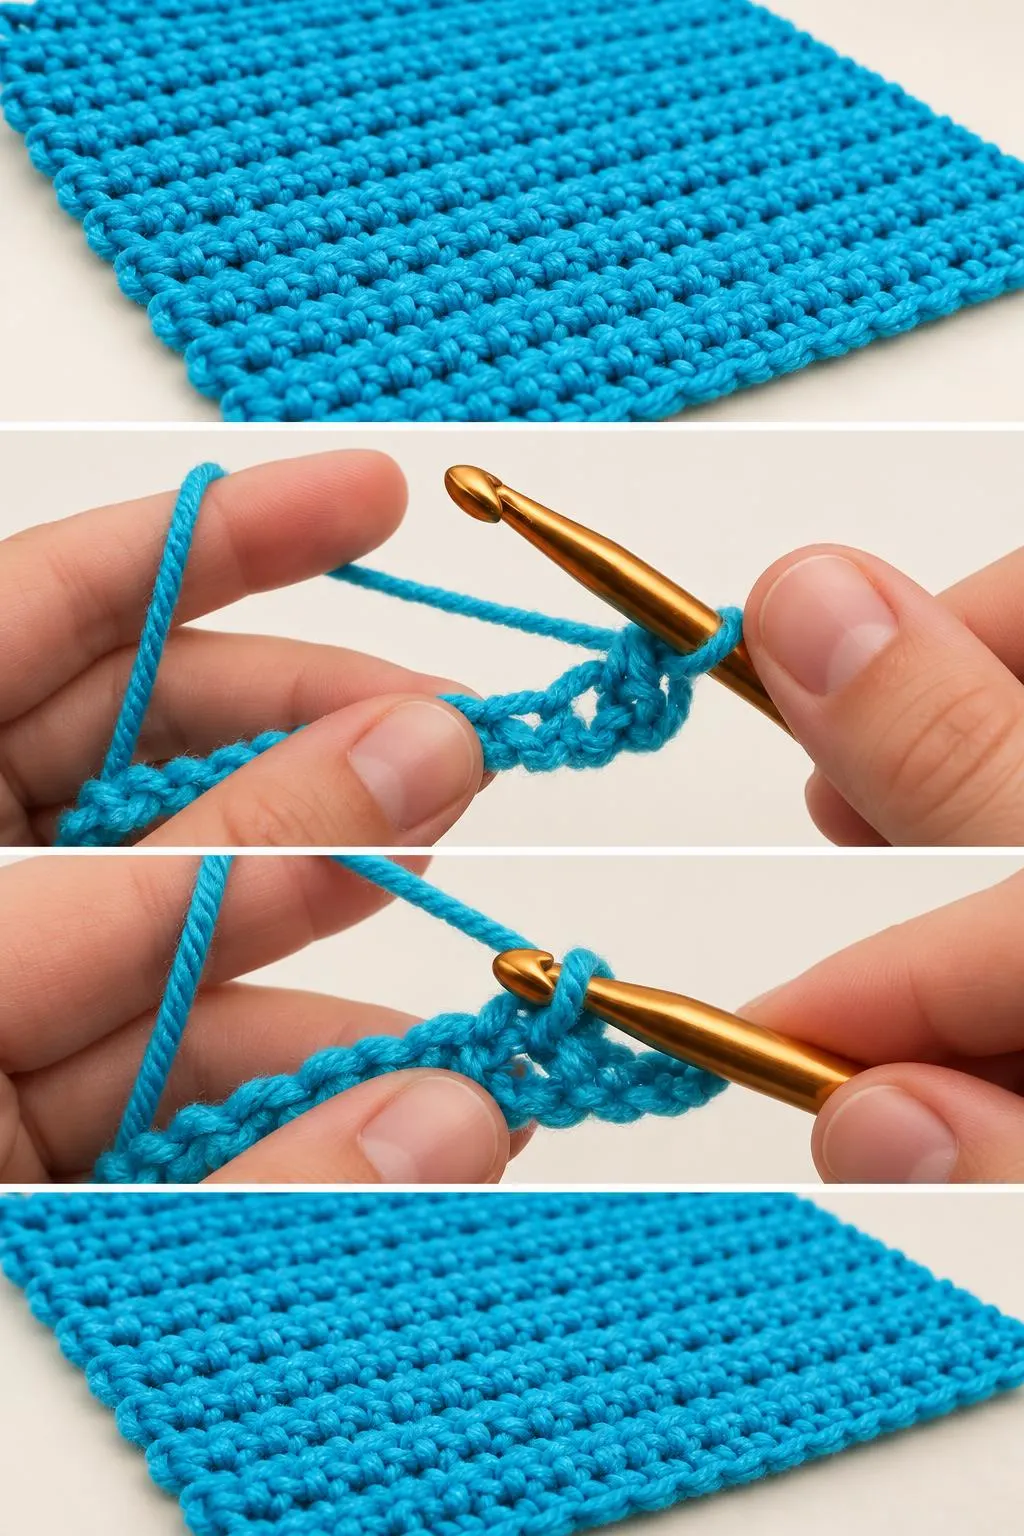
This Crochet Basics tutorial uses only a handful of foundational moves, which is exactly what makes it so approachable.
- CH (chain) The humble foundation that sets the width of your blanket and gives you something to build upon.
- SC (single crochet) The compact, sturdy stitch that forms the dense body of the fabric.
- YO (yarn over) The small wrap of yarn over the hook that powers nearly every stitch you make.
- SL ST (slip stitch) The flattest, quietest stitch, used here to shape the ribbed texture and tidy the edges.
Once your hands learn the pattern, a meditative rhythm takes over, and you will find yourself working row after row without ever needing to check the count. It is the kind of making that settles the mind as much as it fills the basket.
Construction
This blanket is worked flat in one continuous piece, turning at the end of each row so the ridges stack evenly from bottom to top. There is no seaming and no shaping, which makes it a wonderful choice for anyone moving from first projects toward larger ones. Begin with a foundation chain in any multiple that gives you your desired width, then simply keep going until the throw reaches your preferred length. To customise, try adding a border of simple SC around all four sides, or switch colours every ten rows for a soft, striped finish.
Wearing Your Basics
Drape this textured fabric across the foot of your bed for an instant layer of warmth and quiet charm. Fold it into a cushion cover, or stitch a few narrow panels together to create a chunky scarf that wraps twice around the neck. Gift it to a new baby, a new home, or yourself, because a handmade throw is always the right answer.
Keeping Your Ribbed Throw Soft and Beautiful
Wash your finished blanket gently in cool water, following the care label on your yarn, and lay it flat on a clean towel to dry so the ridges keep their crisp shape. If the edges curl slightly, a light steam block with the iron held just above the fabric will coax them into place. Avoid hanging the throw while damp, as the weight can stretch those tidy rows out of line. Store it folded loosely in a breathable cotton bag or draped over a chair, away from direct sun that might fade your colour.
You are capable of making something truly lovely, and every stitch you work is proof that Crochet Basics can grow into heirlooms. Save this pin to your crochet board and come back to it whenever your hook is calling!
Follow us on Pinterest and subscribe to the Newsletter so you don’t miss a thing!
Tutorial and photos of this basics by: naztazia.